Creating Your Database
We have discussed hosting and installation components thus far. Let's go on to examine the elements involved in building a database for the operations of your business. You can begin building a database on your Odoo platform as soon as you have a valid subscription. As seen in the screenshot below, you can create an Odoo account in the window that follows if you don't already have one.

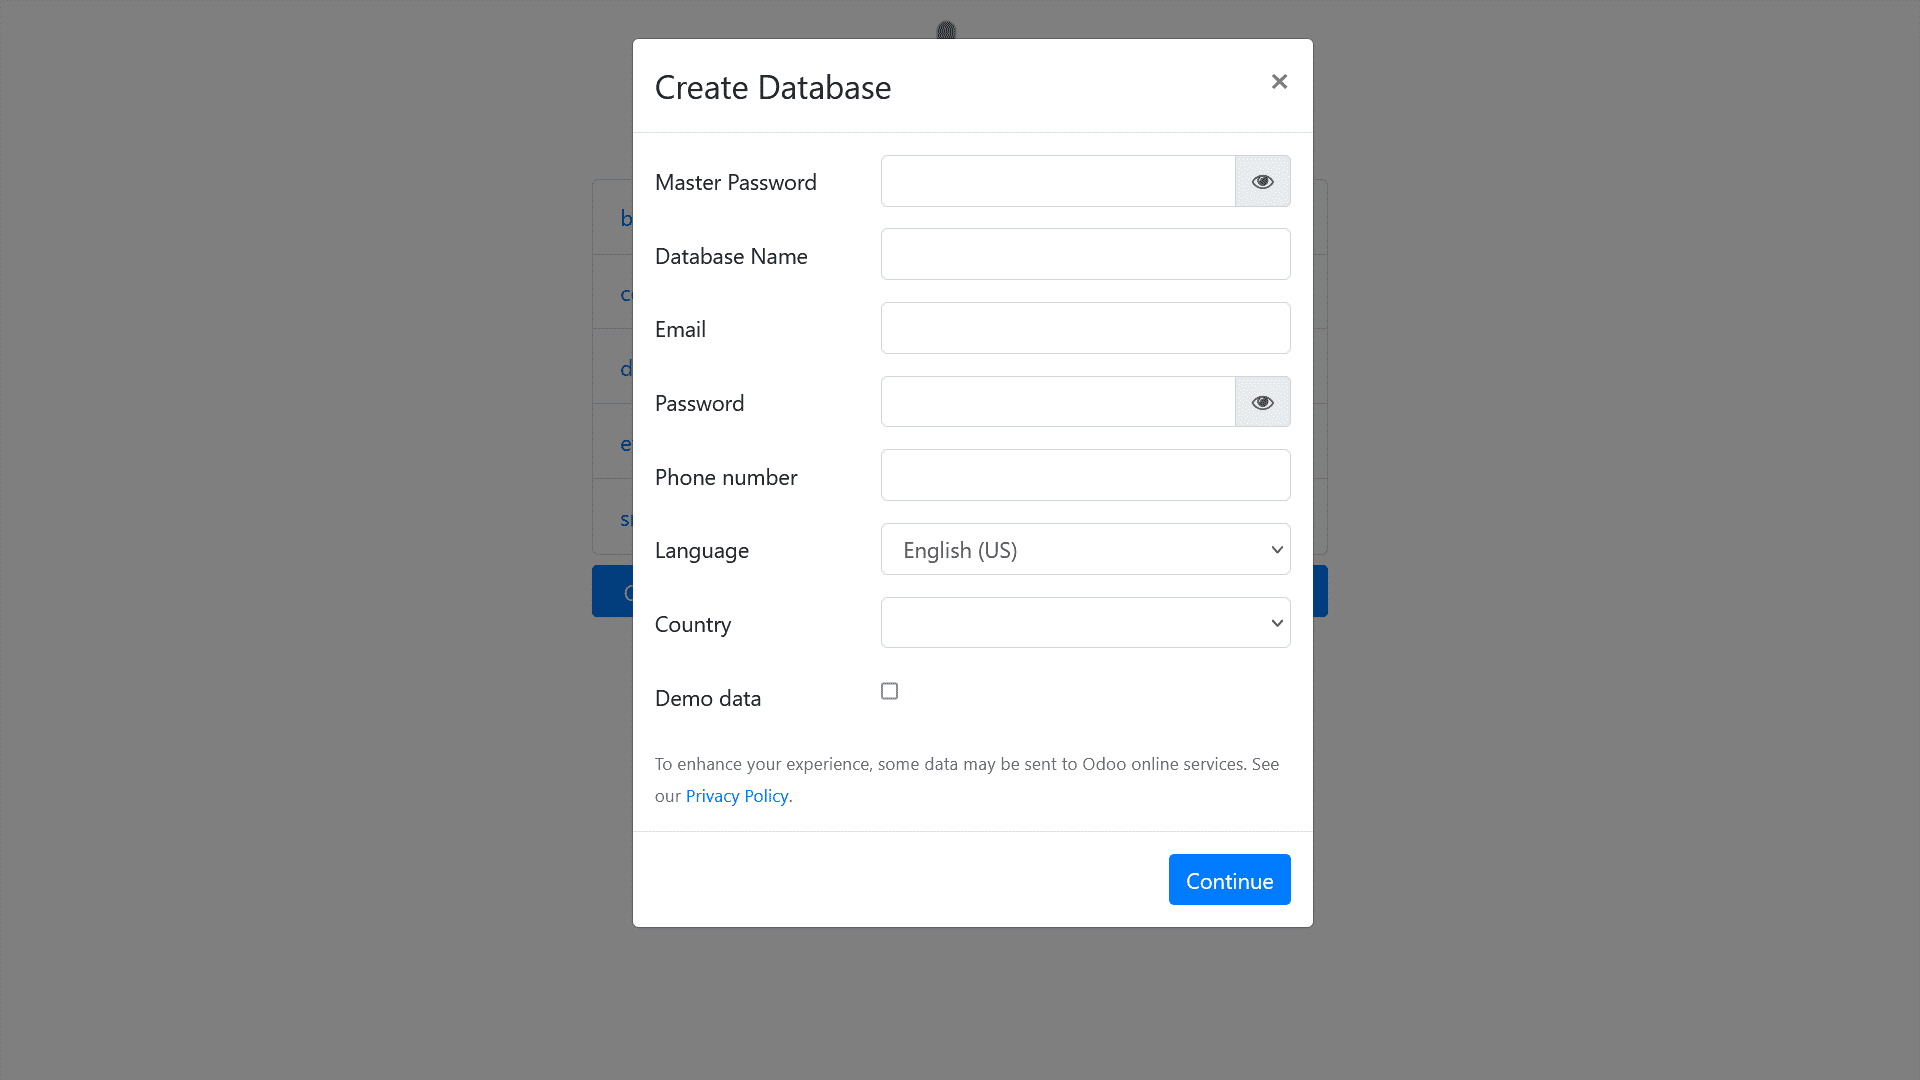
Generating a database for your company is the next step after generating accounts. You can choose this option in the database creation box after the Odoo accounts have been created. In the database creation box below, you must first provide the master password, database name, email address, password, phone number, language, and country. The Odoo platform database is set up according to the country you designate because of Odoo's localisation capability, which is covered in more detail in this chapter.
Another crucial component in the database creation menu is the option to define demo data in the database. Odoo itself has supplied this material to assist you in comprehending the different facets of operations management. You can change or remove any kind of introductory material to suit your needs.
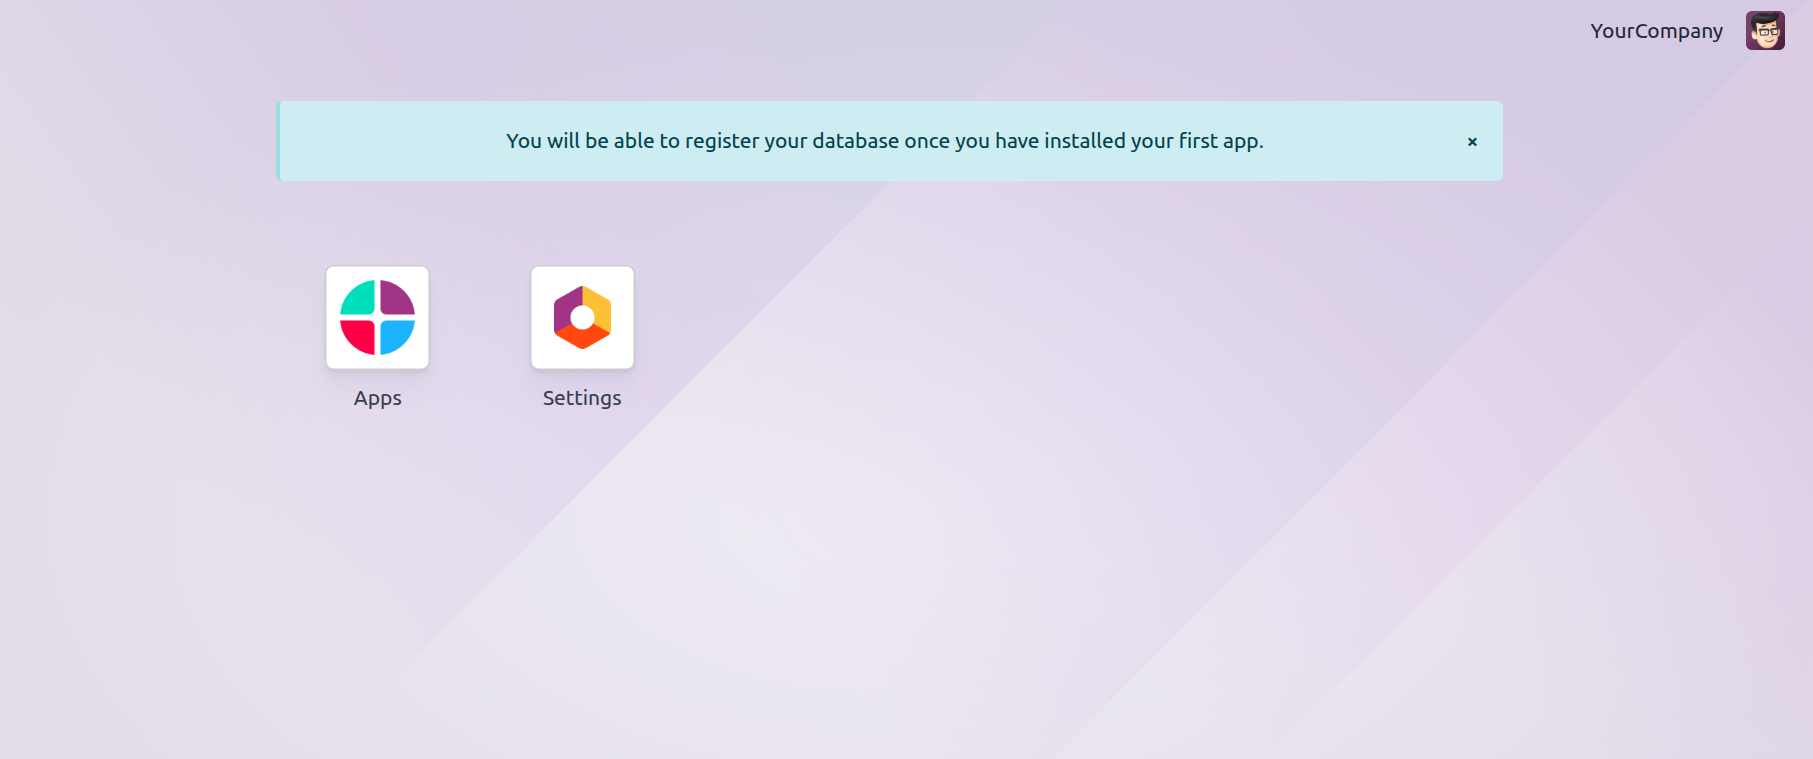
You can proceed once the database settings are complete, and the database panel will show up. It's important to keep in mind that the database is set up based on the nation you choose, which makes certain module support services facilities more localised. Another thing to keep in mind is that if you are utilising an Odoo platform that you have set up for real-time operational management of your company, you do not need to activate the Demo Data option. As seen in the accompanying screenshot, you can only view the application module and associated parameters; no modules or applications are installed in the database.
All of the platform's applications will be shown for you to select and install based on your needs when you select the Apps module. The following image displays screenshots of the Application module.
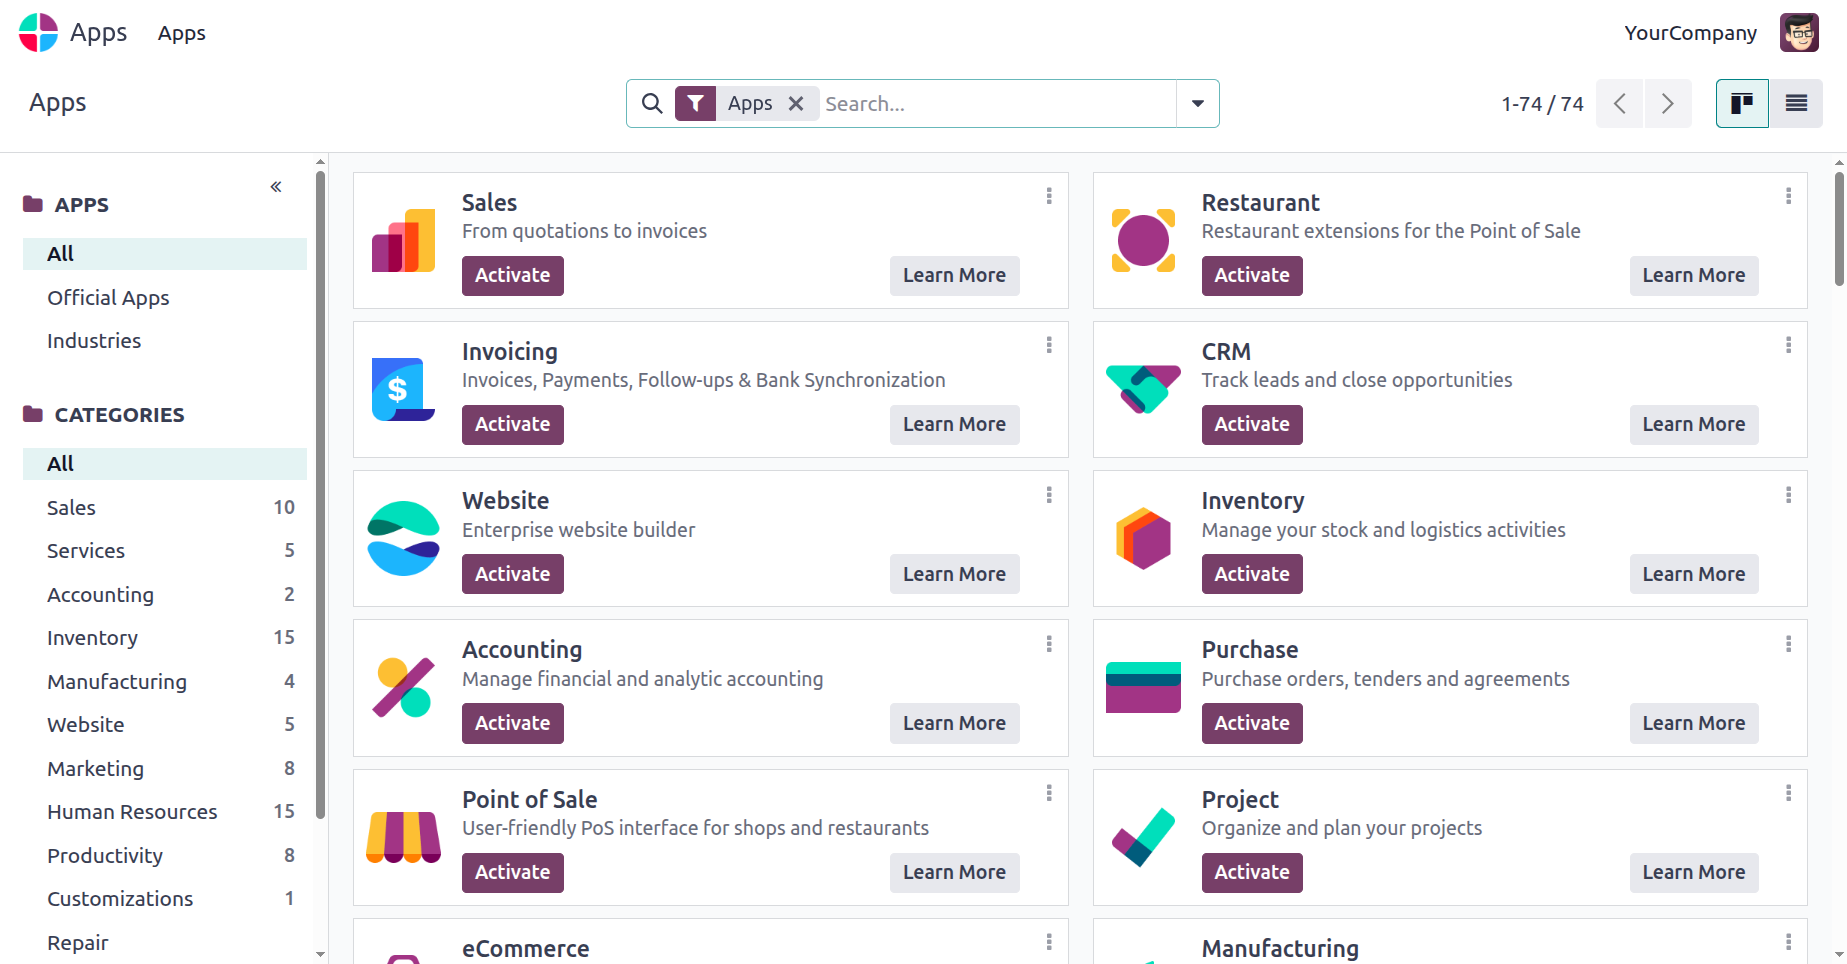
Since the book focuses on the Odoo platform's Accounting module, let's take a deeper look at the apps available within the accounting categories as seen in the attached graphic. Modules for invoicing, accounting, consolidation, different payment acquisitions, and localisation can be implemented based on your business needs.
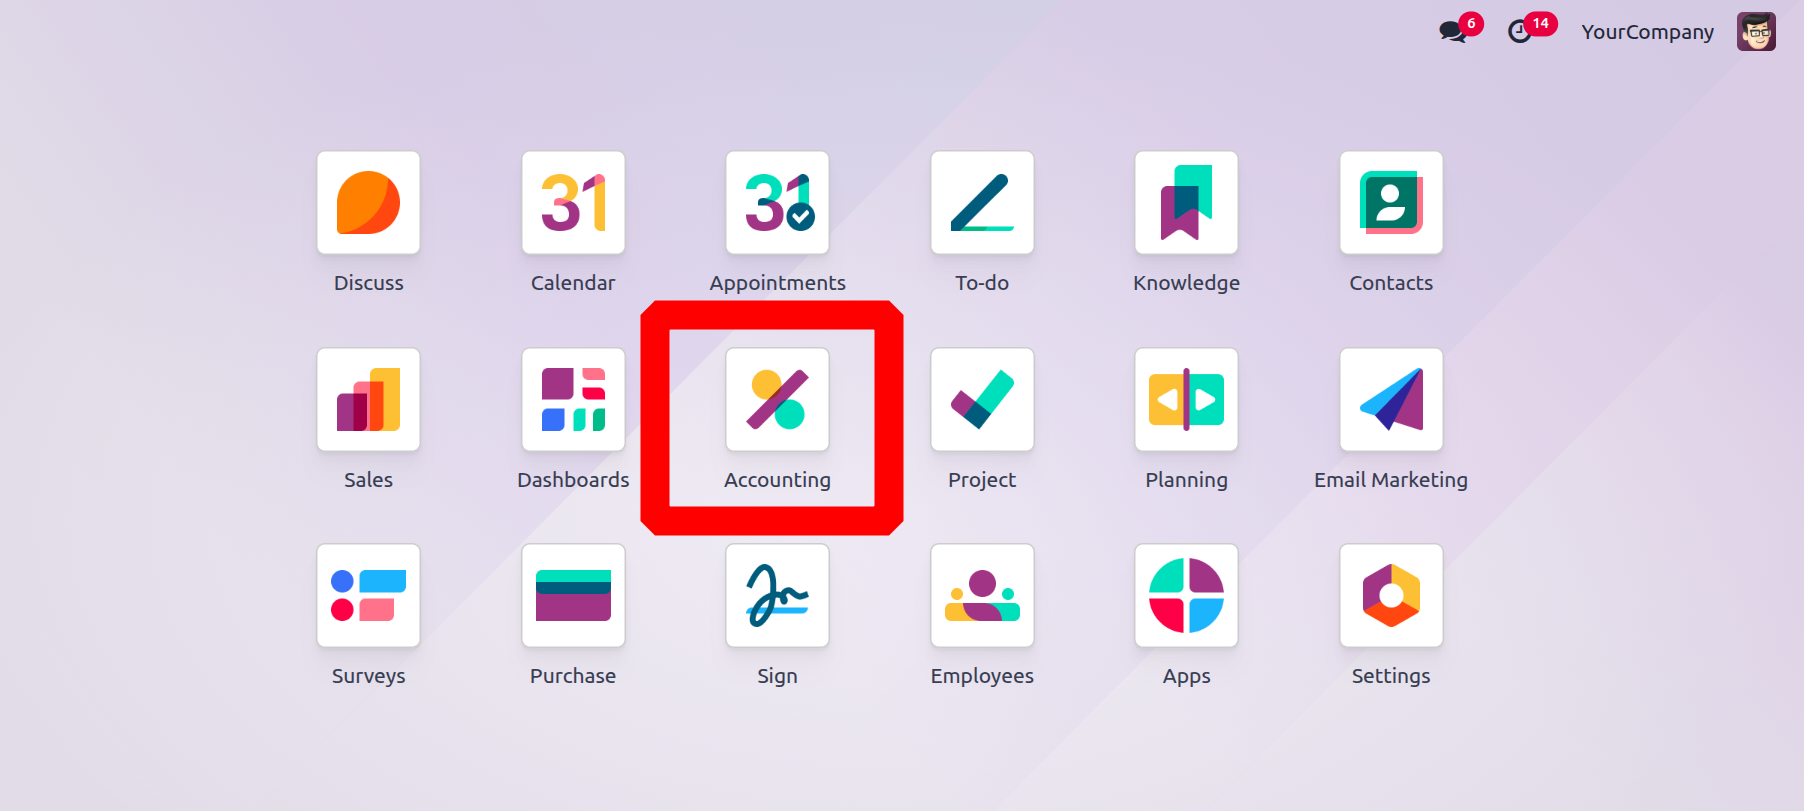
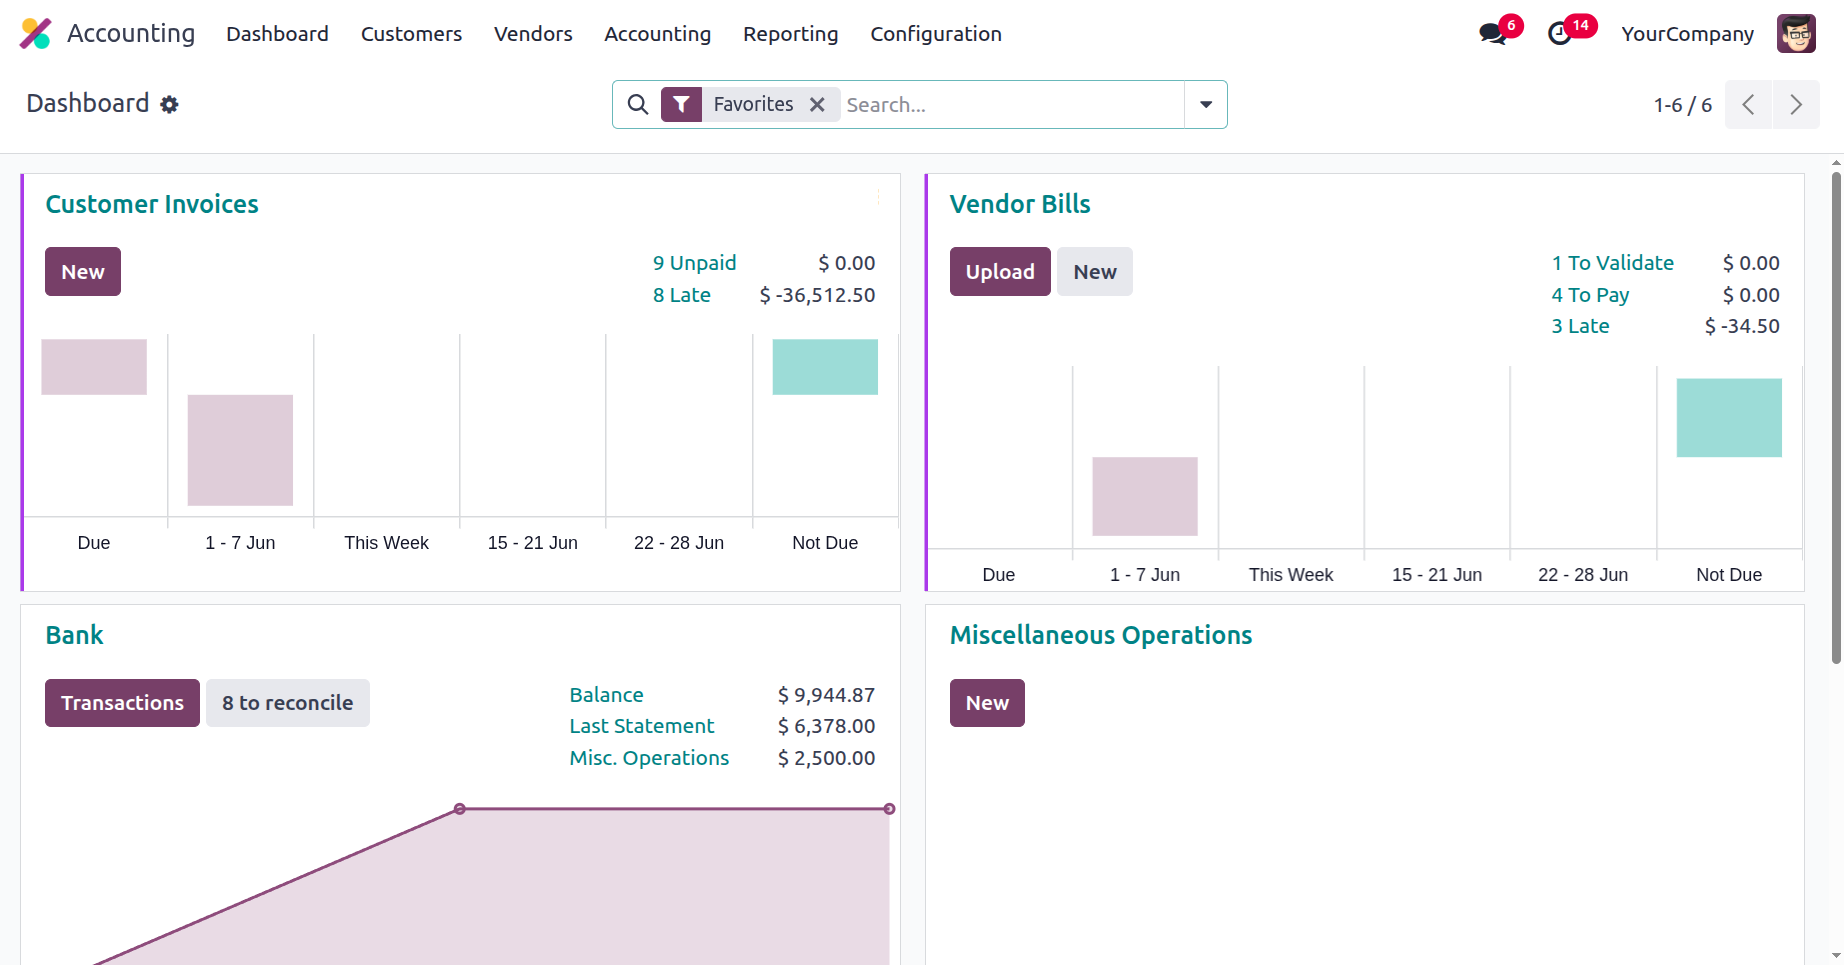
After installation, the program will show up on the database panel as an icon, as seen in the accompanying image. You can choose any module by clicking on the icon, and the main Odoo panel for that module will appear.
You can set up your Odoo system database in a variety of ways, depending on your usage requirements. You can set up the database to suit your needs using the methods covered above. Installation, hosting, and other modifications to the Odoo database have been discussed thus far. To find out more about Odoo's localisation features, let's proceed to the following section.