Creating Your Database
So far, we have talked about installation and hosting. Now let's look at the components that go into creating a database for your company's operations. As soon as your membership is active, you can start creating a database on your Odoo platform. If you don't already have an Odoo account, you can create one in the window that appears, as shown in the screenshot below.
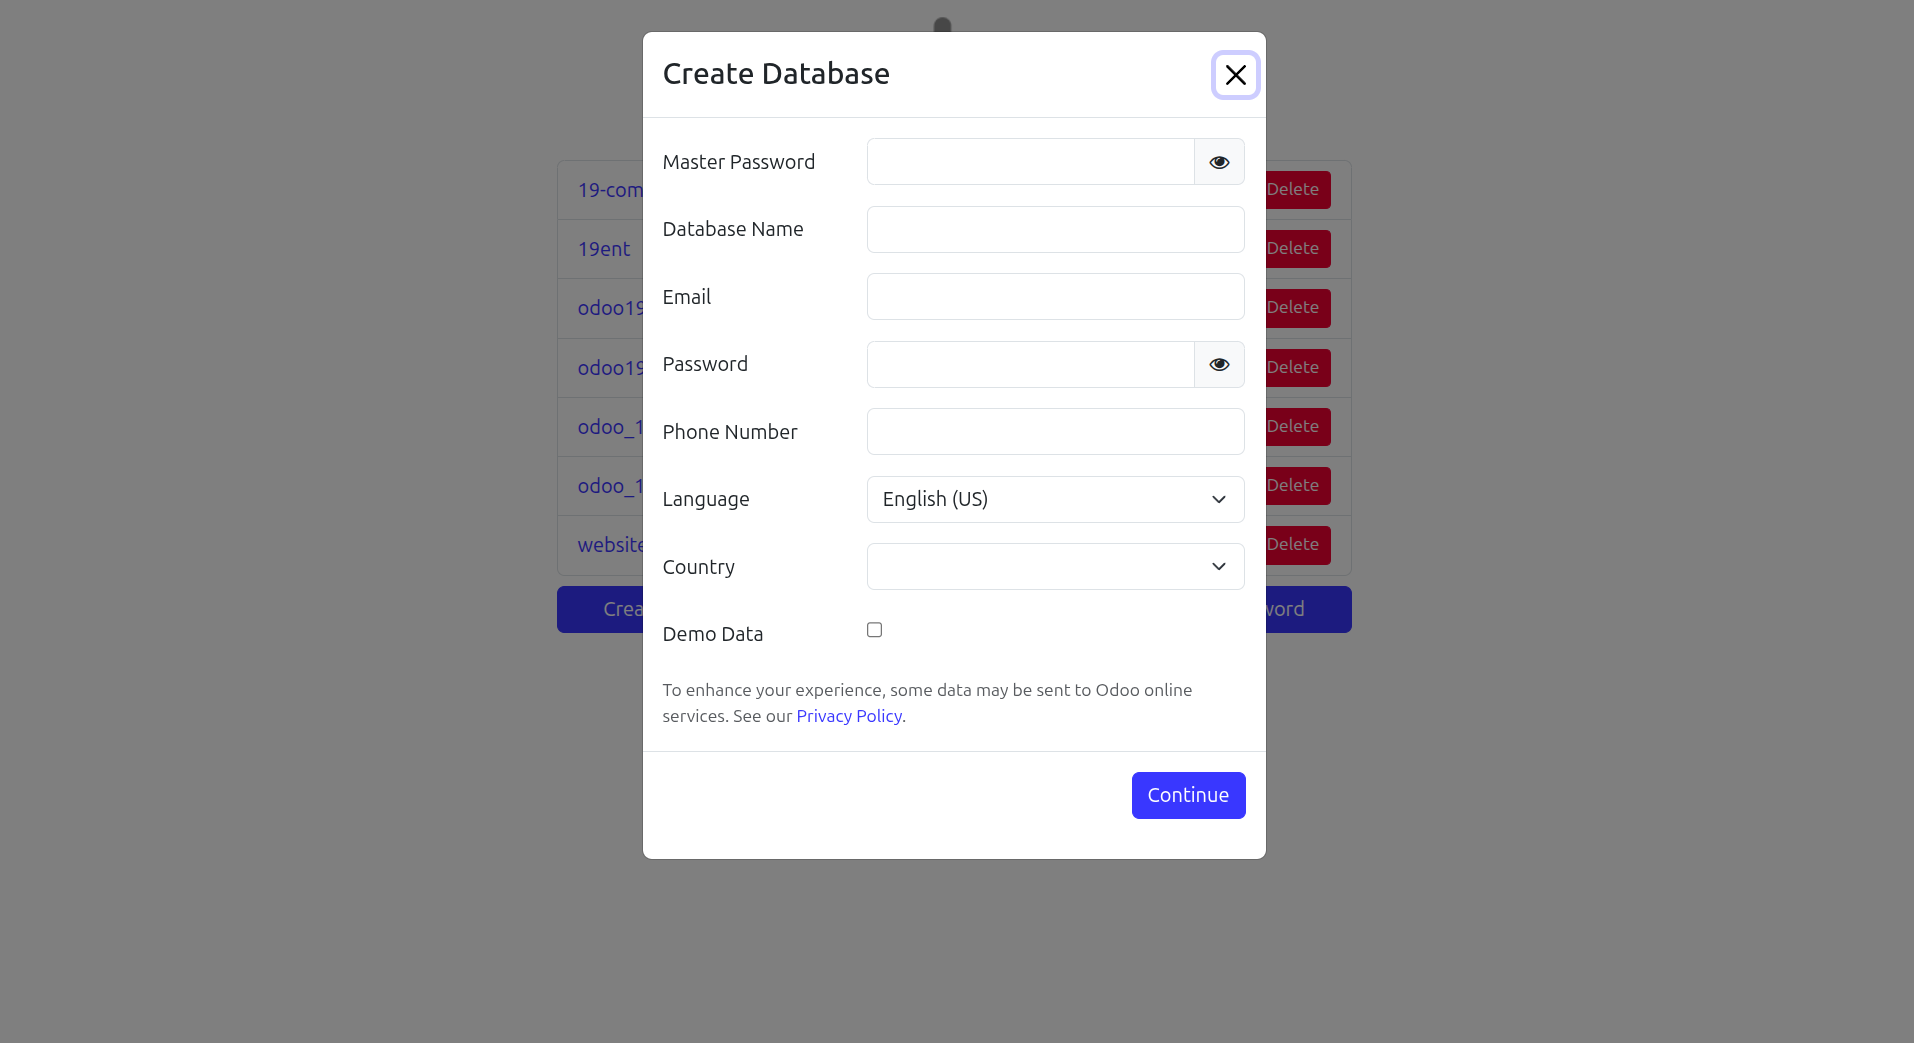
After creating accounts, the following step is to create a database for your business. Once the Odoo accounts have been created, you can select this option in the database creation box. The master password, database name, email address, password, phone number, language, and country must all be entered in the database creation box below. Because of Odoo's localisation feature, which is explained in more detail in this chapter, the Odoo platform database is configured in line with the nation you designate.
The ability to define demo data in the database is another essential feature of the database creation menu. This information was provided by Odoo itself to help you understand the many aspects of operations administration. Any type of introduction content can be altered or eliminated to meet your needs.
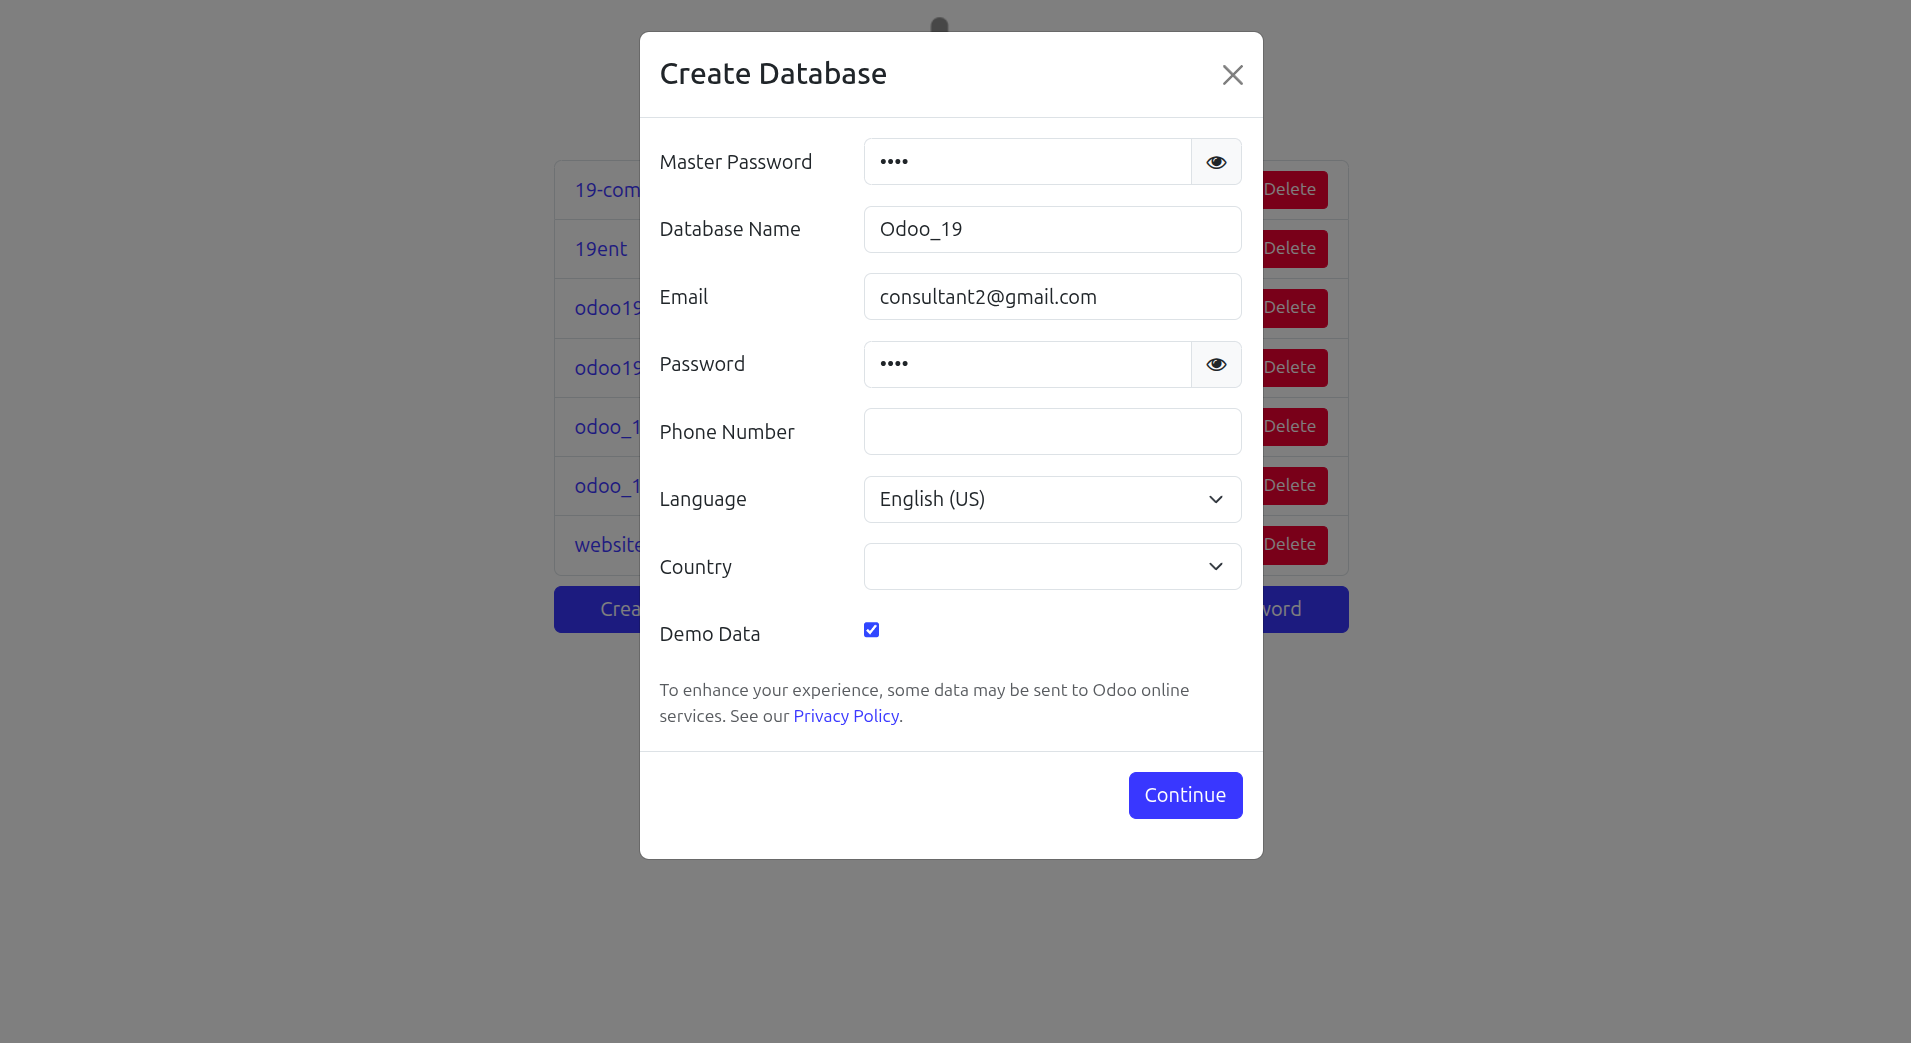
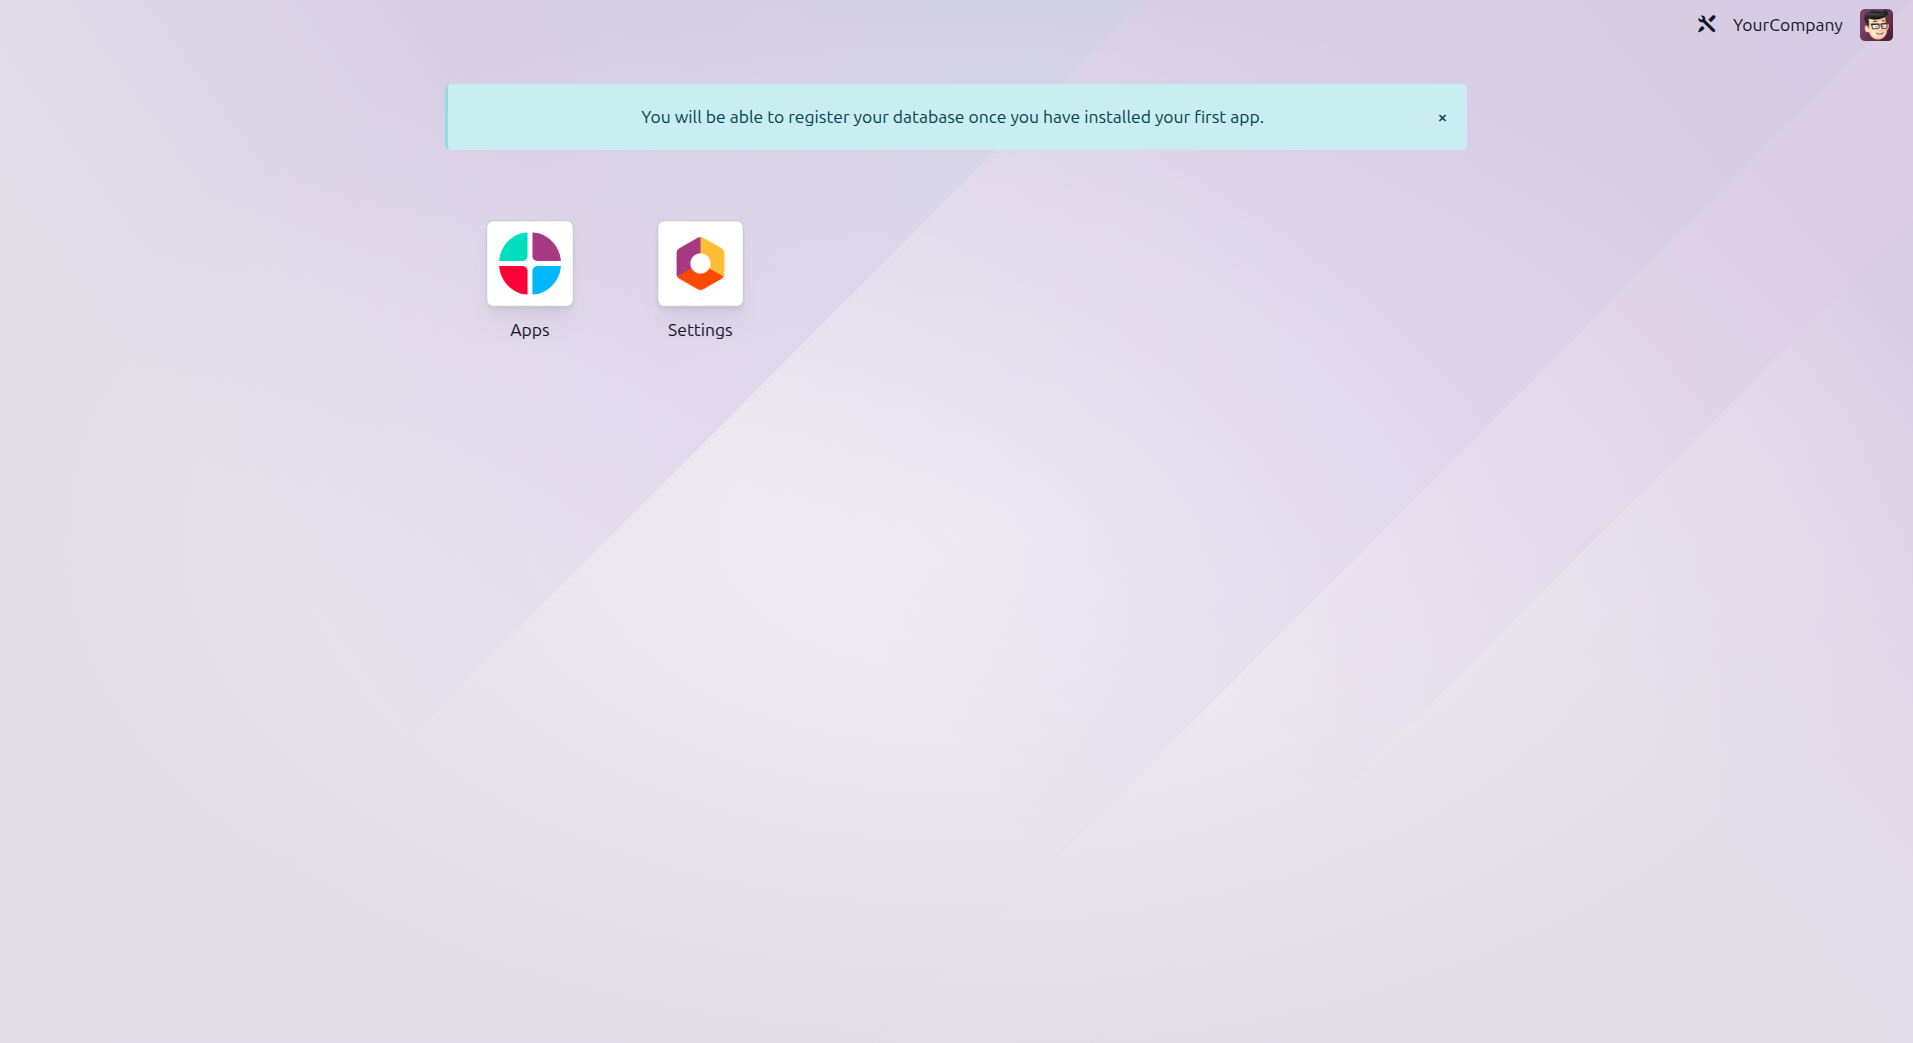
When the database settings are finished and the database panel appears, you can continue. It's crucial to remember that the database is configured according to the country you select, making some module support services more regional. Another thing to keep in mind is that if you are utilising an Odoo platform that you have set up for the real-time operational management of your business, you do not need to enable the Demo Data option. There are no installed modules or apps in the database; you can only look at the application module and associated parameters, as seen in the accompanying snapshot.
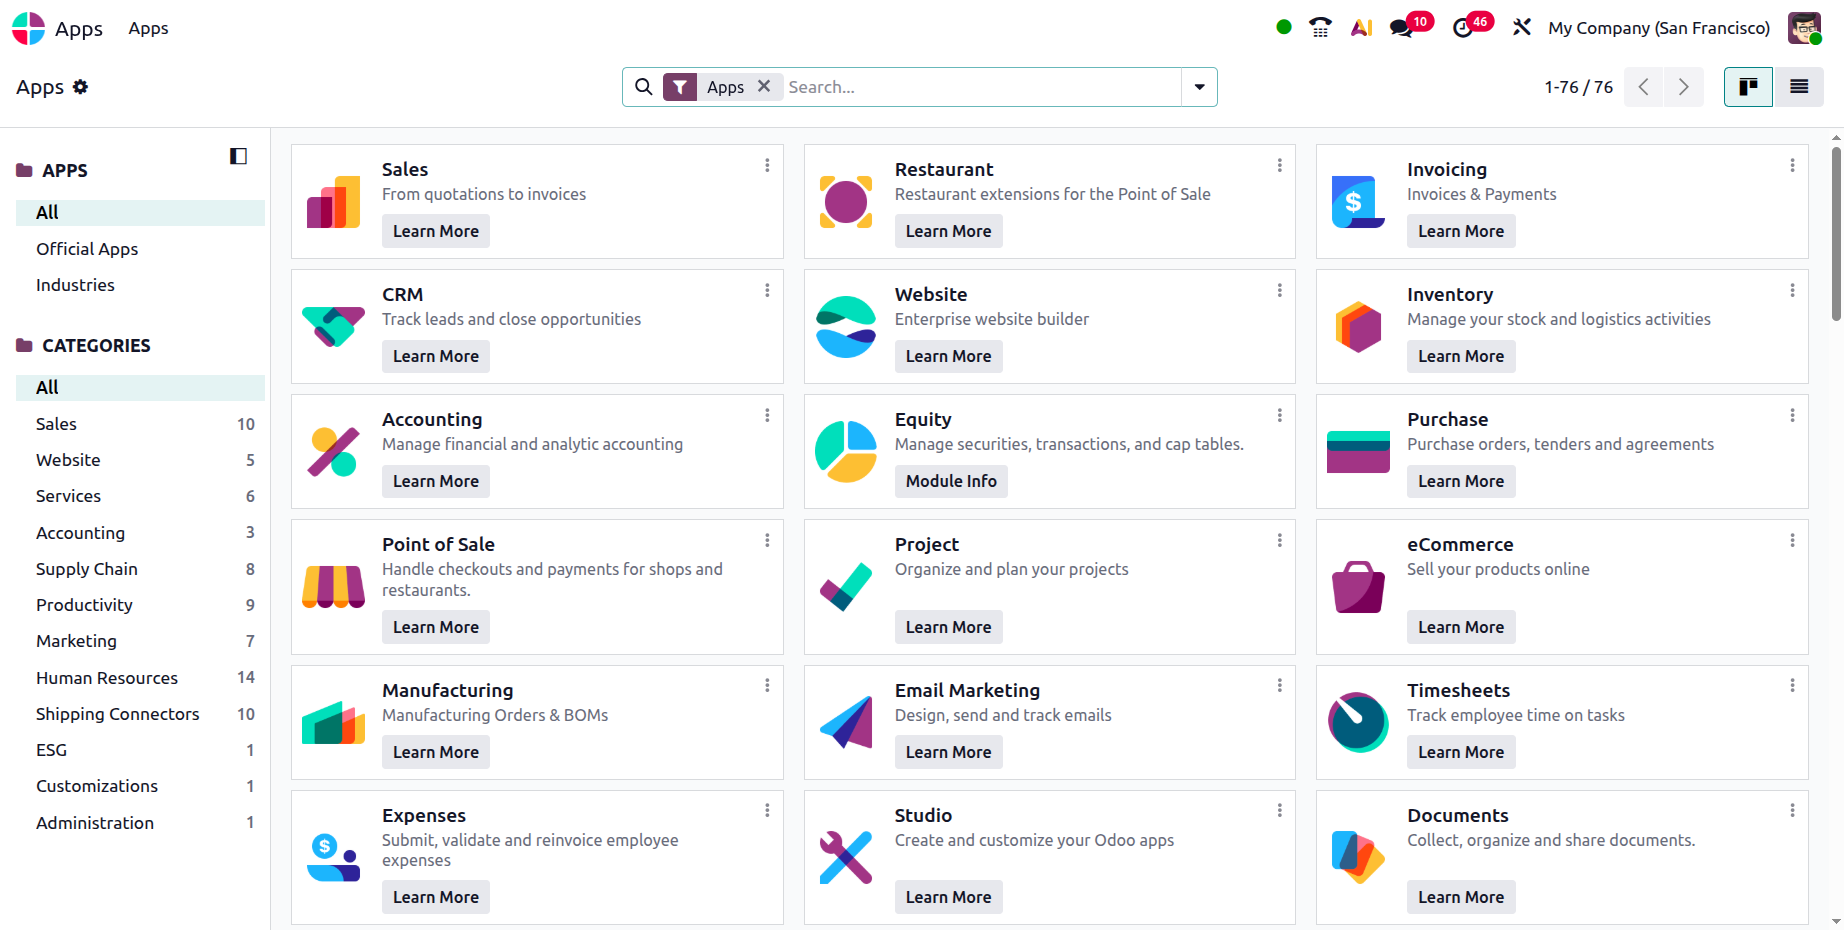
When you choose the Apps module, all of the platform's apps will be displayed for you to choose and install according to your requirements. Screenshots of the Application module are shown in the following image.
Since the book concentrates on the Odoo platform's Accounting module, let's take a closer look at the apps that fit into the accounting categories, as illustrated in the attached graphic. You can implement modules for various payment acquisitions, accounting, invoicing, and localisation, according on what your business needs.
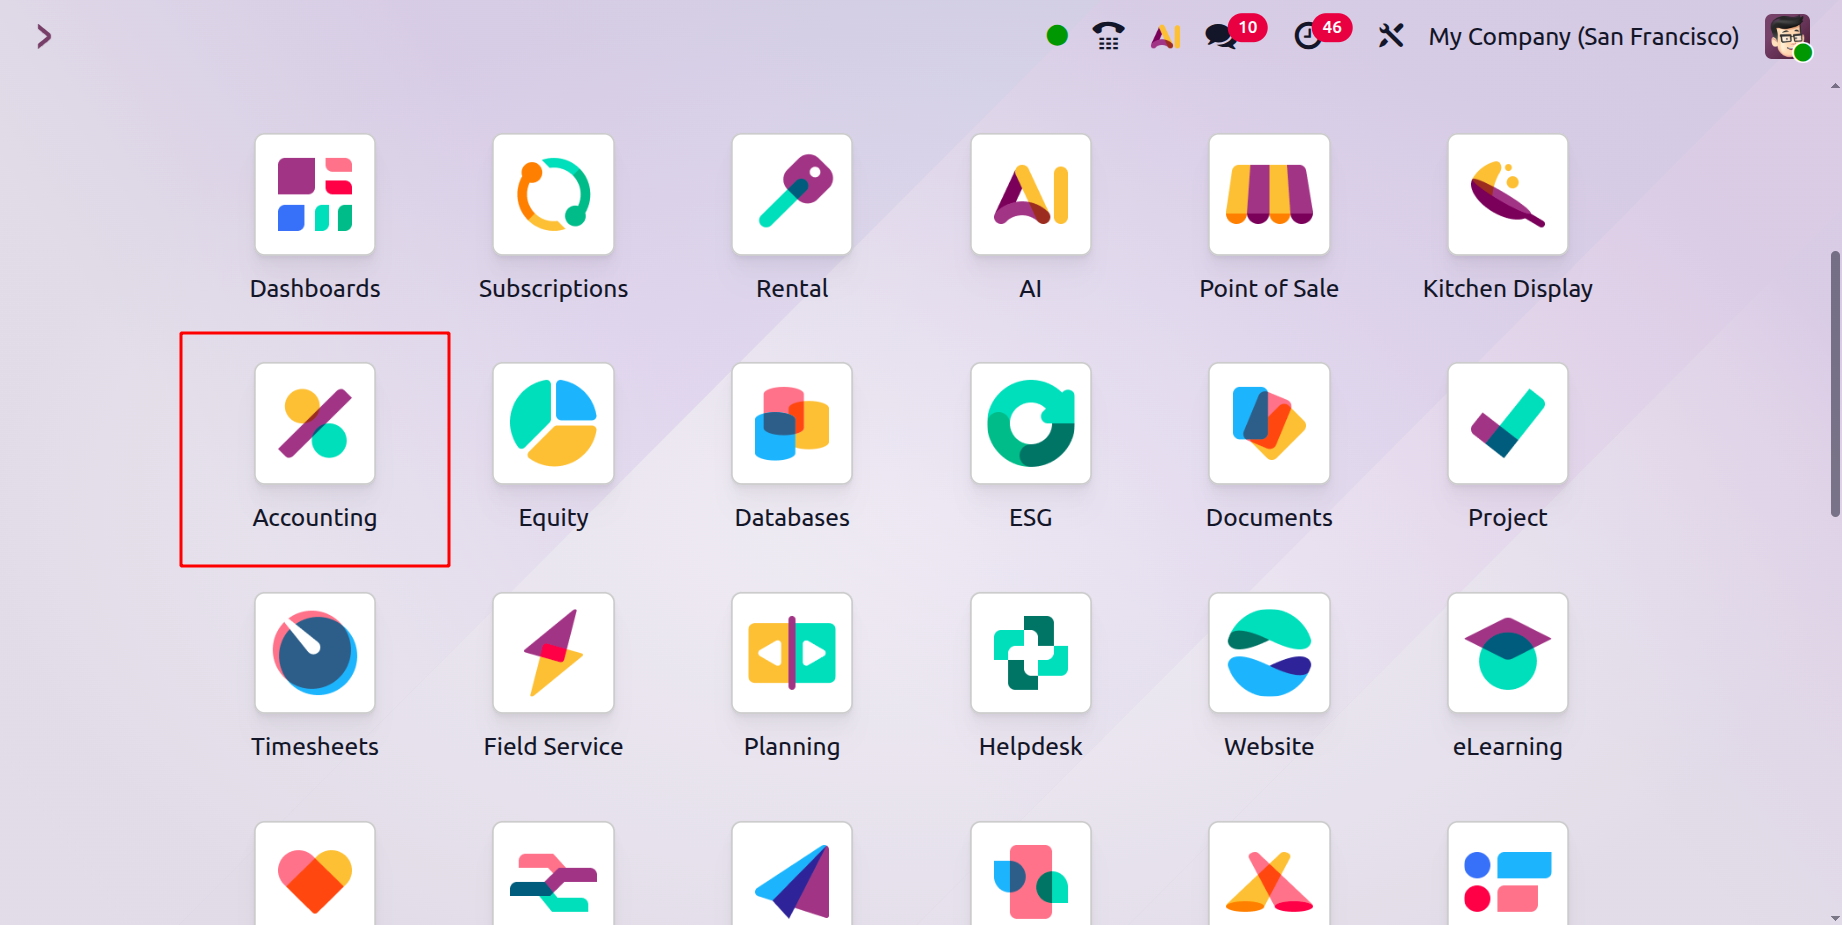
As seen in the accompanying figure, the application will appear as an icon on the database panel following installation. Any module can be selected by clicking on its icon, which will bring up the module's main Odoo panel.
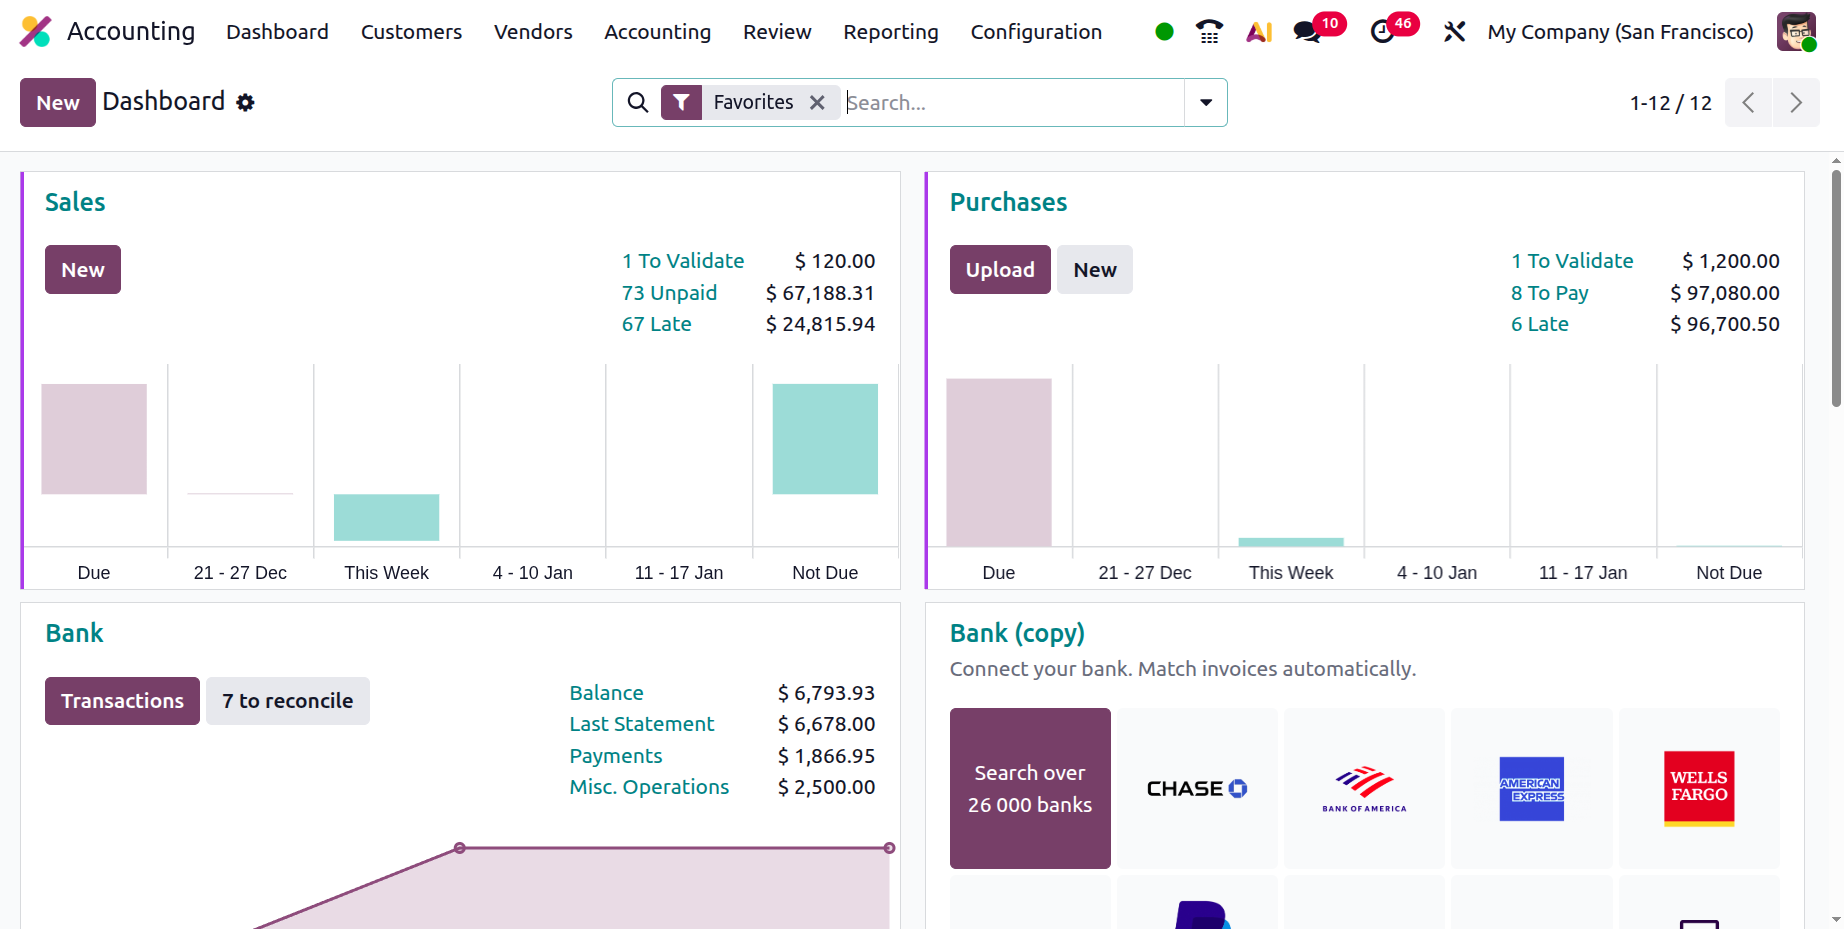
Depending on your usage needs, you can configure your Odoo system database in a number of ways. Using the techniques discussed above, you can configure the database to meet your needs. We've already covered installation, hosting, and other Odoo database changes. Let's move on to the next section to learn more about Odoo's localisation features.