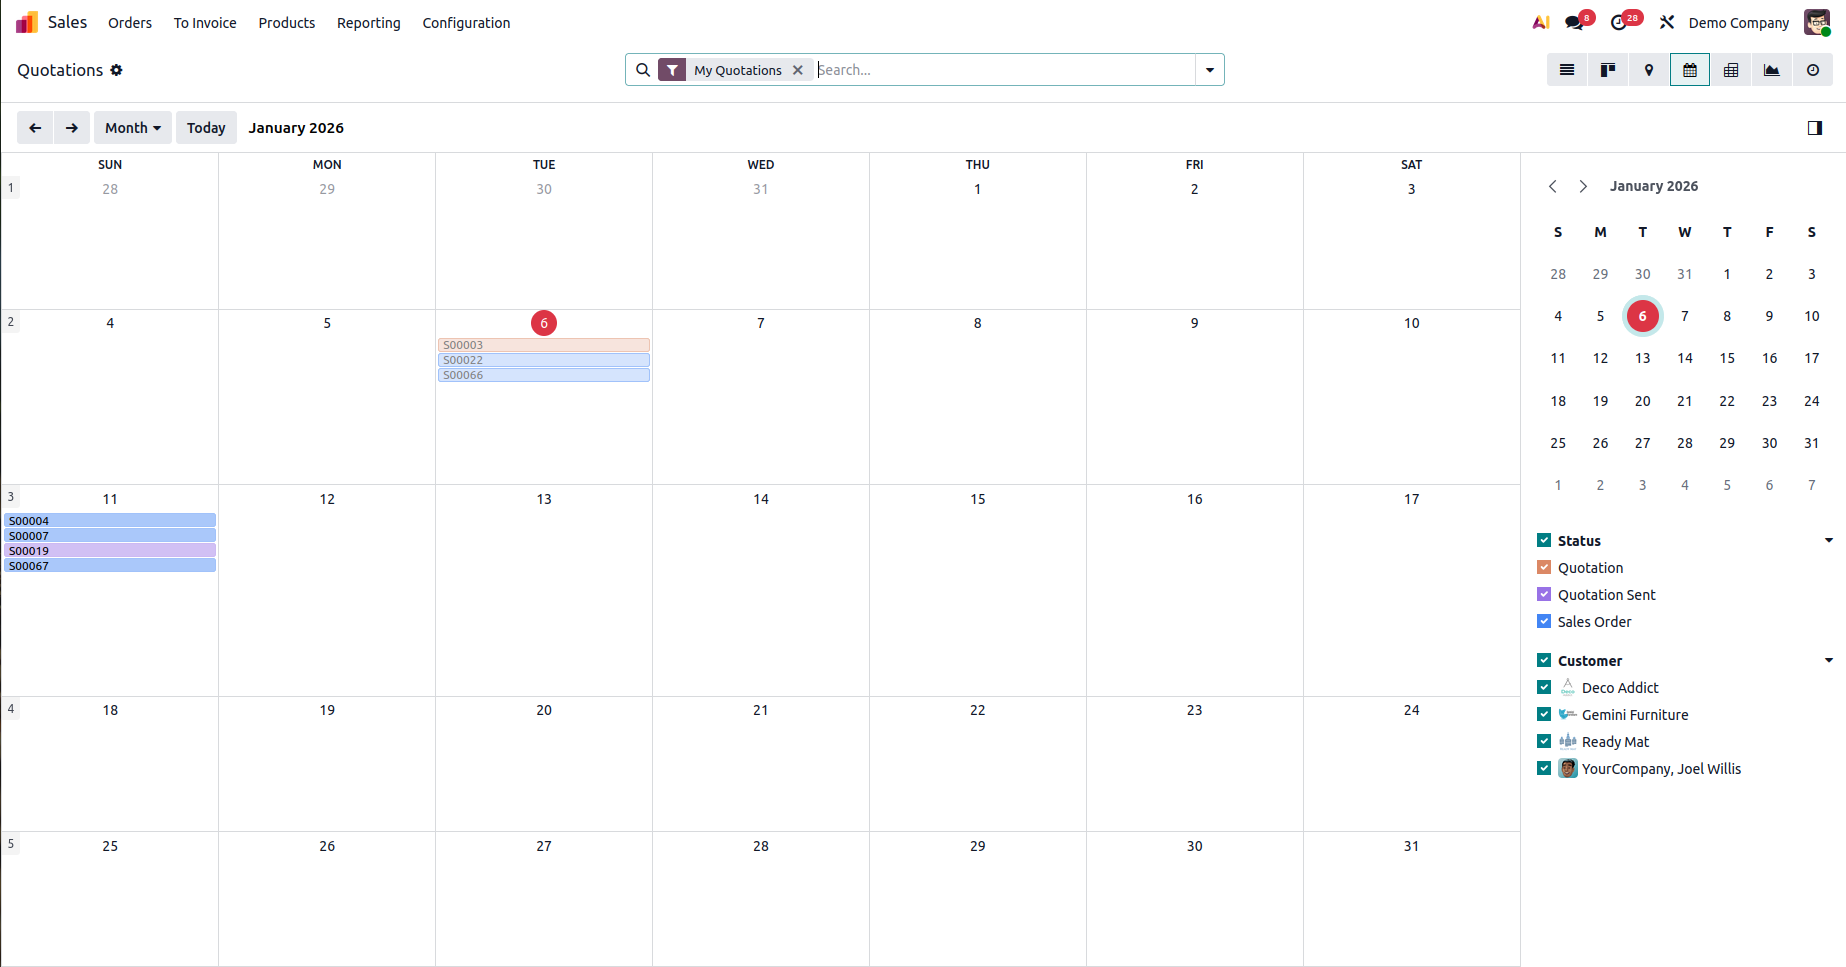
Odoo Calendar View provides a clear and interactive way to schedule
and manage activities, meetings, and deadlines. It allows users to
visualize events by day, week, or month; supports drag-and-drop
rescheduling; and integrates seamlessly with Odoo records and
reminders. With real-time updates and collaboration features, the
Calendar View helps teams stay organized, aligned, and productive.
How to create a calendar view in
Odoo Studio
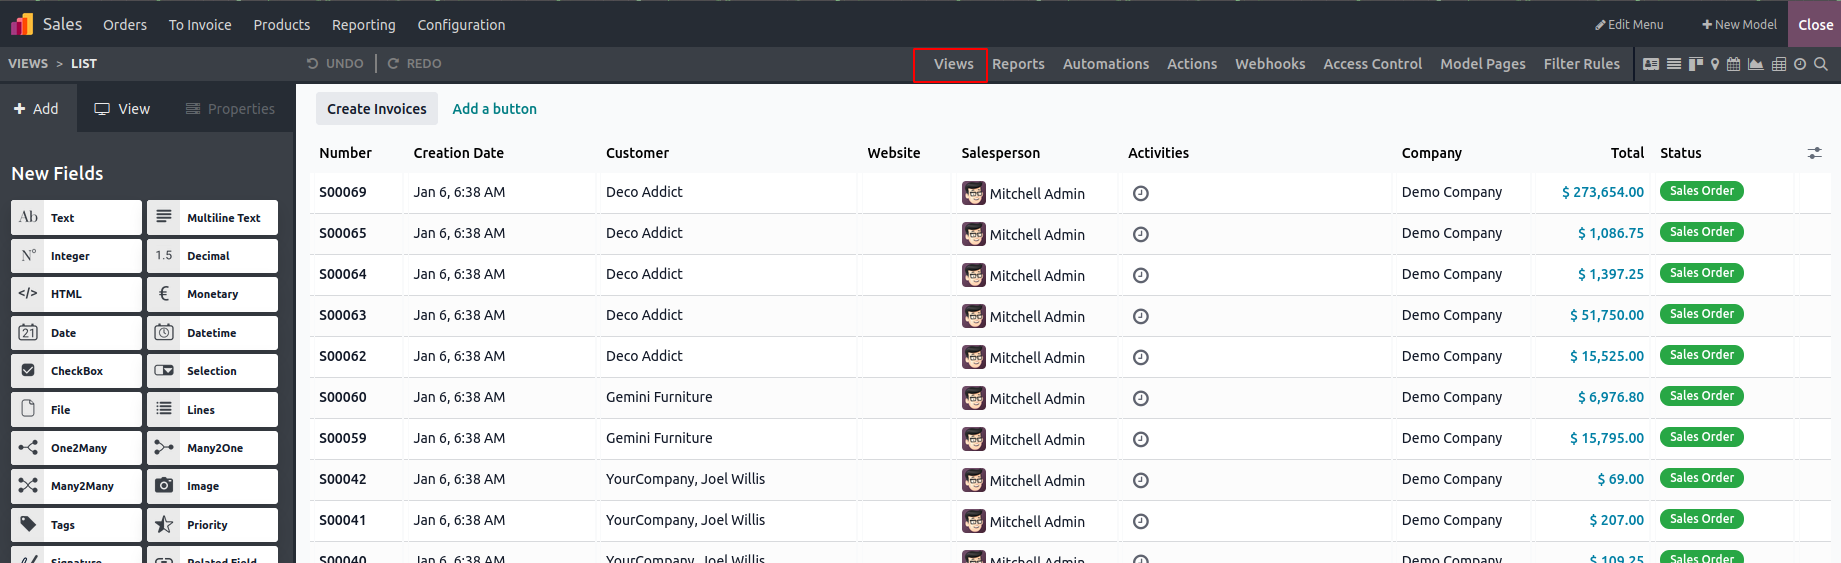
Open the Studio icon from the module where you want to create the
calendar view. Click Views.
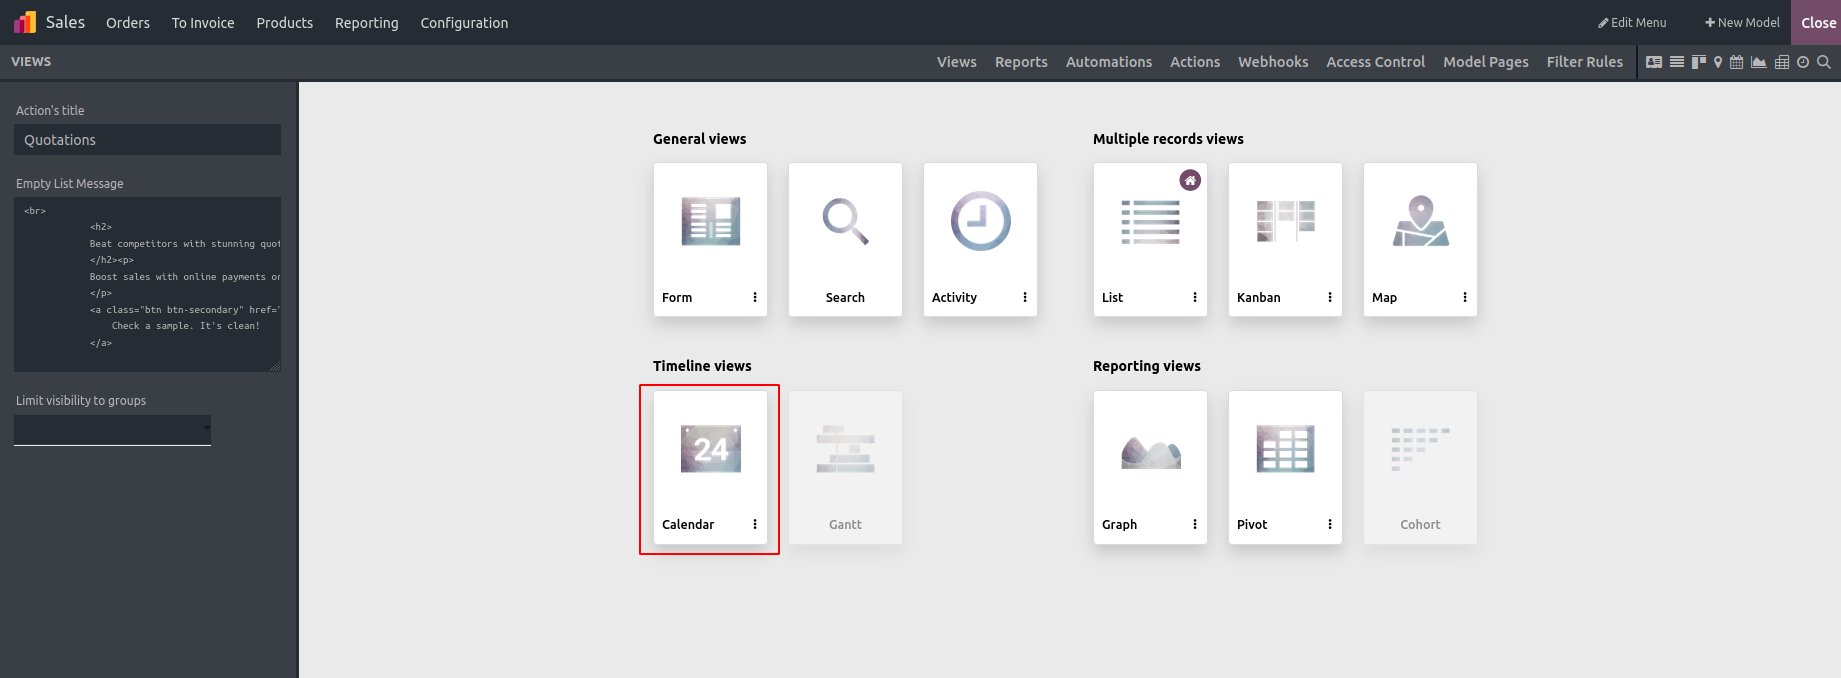
Select the calendar from among the different views.
Now we will get a view like this.
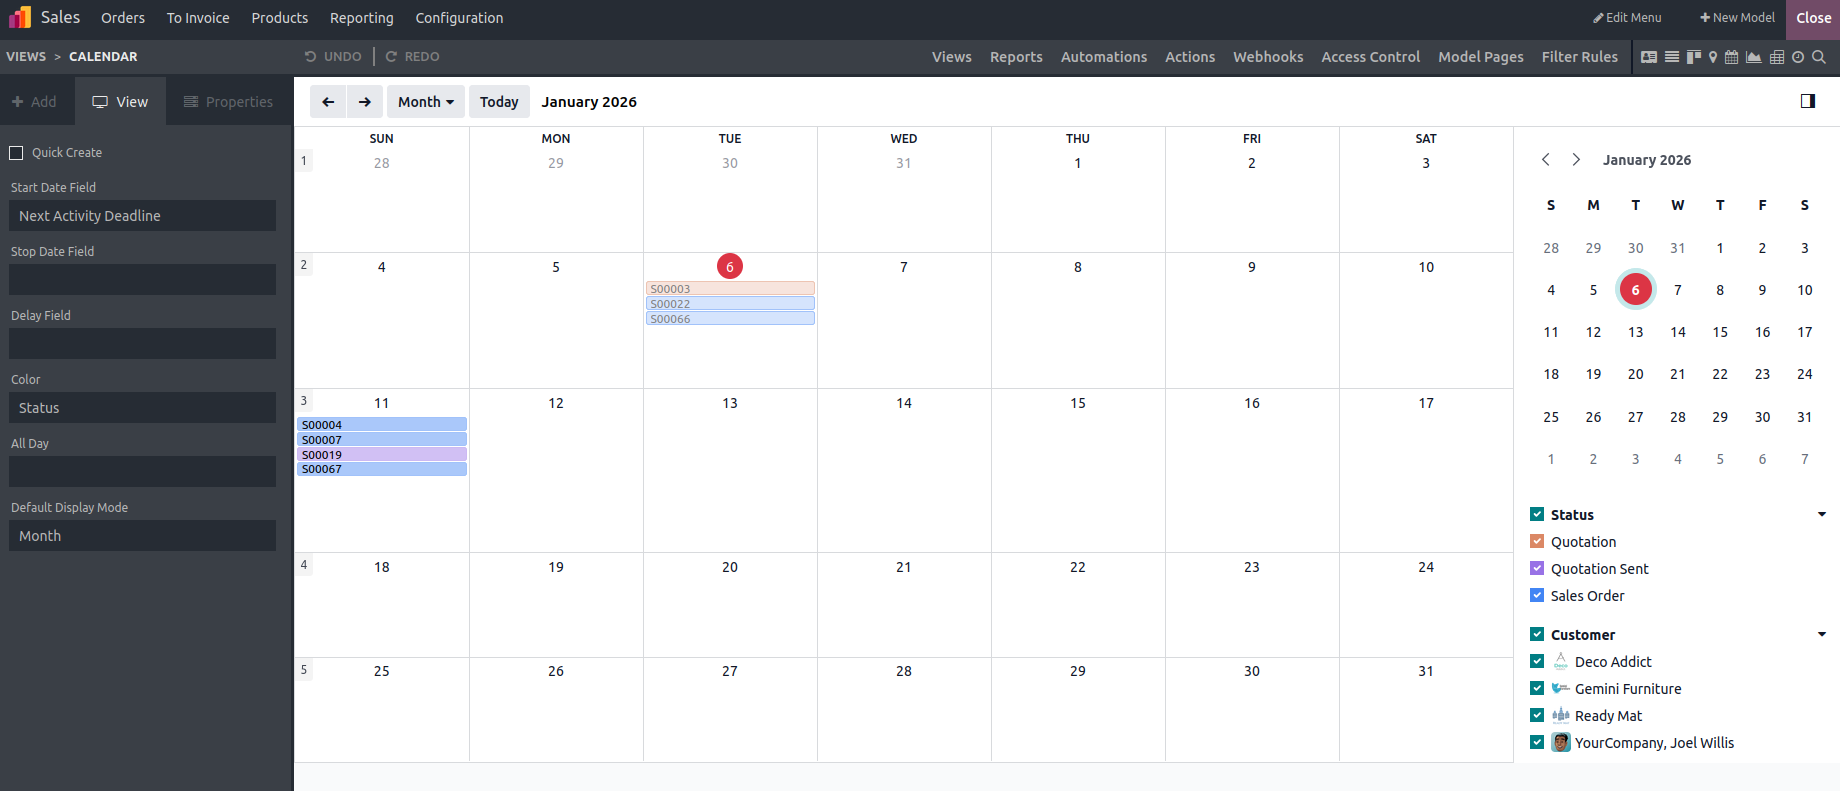
We can see some key components of this view along the left bar.
- Start Date Field: The date field corresponds to the start
date.
- Stop Date Field: The date field corresponds to the stop
date.
- Delay Field: The delay field defines the duration of the
event by automatically calculating the end time based on the
start time plus this value.
- Color: Sets the color of the records.
- All Day: The all-day option marks an event as lasting the
entire day without specific start and end times.
- Default Display Mode: The default display mode determines
the initial calendar view shown to users (day, week, month, or
year) when the calendar is opened.
After everything is set up, we can close Studio, and the calendar
view will be ready.