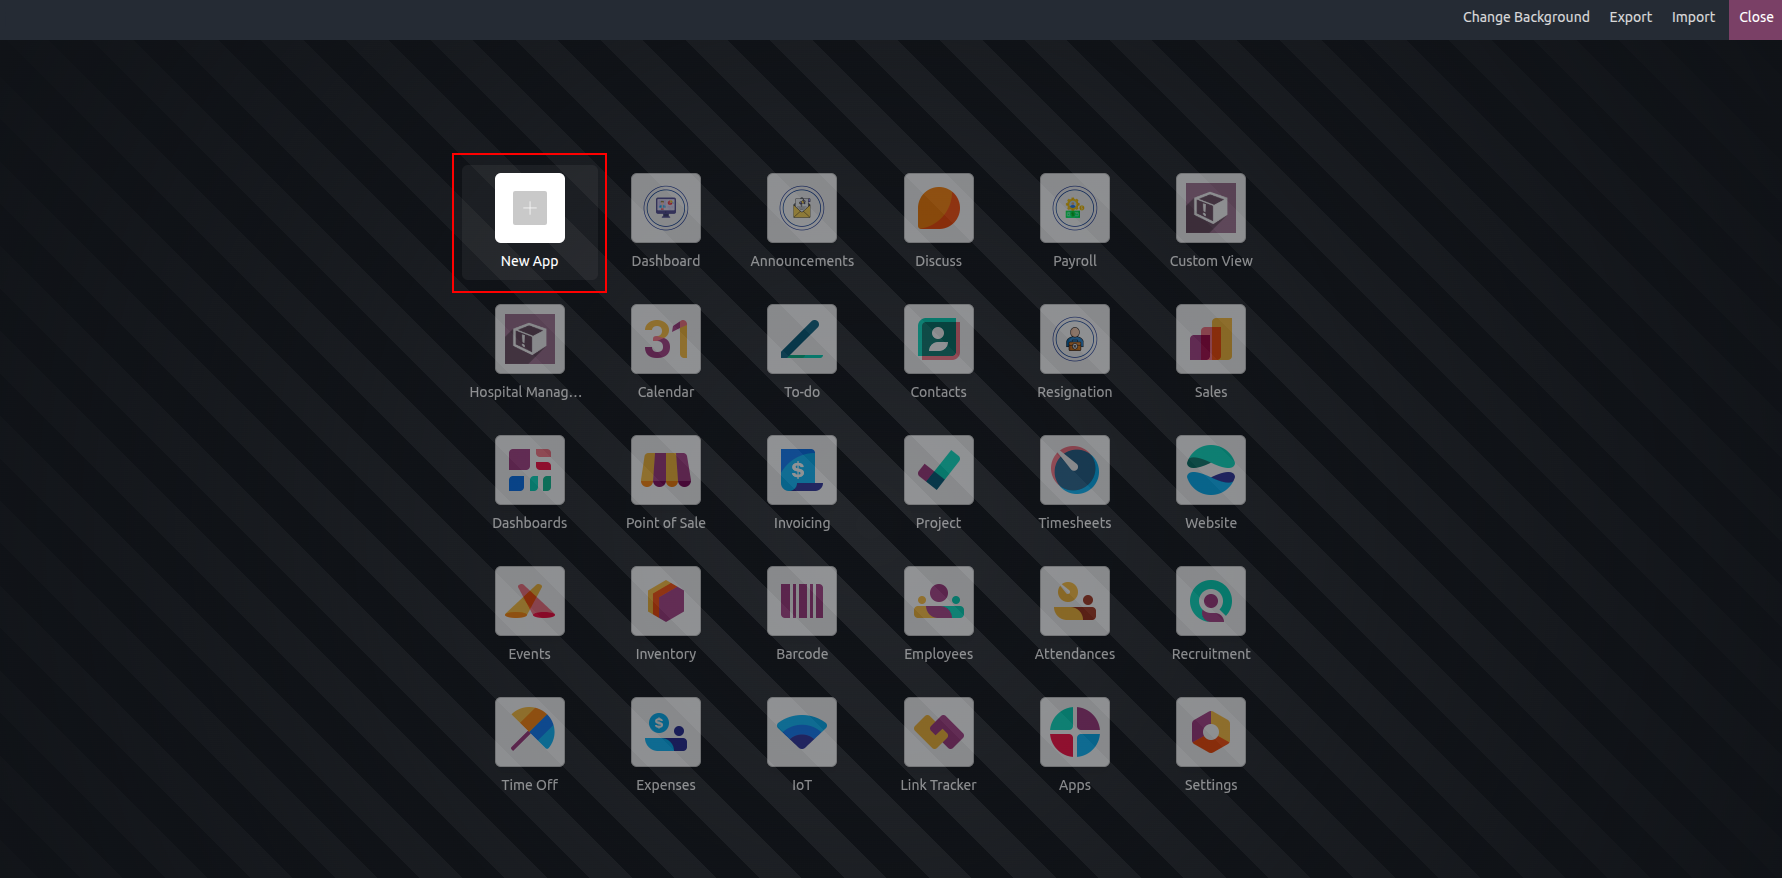
You can use Odoo's built-in features to create custom applications by using the Studio module. When creating a new application, you can incorporate fields, components, buttons, reports, and other elements from an existing one. Click on the 'New App' to create a custom application
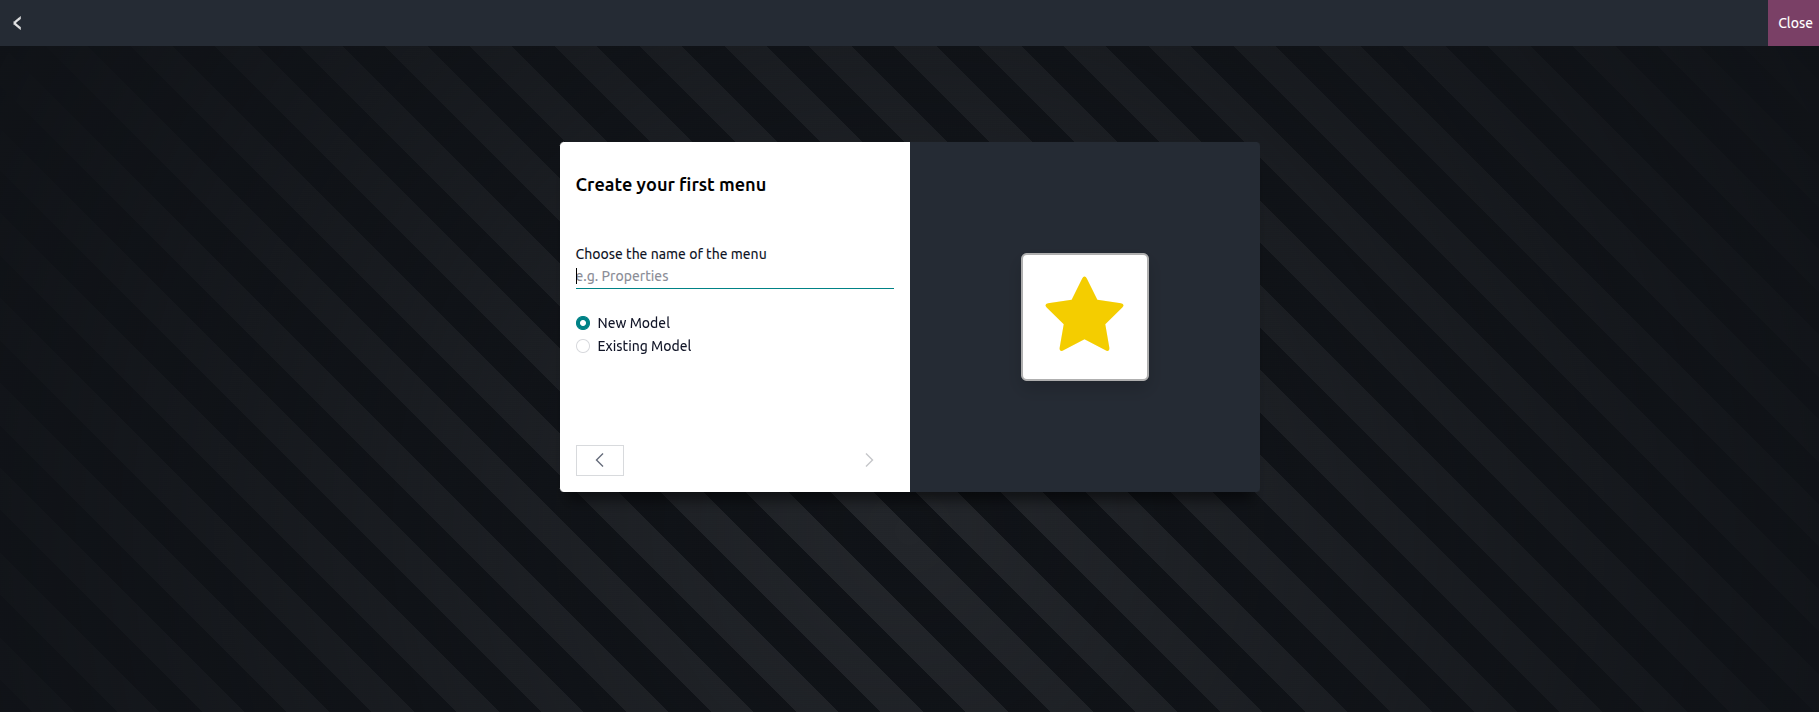
When creating an application menu, you can either link it to an existing model or create a brand-new one.
New Model
Choosing the "New Model" option while setting up the menu allows you to generate a new model specifically for your application.
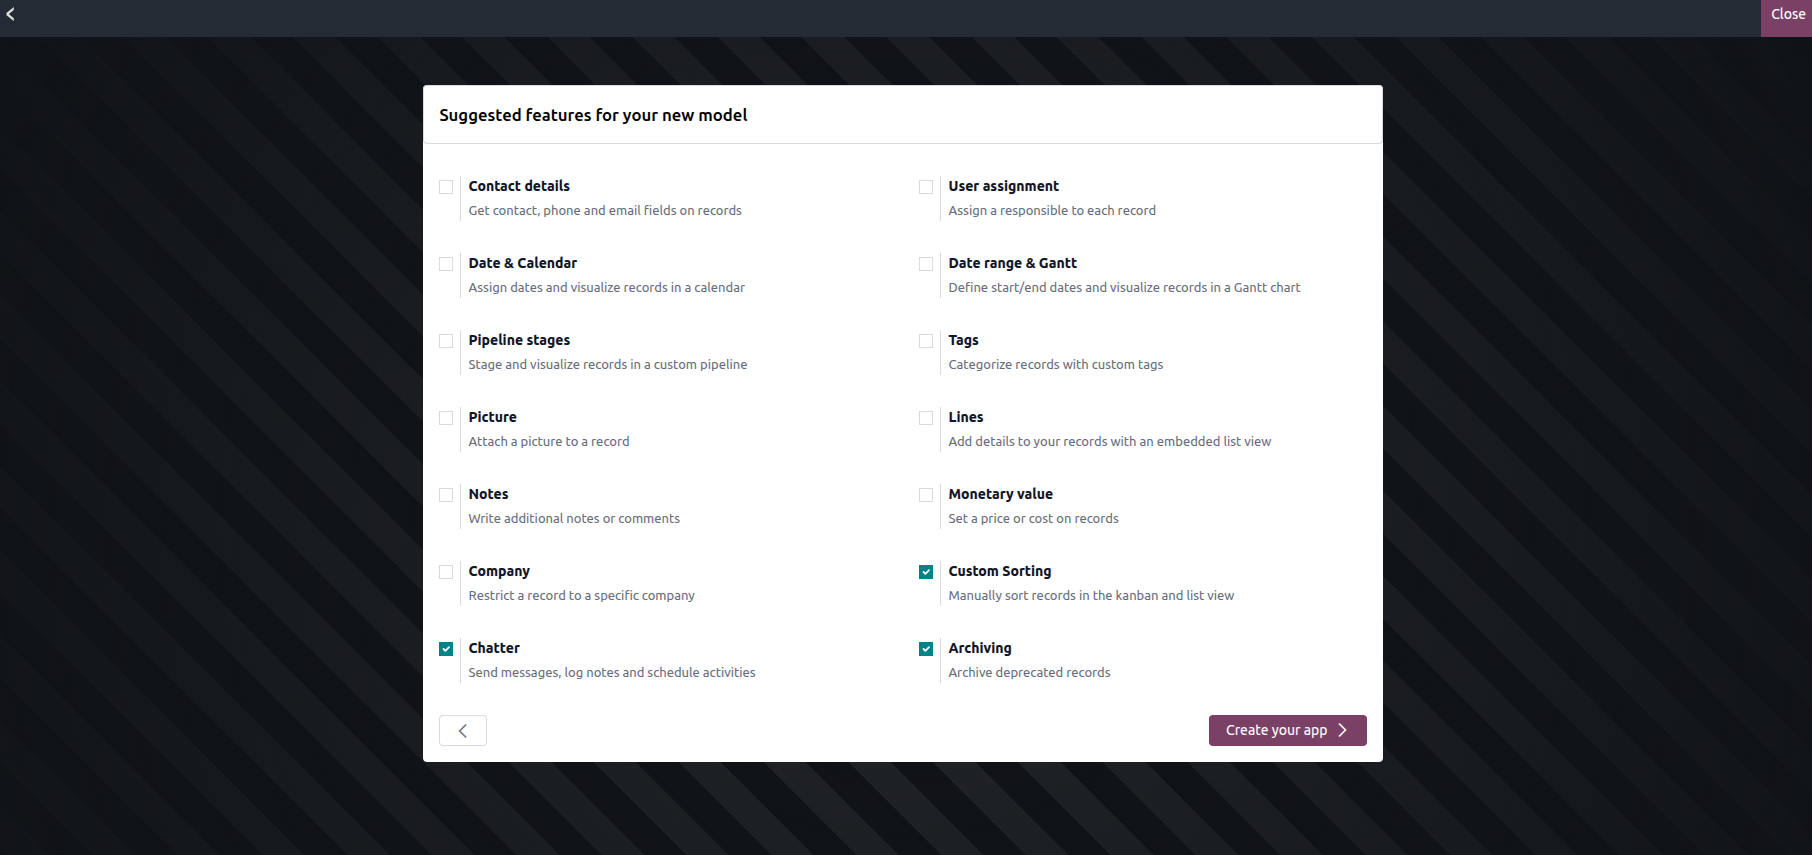
When you select the "New Model" option, a pop-up window appears where you can enable different features, as shown below. Activating these options makes the selected features immediately available in the new model, helping to speed up and simplify the app creation process.
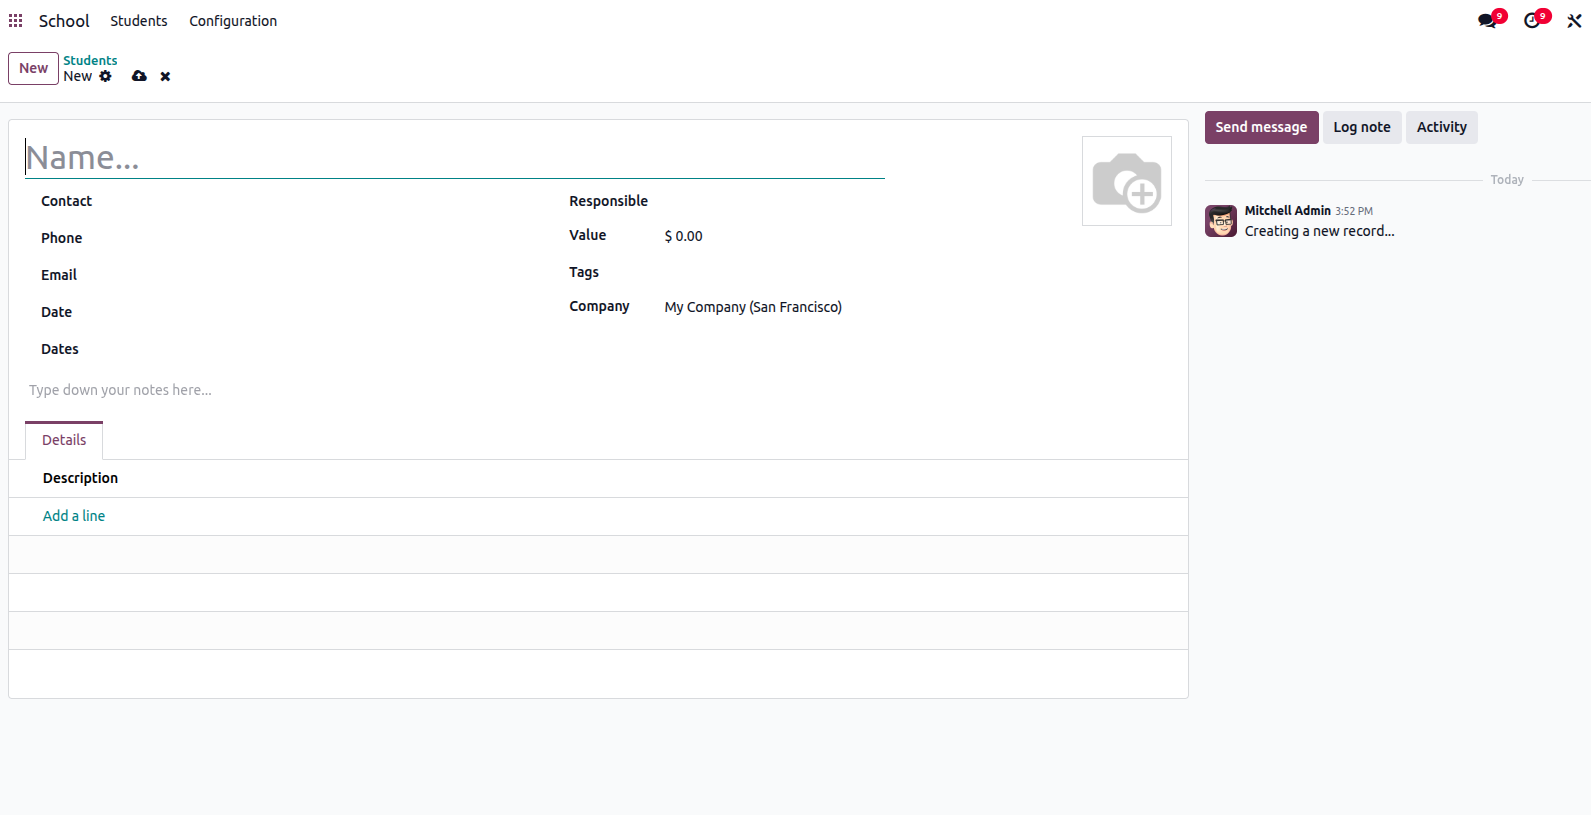
The form view generated after enabling each of the available features appears as shown below.
Contact Details:
When the Contact Details option is enabled, two related fields-Phone and Email-are automatically added to the Form view. A Many2one field linked to the Contact model is also created. In addition, the Map view is activated, and the Contact field is included in the List view for easier access and visibility.

User Assignment:
Enabling this option adds a Many2one field linked to the Contact model, allowing you to assign Internal Users to the record. The selected user's avatar is displayed using the many2one_avatar_user widget. In addition, a Responsible field is automatically added to the List view for better visibility and assignment tracking.

Date & Calendar:
Choosing the Date & Calendar option activates the Calendar view and automatically adds a Date field to the Form view.
Date Range & Gantt Integration:
When the Date Range & Gantt option is enabled, two date fields are added next to each other in the Form view. One field is used to define the start date, and the other is used to set the end date using the date range widget. At the same time, the Gantt view is activated for visual timeline management.
Pipeline Stages:
Selecting the Pipeline Stages option adds the New, In Progress, and Done stages to the Kanban view. A pipeline status bar is included in the Form view, along with the Kanban state field. Additionally, a color field is added to the List view to help visually distinguish records.
Tags:
Enabling the Tags option automatically creates a Tag model with predefined access rights and adds a Tags field to the Form view for easy categorization and filtering of records.
Picture:
Selecting the Picture option adds an Image field to the upper-right corner of the Form view, allowing you to attach and display images directly on the record.
Notes:
Choosing the Notes option adds an HTML field to the Form view that spans the full width of the form, providing ample space for detailed descriptions or comments.
Monetary Value:
Enabling the Monetary Value option adds a Monetary field to both the Form and List views. In addition, the Pivot and Graph views are activated, making it easier to analyze and visualize financial data.
Company:
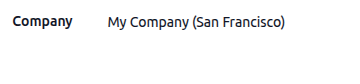
Selecting the Company option adds a Many2one field linked to the Company model in both the Form and List views. This is especially useful in multi-company environments, as it allows records to be clearly associated with the appropriate company.
Custom Sorting:
Enabling Custom Sorting adds a drag-handle icon to the List view, allowing users to manually reorder records with ease.
Chatter:
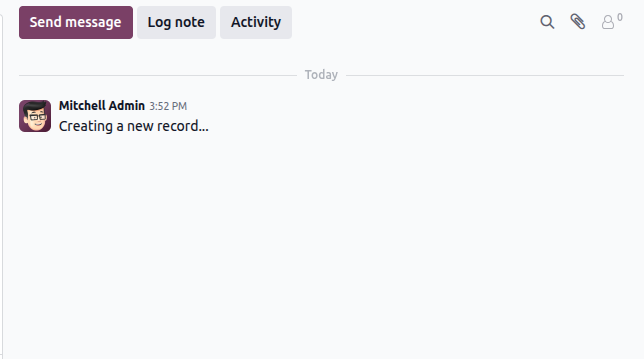
Selecting the Chatter option enables Chatter functionality in the Form view, allowing users to add notes, send messages, and schedule activities directly on the record.
Archiving Integration:
When the Archiving feature is enabled, an Archive action becomes available in both the Form and List views. Archived records are automatically hidden from standard searches and views, keeping active data clean and uncluttered by default.
Existing Model
By choosing the "Existing Model" option during menu creation and selecting the required model, you can build your application using an already available model instead of creating a new one.
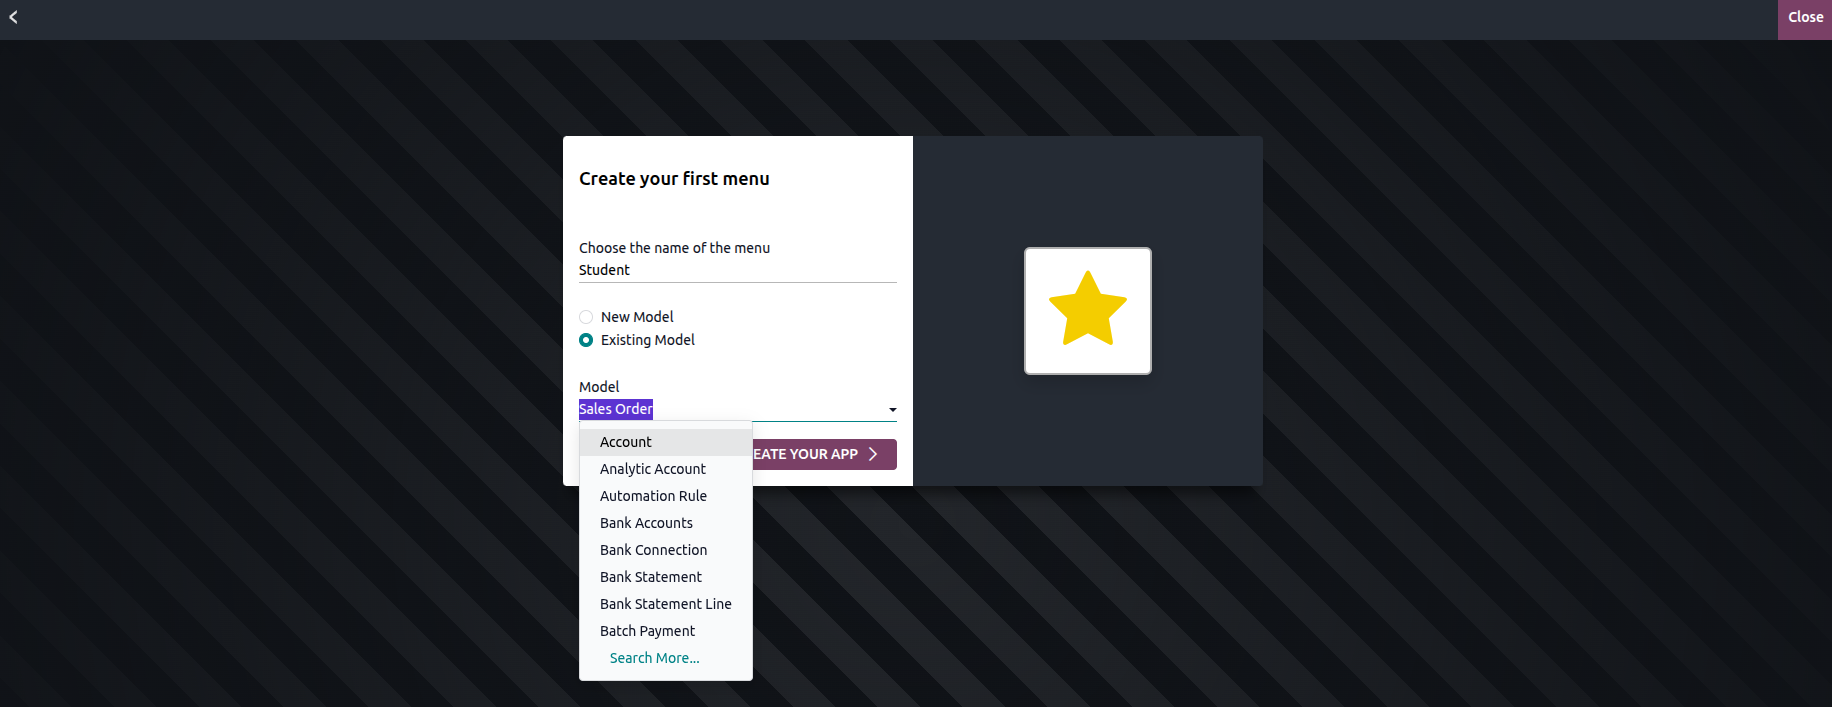
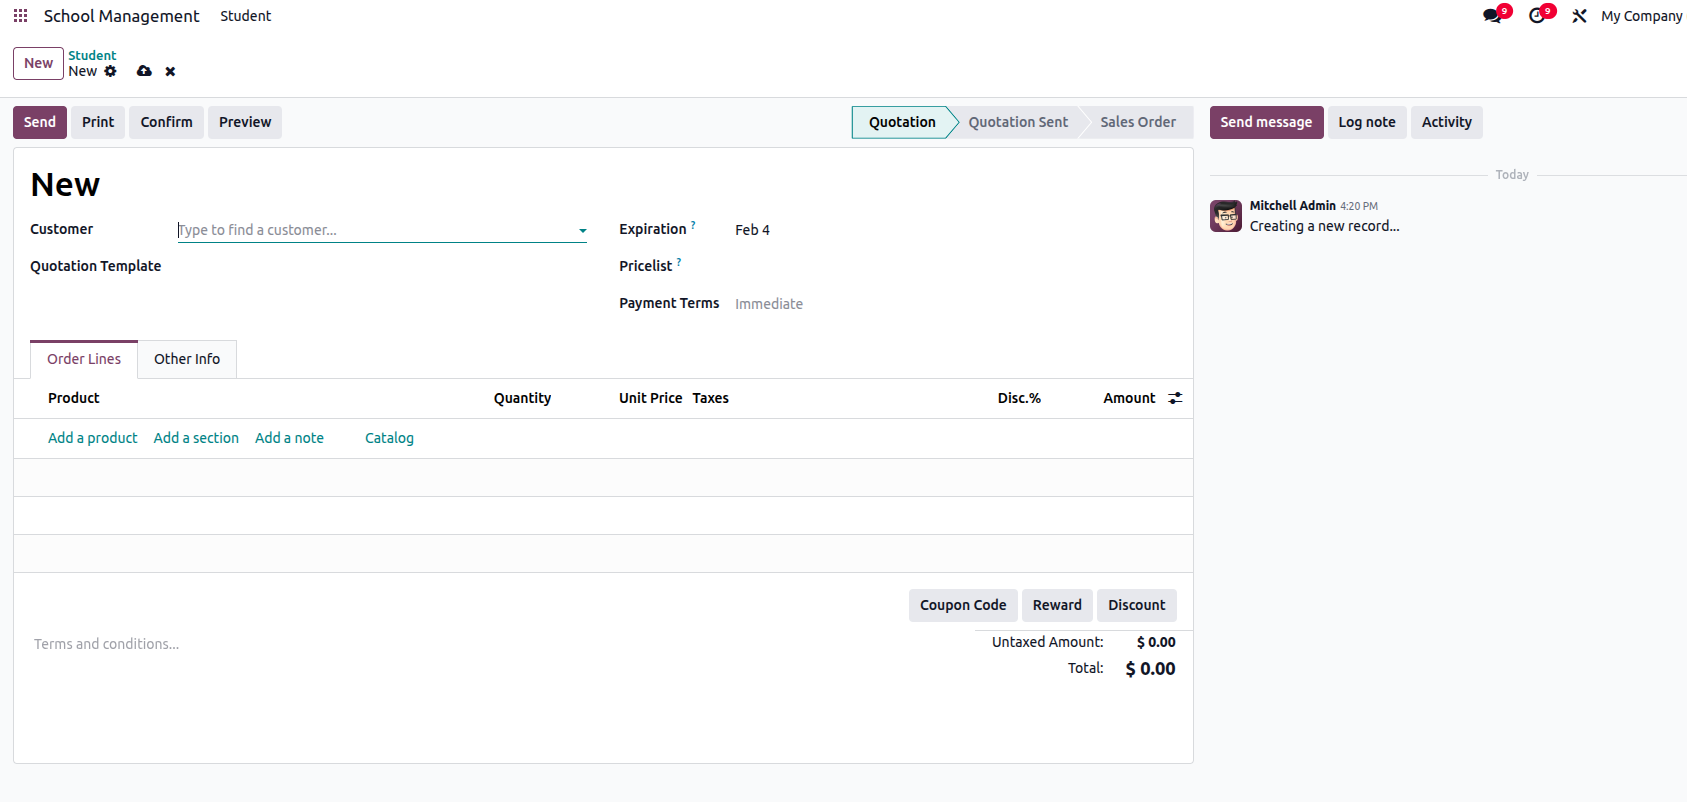
For example, if you want to build an application that leverages the functionality of the Sales module, you can simply select the Sales Order model. This allows you to reuse all the existing features of the Sales module. With Odoo Studio, you can further enhance the application by modifying views or adding new fields, buttons, and menus as needed.
After selecting the Sales Order model, you can continue extending the application by introducing additional features directly from the Form view.