Designing a unique icon is an important part of building an application, as it visually represents the app and communicates its purpose at a glance. A well-designed icon should align with the module's functionality and be easy for users to recognize and understand.
In Odoo Studio, creating an icon for your module is simple. Start by opening the Studio tool, then select "New App" to begin setting up a new application and its visual identity.
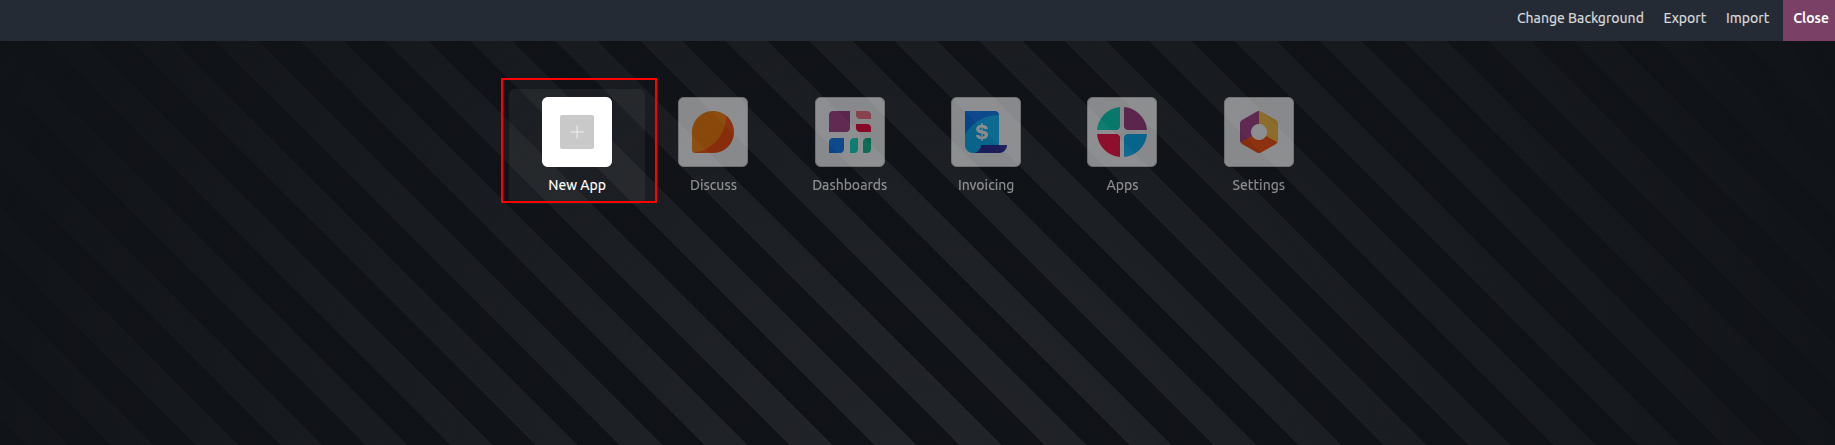
After that, continue by clicking the "Next" button, as shown below.
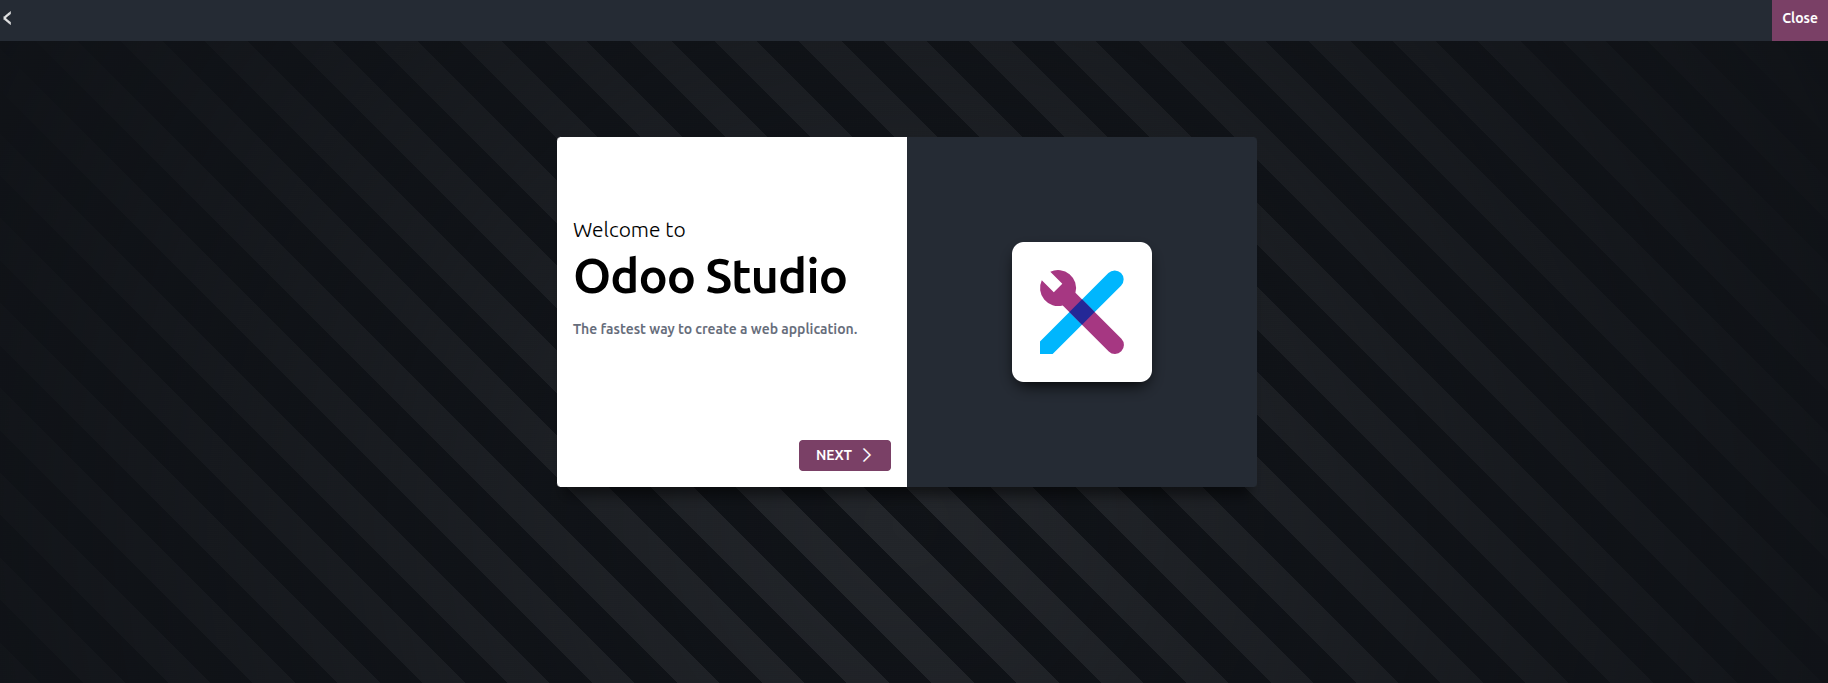
Afterward, a new window will open, as shown in the screenshot below.
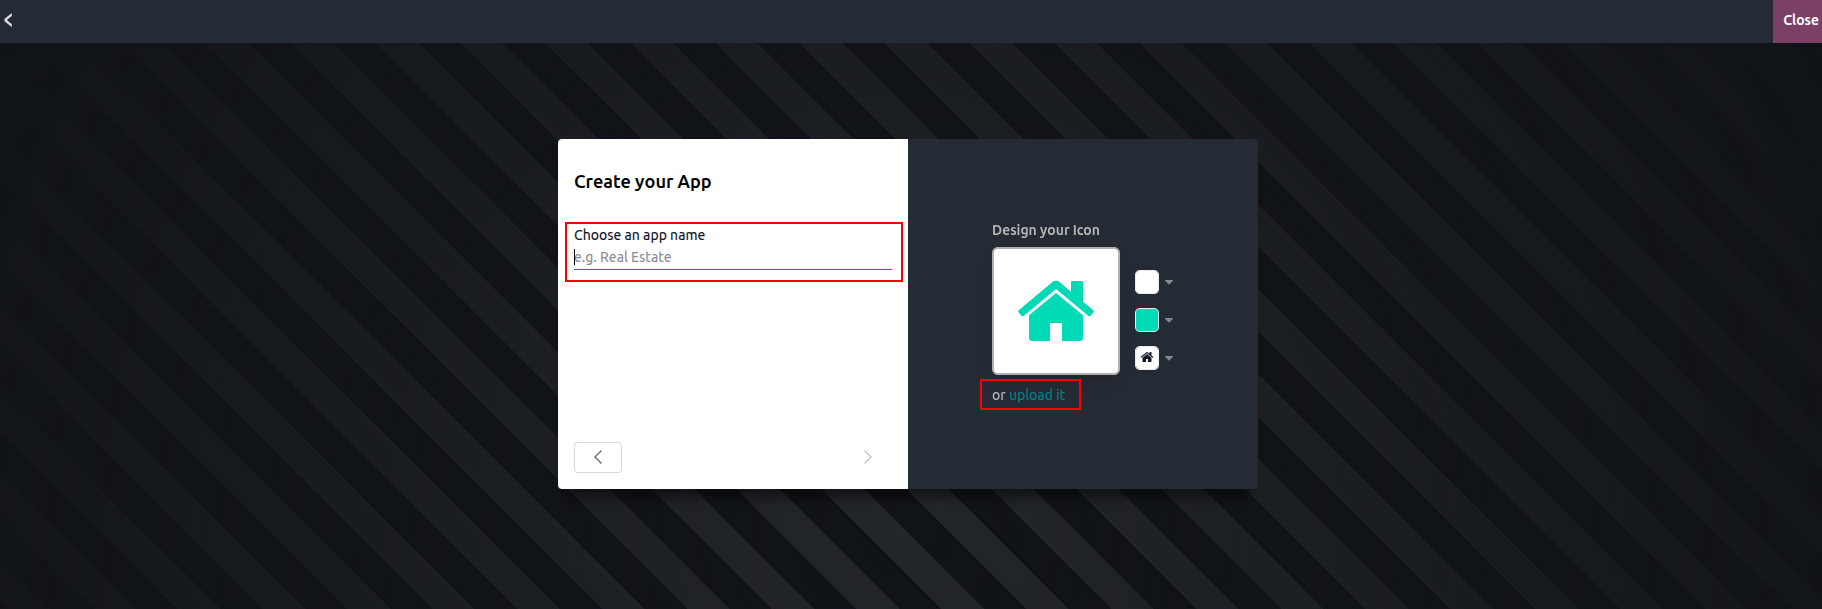
At this stage, you can enter the application name and customize the icon to match your preferences. You also have the option to upload an icon directly from your system by using the "Upload it" button.
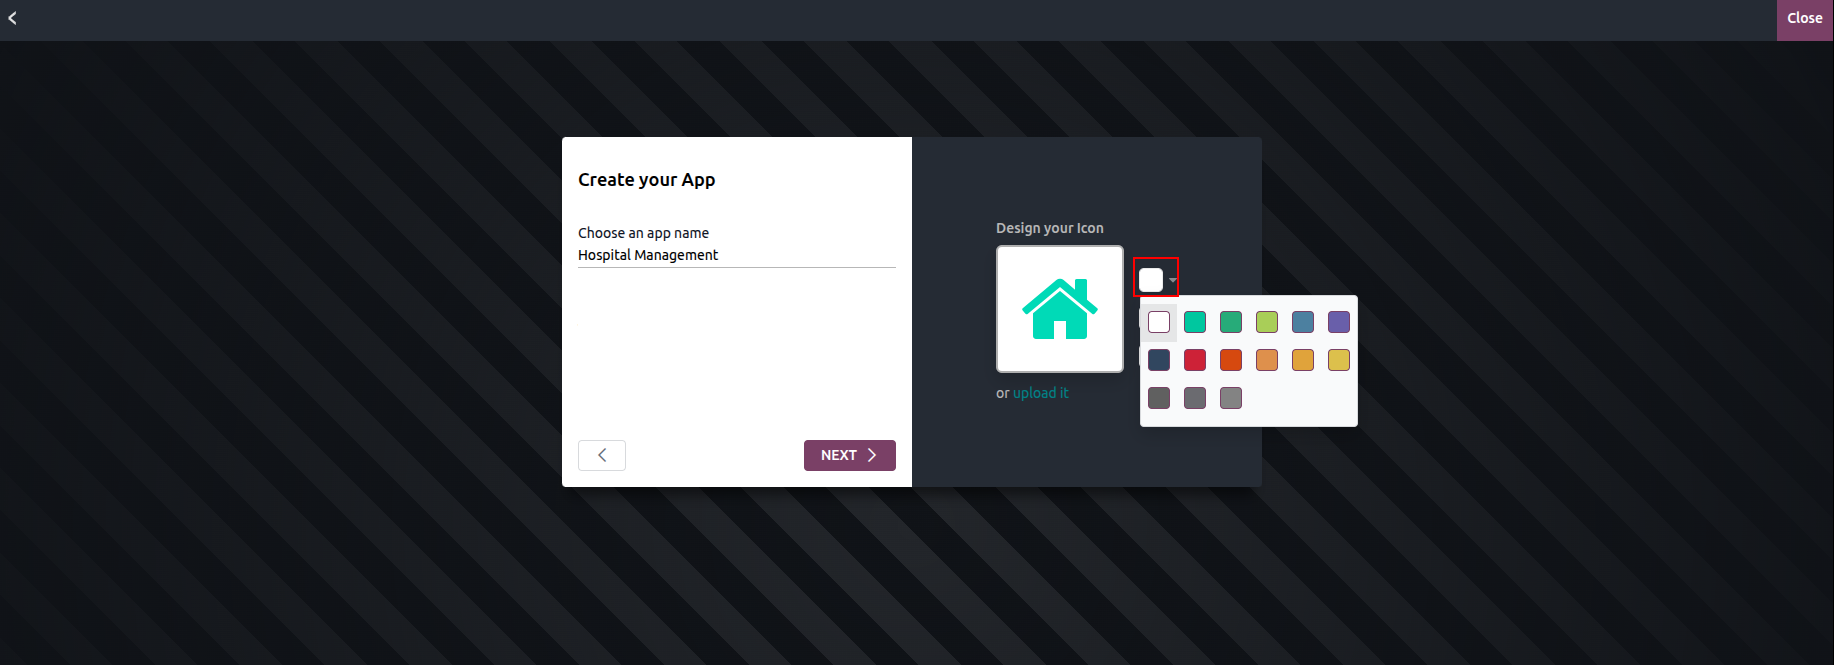
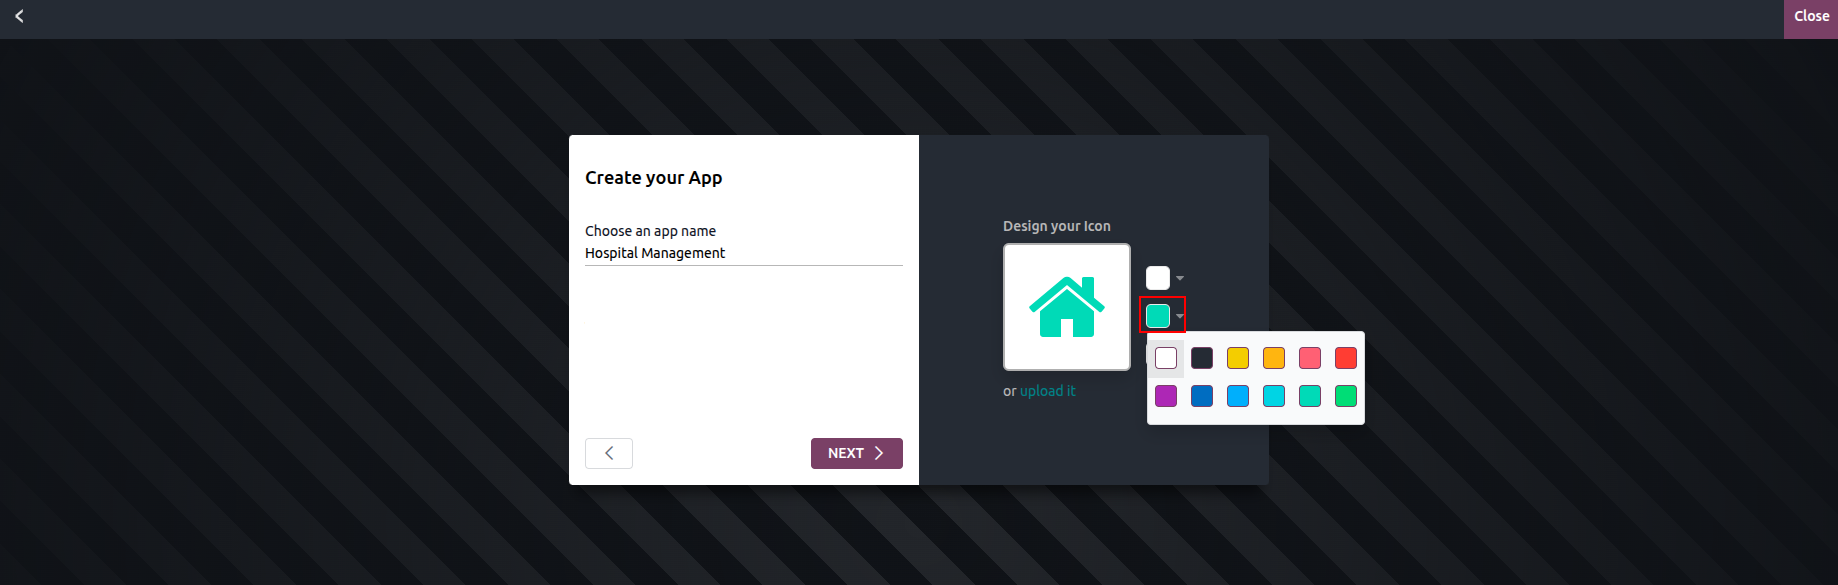
Choose the icon's background color by clicking on the first color box, as highlighted in the image above.
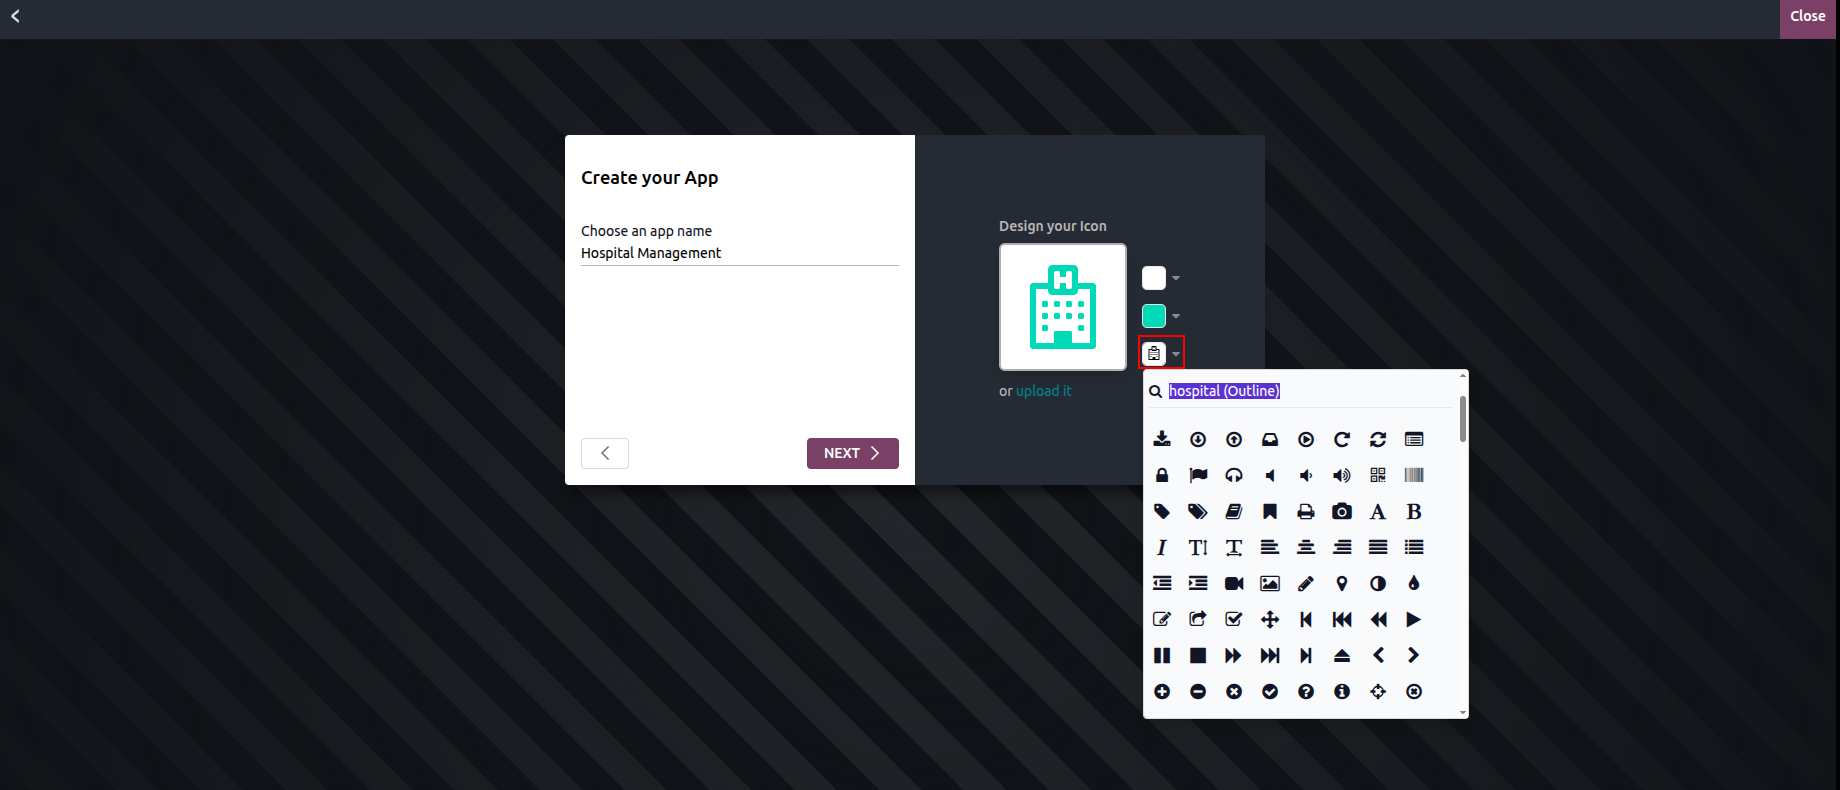
By clicking on the third box, as shown in the image above, you can select a symbol for your icon. This lets you design and customize the icon, which will then serve as the visual identity of your application.
You can also search for icons by name. For example, in this case, the default home icon has been replaced with a hospital icon.
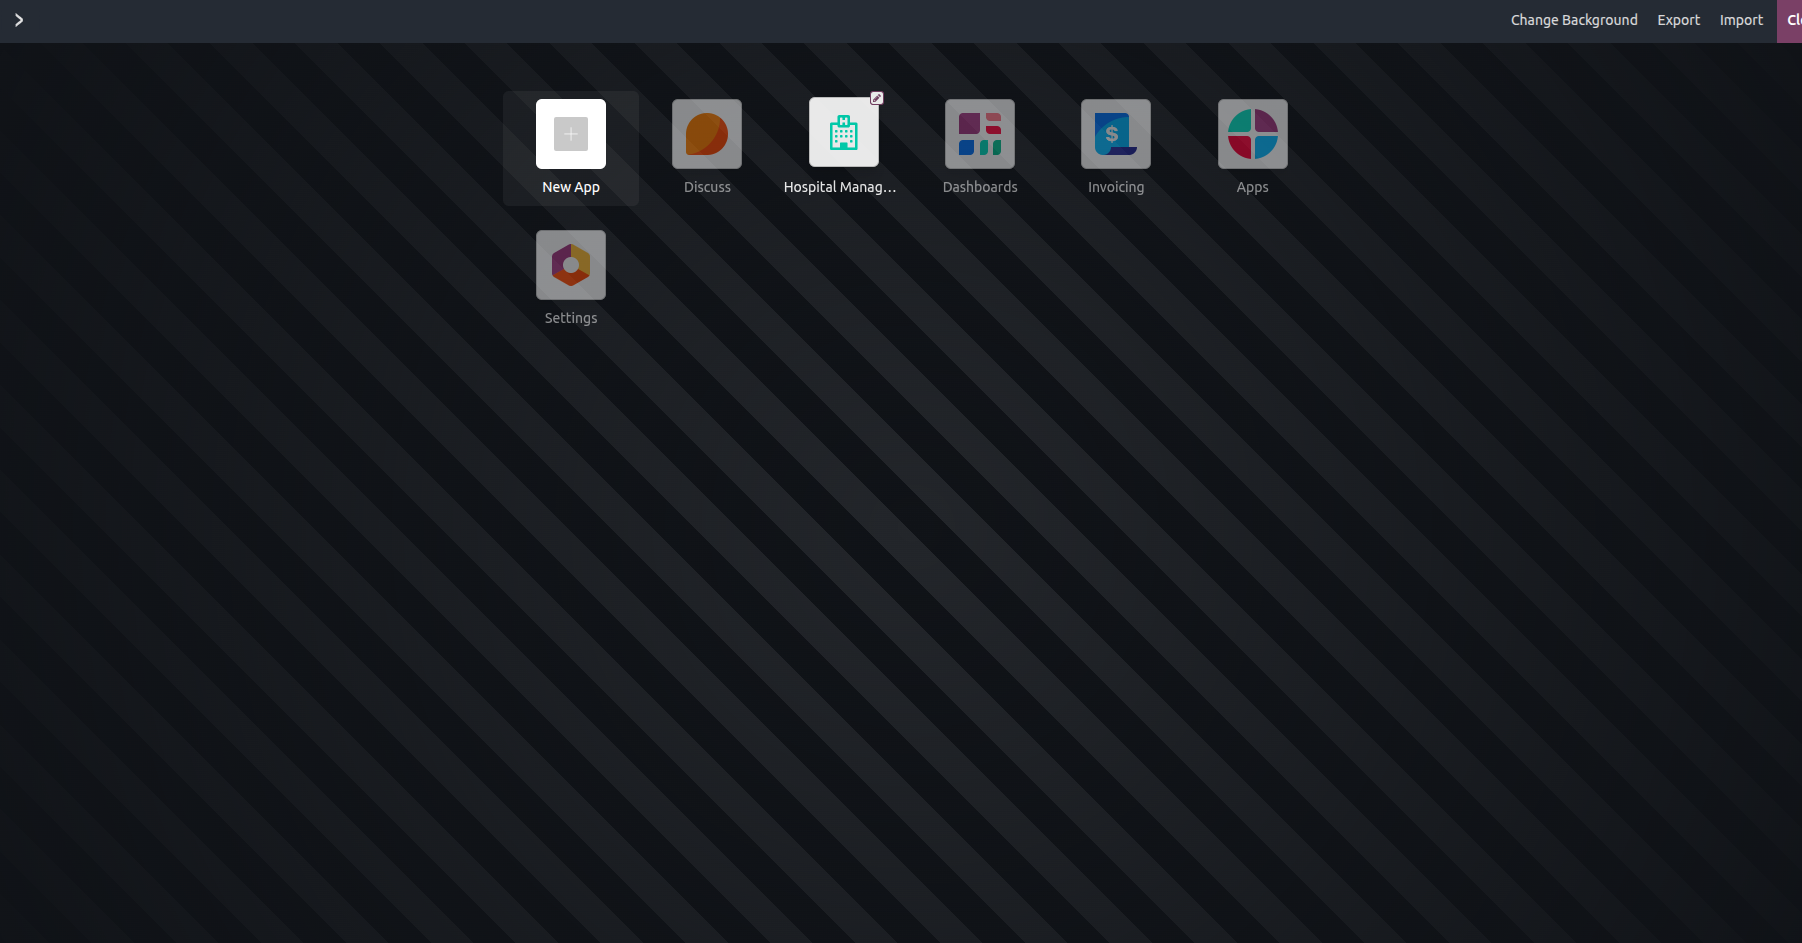
Additionally, you can update the design of an existing icon by hovering over it and clicking the edit icon in the top-right corner. This makes it easy to adjust and refine the icon's appearance whenever needed.
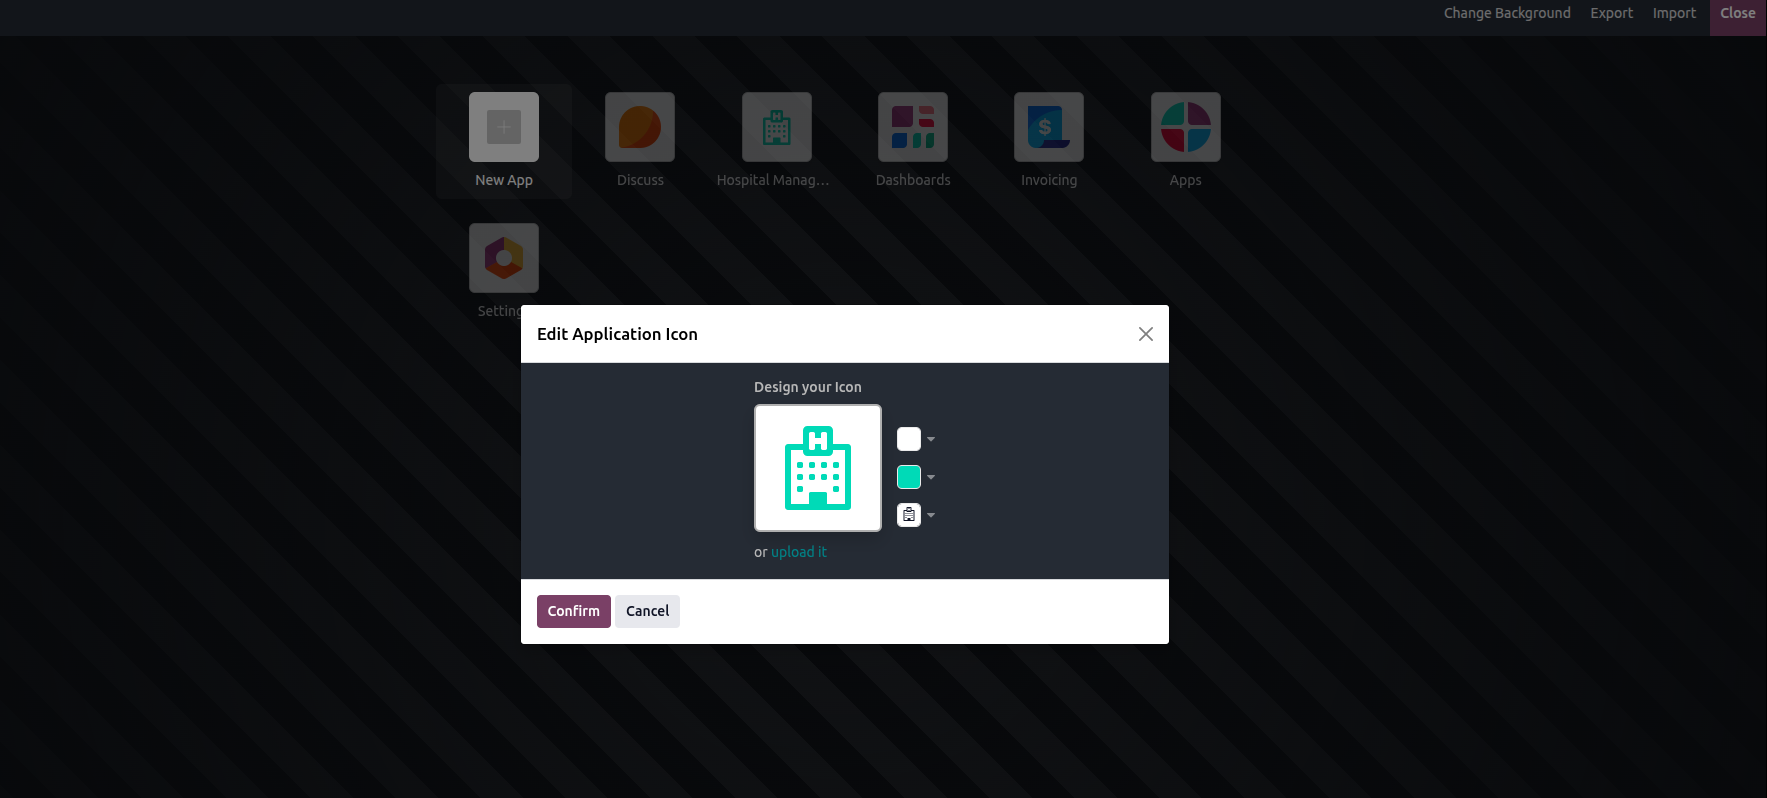
This action opens a wizard where you can modify the icon's background color and the icon color itself. From there, you can easily apply the desired changes to update the icon's appearance.

The final view of the module displays the completed application with the updated icon, name, and configured features, reflecting all the customizations made using Odoo Studio.