Automations & Webhooks
Automation is now necessary for every facet of daily living as well as company operations. As a result, the designers and developers of specialized solutions should incorporate the fundamental tools for automation. The automation components of the apps being created will be specified using the Odoo 18 Studio module. Another system that facilitates automation is Odoo 18, which intends to provide more automation features with each successive version.
The menu will display every Automated Action specified in the selected current application model. You can search the Automated Actions using this specific Search menu. You may also select from a long list of certain Automated Actions from the menu using the Filtering and Group by options.
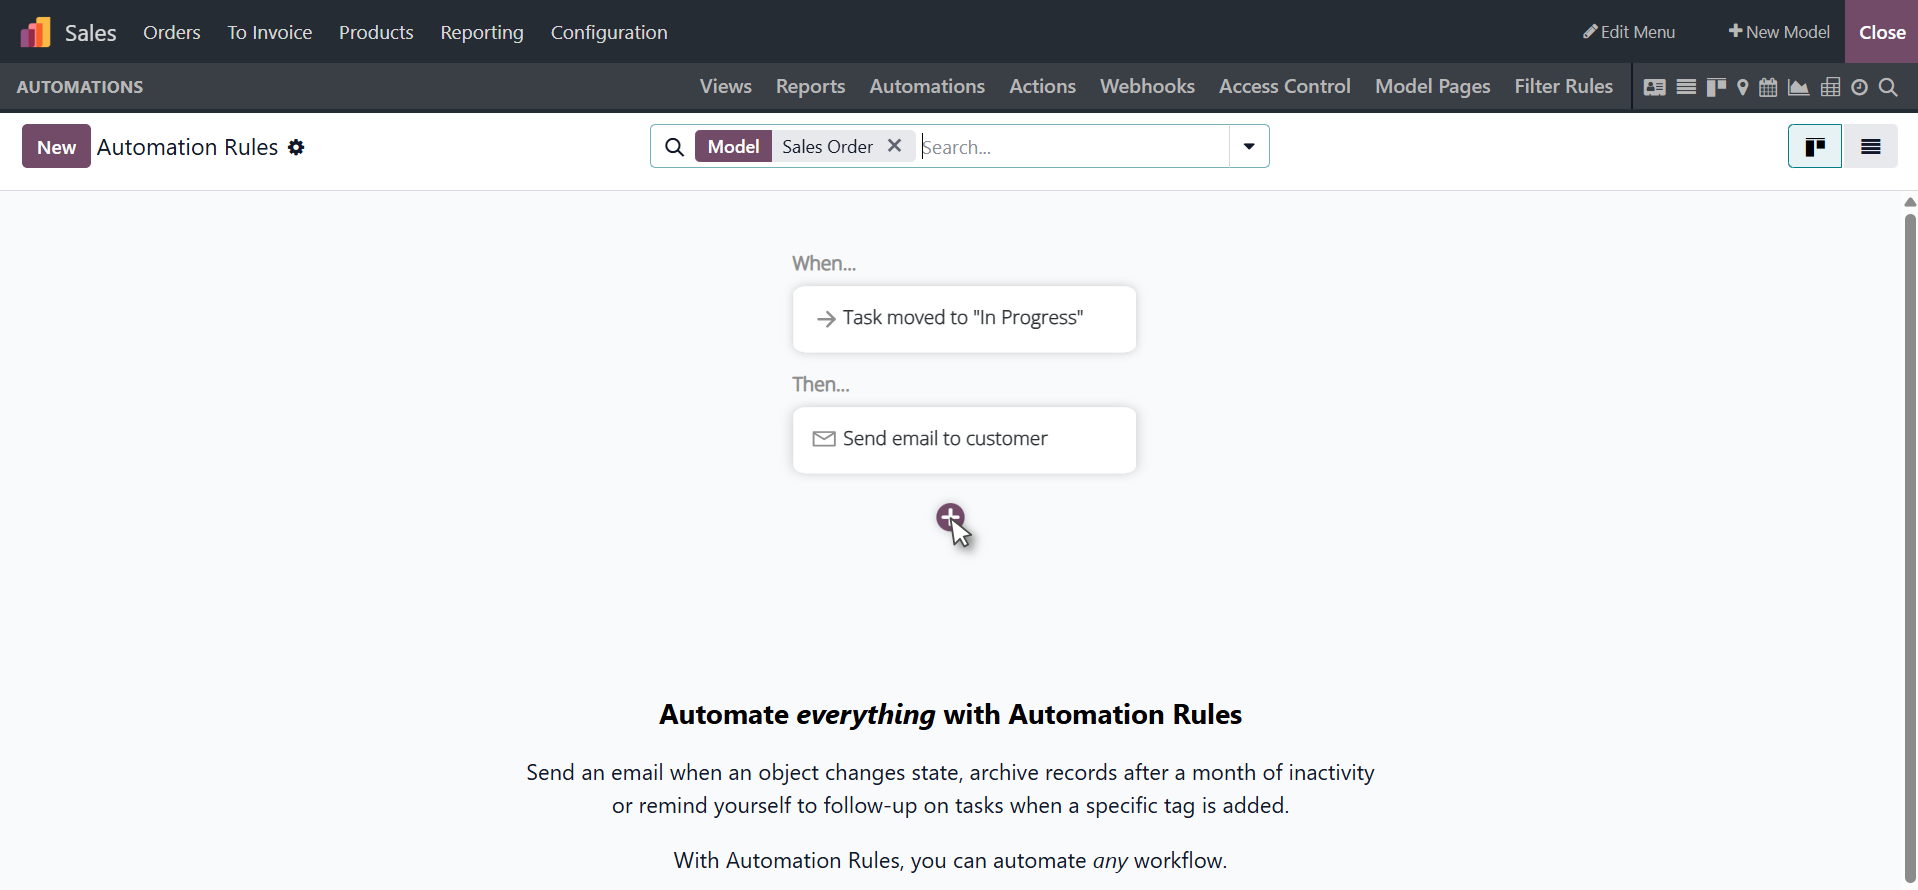
The following are the application's functional requirements: You must choose the model in which the Automated Actions should function and supply the Action Name in order to create a new Automated Action. Additionally, this menu allows you to activate and deactivate the relevant Automated Action. The Action To-Do should be determined using the list of designated platform activities. The list of tasks that need to be completed when the Automated Action is triggered is called the Action To-Do. The Automated Actions can be started by setting the Trigger of the Action. The corresponding Automated Action will become active when this action is performed on one of the menus or entries.
You now understand how to set up Odoo19 Studio's Automated Actions menu to start multiple Automated Actions for freshly built apps. Now let's move on to the section that describes the Odoo19 Studio platform's Access Control Lists menu.
Webhooks are automation rules that use user-defined HTTP callbacks to react to external events. Studio can be used to develop them. When an external system sends data with a data file (the "payload") to the URL of an Odoo webhook (the "trigger"), Odoo responds in the database with a predefined action.
Unlike scheduled tasks or manual API calls, webhooks enable real-time automation and communication. For example, a webhook ensures system synchronization by instantly updating Odoo's inventory when a sales order is validated in an external point-of-sale system.
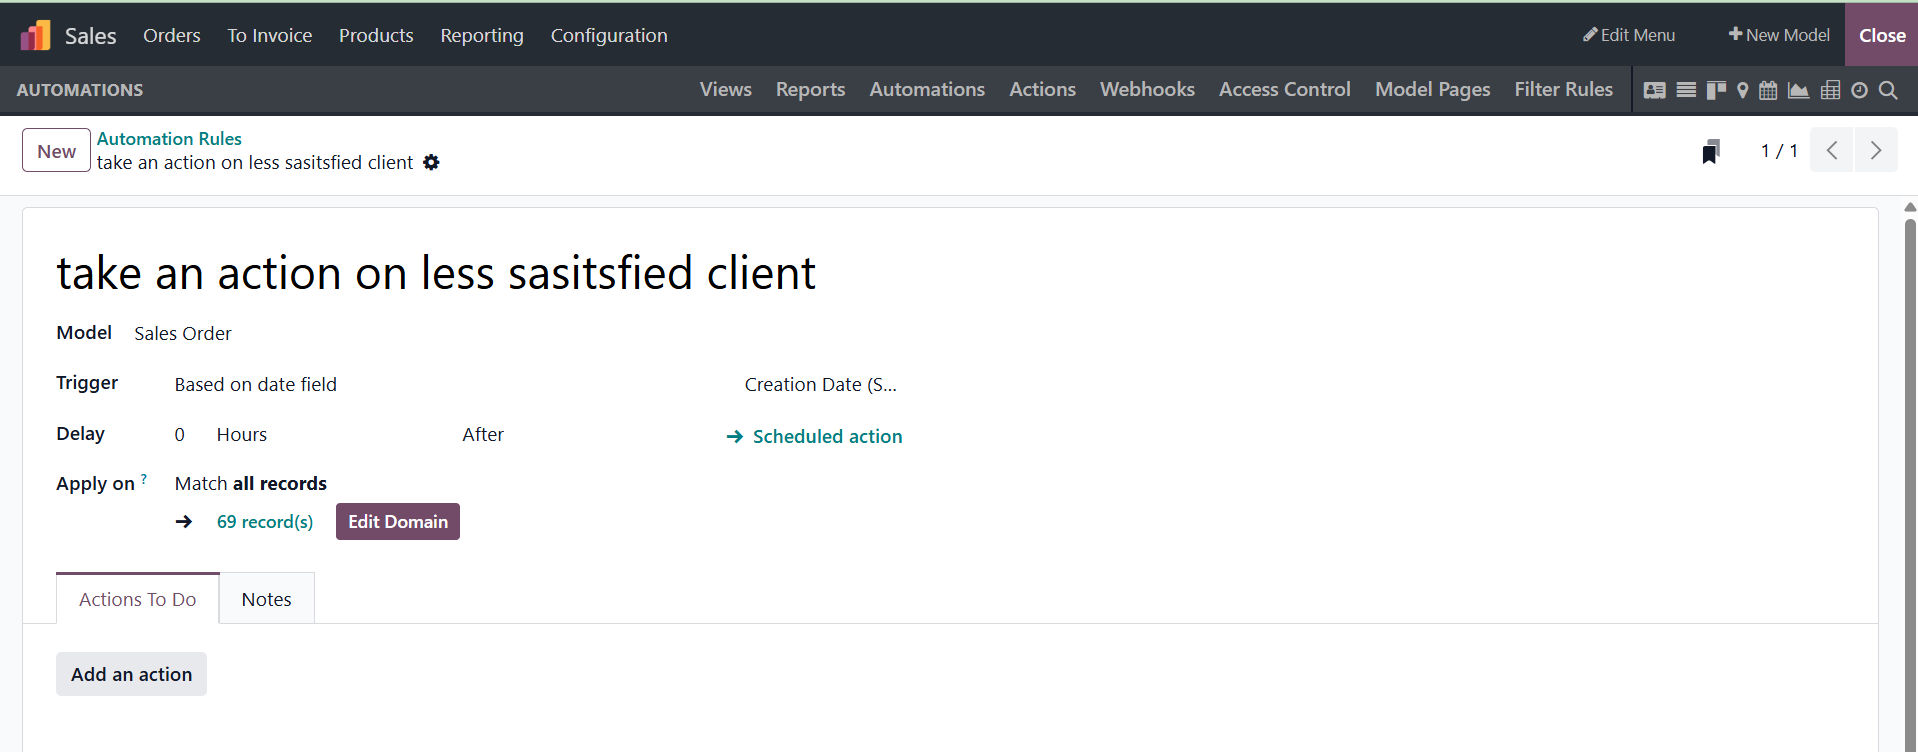
You have the page after choosing the option, as seen in the picture below.
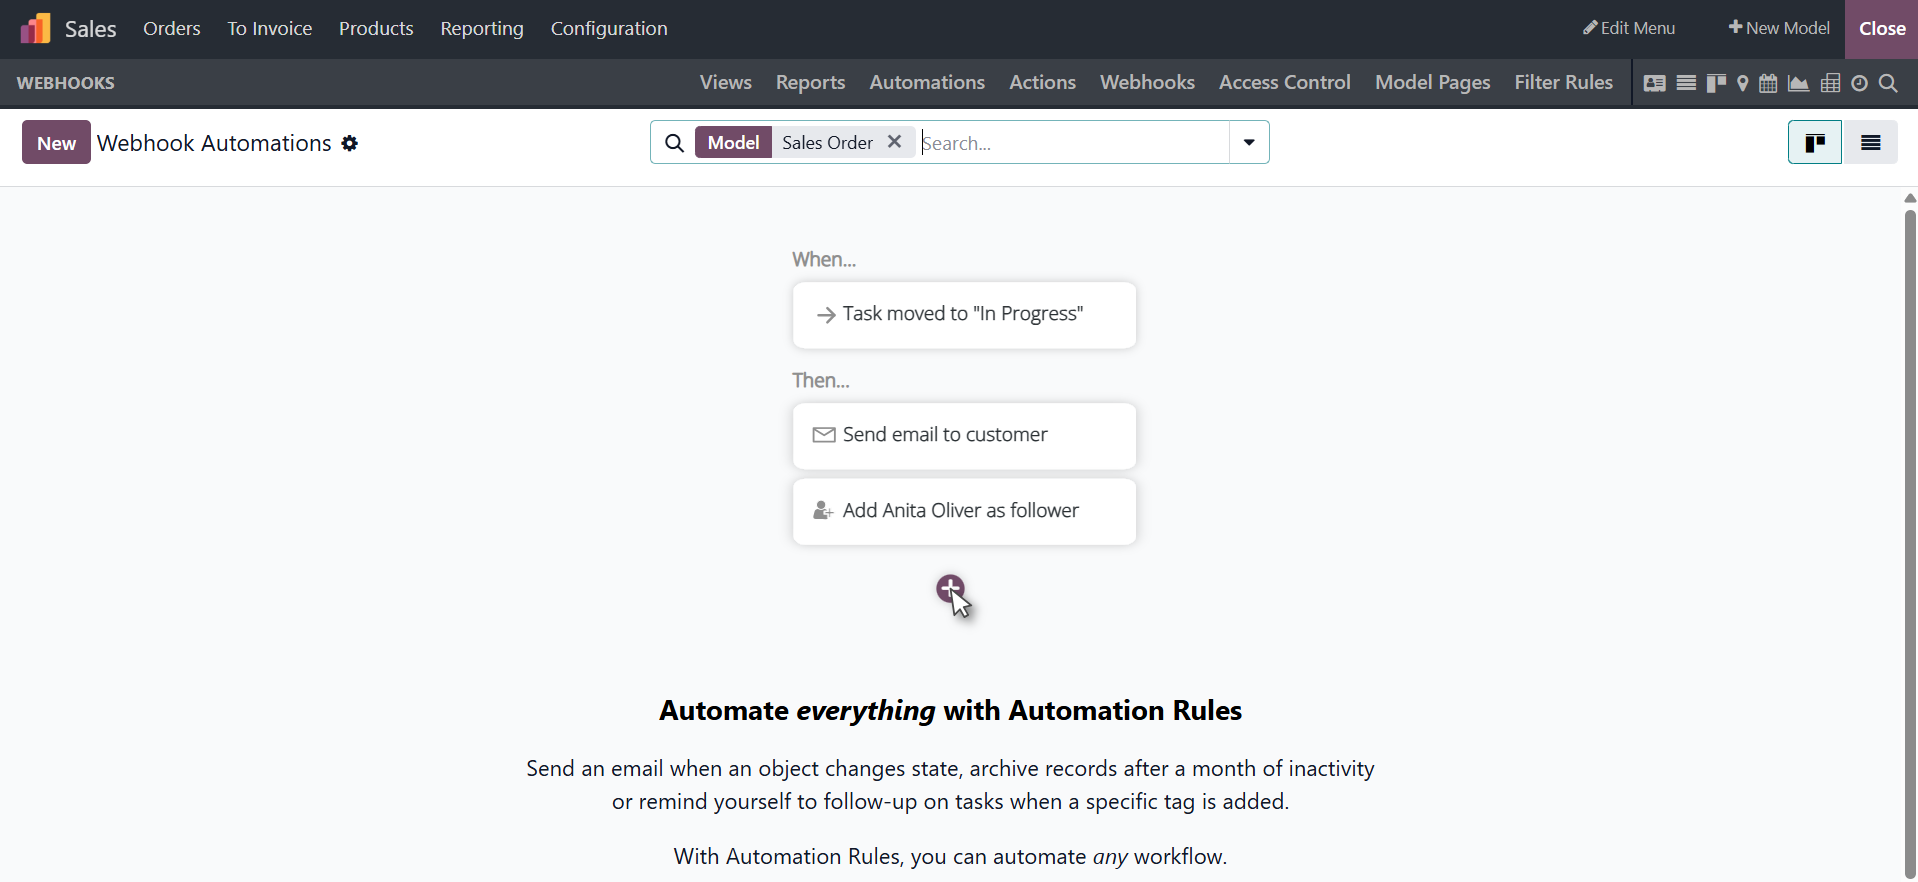
You can use the NEW option there, and the creation page will look like the picture below.
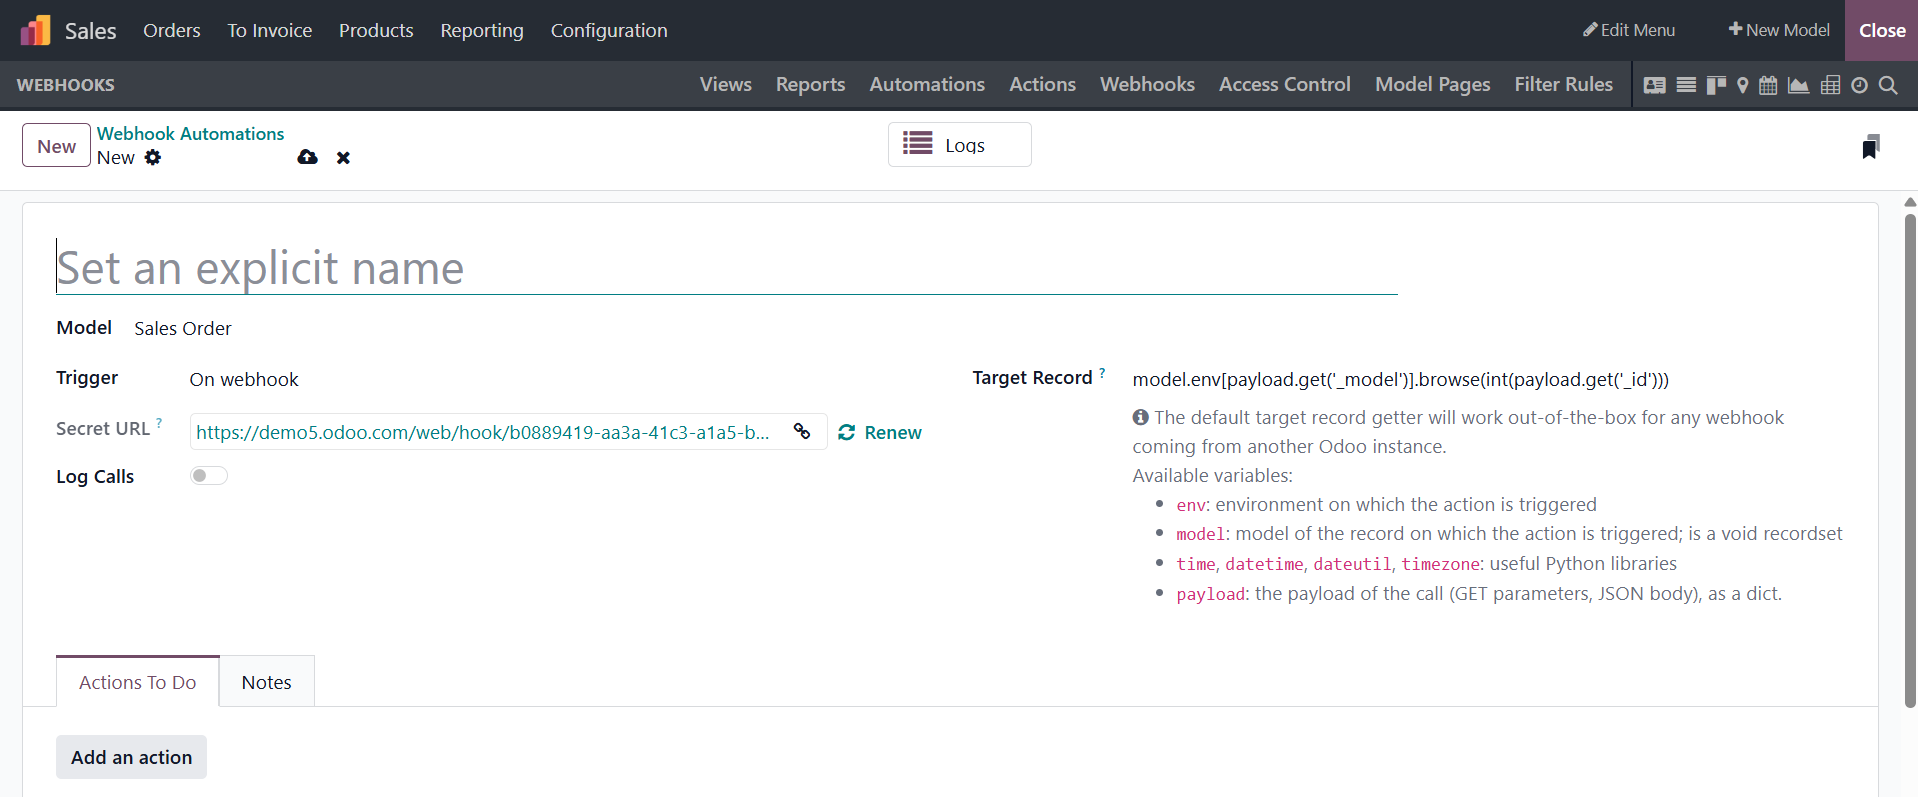
After that, give the webhook a name, modify its model (the kind of database record to target) if needed, and enable or disable the option to log calls to the webhook URL so you can track the webhook's call history for troubleshooting.
The webhook's URL is created automatically. This URL should be used to test the webhook and link it to the external system that will be providing database updates.
Webhook configuration is done in Studio and is separated into two categories: triggers and actions.