Setting views to your model
The Odoo19 Studio Module Views menu can be used to create multiple views for the apps menu; by default, the special Views will help draw more attention and provide information from the various menus, both of which will be quite beneficial. Views like Form, Search, and Activity View can be used to define the menu views; features of the Form View include the form's title, buttons for modifying the form according to operational needs, and a Print button that will print the Form View from the window immediately if paper format data is required.
Additionally, depending on the situation, a number of Action components, including Delete, Archive, Unarchive, Mark, and Unmark, can be included. Navigational elements like a breadcrumb trail can also be included to make navigating between the many-from menus easier.
The various Filtering elements can be added using Odoo19 Studio in the Search view, where these tools can be utilized to sort the necessary entries. The ability to specify the customisation features for the Filter options gives the user complete freedom over how to utilize the Filter tool. In order to facilitate discussion when planning various events, it is possible to incorporate the Chatter feature into the Activity View.
This will guarantee that everyone has an opportunity to talk about it before the scheduled time. It is also possible to configure a variety of record views, including list, kanban, and map views.
To make sure that the necessary instructions are shown in the List, it is simple to add new fields of action to the List View. Included are the Contact Field, Priority Field, and numerous other features. The many detailed fields can easily be changed, removed, or made invisible as needed. In order to allow external users access to the portal while preventing the creation, modification, and removal of new and existing items, it will be helpful to be able to remove some operational elements from the Kanban View, such as the Create and Edit buttons.
To provide a clear picture of the operational stages, a particular Pipeline Status indication can also be added to the screen. In the Map View, elements like the Name and Address can be made to vanish. You may also enable the Routing option, which will make it simpler to understand the address and navigate to the right places, and add Additional Fields that will aid with the view.
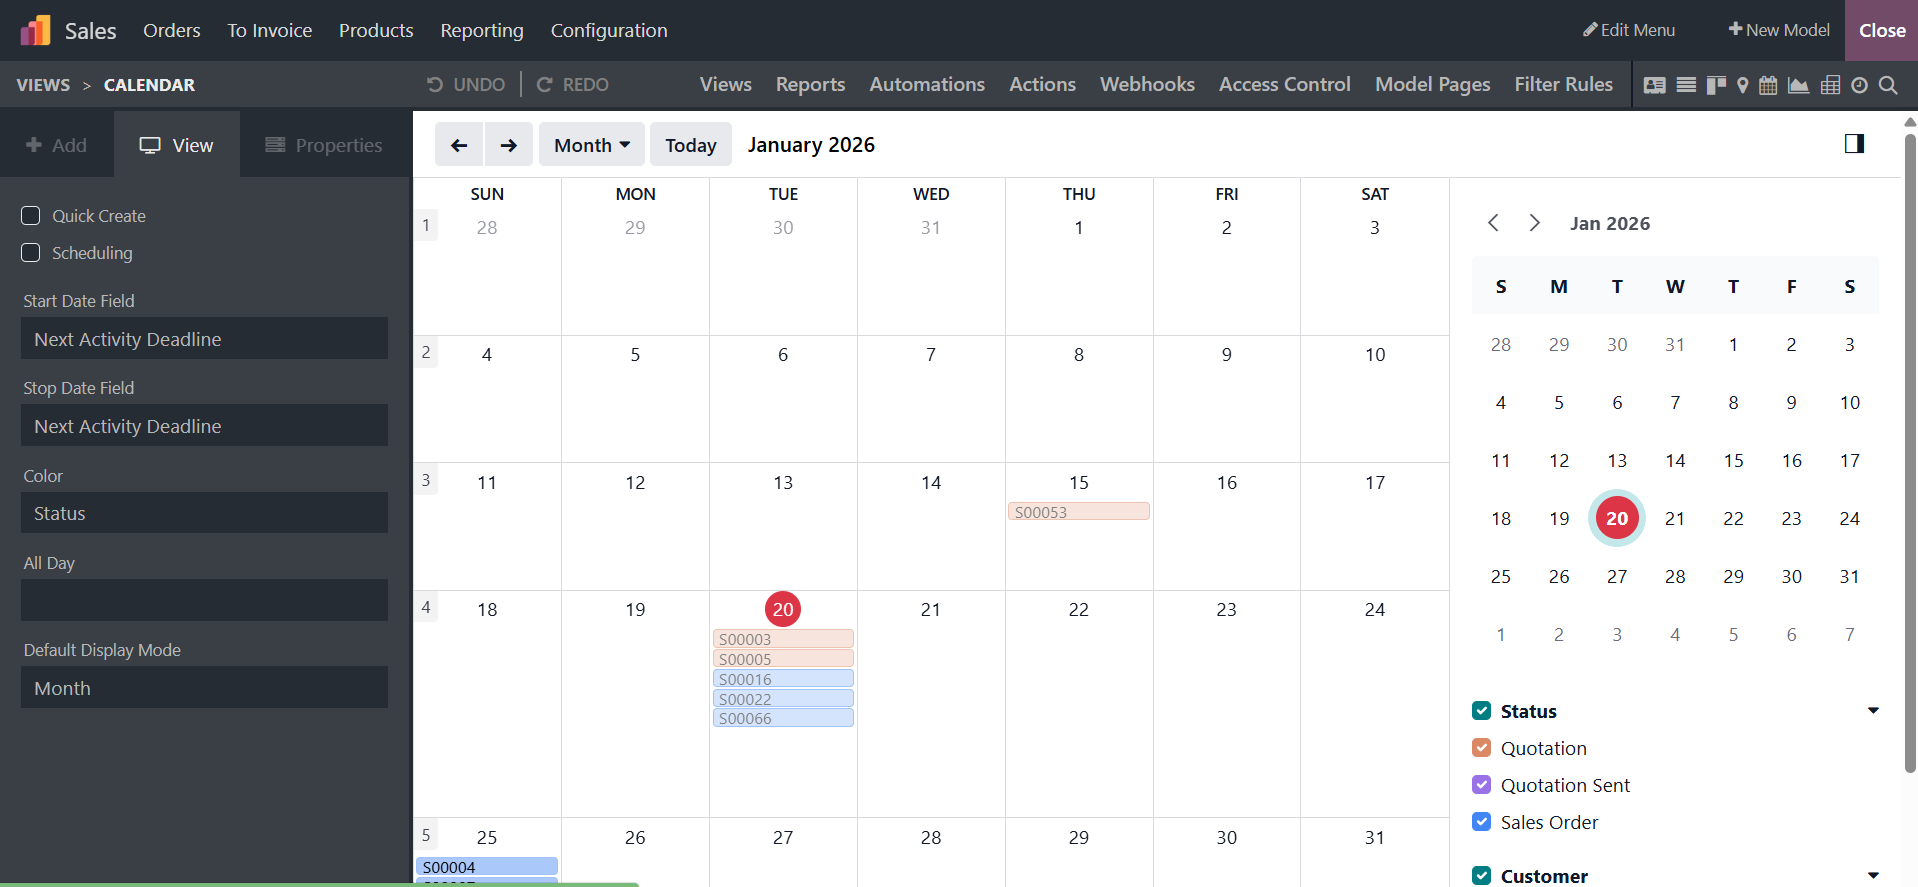
It is also possible to define Timeline Views like Calendar, Cohort, and Gantt Views. The Start Date Field and Stop Date Field are examples of configuration parameters that can be set in the Calendar View. Among the administrative features that can be configured are the Delay Field, Color, All Day configuration, and Default Display mode. Both the Start Date Field and the Stop Date Field can be customized using the Cohort View. Additionally, the Timeline, Interval, Mode, and Measure Field can be set.
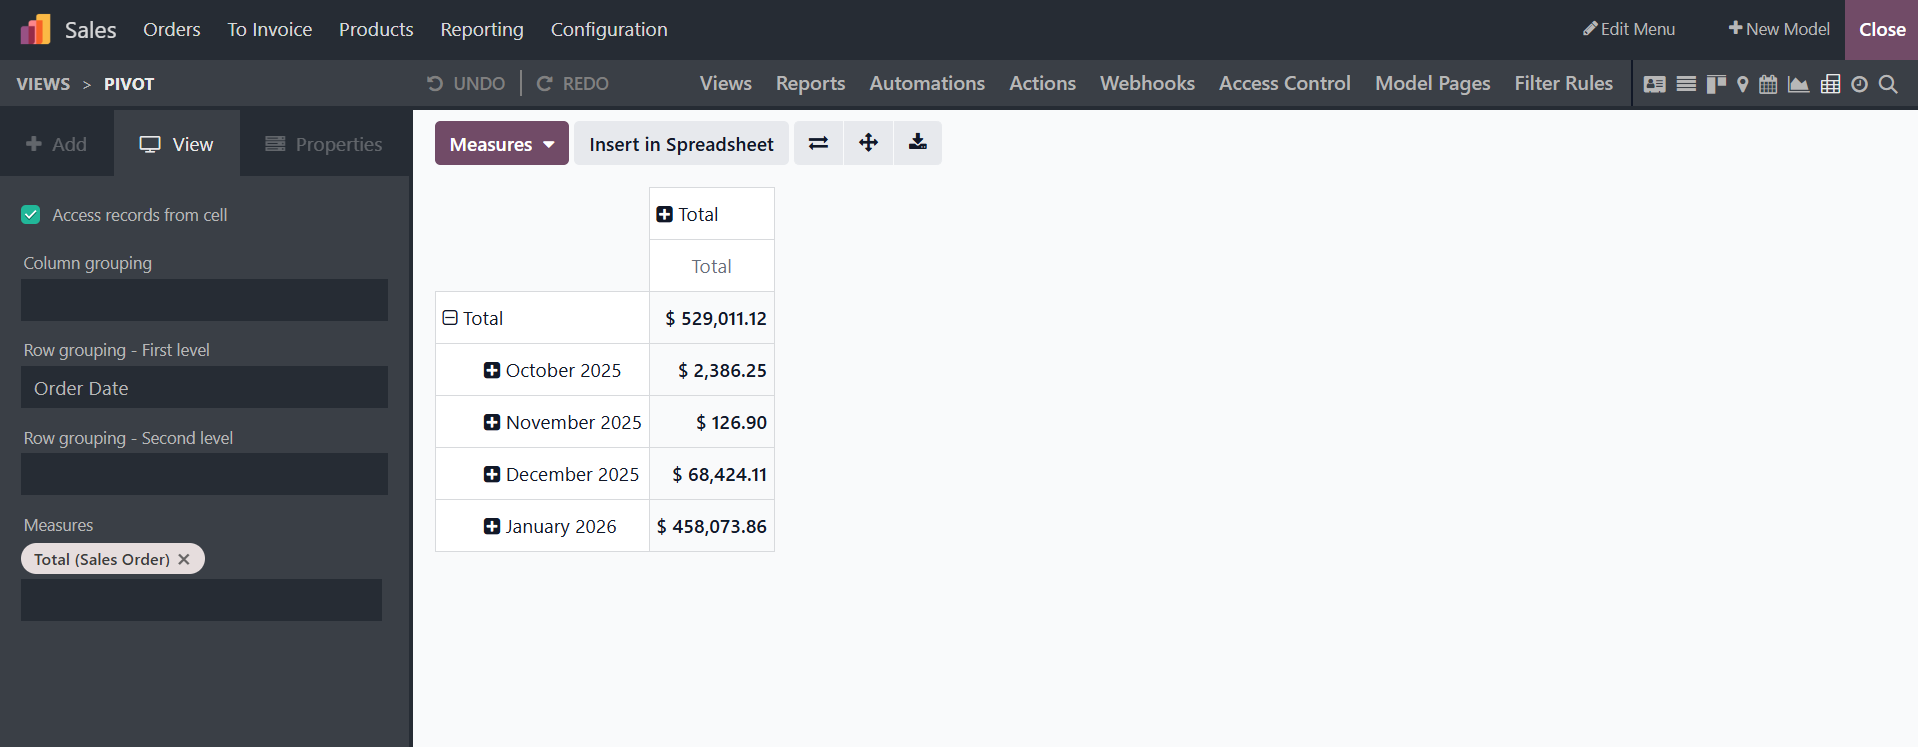
Additionally, specialized reports can be found using a number of Reporting Views, including the Dashboard, Graph, and Pivot. A new dimension can be added to the Graph View as it is being constructed, in addition to Type, Sorting, First Dimension, Second Dimension, and Measure. Measures, the Display count, Column grouping, Row grouping-First level, and Row grouping-Second level are among the features that the Pivot View can activate depending on the situation.
The several application menus that will make the data being described clearer will be created using all of the Views configuration options offered by the Odoo19 Studio module.
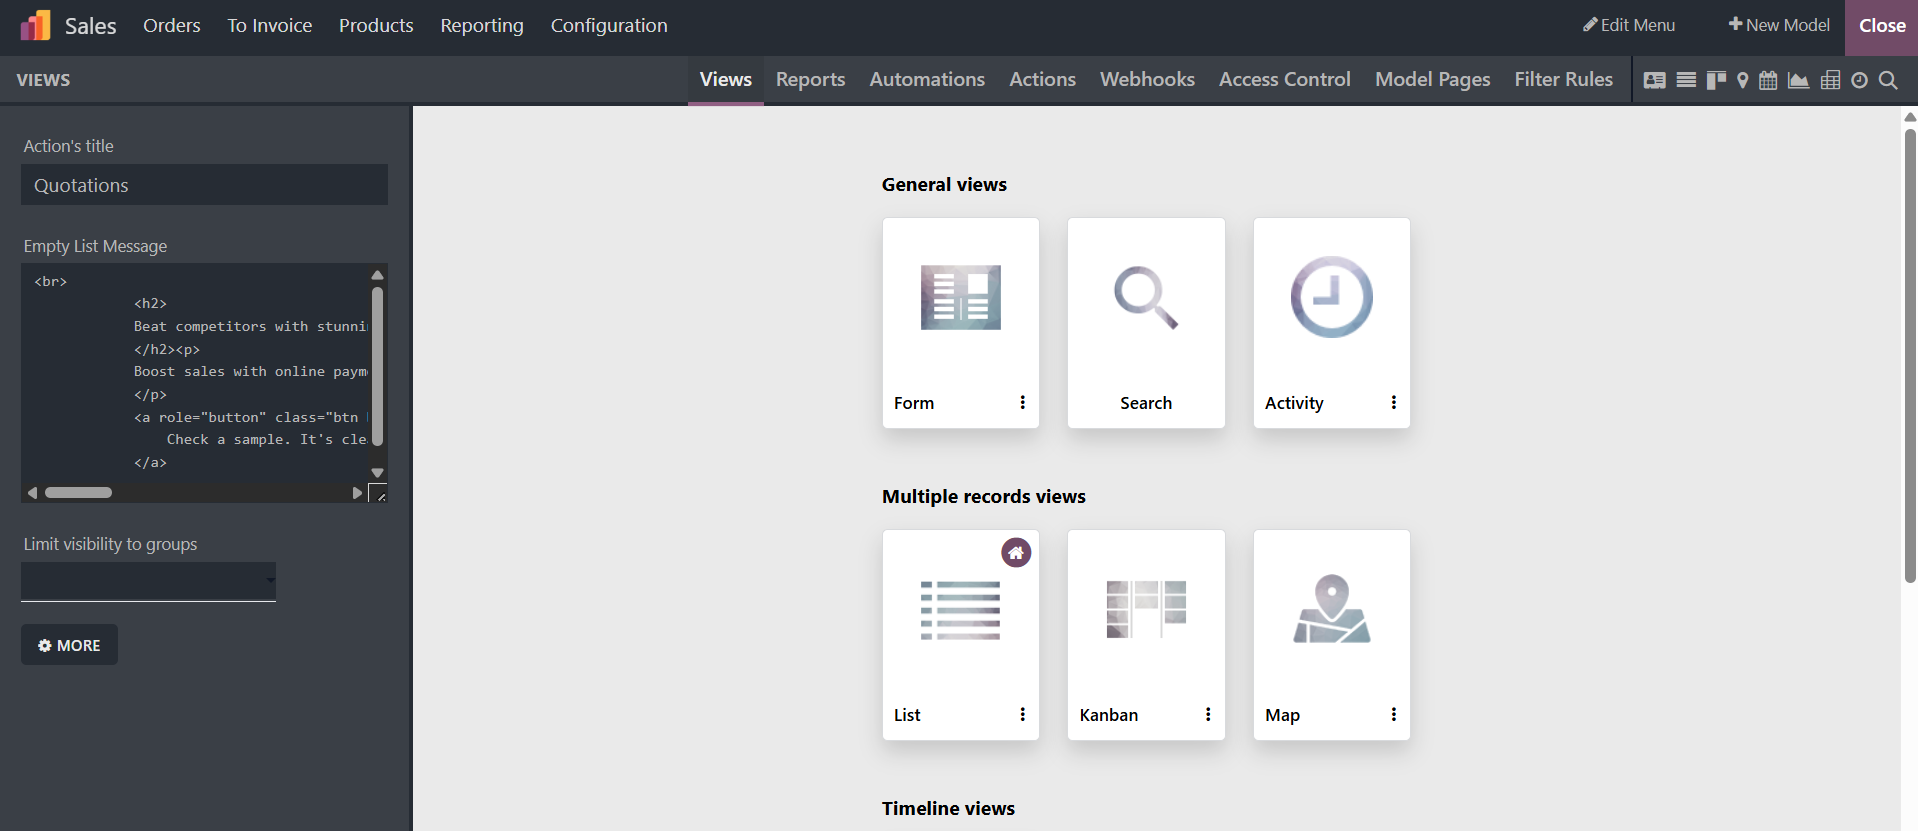
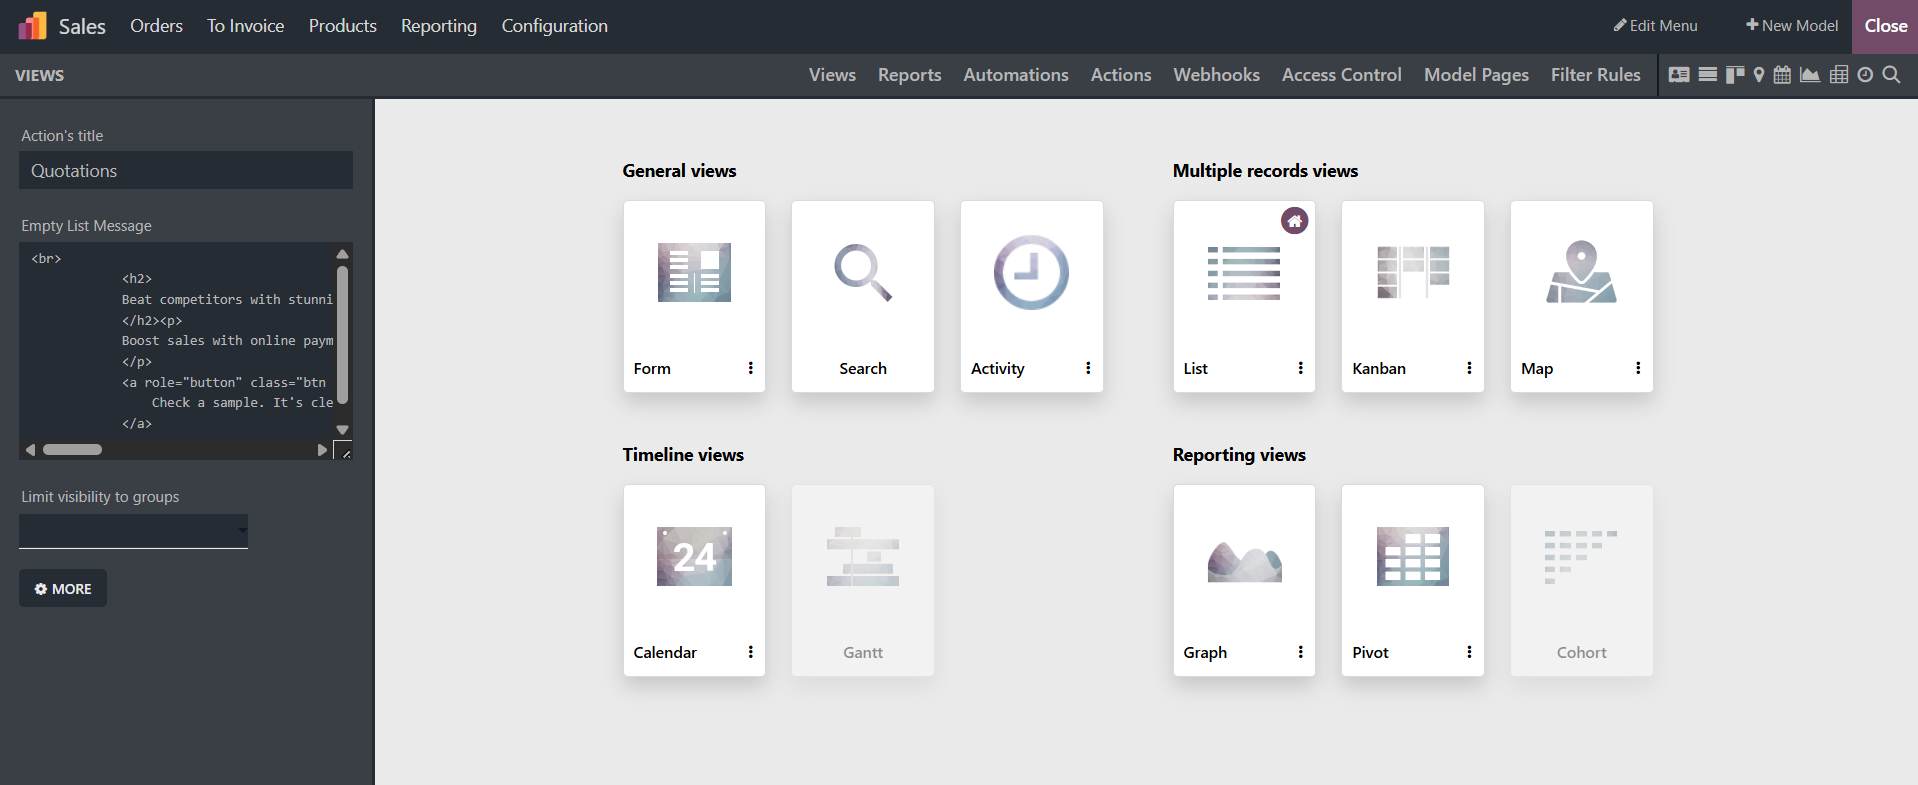
As seen in the picture below, you are given a variety of perspectives. Applications' usefulness and aesthetic appeal can be improved by creating a variety of Views using the Odoo Studio Module Views menu. This menu contains views from the General Views, Multiple Record Views, Timeline Views, and Reporting View categories.
As seen in the picture below, you are given a variety of perspectives. Applications' usefulness and aesthetic appeal can be improved by creating a variety of Views using the Odoo Studio Module Views menu. This menu contains views from the General Views, Multiple Record Views, Timeline Views, and Reporting View categories.
The General views of the menus are Form, Search, and Activity Views. The primary component of an application platform that aids in configuring different features is the "Form" View.
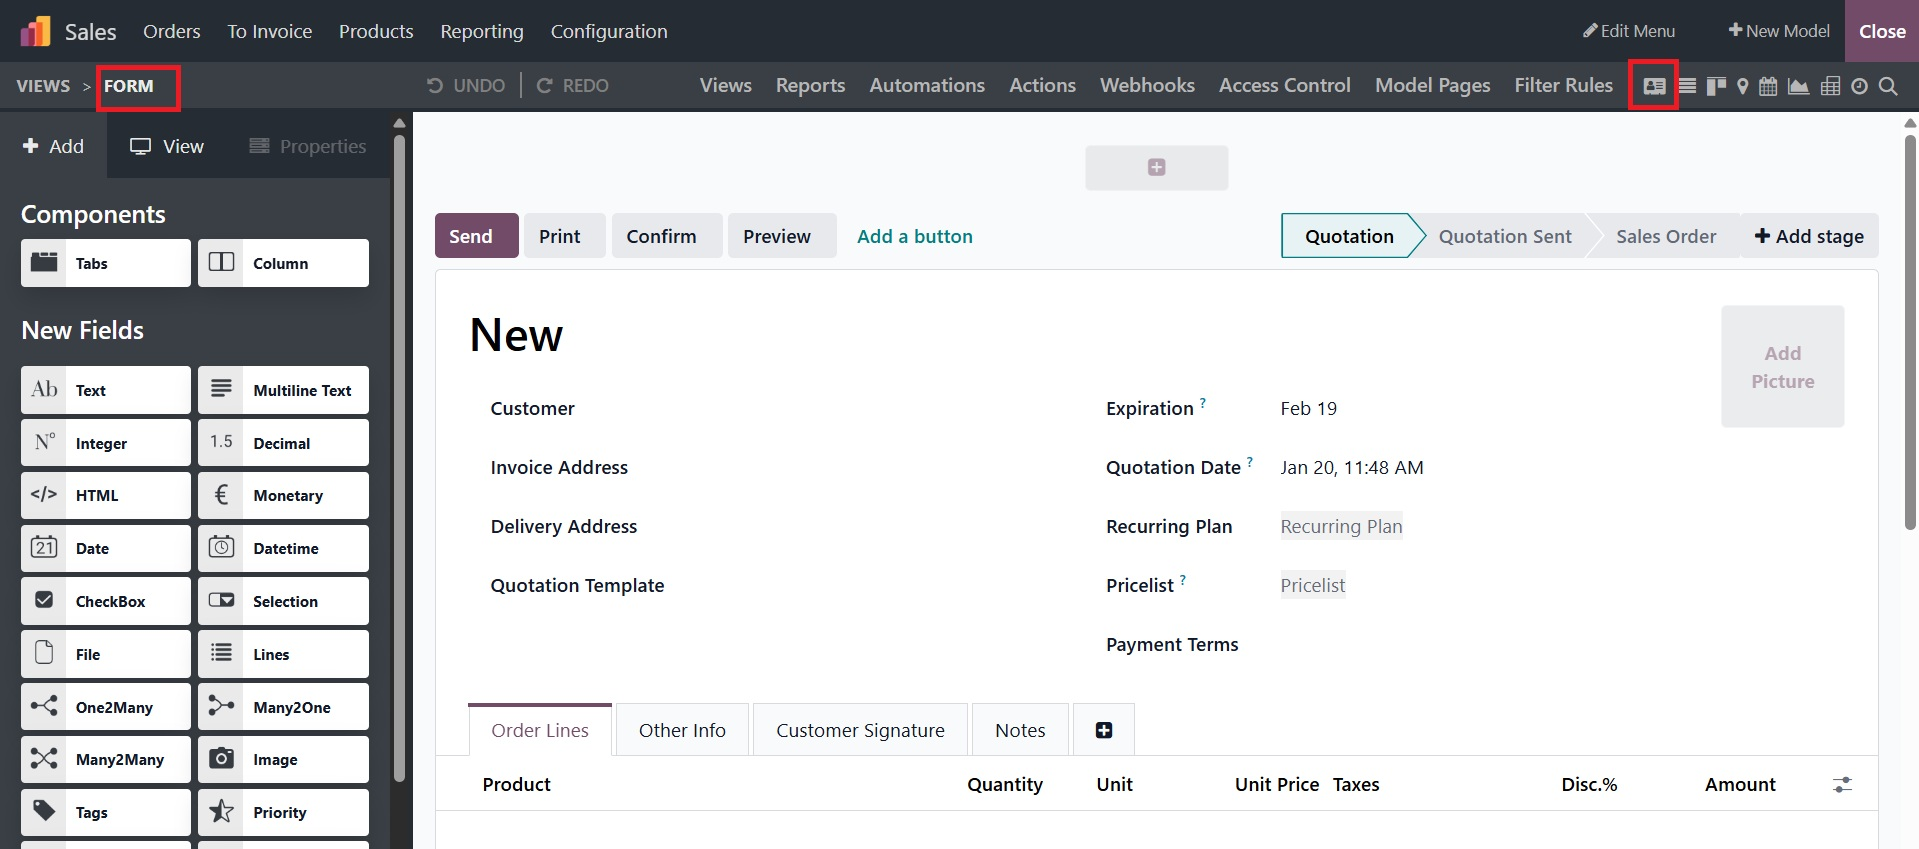
Among the components you can view based on your operating requirements are the Form's title and button settings. The left side of the page contains the various tools and components for altering forms. On the right side are the status buttons marked NEW, IN PROGRESS, and DONE.
The various Filtering components can be shown and positioned under the "Search" window in Odoo Studio, where these tools can be used to arrange the key components. Thanks to the customization features that enable the Filter options to be specified, the user has complete discretion over how to use the Filter tool.
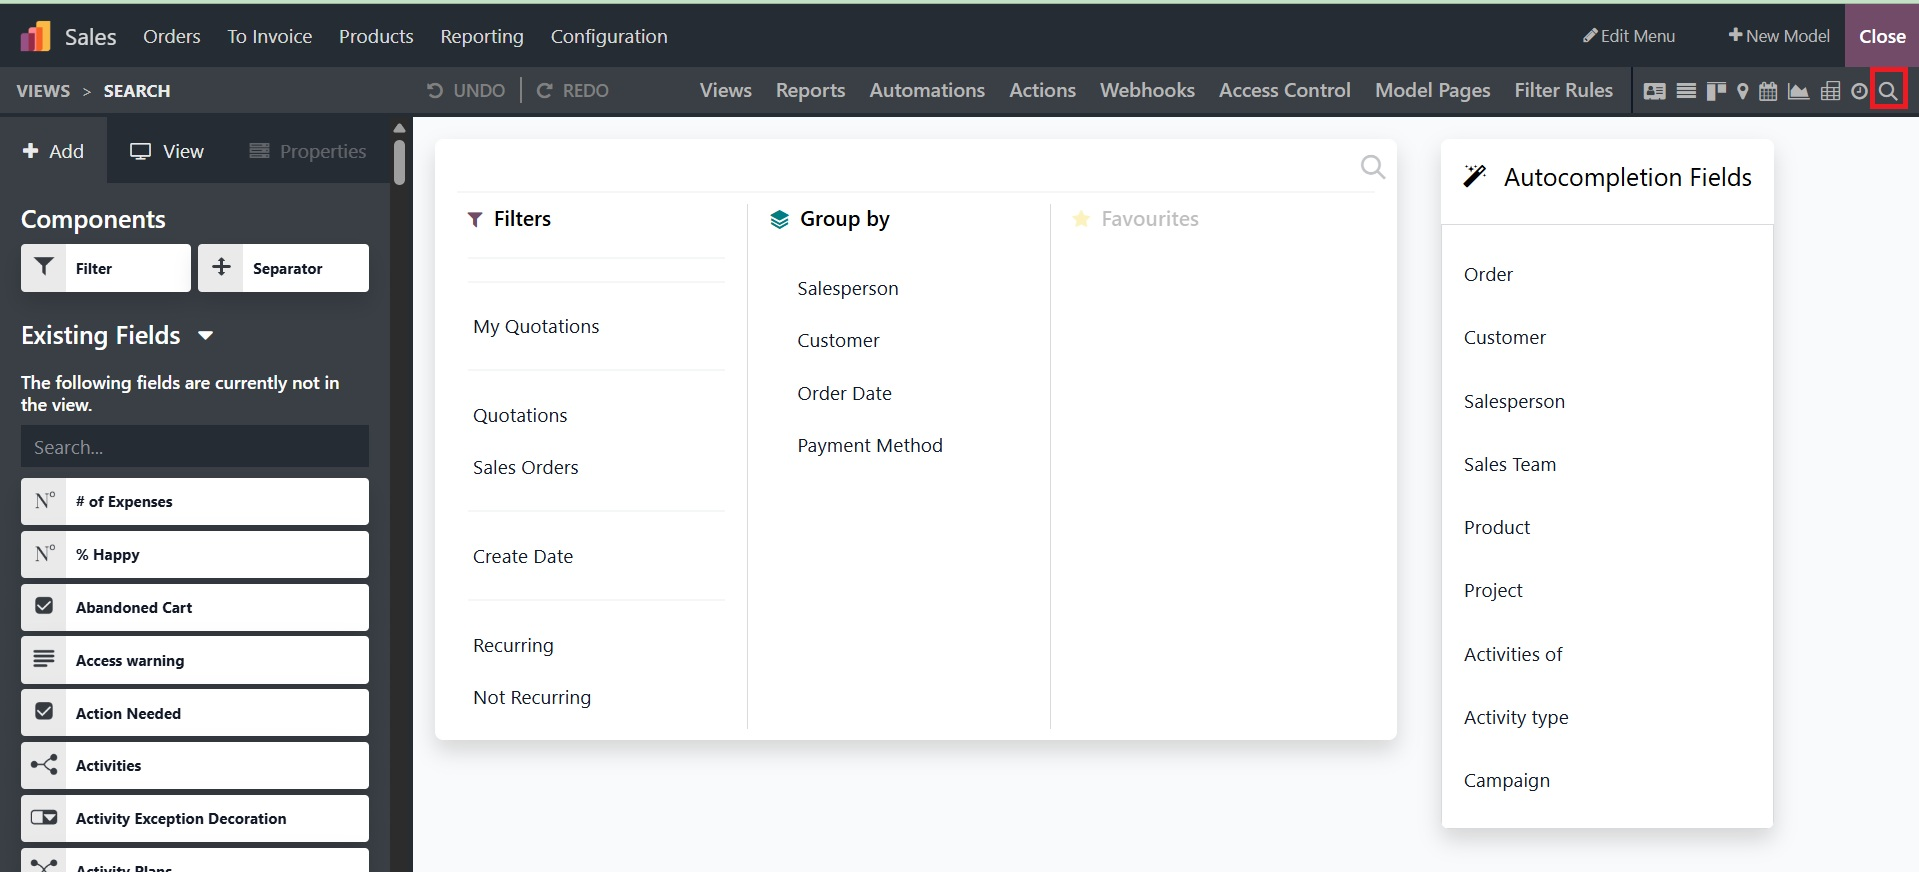
Each "Filter" and "Group by" option box has a clickable link that allows you to customize it. You can modify or remove the options in the editing column on the left. The "Auto Completion Fields" section, which also indicates which fields are automatically filled in when users submit particular data on the form, allows you to add or remove additional fields.
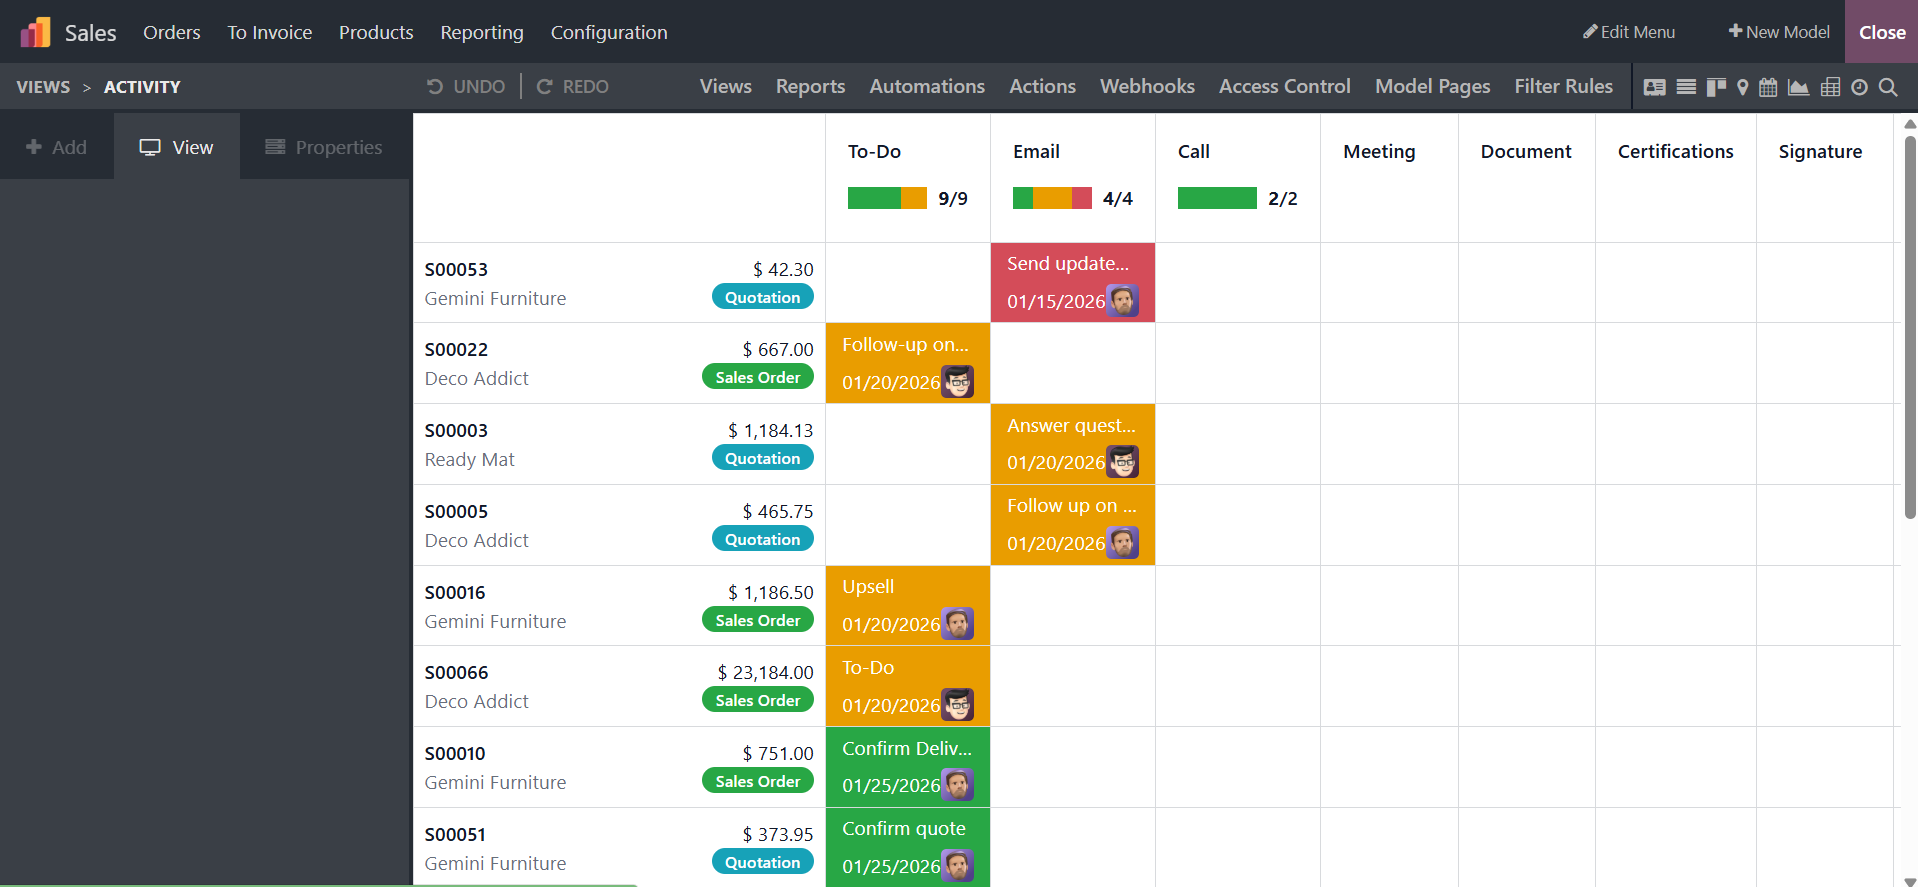
The "Activity" View's Chatter aspect, which allows participants to speak before the scheduled time, can be used by users to plan activities. This guarantees a setting where everyone can have fruitful conversations. Calls, emails, meetings, to-do lists, and more can be scheduled using the ". Schedule Activity" option.
The "Multiple Record Views" component allows you to create multiple Kanban views, as demonstrated below.
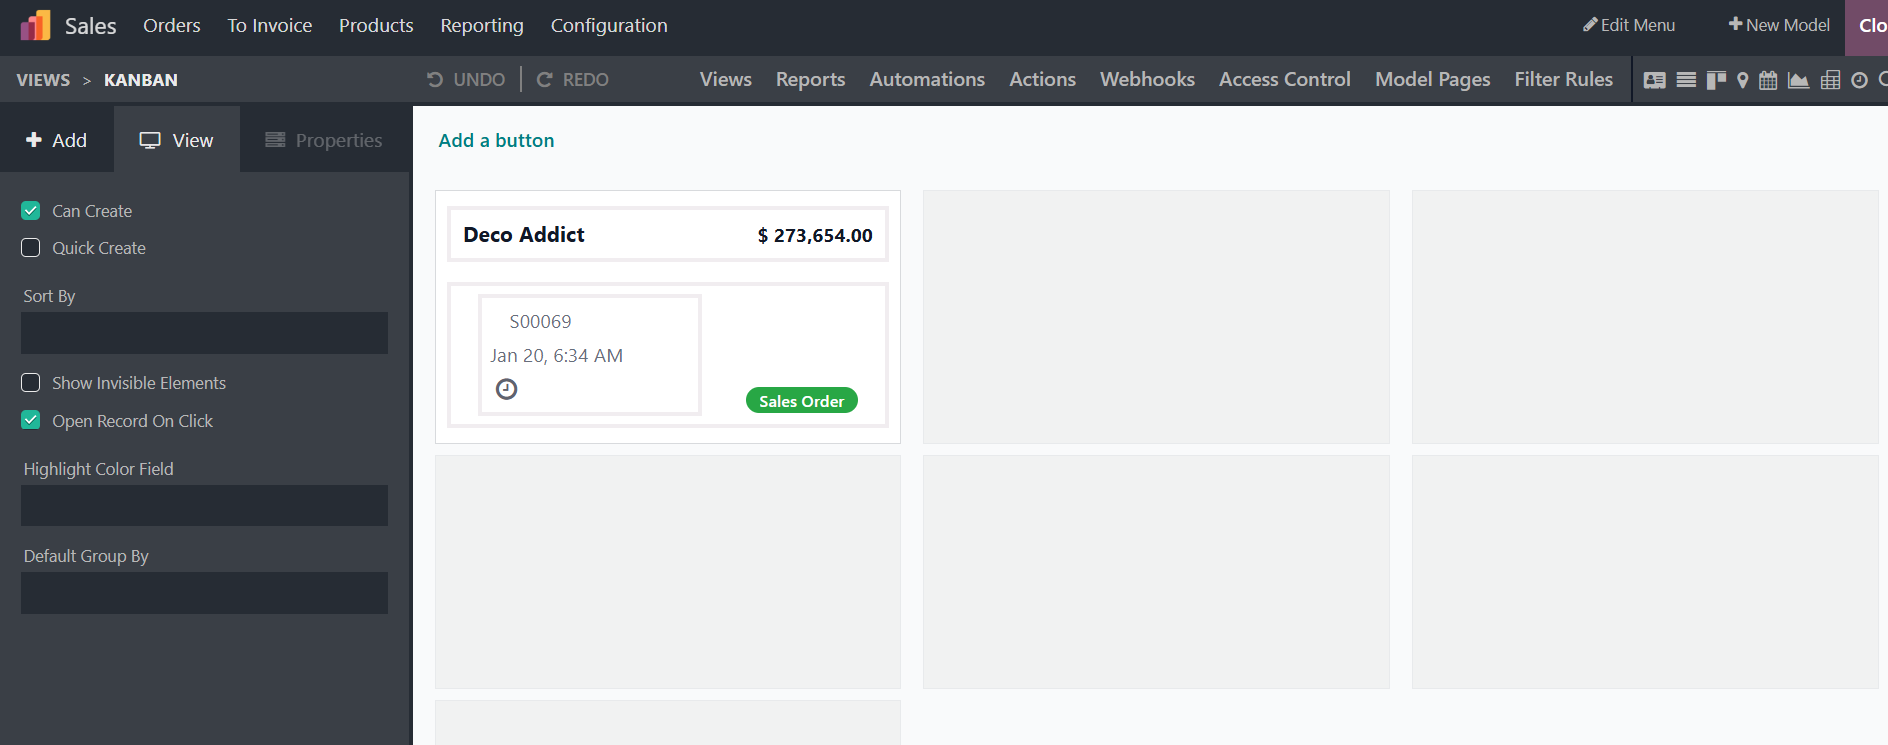
By selecting the sample template and adding the necessary fields and components in accordance with the specification, we may modify the choices needed for the Kanban display. Here are some kanban specifics; you can use the editing window on the left to edit, remove, replace, or customize them.
The "List" view in your application is modifiable. You can change operating fields in the List View, including Priority Field and Contact Field, to provide the necessary instructions. These fields can be removed, modified, or hidden based on the user's preferences.
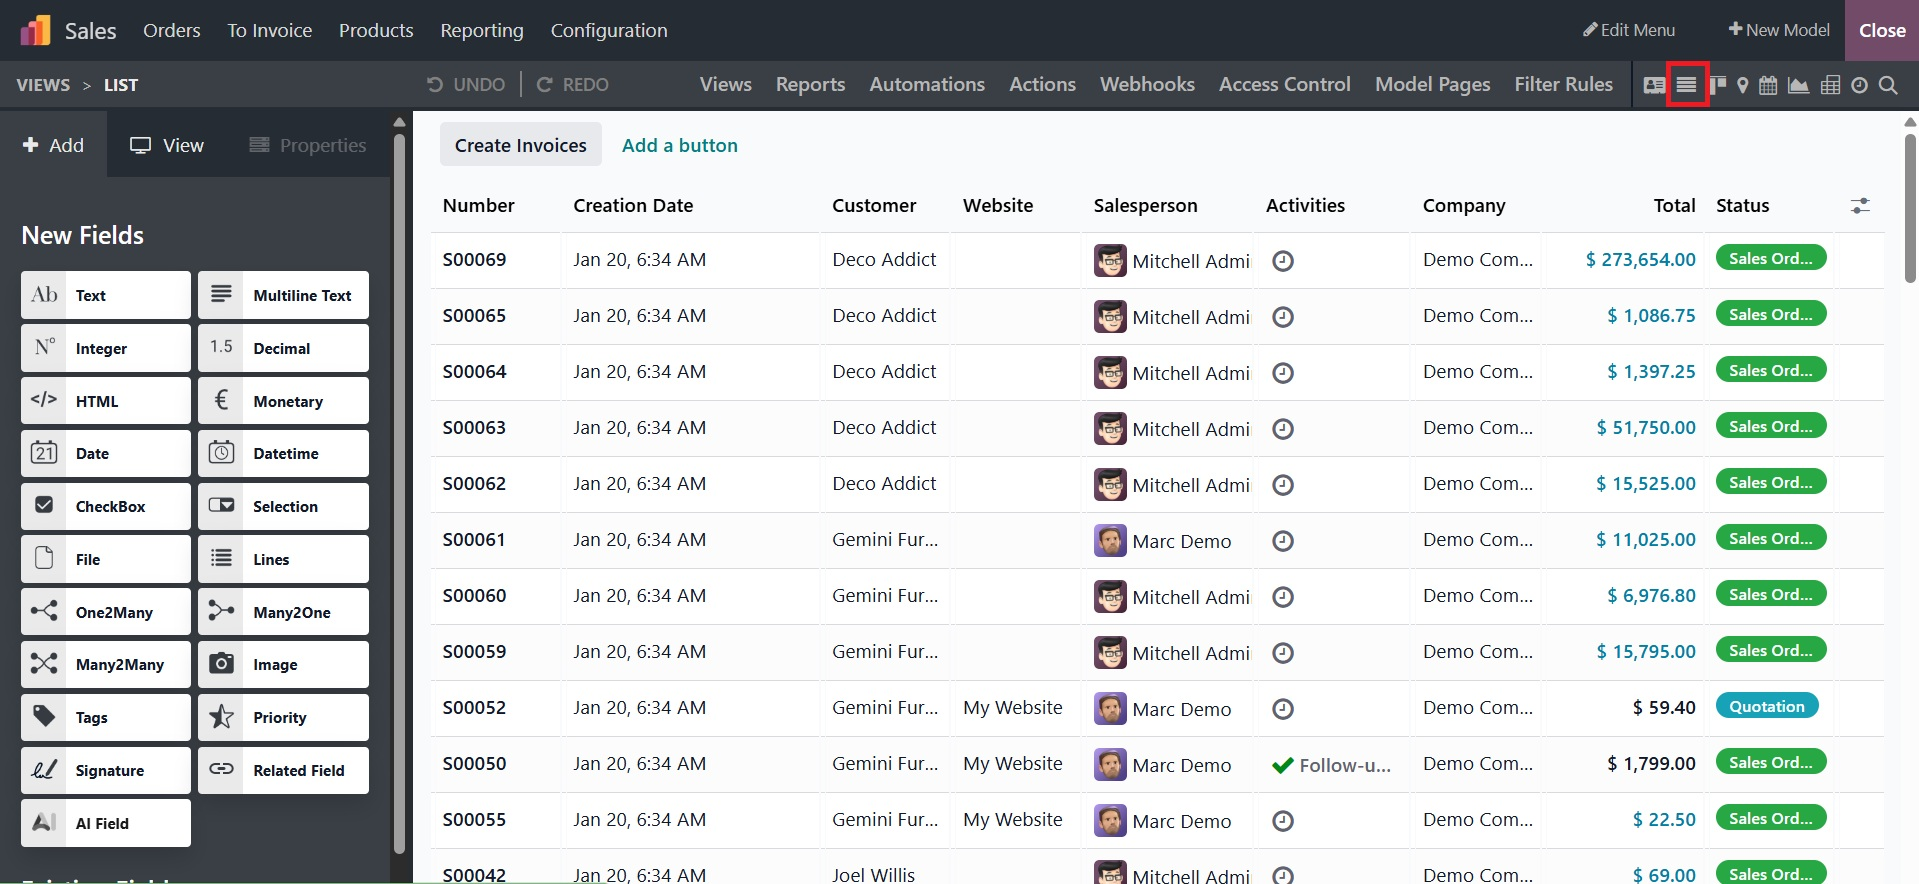
Large records can be viewed and edited simultaneously with the help of the List view. Choose New Record at the top or New Record at the bottom under Editable to immediately create and edit records.
You can configure Calendar, Cohort, and Gantt views in the "Timeline views" section.
You can set up the Start Date Field and Stop Date Field, among other configuration options, using the "Calendar View." You can modify the administration elements of the Delay Field, Color, All Day setup, and Default Display mode in the editing section, as shown in the screenshot below.
By turning on the "Access records from cell" option, users can retrieve the data records from a pivot table. Depending on the circumstances, the Pivot View can activate features like Column grouping, Row grouping-First level, Row grouping-Second level, Measures, and the Display count.
Bar, line, or pie charts are used to display data in the Graph view. First and Second Dimensions, Measures, Graph types, and Sorting choices are all included in the "Graph" view. Throughout the building process, users can choose to add more dimensions.
Choose from options like Bar, Line, or Pie in the "Type" column to alter the chart's format. In the "Measure" column, select a default data type for the Measure and a default data category for the "First dimension" and "Second dimensions."
