Odoo 19 introduces a powerful Live Chat feature designed to enhance real-time customer engagement directly from your website. Live Chat enables businesses to instantly connect with visitors, answer inquiries, qualify leads, and provide immediate support. Fully integrated with Odoo’s CRM, Helpdesk, and Sales modules, it ensures seamless communication and automatic lead creation. Operators can manage multiple conversations efficiently through a user-friendly dashboard. With customizable chat widgets and automated responses, companies can improve customer satisfaction, reduce response times, and increase conversion rates while maintaining a professional and personalized communication experience.
The Livechat module consists of five menus: Channels, Sessions, Visitors, Reporting, and Configuration.
1. Channels
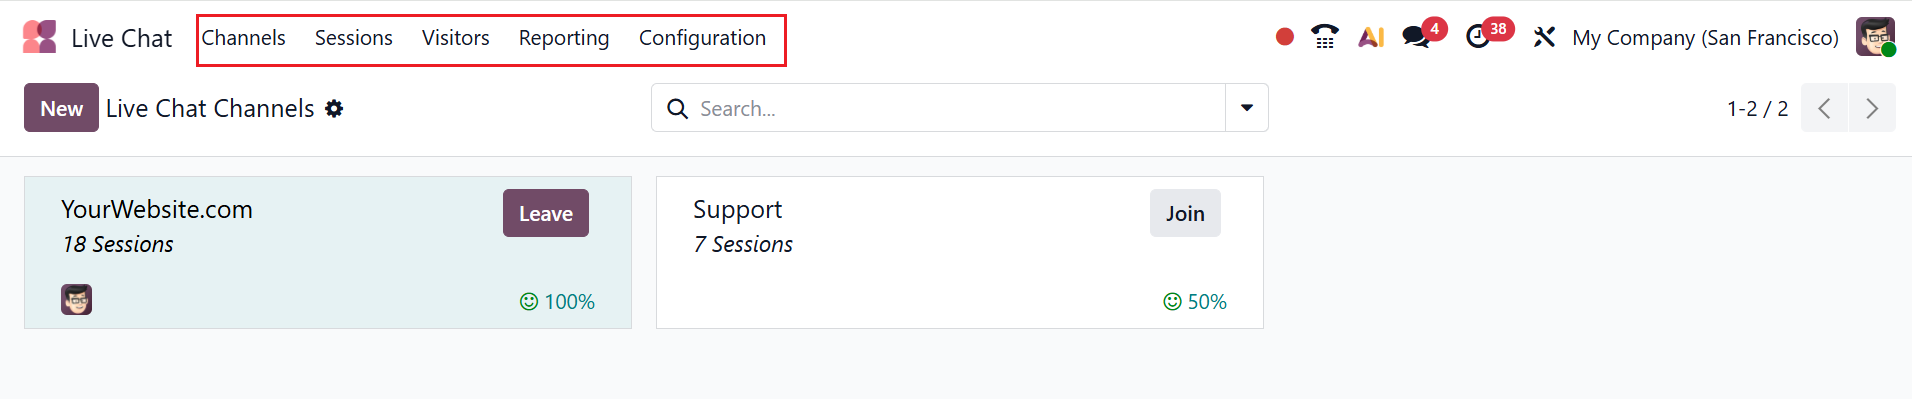
The Live Chat dashboard displays all the live chat channels under the Channels menu. Each channel is arranged as a kanban card with details including channel name, number of sessions, operators, and percentage of customer satisfaction. You can either join or leave the sessions using the appropriate buttons. Click the three-dotted vertical line on each kanban card to view the Configure Channel option, which helps you to manage and edit the existing channels.

Use the search bar’s drop-down menu to select options like Filters, Group By, and Favorites.

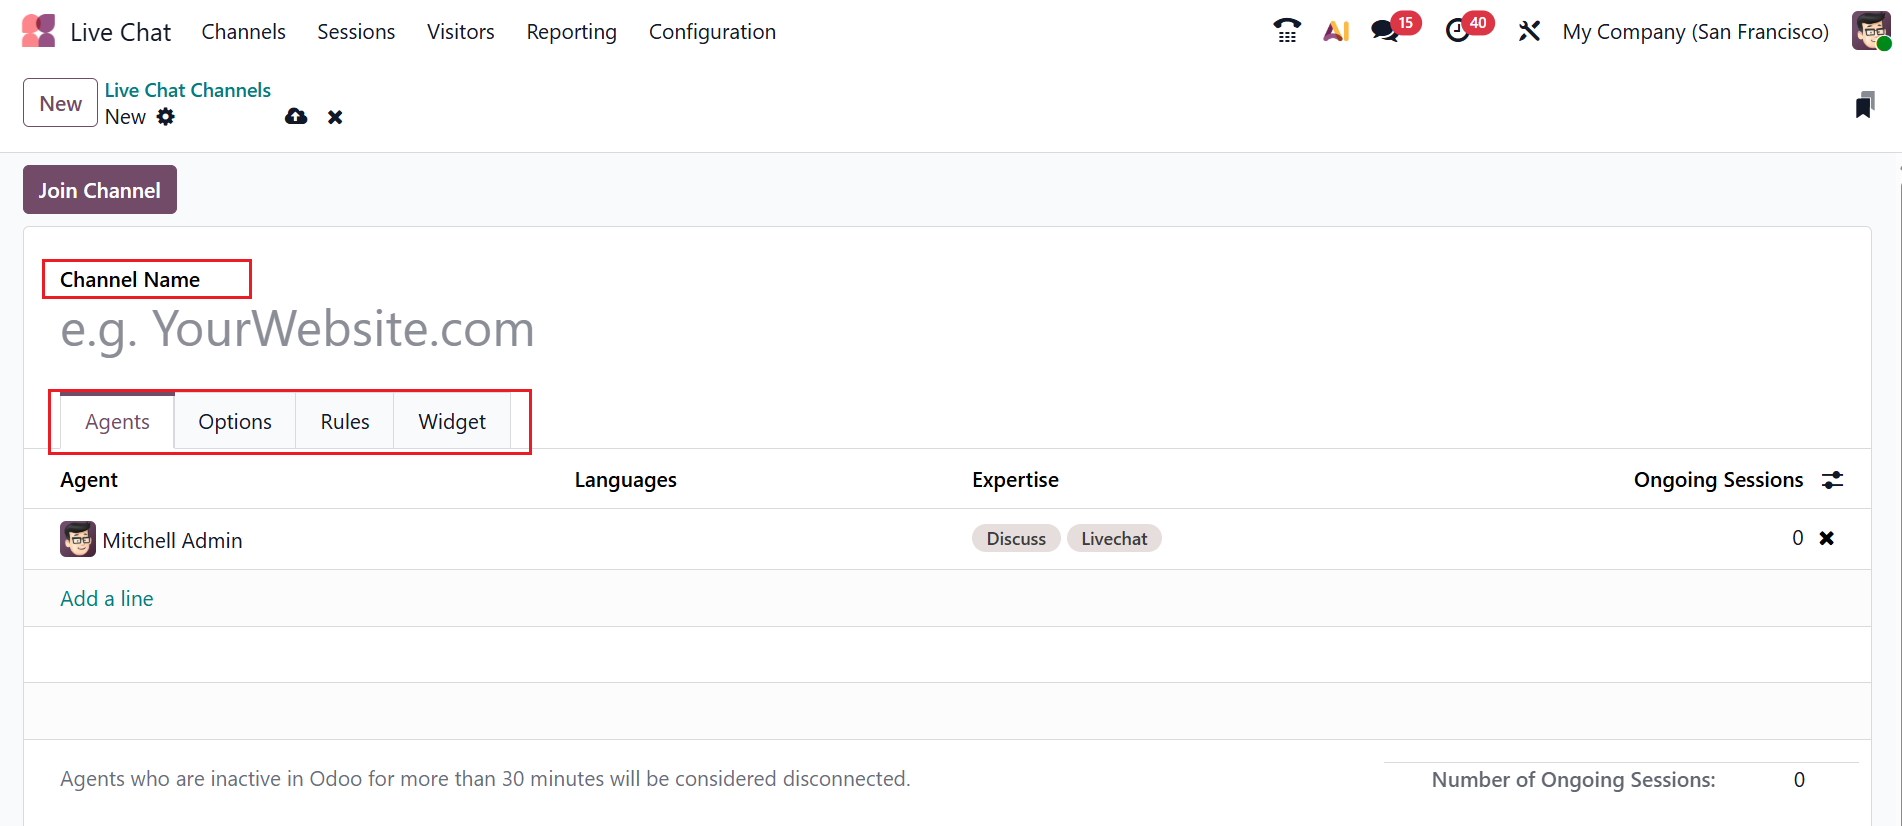
To set up a new live chat channel, select the New button in the upper-left corner. Fill in the Channel Name in the form, which includes four tabs: Agents, Options, Rules, and Widget. Add agents by going to the Agents tab and clicking Add a line.
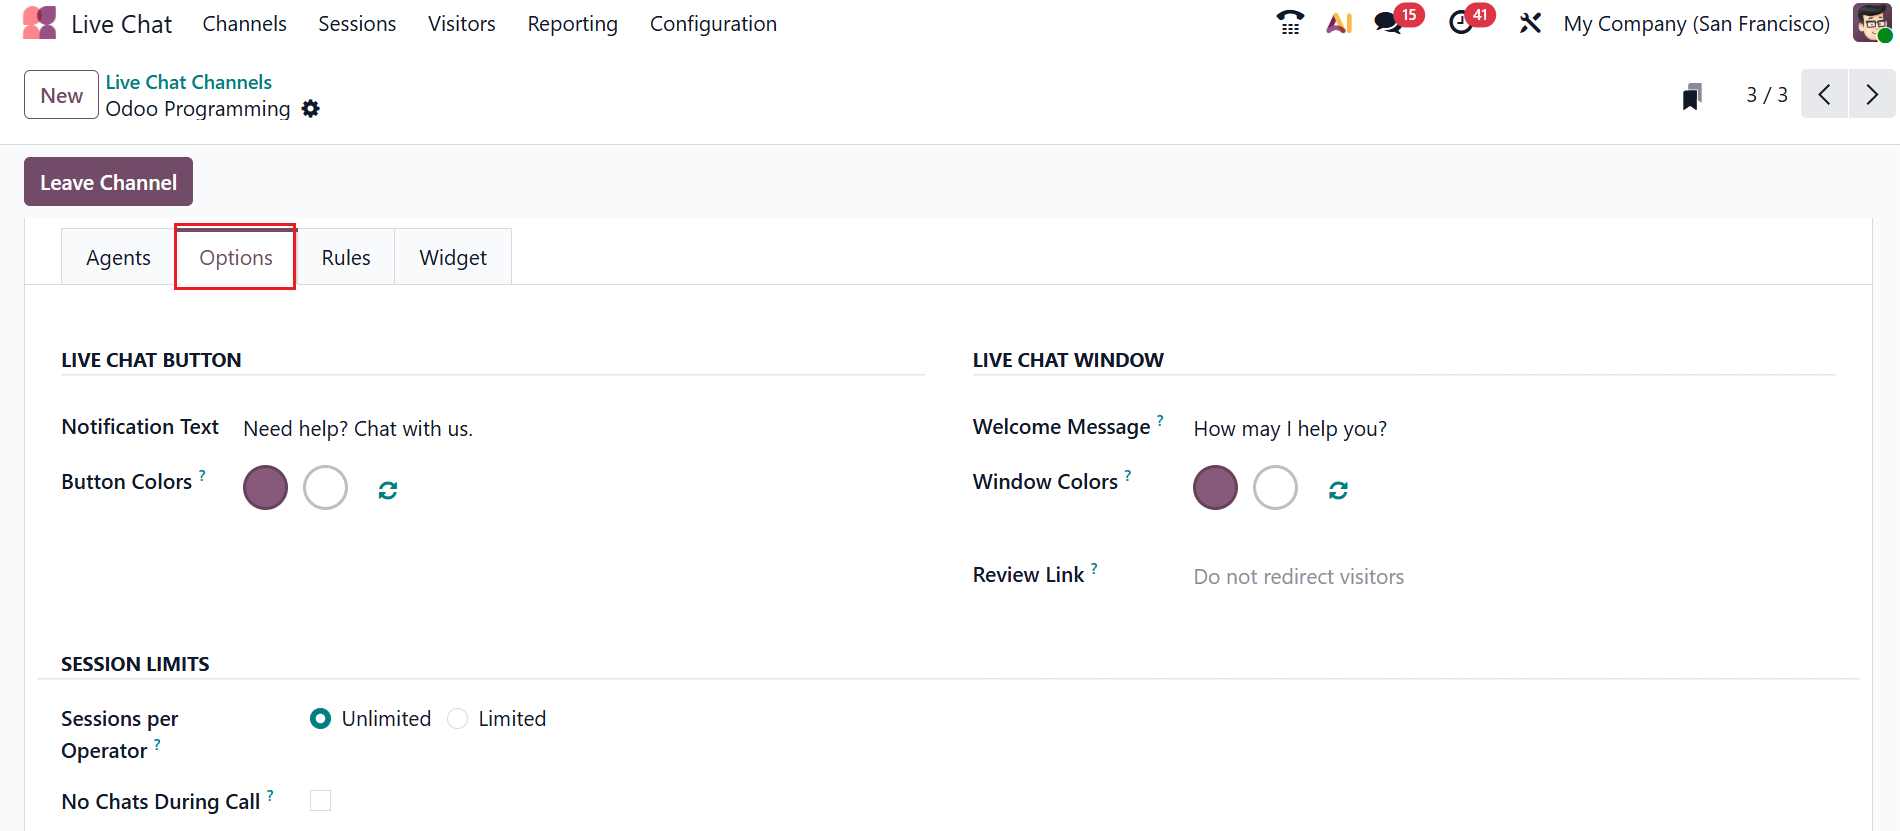
Under the Options tab, you can see three sections: Live Chat Button, Live Chat Window, and Session Limits. In the Notification Text field, you can customize the default notification message on the Live Chat support button. Specify a default background color for the button in the Button Color field
In the Welcome Message field, you can add a welcome message for the visitors when they initiate a new conversation. In the Window Color field, you can add a default background color for the channel header. In the Review Link field, visitors who leave a positive review will be redirected to the provided link.
In the Session per Operator field, select either Unlimited or Limited. If Limited, operators will only handle the selected number of sessions at a time. Enabling the No Chats During Calls field helps the agents not receive new conversations during a call.
Under the Rules tab, you can set specific rules for the live chat channel by clicking the Add a line button under the Live Chat Button section.

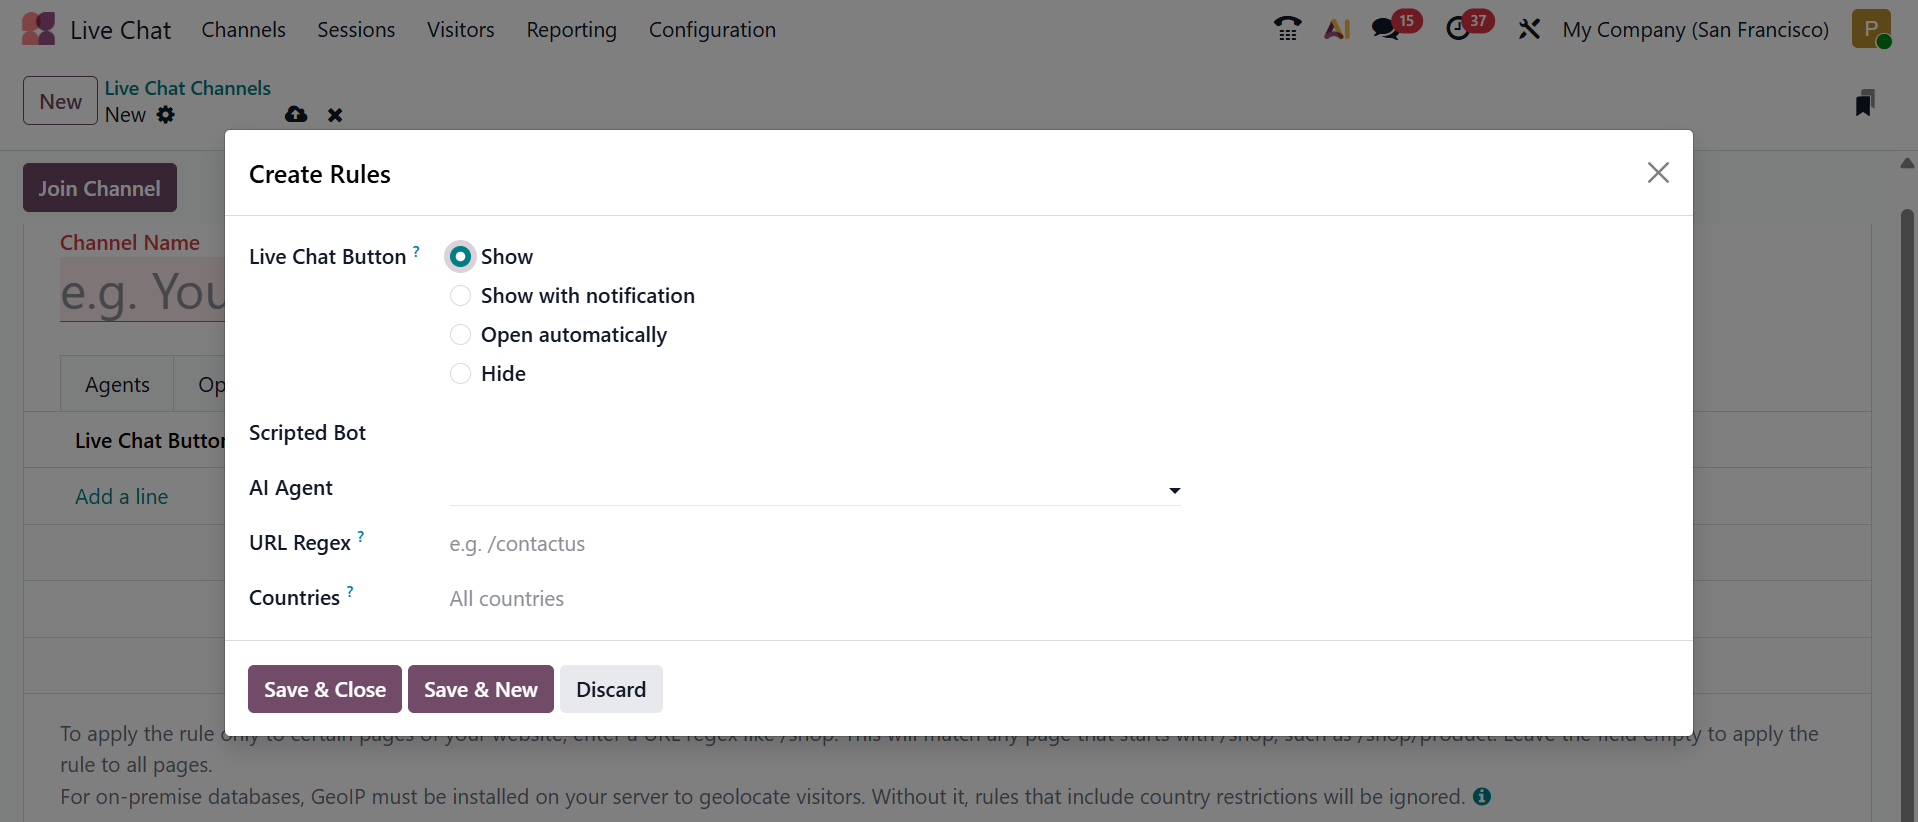
A pop-up window will appear where you can create a new rule.
In the Live Chat Button field, choose one of the following options:
- Show – displays the chat button on the page.
- Show with notification – displays the button with a small floating message.
- Open automatically – displays the button and automatically opens the conversation pane.
- Hide – hides the chat button on the page.
In the Scripted Bot field, you can add a predefined chatbot that follows fixed questions and answers. In the AI Agent field, you can choose an AI-powered chatbot that understands user questions and provides intelligent responses. In the URL Regex field, you can specify a regular expression pattern on your web page. In the Countries field, you can restrict chat visibility to selected countries.
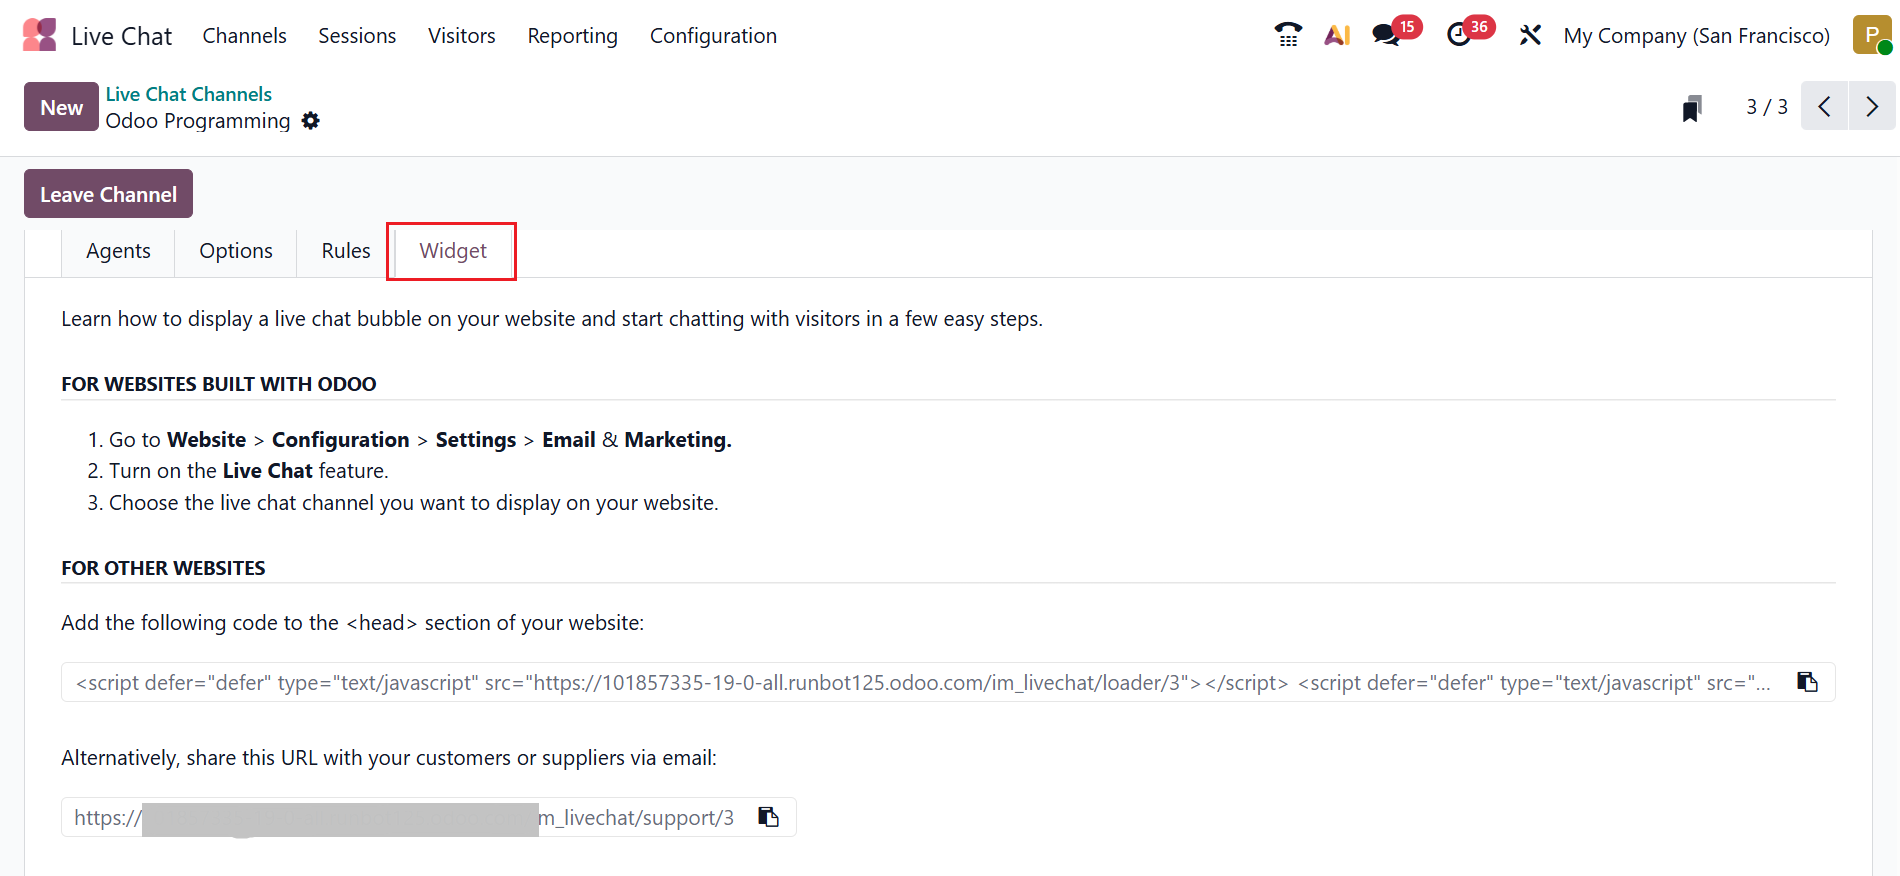
Design and customize your chat window using the Widget tab. To add a widget from a third-party platform, copy the code from the tab and insert it into your website’s tag. You can also send a live chat session to the customer by copying a link from the widget tab. This link will be directly sent to the customer.
2. Sessions
In Odoo 19, the Sessions menu displays all the records of each live chat conversation. Under the Sessions menu, you can see two options: All Conversations and Looking for Help.
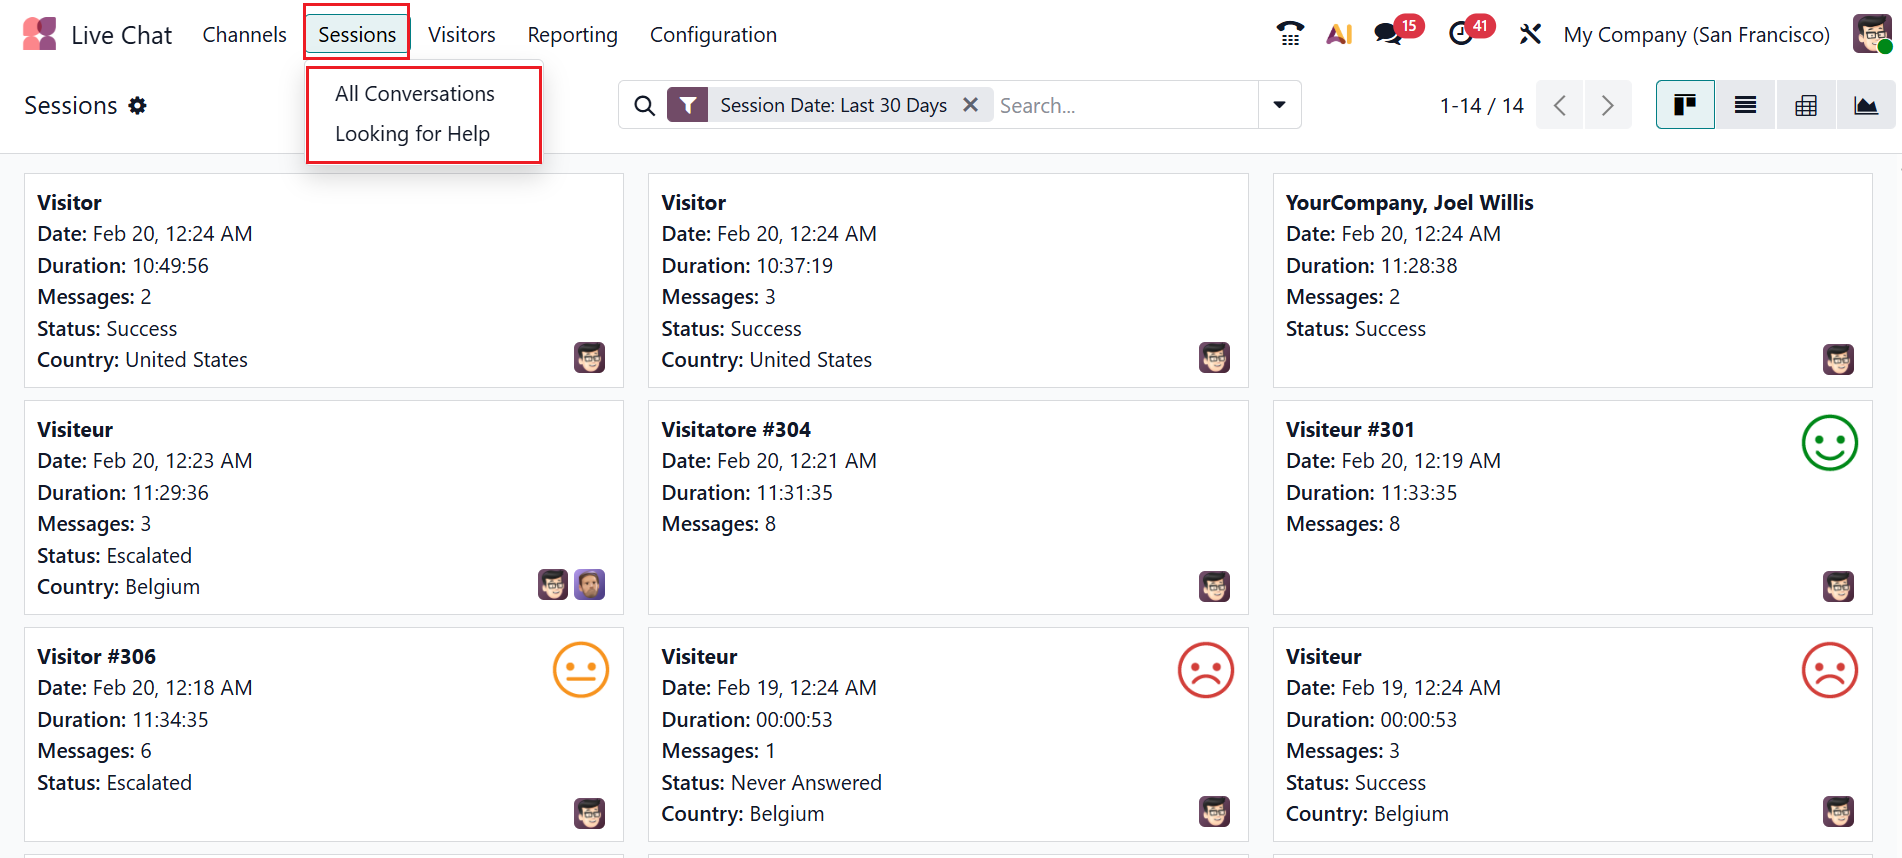
2.1 All Conversations:
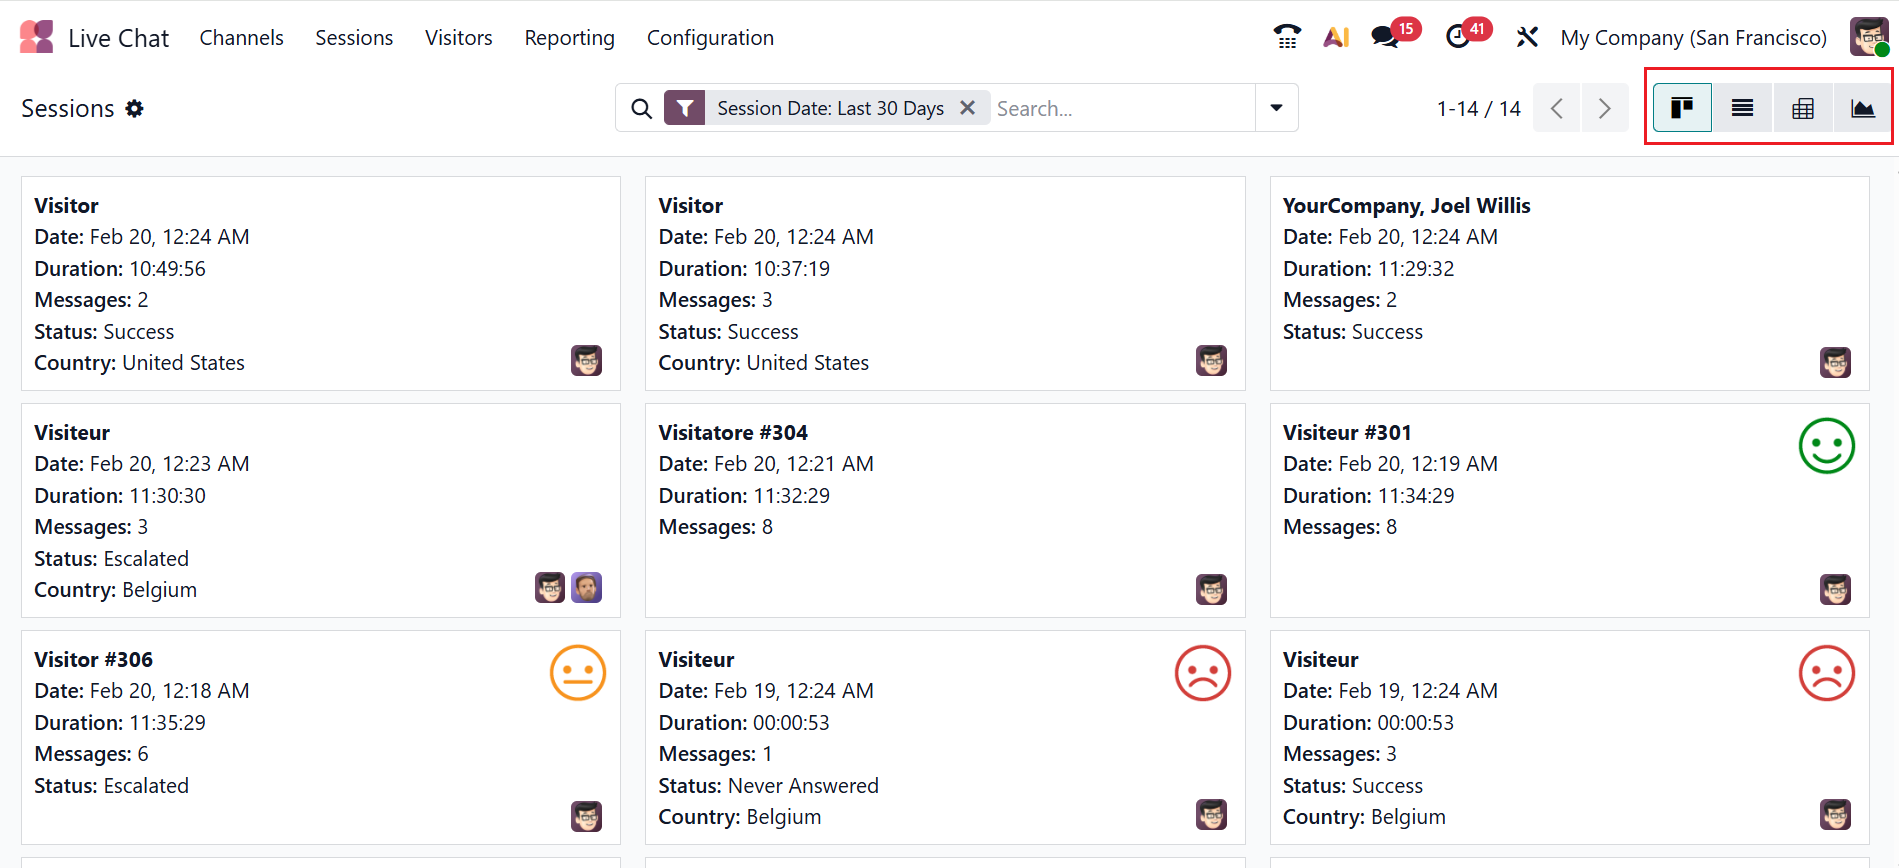
Under the All Conversations option, you can see all the sessions of the live chat in a kanban view, where each card displays complete details of a live chat conversation, including visitor info, date, duration, number of messages, status, country, customer satisfaction rating, and operator. You can also switch the view from kanban to list, pivot, and graph views.
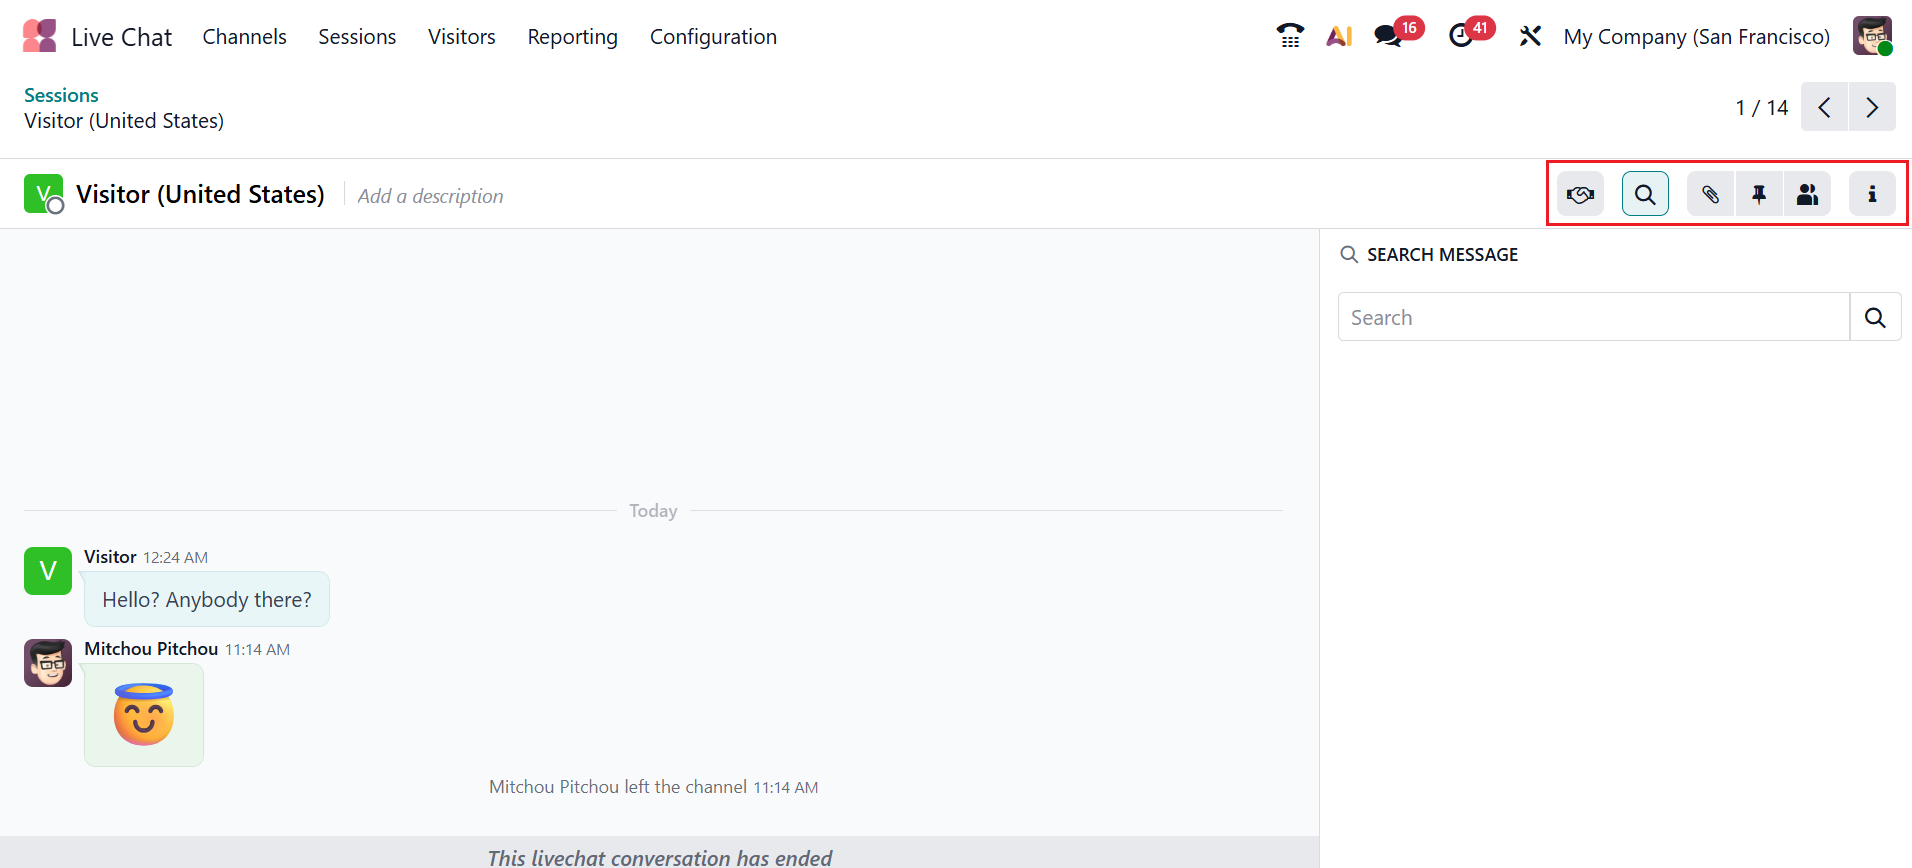
When you open a live chat card, you can see the live chat conversation as shown below. The right side of the screen displays icons for the options such as create lead, search messages, attachments, pinned messages, members, and the information panel of the live chat conversation.
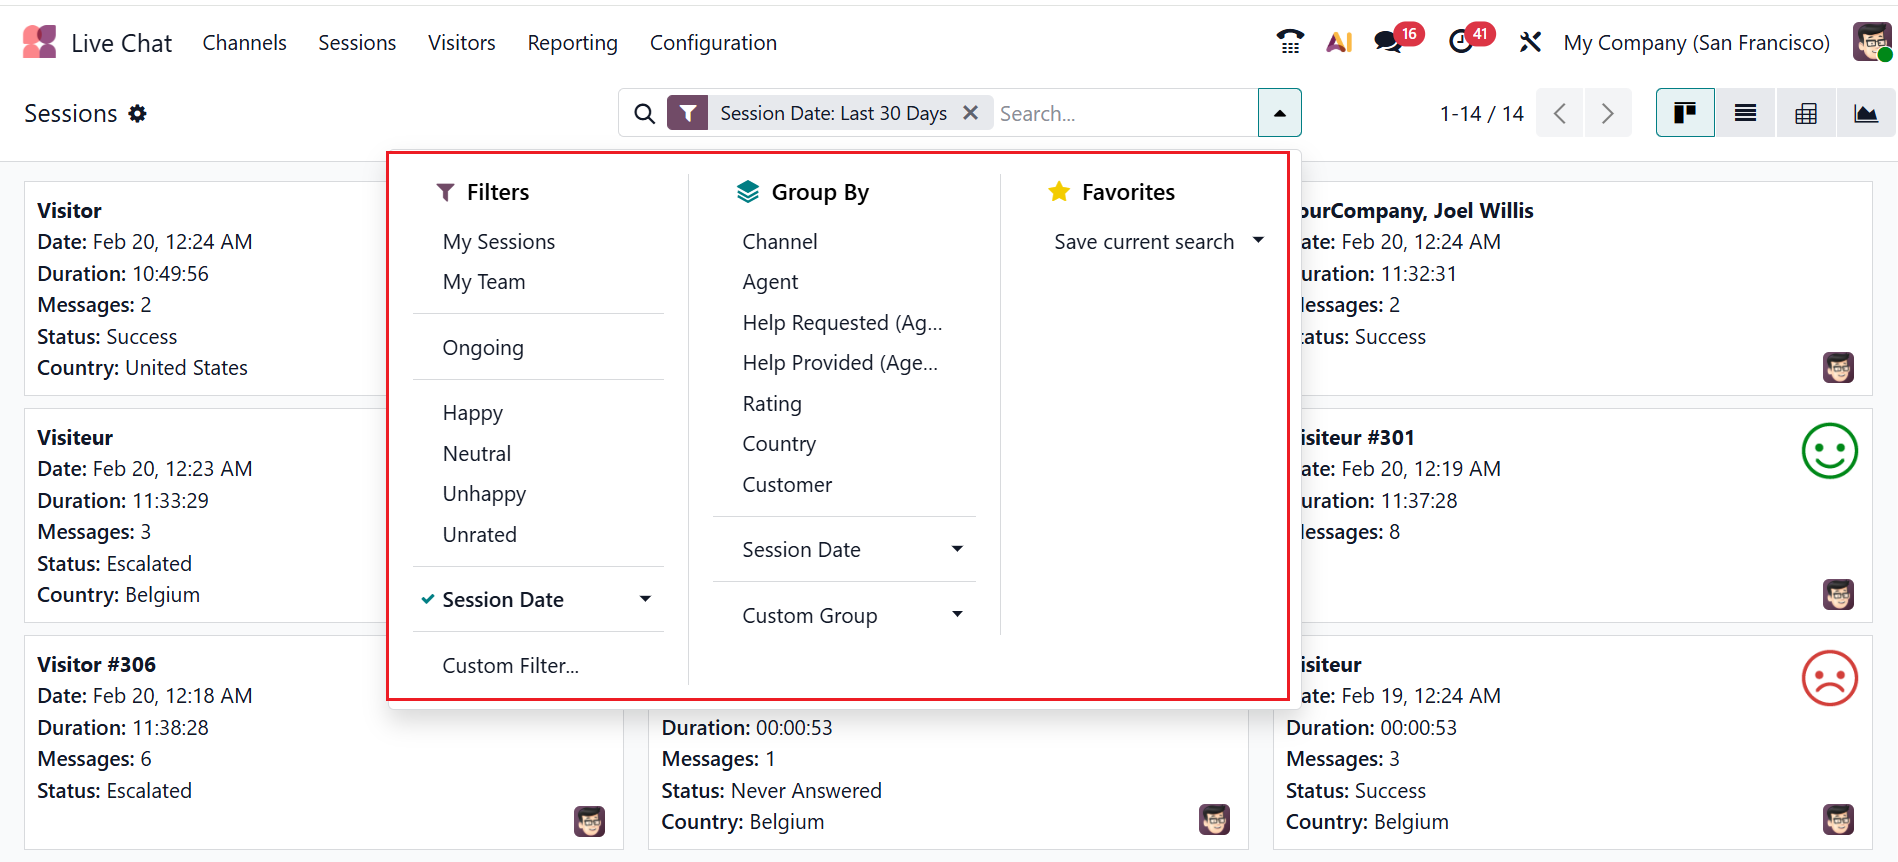
Access Filters, Group By, and Favorites by clicking the drop-down menu in the search bar. You can filter the session based on My Sessions, My Team, Ongoing, Happy, Neutral, Unhappy, Unrated, Session Date, and Custom Filter. You can group the sessions based on Channel, Agent, Help Requested(Agent), Help Provided(Agent), Rating, Country, Customer, Session Date, and Custom Group. You can also save the current searches as favorites.
2.2 Looking for Help:
In Odoo 19, the Looking for Help option displays all the conversations that came under the status Looking for Help. Here, agents can identify which conversation needs an immediate action, and inform other agents which conversation requires expertise. You can also view the details of the conversation, such as Date, Description, Agents, Customer, Country, Language, and Expertise.

3. Visitors
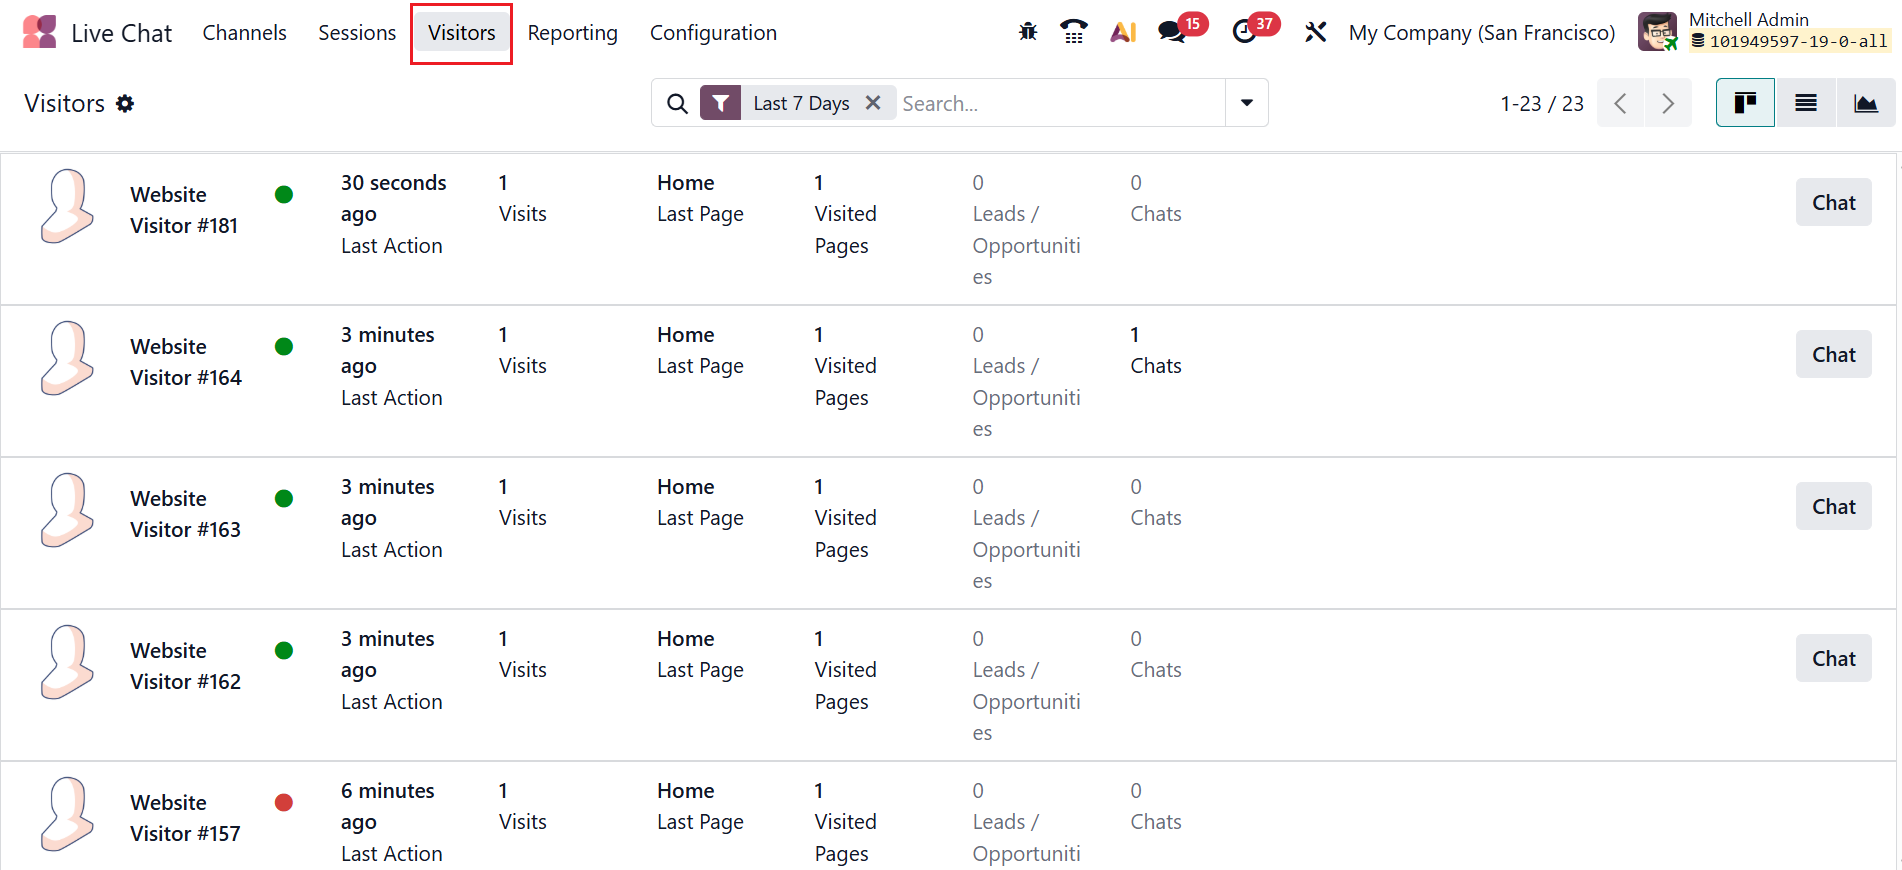
The Odoo 19 Live Chat module is fully integrated with the Discuss module, allowing chat conversations to appear directly as messages within Discuss. Here, you can see a list of visitors who are currently browsing your website, even if they have not started a chat. You can view the details of visitors, such as visitor name, status indicator (green indicates active and red indicates inactive), last action, number of visits, last page the visitor viewed, number of visited pages, number of created leads/opportunities, and number of chats. Manually begin a conversation with the visitor by clicking the Chat button. You can also switch the view from Kanban to List or Graph views.
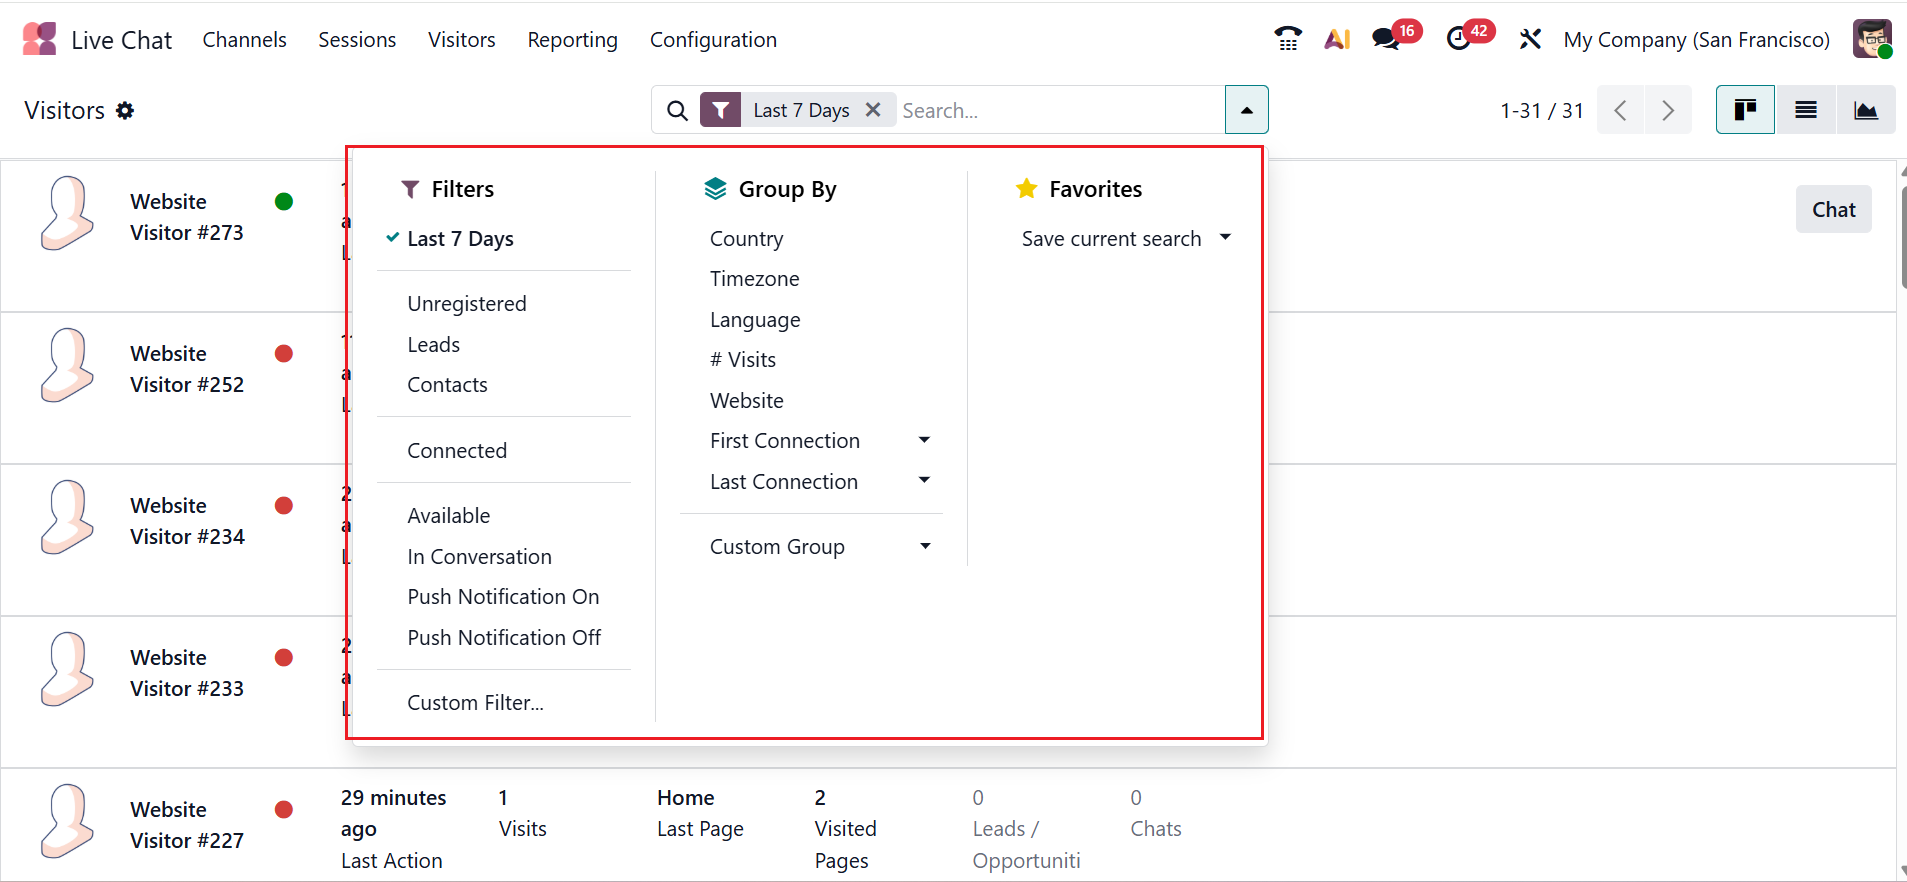
Access Filters, Group By, and Favorites by clicking the drop-down menu in the search bar. Under Filters, you can refine the Visitors menu using criteria such as Last 7 Days, Unregistered, Leads, Contacts, Connected, Available, In Conversation, Push Notification On, Push Notification Off, or create a Custom Filter.
You can group the visitors menu based on options such as Country, Timezone, Language, #Visits, Website, First Connection, Last Connection, and Custom Group. You can also save the current searches as favorites.
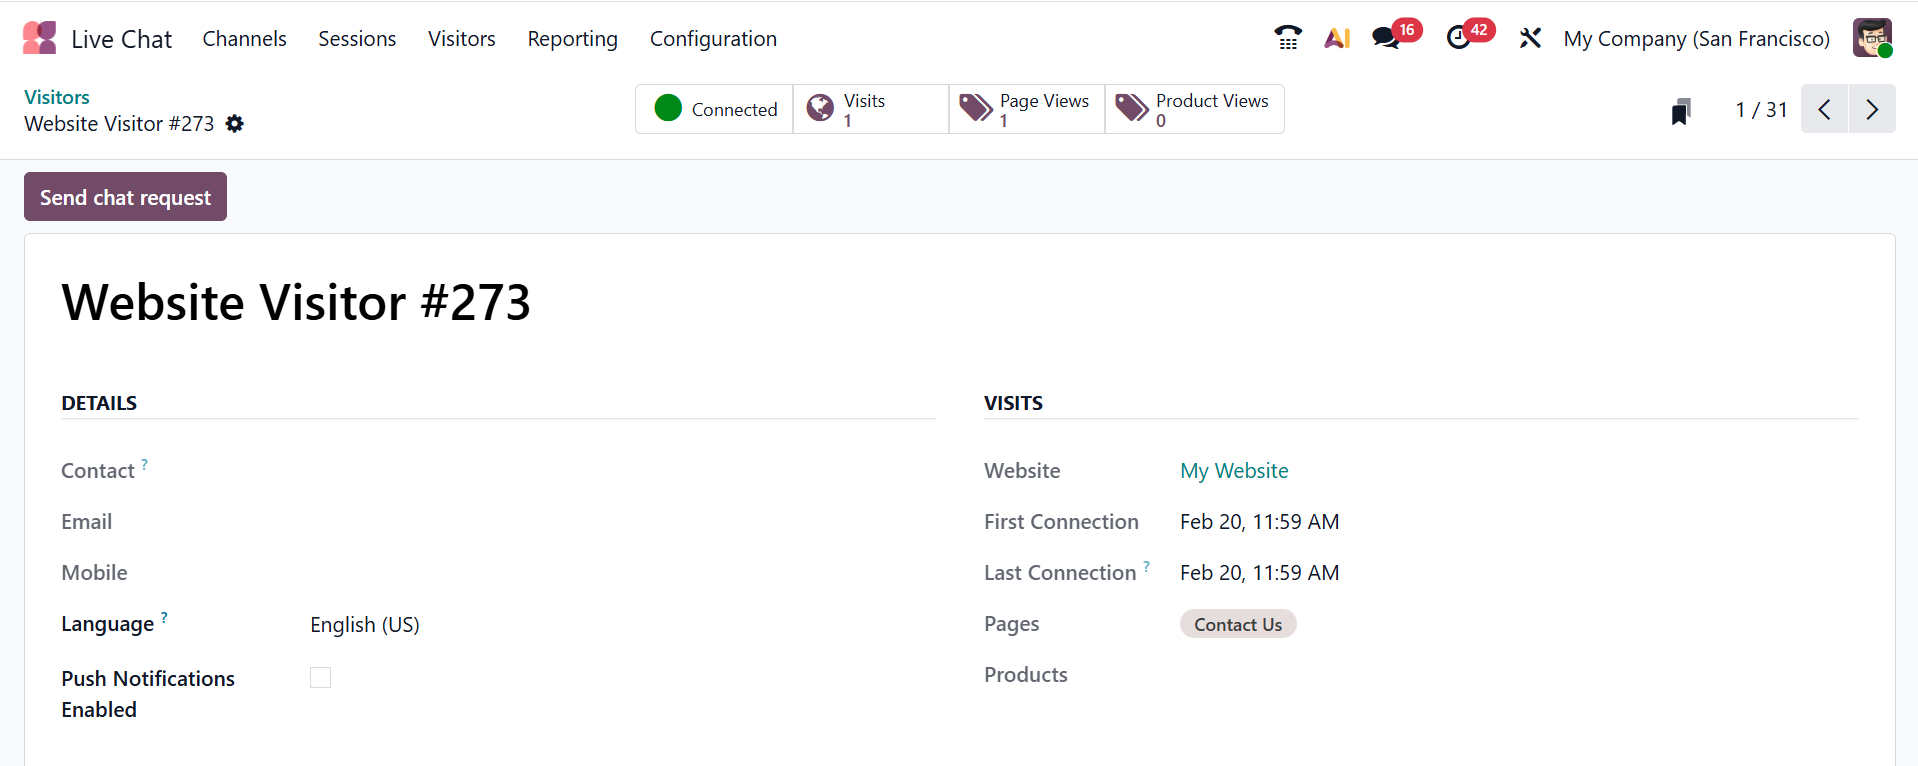
As you move from one visitor to another, a new window will open, as shown below. Here, you can see the details of the visitor, including Contact, Email, Mobile, Language, Push Notifications Enabled, Website, First Connection, Last Connection, Pages, and Products. The smart tabs of the visitor page includes visitor status, visits, page views, and product views.