Configuration
1.1 Website
Odoo 19 allows users to manage multiple websites from a single database. This feature is especially useful for businesses that operate multiple brands, stores, or region-specific websites. Each website can have its own domain, design theme, language settings, and configuration while still being managed from one centralized backend.
To manage websites, navigate to Website → Configuration → Websites. This will open the Websites window, where all configured websites are displayed in a list view. The window provides a clear overview of the available websites along with key information such as the Website Name, Website Domain, Default Language, and the Theme applied to the site.
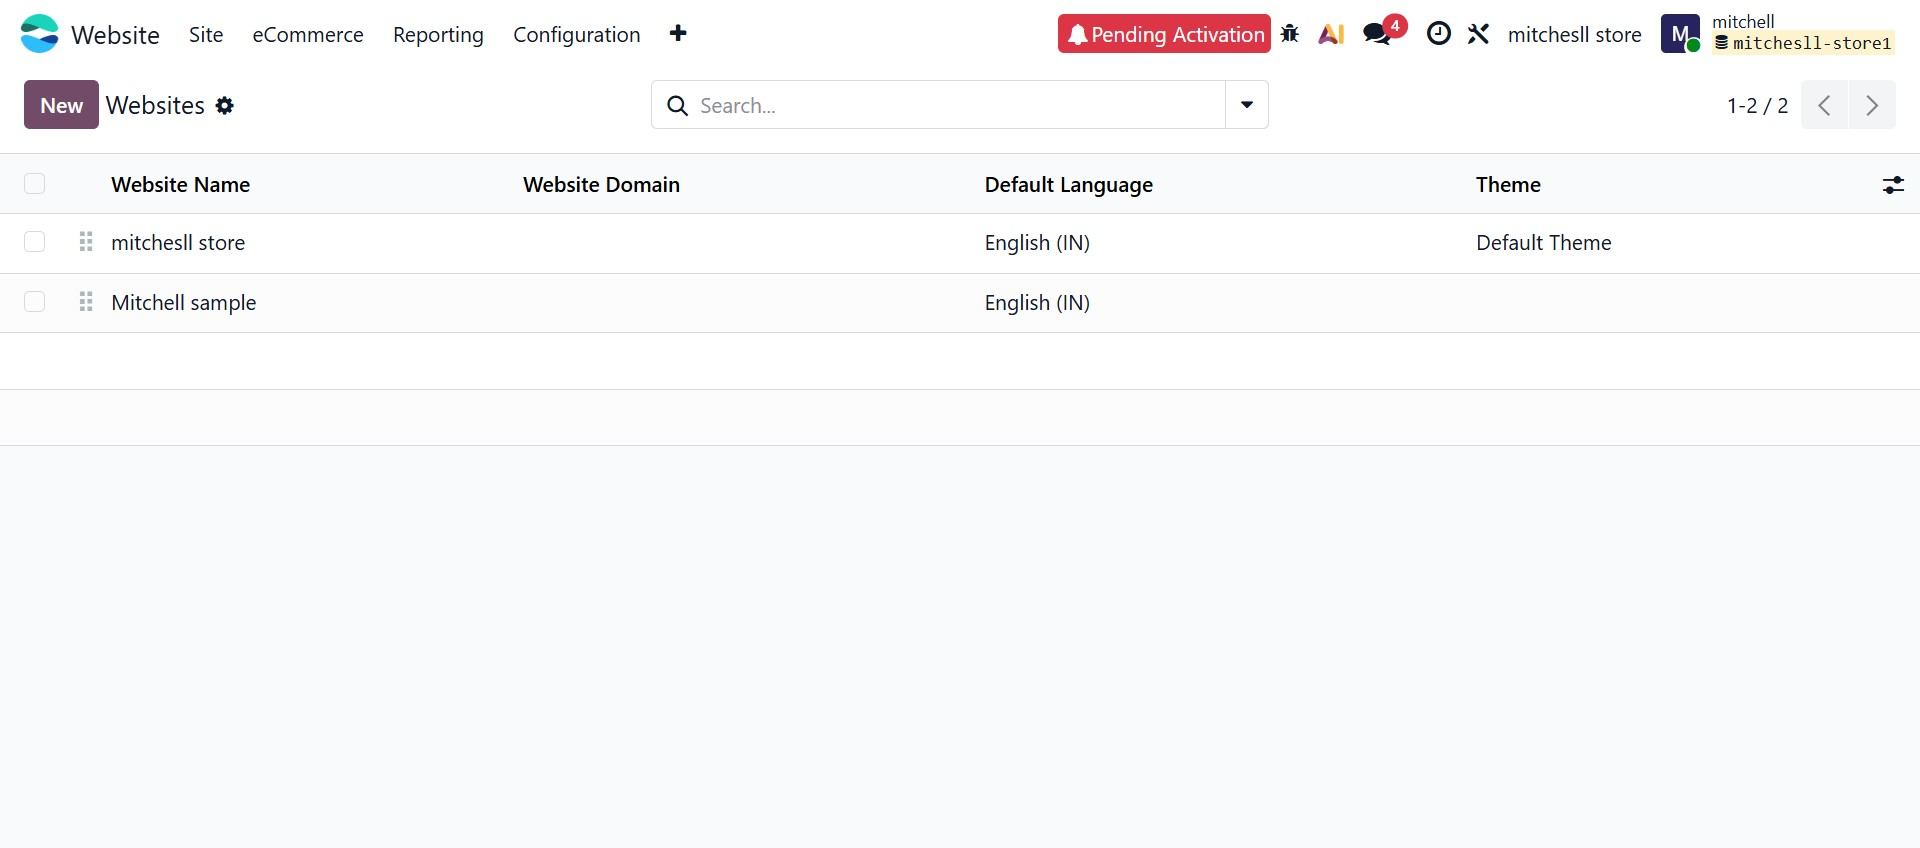
Users can easily locate a specific website using the Search bar available at the top of the page. The interface also provides Filter and Group By options, allowing administrators to organize websites based on different criteria.
To create a new website, click the New button. Selecting an existing website from the list will open its configuration form, where users can modify its settings.
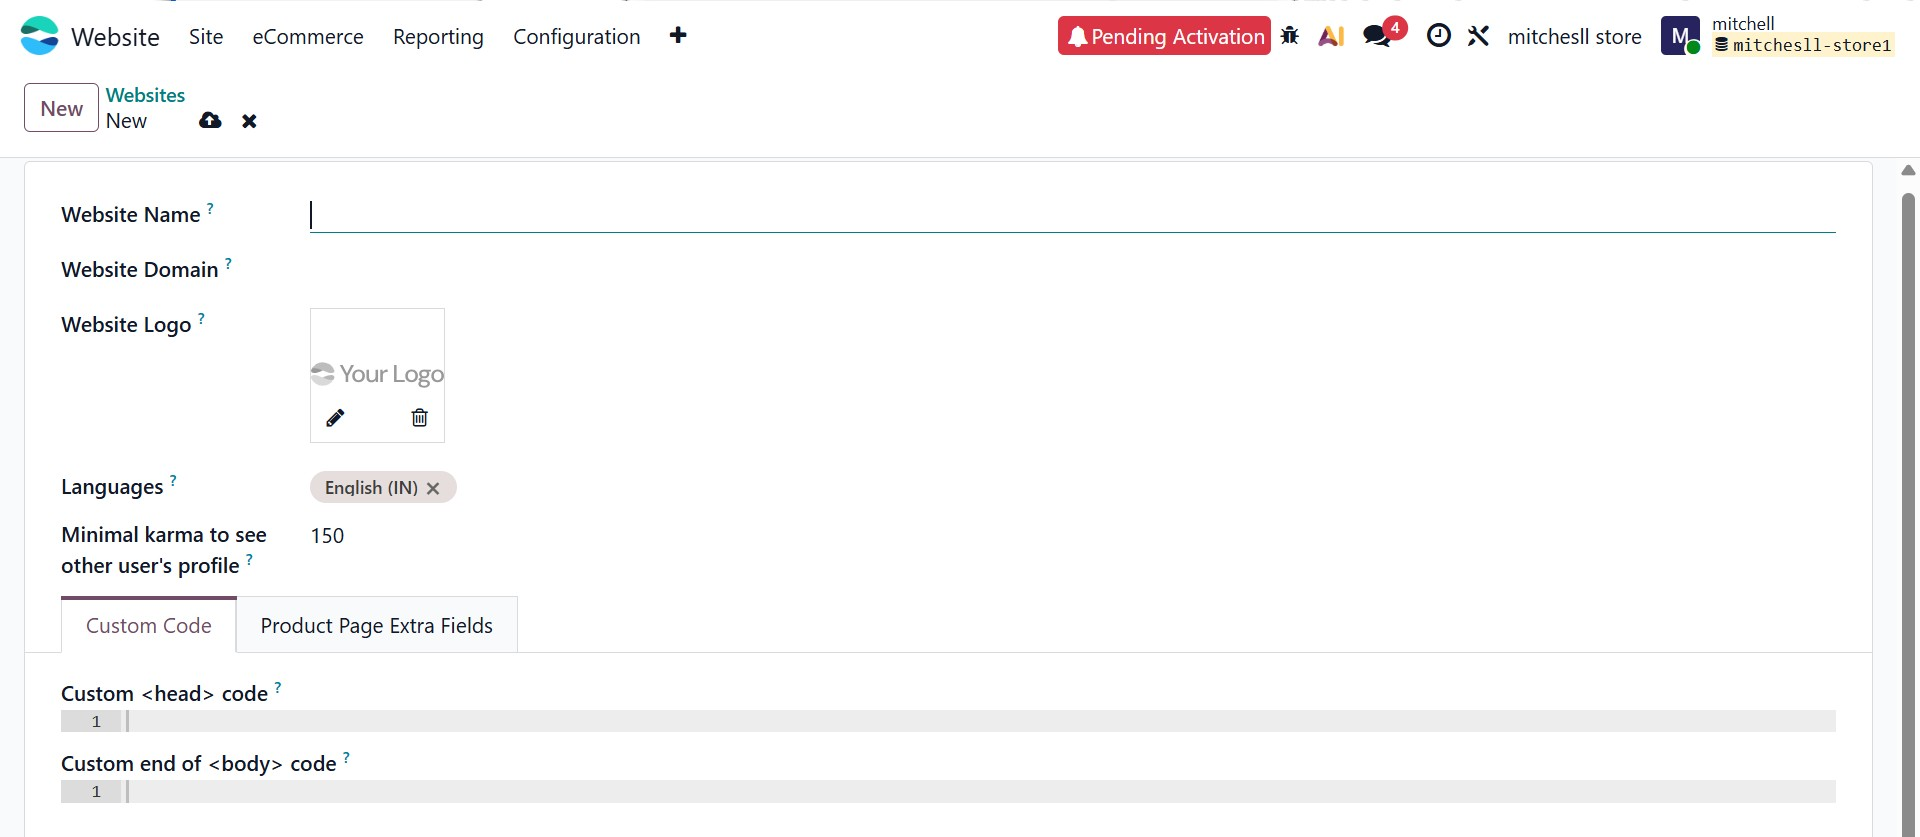
In the website configuration form, you can define the basic details of the website. The Website Name field allows you to specify the internal name used to identify the website within Odoo. The Website Domain field is used to enter the URL where the website will be hosted. You can also upload a Website Logo, which will appear in the website header and other related pages. The Languages field allows you to select the languages available on the website for visitors.
The Minimal Karma field can be used to define the number of karma points required for users to access certain community features, such as viewing other users’ profiles.
For advanced customization, additional configuration tabs are available in the form. The Custom Code section allows developers to insert custom scripts or code snippets into the website. For example, scripts such as analytics tracking or meta tags can be added in the Custom
code field, whike tracking pixels or chat widgets can be added in the Custom end of code field.
le tools liThe Product Page Extra Fields tab allows users to configure additional information that can be displayed on product pages, providing more flexibility in customizing the eCommerce experience.
After completing the configuration, click the Save button to apply the changes. Once saved, the website will be ready to be customized and published according to your business requirements.
1.2 Apps
Odoo 19 allows users to extend website functionality by installing additional website-related applications. These applications provide extra features such as contact forms, online job postings, event management, SMS communication, and other tools that enhance the capabilities of the website.
To access available website applications, navigate to Website → Configuration → Apps. This opens the Apps window, where all applications related to the Website category are displayed.
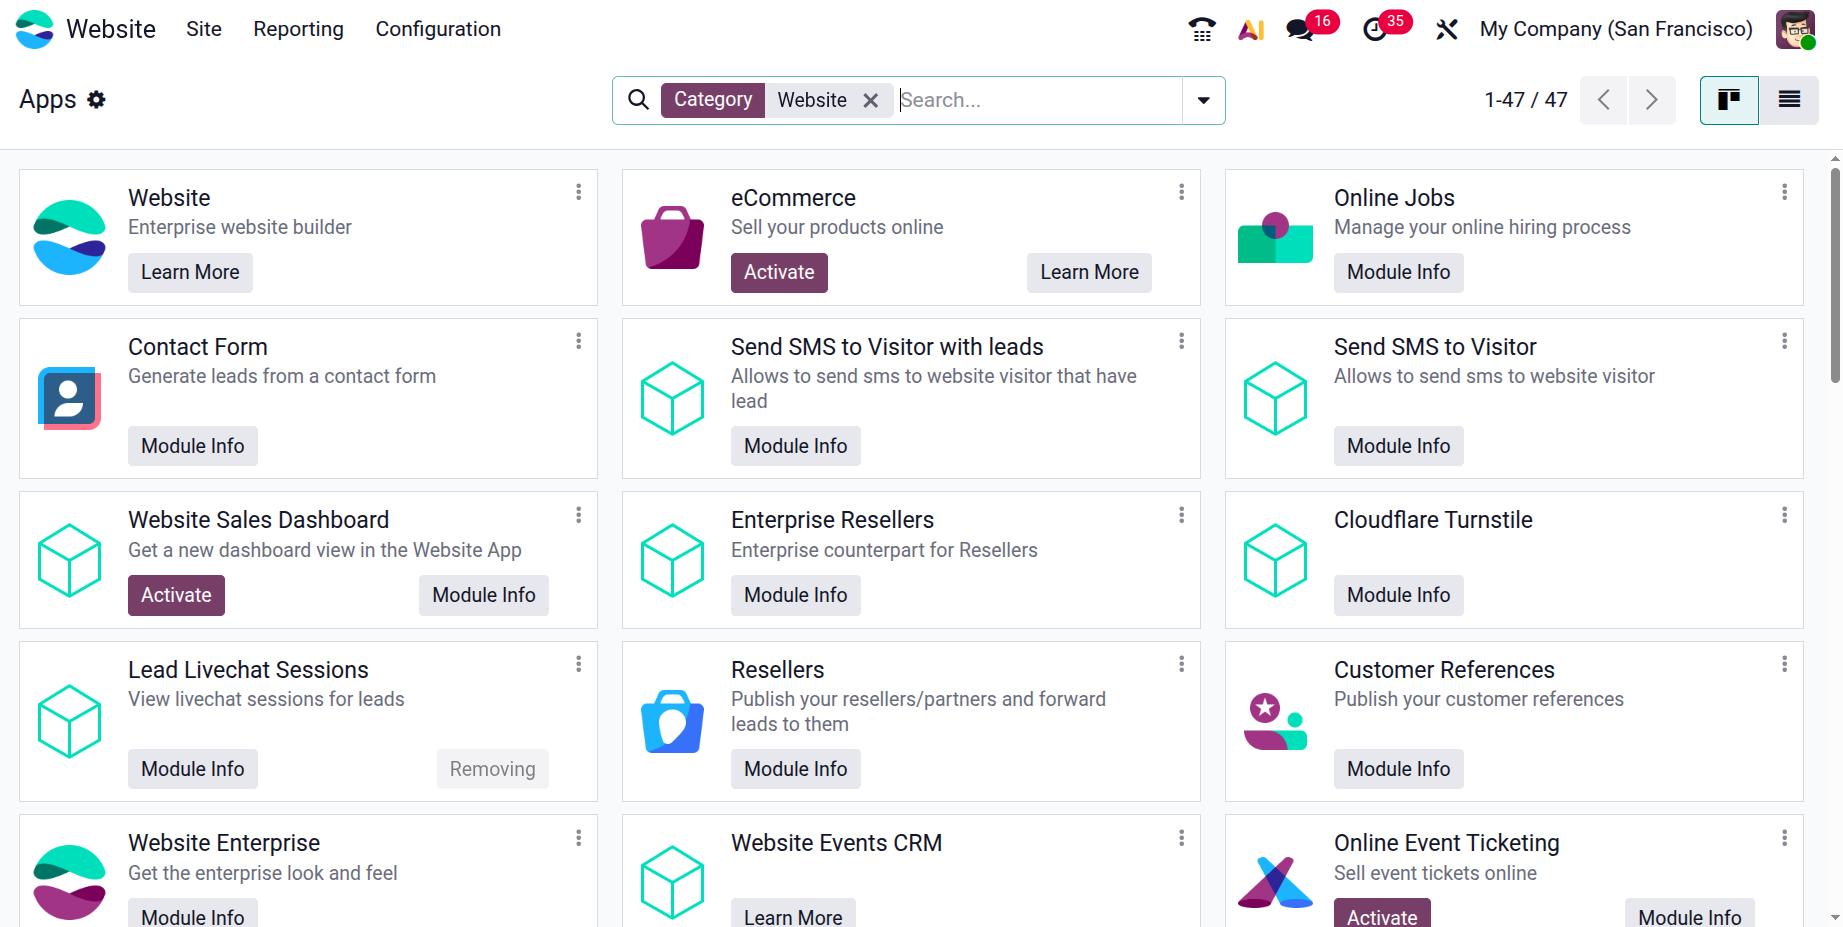
The apps are presented in a card-style view, showing the application name, description, and installation options. Each card includes buttons such as Install, Learn More, Upgrade, or Module Info, allowing users to review details about the application before installing it.
Users can easily locate specific applications using the Search bar at the top of the window. The interface also provides filtering options through Categories, enabling users to browse apps based on functional areas such as Sales, Services, Marketing, Accounting, Human Resources, and Website.
To install an application, click the Install button on the desired app card. Once installed, the corresponding functionality becomes available within the system and may introduce new menus, configuration options, or website features.
1.3 Appointments
The Odoo 19 Website module also integrates online appointment scheduling functionality. This feature enables customers to book appointments directly through your website. To use this functionality, the Appointments module must be installed from the Odoo Apps menu, as it works in close integration with both the Website and Calendar modules.
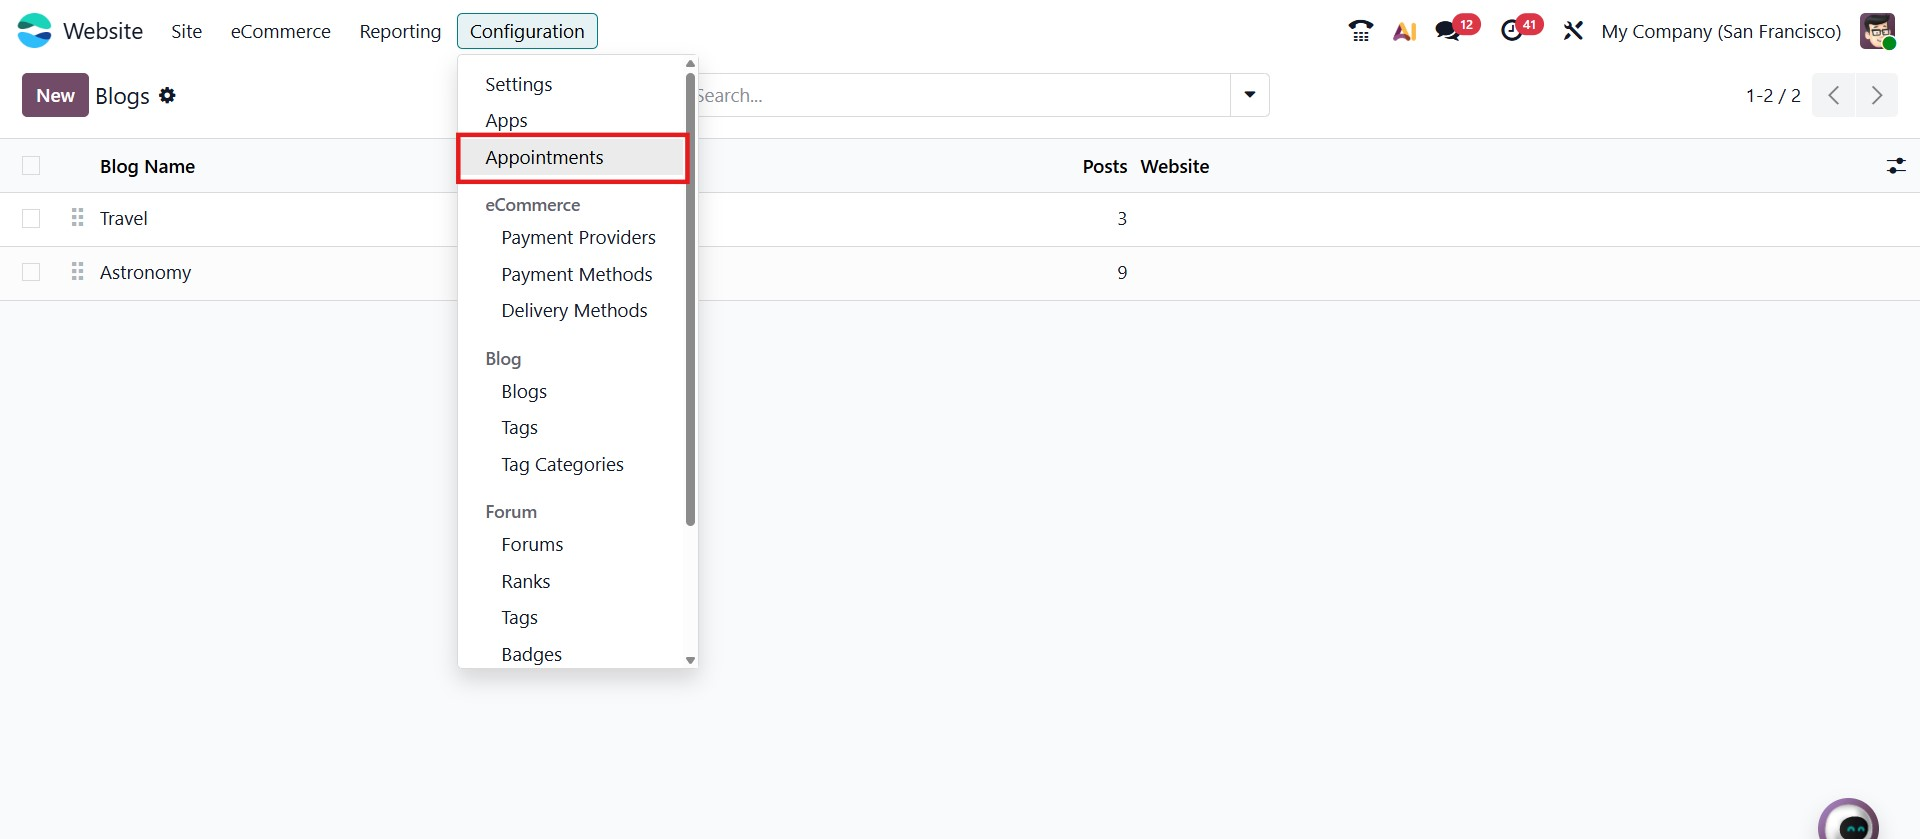
To manage appointment settings from the backend, navigate to Website → Configuration → Appointments. This opens a window displaying all previously created appointment types in List or Kanban view.
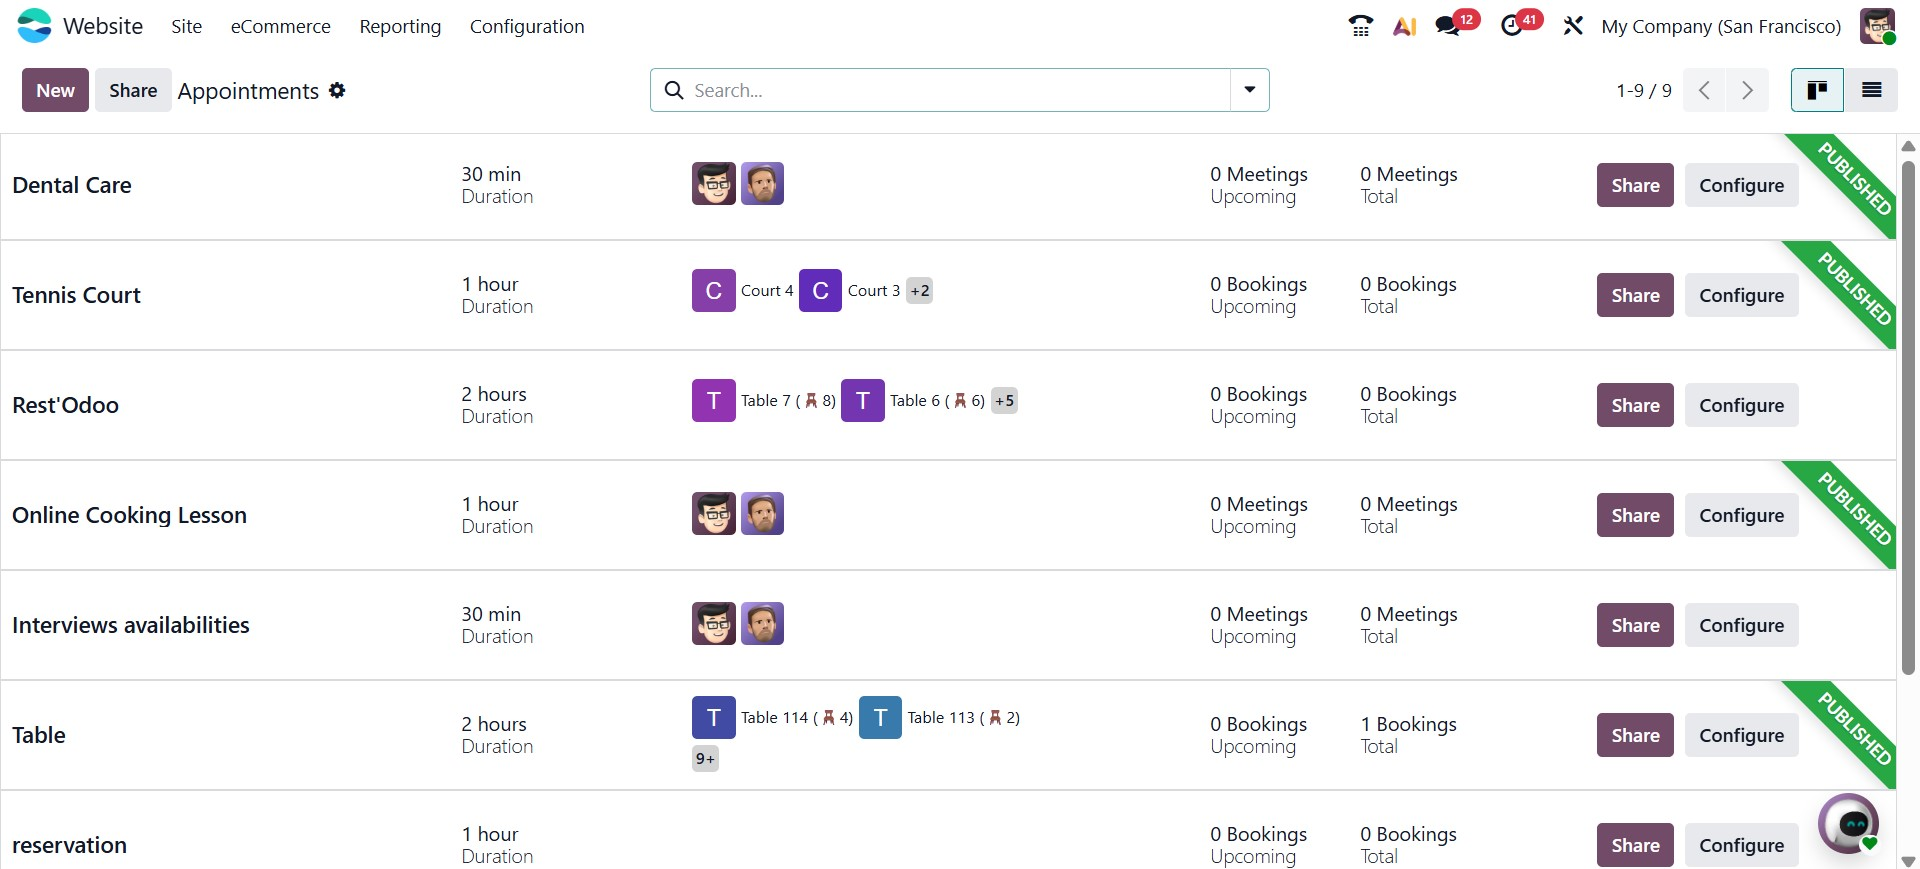
To create a new appointment, click the New button and select an appropriate preset that matches your business requirements.
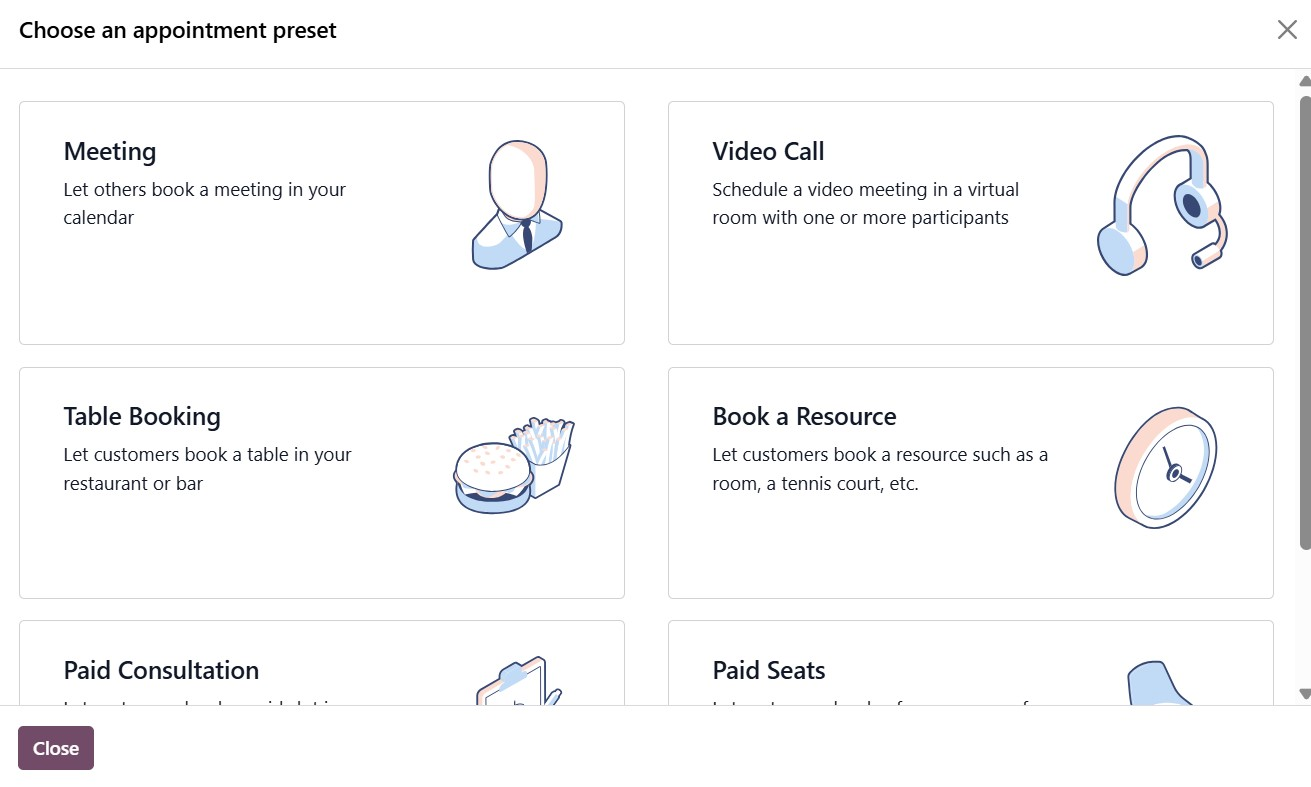
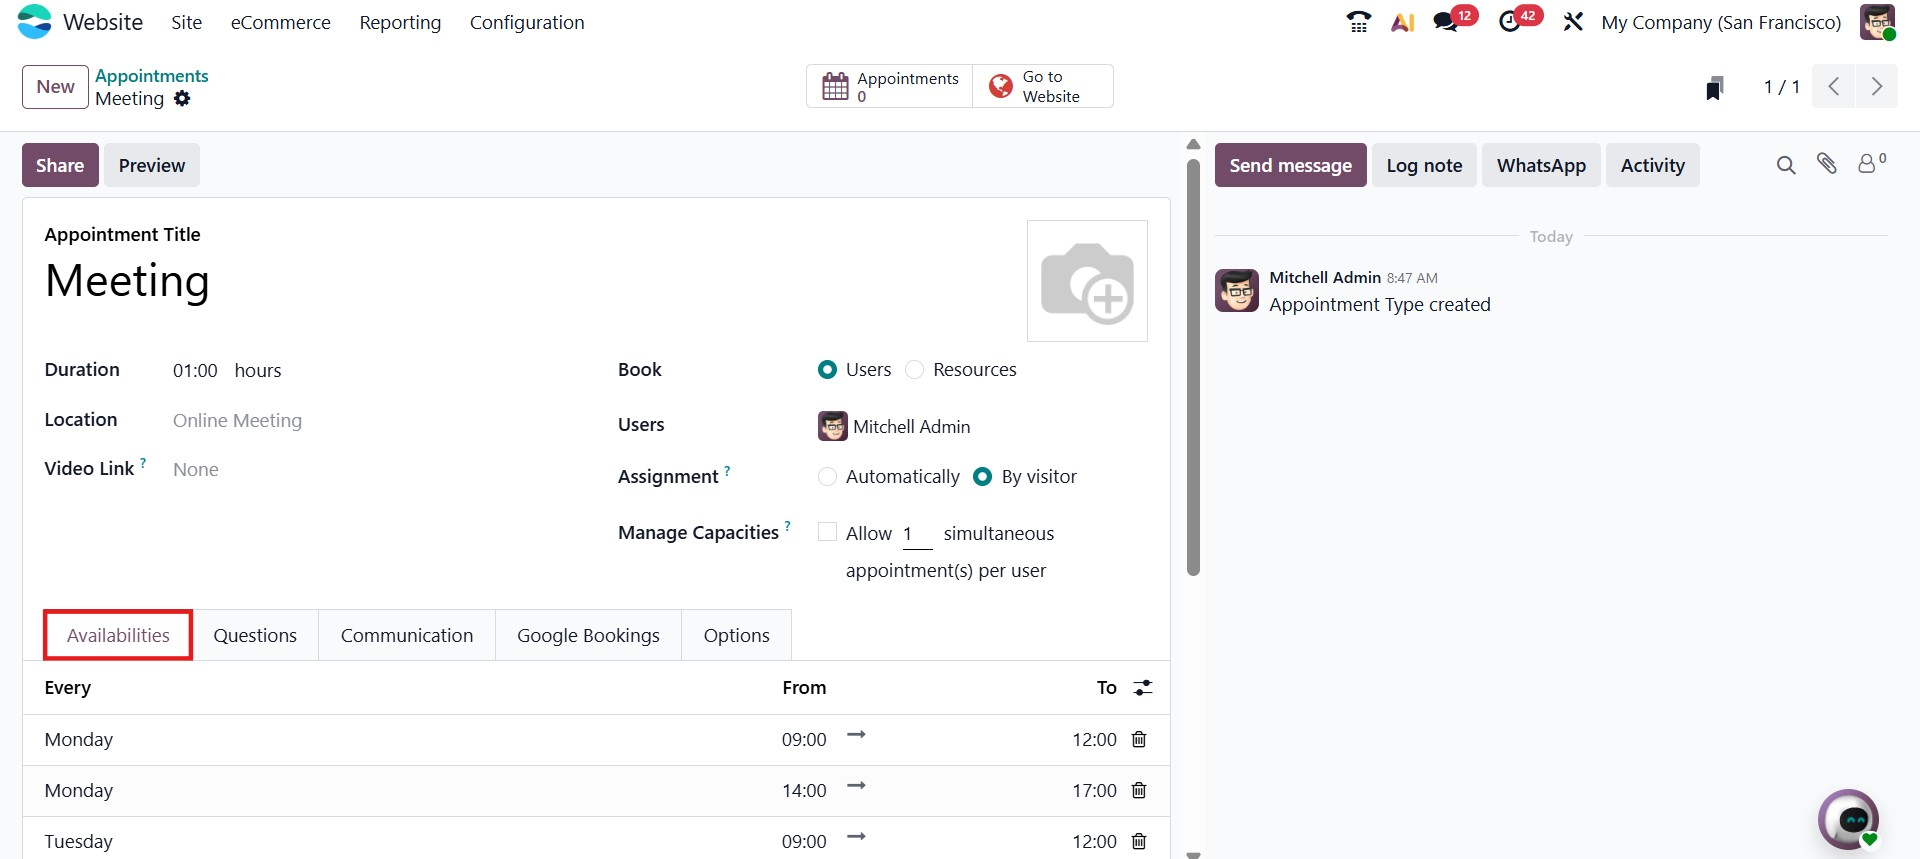
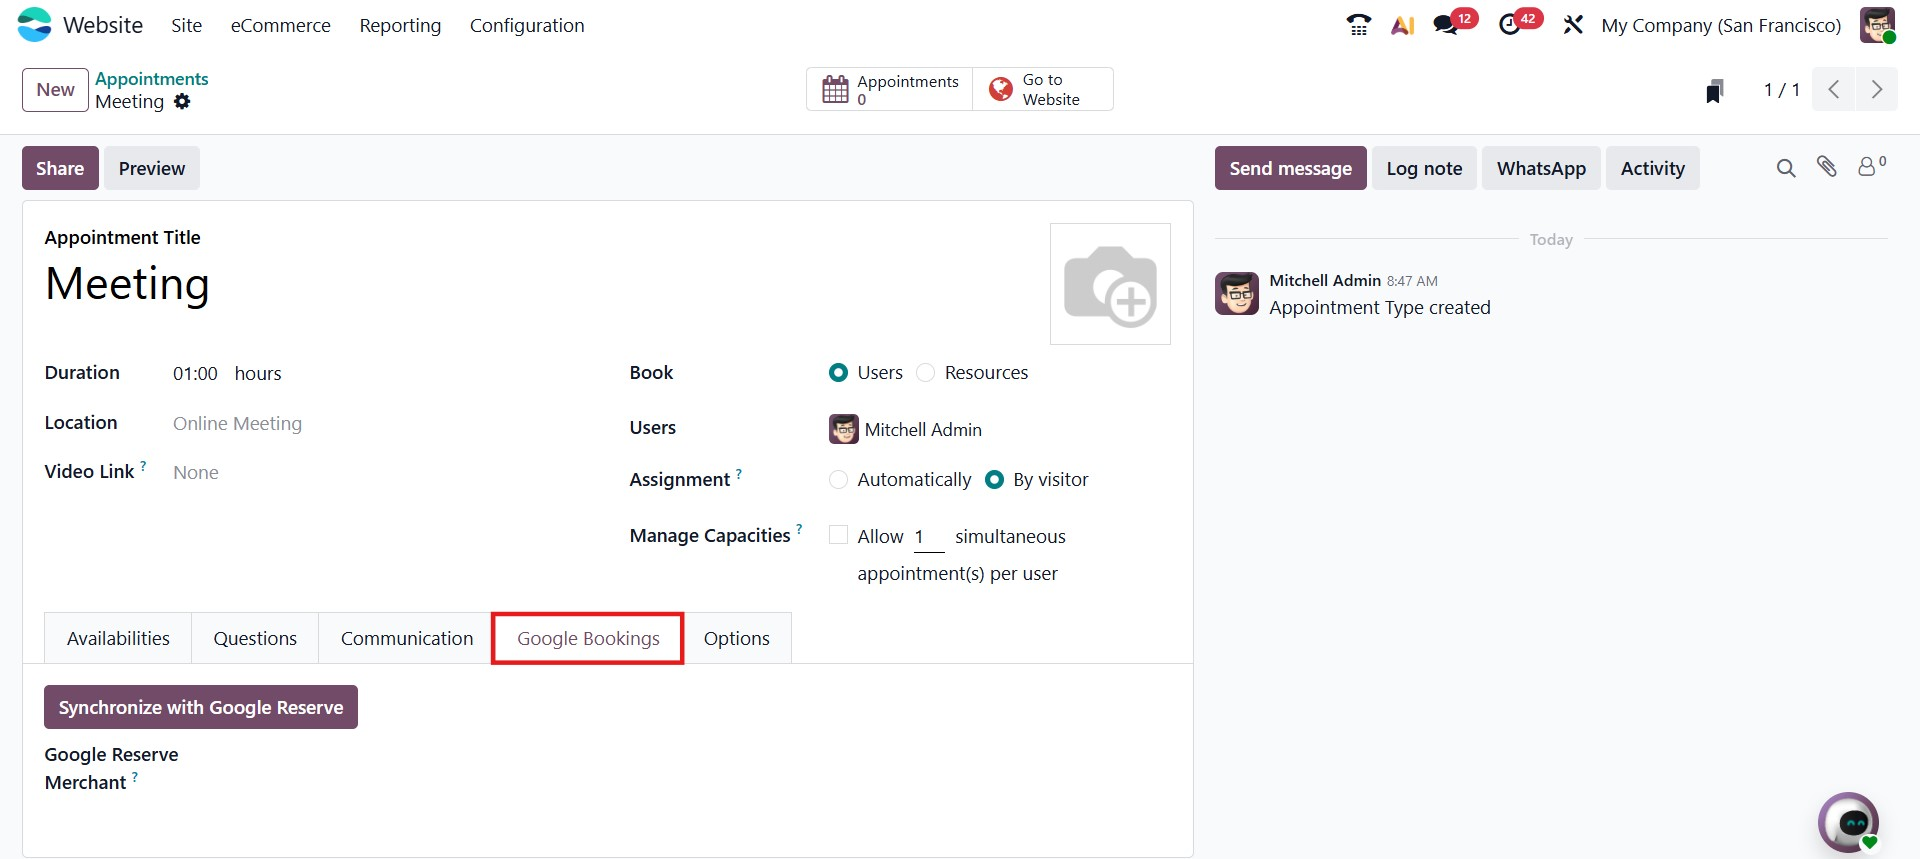
Once a preset is selected, the appointment configuration form opens, allowing you to define the appointment title, duration, location, and assignment method. The form is organized into multiple tabs to simplify configuration and management.
In the Availabilities tab, you can define the working schedule for the appointment type. This section allows you to specify the days of the week and corresponding time slots during which appointments can be booked. You may configure multiple time ranges within a single day to accommodate breaks or varied working hours. The system also allows you to define scheduling parameters such as how far in advance appointments can be booked, the minimum time required before booking, and the time interval between available slots. These settings ensure that customers can only select time slots that align with your operational availability.
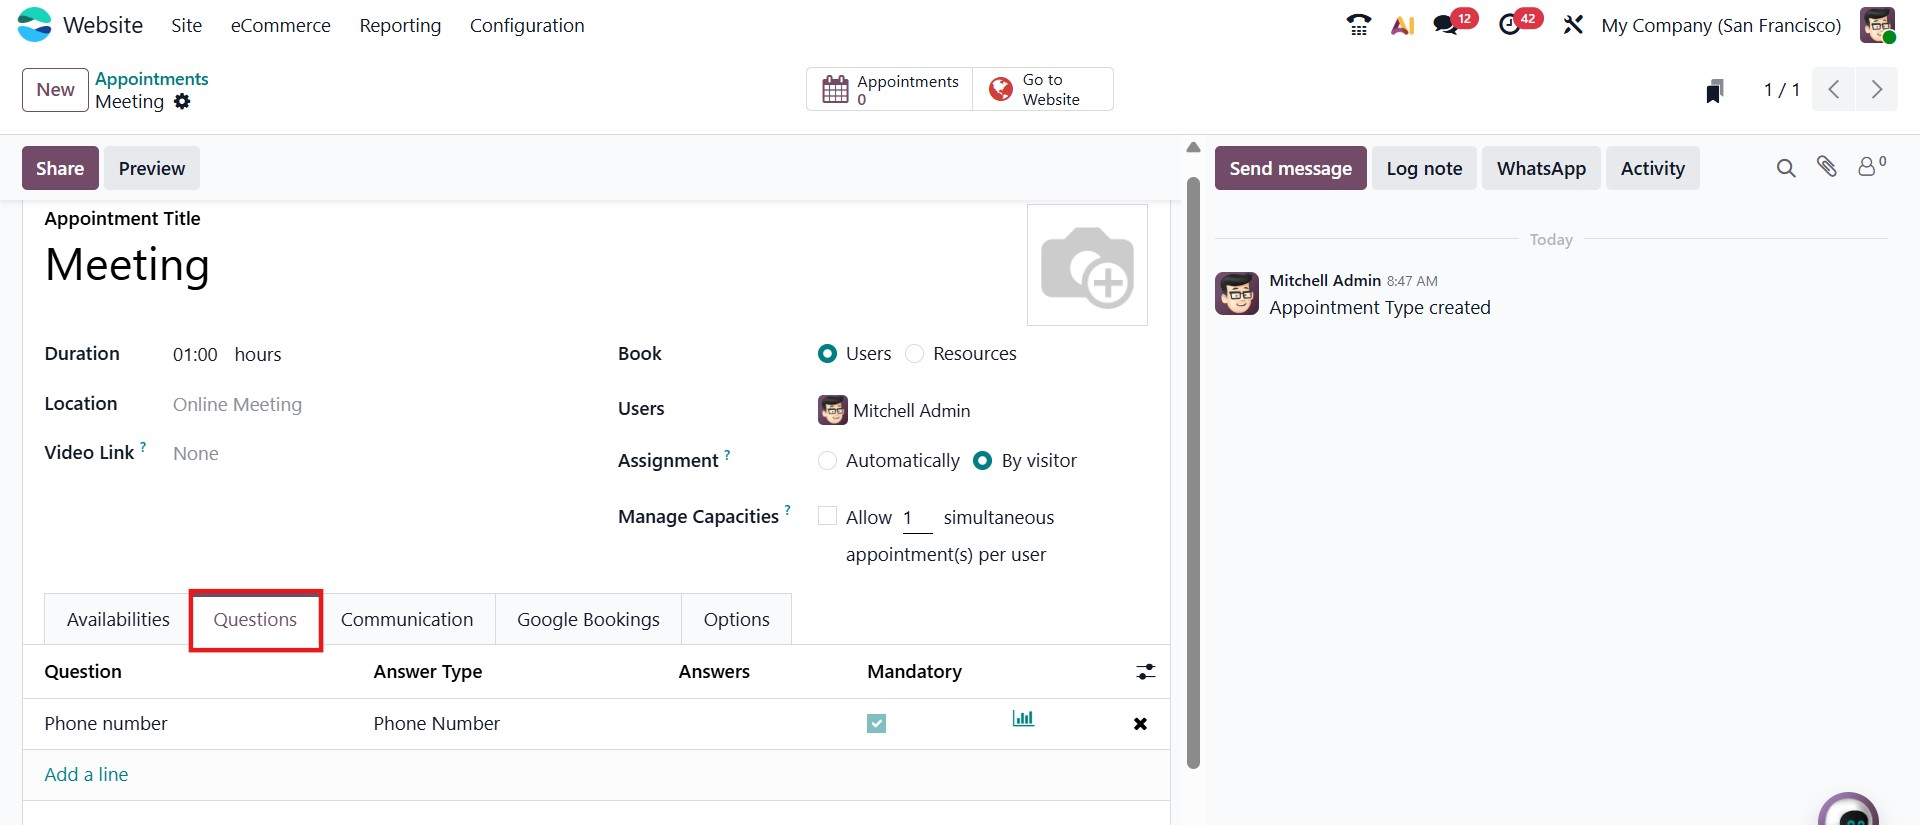
The Questions tab enables you to collect additional information from customers during the booking process. By clicking the Add a Line button, you can create custom questions that will appear on the appointment form. For each question, you can define the answer type, such as Single-line Text, Phone Number, Checkboxes (multiple answers), Dropdown (single answer), or Radio buttons (single answer). You also have the option to mark questions as mandatory to ensure required information is collected before confirmation. This feature helps businesses gather relevant details in advance, improving preparation and service efficiency.
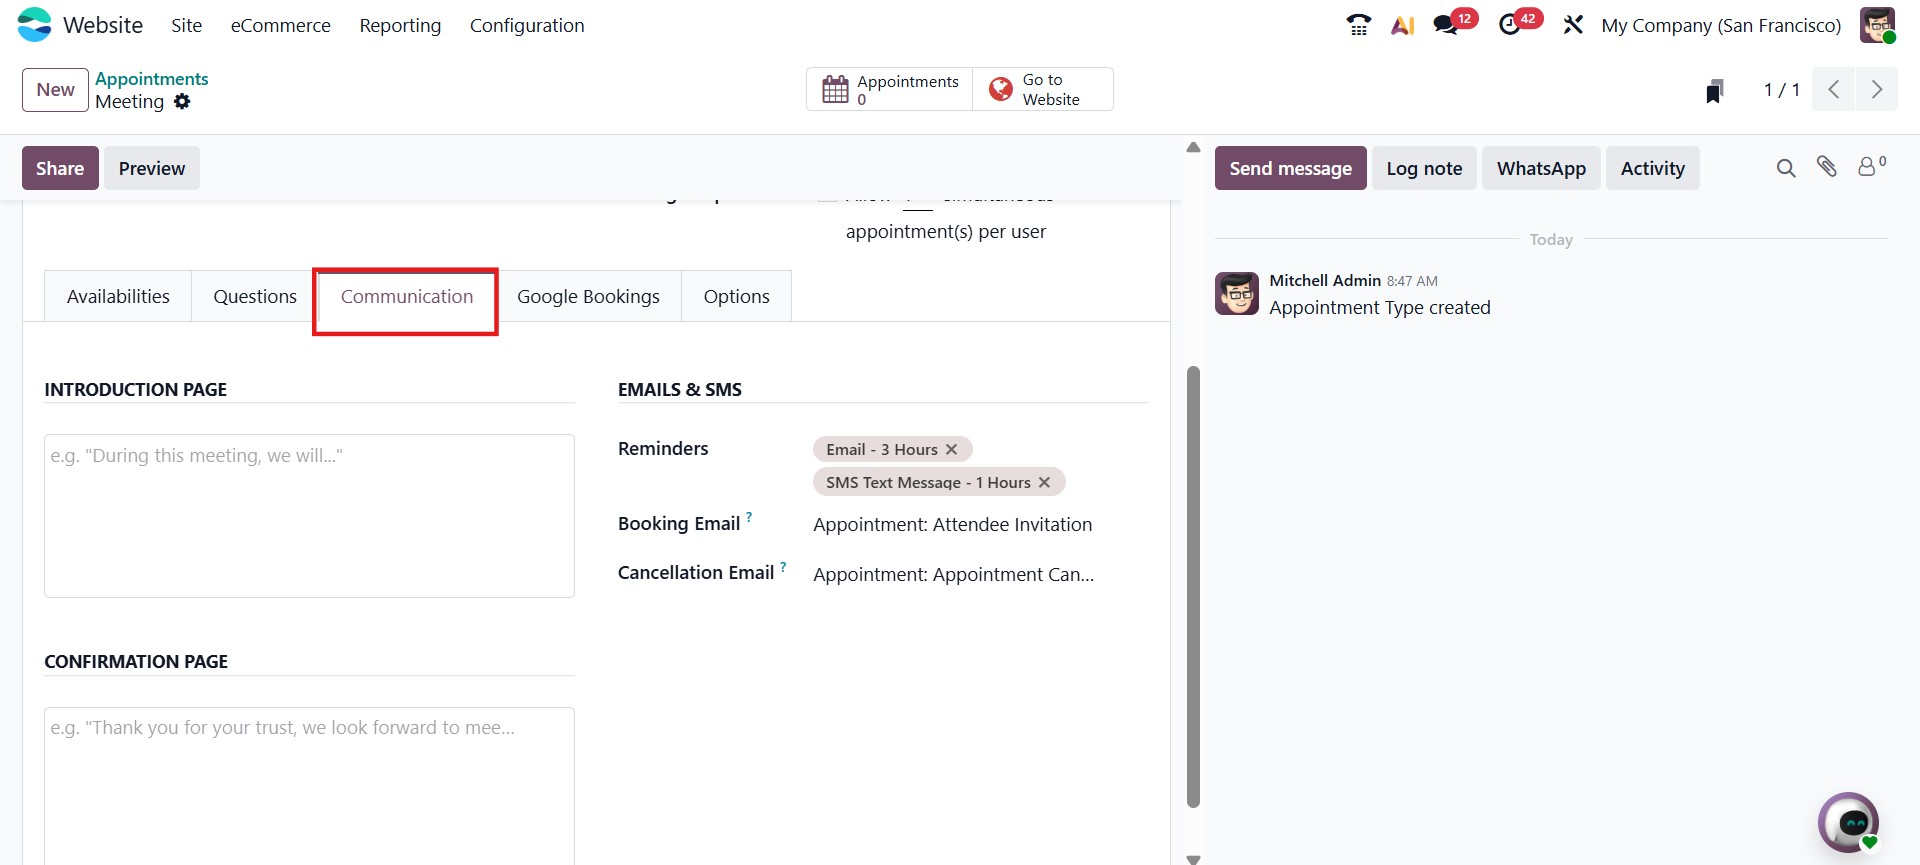
The Communication tab allows you to configure the messages and notifications associated with the appointment. In this section, you can customize the content displayed on the Introduction Page and Confirmation Page, which customers see before and after booking. Additionally, you can configure automated email and SMS notifications, such as booking confirmations, reminders before the appointment, and cancellation messages. Reminder timings can be defined according to business needs, ensuring both staff and customers receive timely notifications. This structured communication setup enhances professionalism and reduces missed appointments.
The Google Bookings tab provides integration options with Google services. Through this section, you can synchronize your appointment type with Google Reserve, allowing customers to book directly from Google if the integration is properly configured. This functionality expands your booking reach and enhances online visibility. Synchronization ensures that appointment availability remains consistent across platforms.
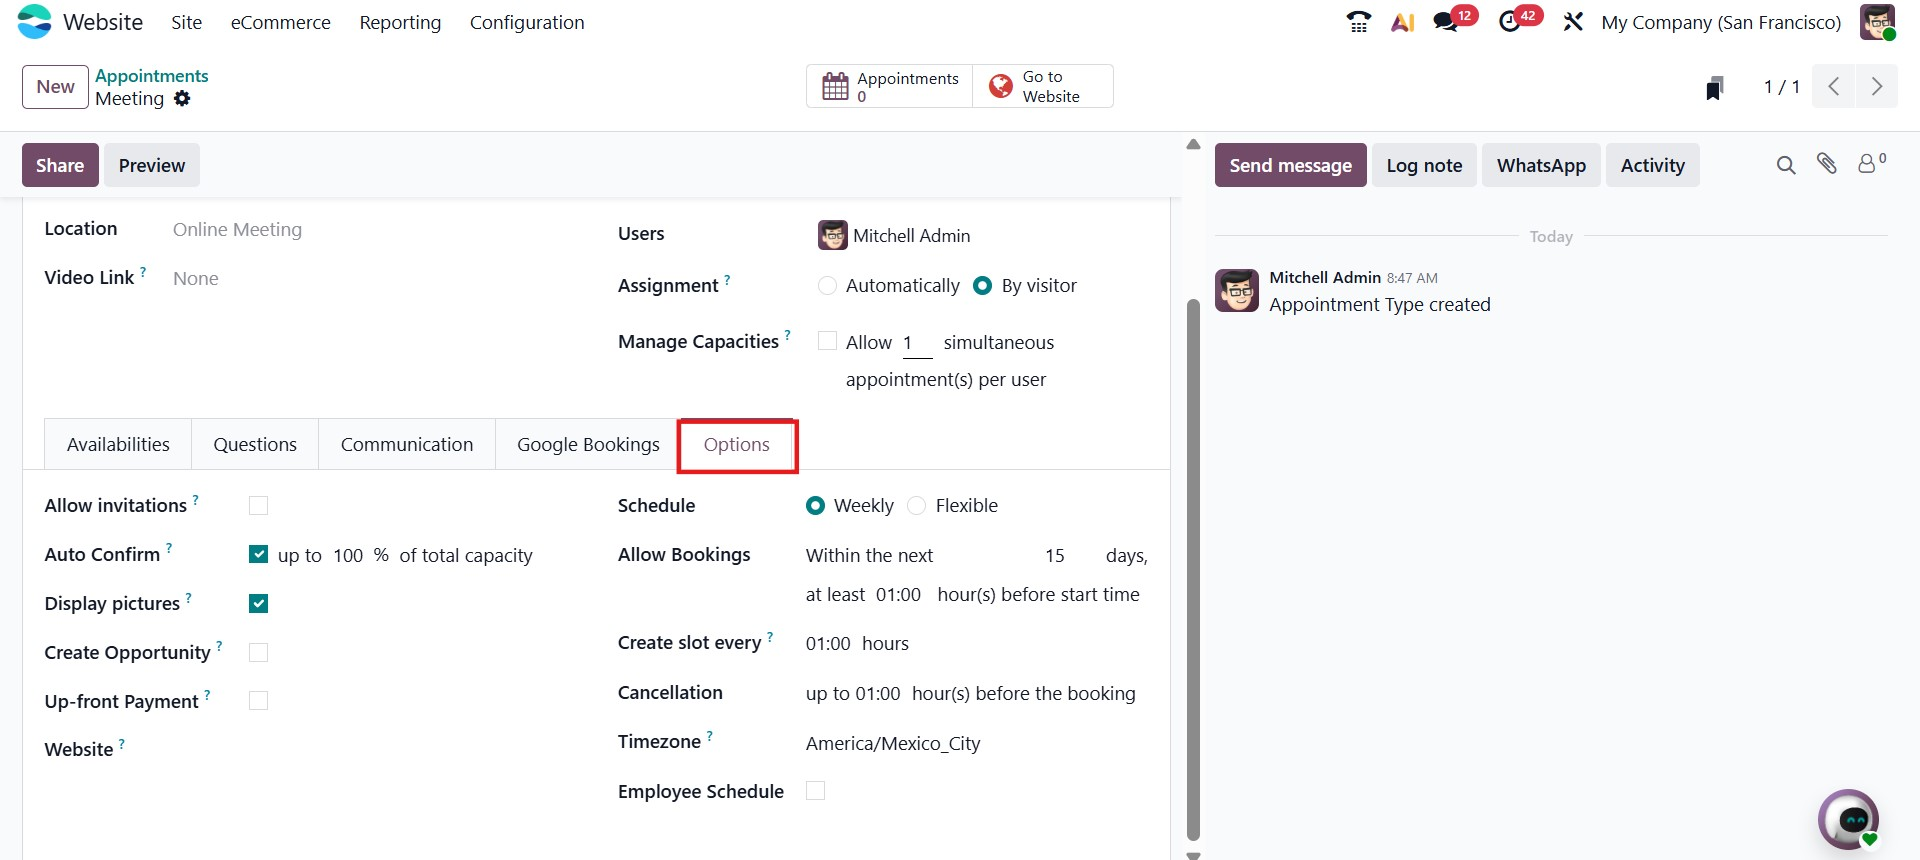
The Options tab contains additional configuration settings that define how the appointment behaves. In this section, you can enable features such as automatic confirmation of bookings, invitation management, display of employee pictures, and automatic creation of CRM opportunities when an appointment is scheduled. You can also configure whether an upfront payment is required and define website assignment settings. Additional scheduling controls, such as cancellation policies, time zone settings, and employee schedule management, can also be configured here. These options provide flexibility and allow businesses to tailor the appointment system according to their operational workflow.
After completing the configuration in all tabs, click Save to store the appointment details. Smart buttons such as Appointments and Go to Website will appear, allowing you to review bookings or preview the appointment page as it appears on the website.
With these structured configuration tabs, Odoo 19 ensures efficient and flexible appointment management within the Website module
1.4 Redirects
The Redirects feature in Odoo 19 helps manage URL redirections on your website. This functionality is particularly useful when a webpage URL has been changed or removed, ensuring that visitors are automatically redirected to the correct page instead of encountering broken links. Redirects also help maintain search engine rankings by guiding users and search engines to updated URLs.
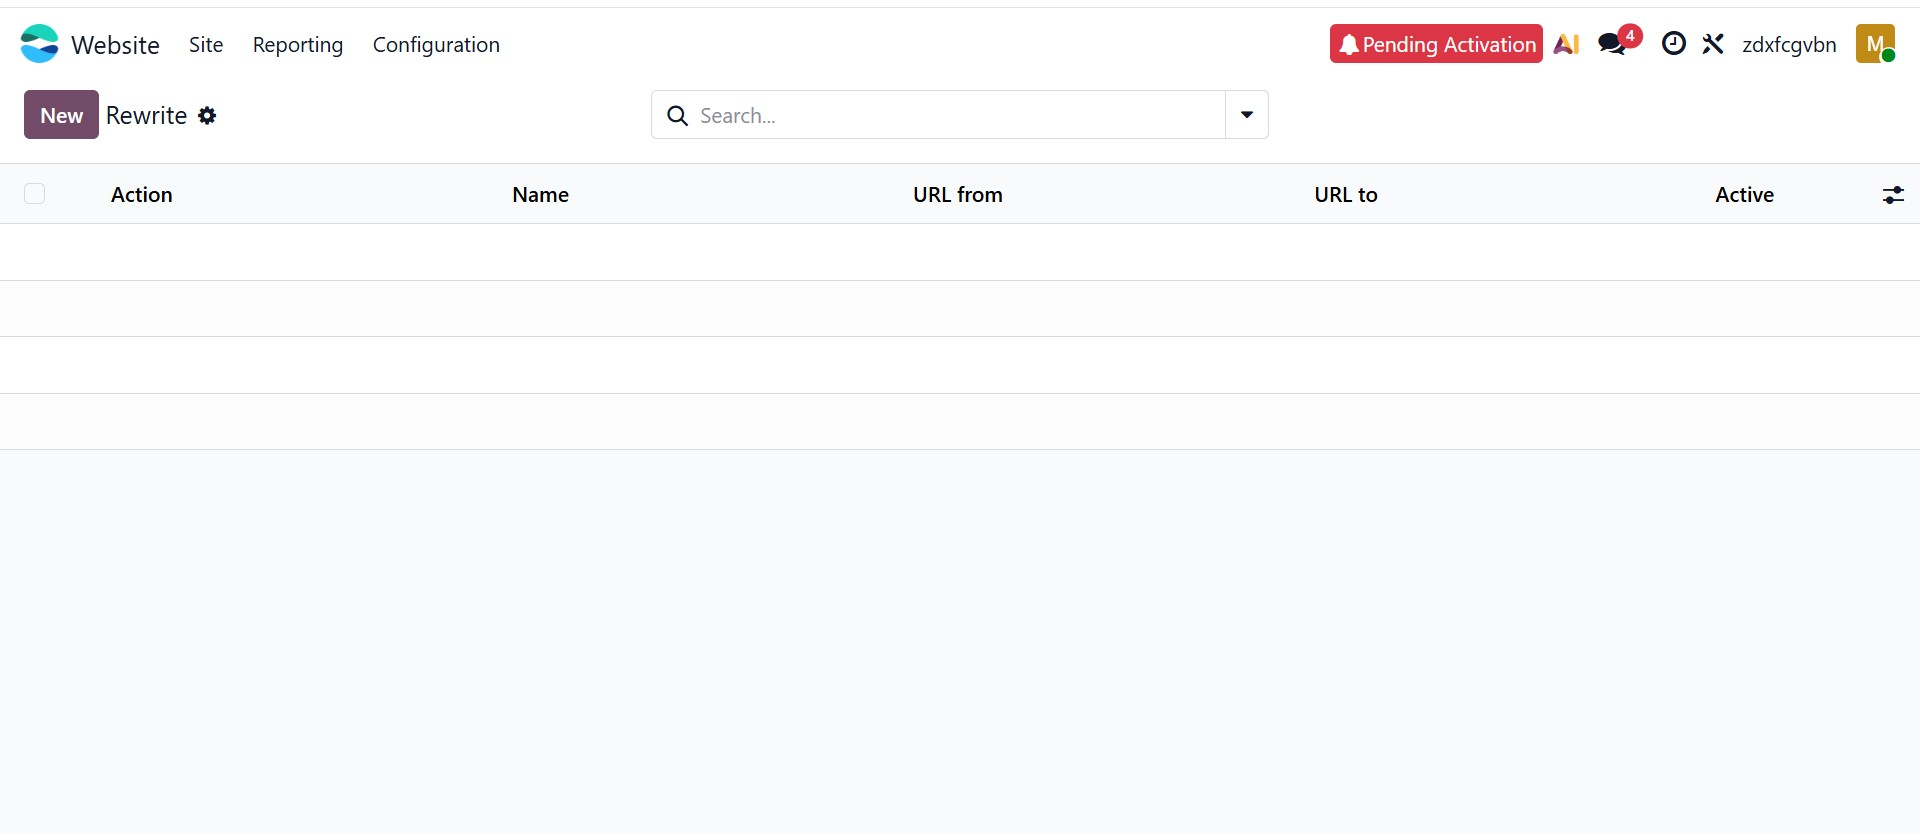
To configure redirects from the backend, navigate to Website → Configuration → Redirects. This opens a window displaying all existing redirects created for the website. The records can be viewed in a List view, showing details such as the Action, Name, URL From, URL To, and Active status.
To create a new redirect, click the New button. This opens a configuration form where the redirect details can be defined.
In this form, enter a Name to identify the redirect rule. The Action field specifies the type of redirection to be applied.
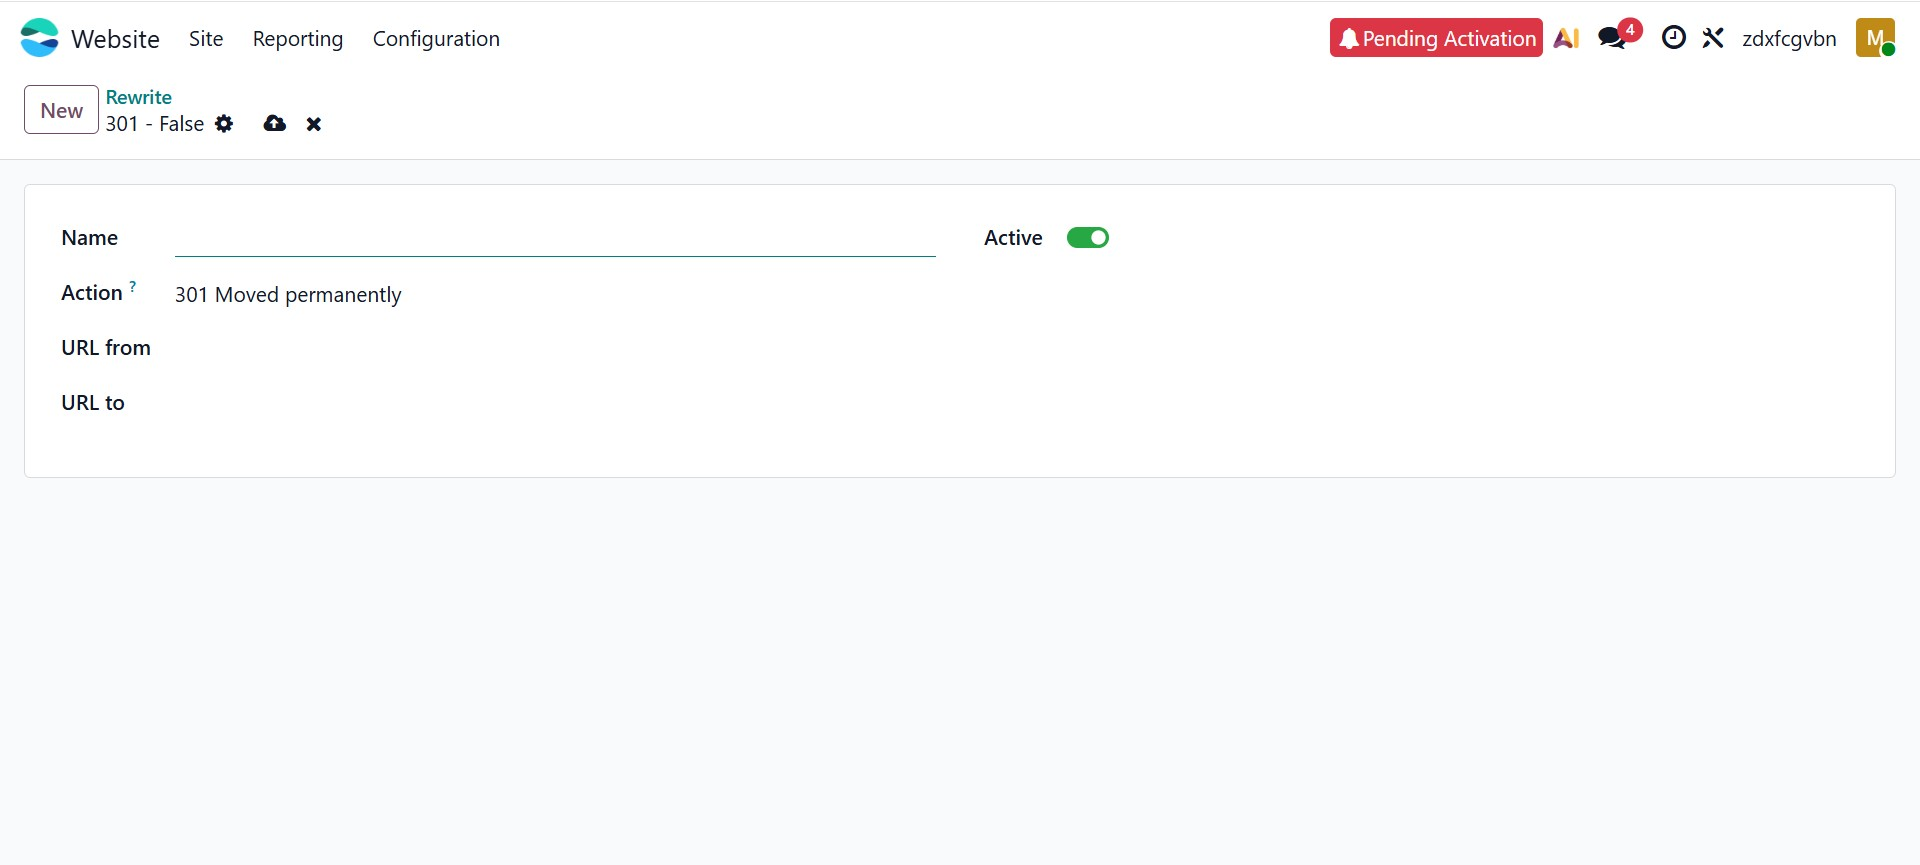
Next, specify the URL From, which represents the original or outdated webpage address, and the URL To, which defines the destination page where visitors should be redirected. When the redirect rule is Active, users who attempt to access the old URL will automatically be redirected to the new one.
Here different actions can be configured to control how the system responds when a user or a search engine attempts to access a particular URL. These actions help manage deleted pages, changed URLs, and redirections, ensuring that visitors are guided to the correct content while maintaining proper website behavior and search engine indexing.
The 404 Not Found option shows that the requested page does not exist. The system informs the browser and search engines that the page has been removed and no replacement page is available. This is usually used when a page is permanently deleted. The 301 Moved Permanently option redirects visitors from the old URL to a new one and tells search engines that the change is permanent. This helps transfer the SEO value from the old page to the new page. The 302 Moved Temporarily option redirects users to another page but indicates that the change is temporary. Search engines will continue to keep the original URL in their index. The 308 Redirect / Rewrite option is a permanent redirect similar to a 301 redirect, but it keeps the original request method unchanged. This is useful when handling requests that involve sending data, such as form submissions.
1.5 Menu
Odoo 19 provides a centralized interface for managing the navigation menus of your website. Using this feature, administrators can organize how pages, categories, and links appear in the website’s navigation bar. Properly structured menus help visitors easily navigate the website and quickly find the information they need.
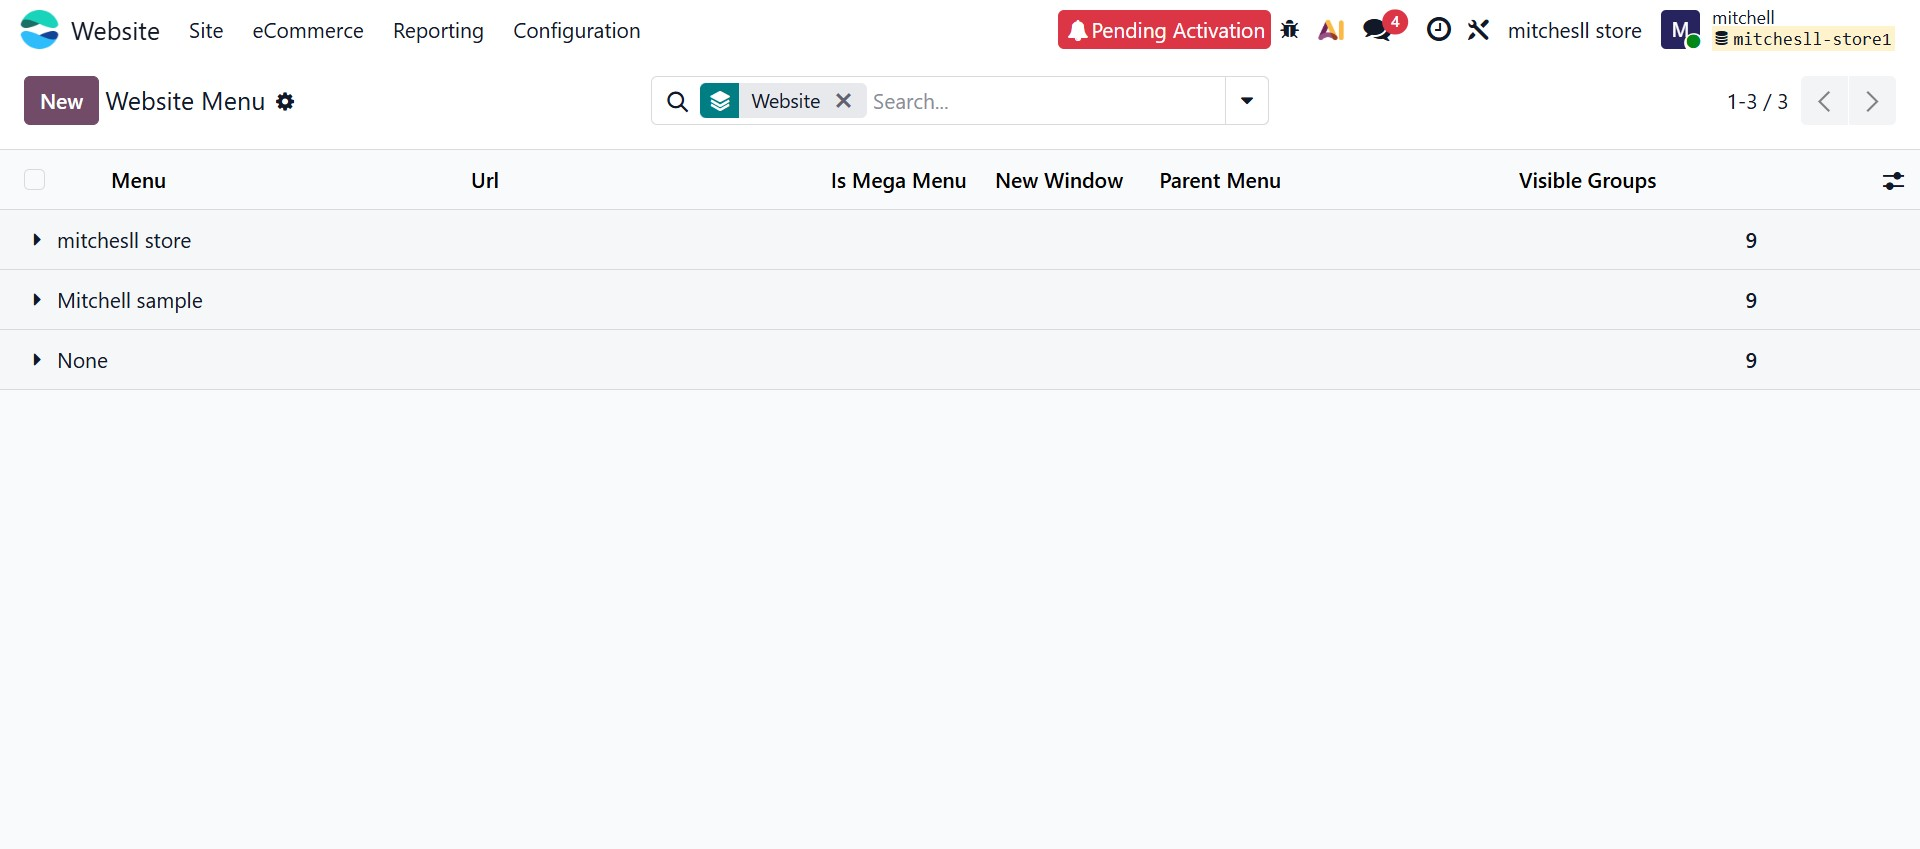
To manage website menus, navigate to Website → Configuration → Menus. This will open the Website Menu window, where all existing menu items are displayed in a list view. The menu items are grouped according to the websites configured in the system, allowing users to manage navigation for multiple websites from a single interface.
Click the New button to create a new menu item. In the creation form, you can define the Menu Label, which represents the text displayed in the website’s navigation bar. The URL field specifies the page or external link that the menu item will open when clicked.
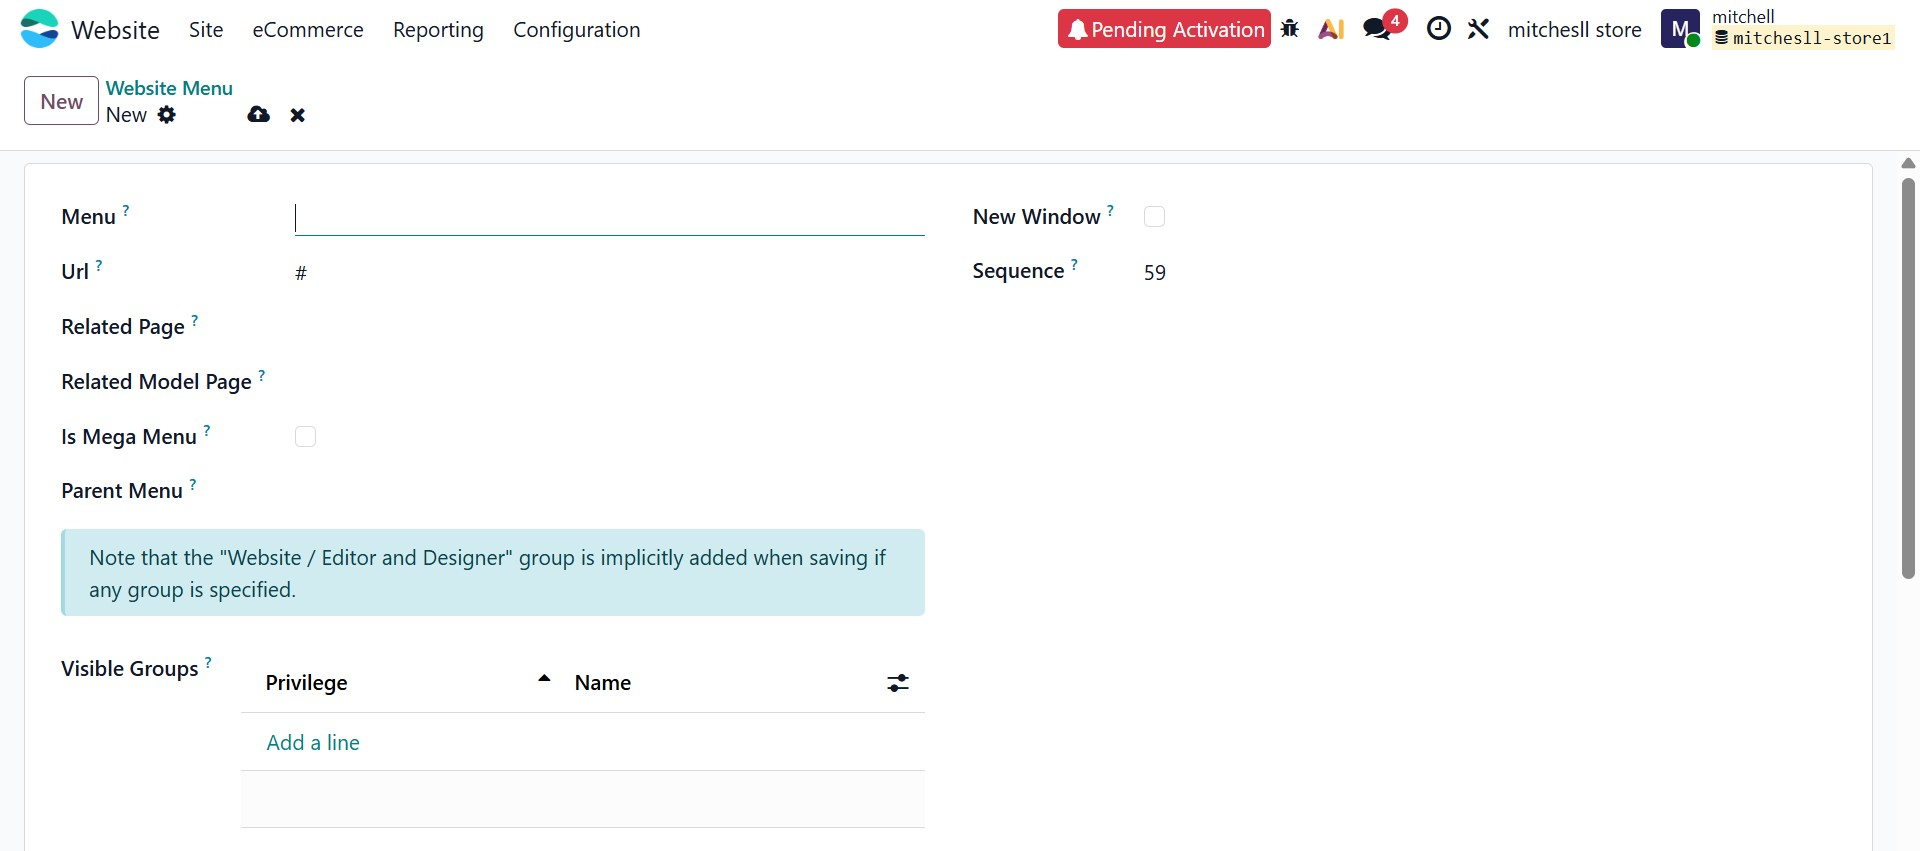
The Is Mega Menu option can be enabled if you want the menu item to expand into a larger multi-column layout instead of a standard dropdown menu. This is useful when displaying multiple categories or links under a single menu. The New Window option allows the link to open in a new browser tab, which is commonly used for external websites.
The Parent Menu field allows you to create a hierarchical structure by placing menu items under a main menu. This helps organize complex navigation structures with multiple levels. The Sequence field determines the order in which menu items appear in the navigation bar, with lower numbers displayed first.
The Related Page field allows you to link the menu item directly to an existing website page. When a page is selected here, the system automatically updates the URL if the page address changes. The Related Model Page option can be used to link the menu item to dynamic content, such as product categories or blog posts.
The Visible Groups option allows you to control which users can see a specific menu item. By clicking Add a line, you can select the user groups that are allowed to access the menu, making it useful for restricting certain links to portal users or specific customer groups.
After entering the required details, click Save to create the menu item. Once saved, the menu will appear in the website navigation according to the configuration you have defined.
Blog Operations
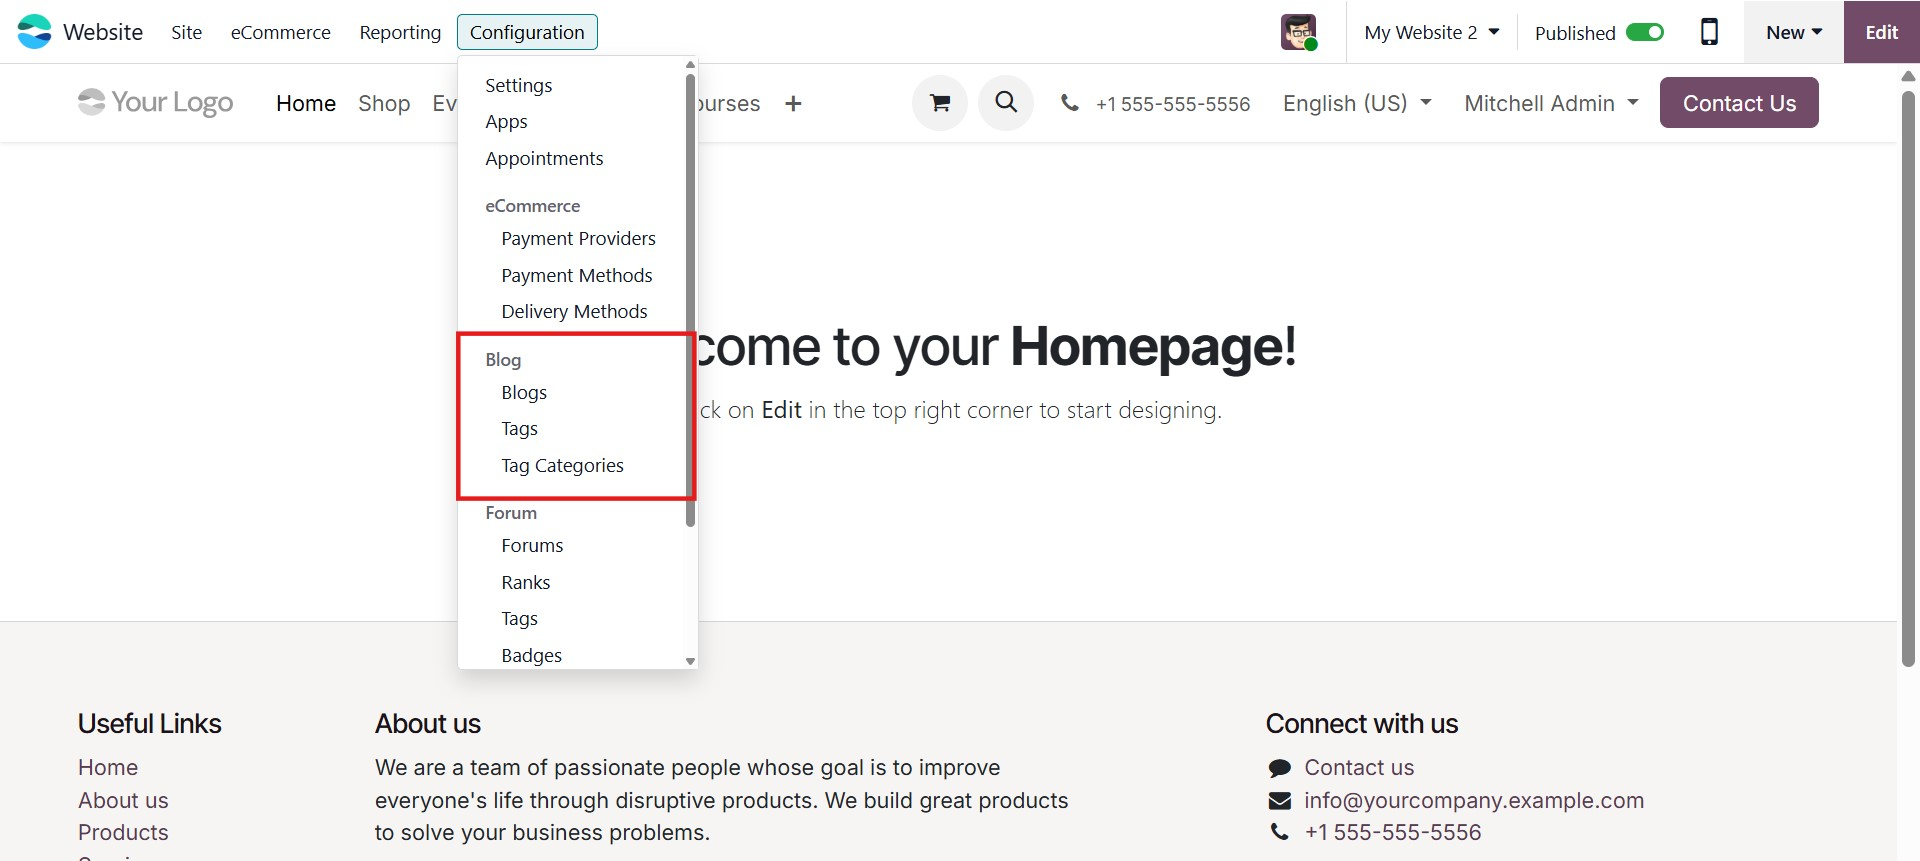
Odoo 19 ERP provides a comprehensive environment for managing website-related activities, including efficient blog management within the Website module. The backend configuration tools allow businesses to structure and organize blog content systematically. To manage blog operations from the backend, navigate to the Website module and access the Configuration tab. Within this section, you will find dedicated menus for managing Blogs, Tags, and related settings. These configuration tools help create a structured blogging framework, enabling you to define multiple blog channels and categorize posts effectively. Once configured, these predefined options can be selected directly from dropdown menus when creating new blog posts, ensuring consistency and efficiency.
Blog
The Blogs menu under the Configuration tab allows you to create and manage different blog channels for your website. Instead of publishing all posts under a single blog, you can define multiple blogs based on topics such as News, Updates, Travel, or Astronomy. This categorization improves user navigation and enhances content organization.
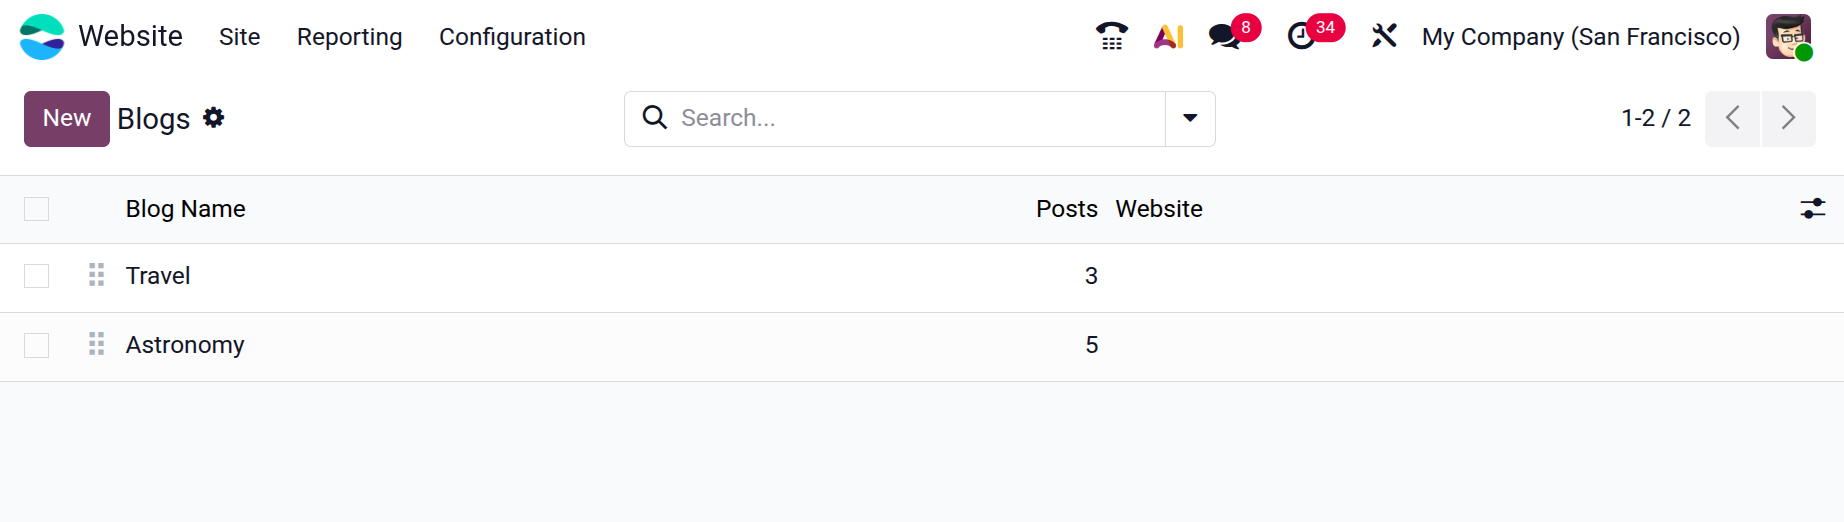
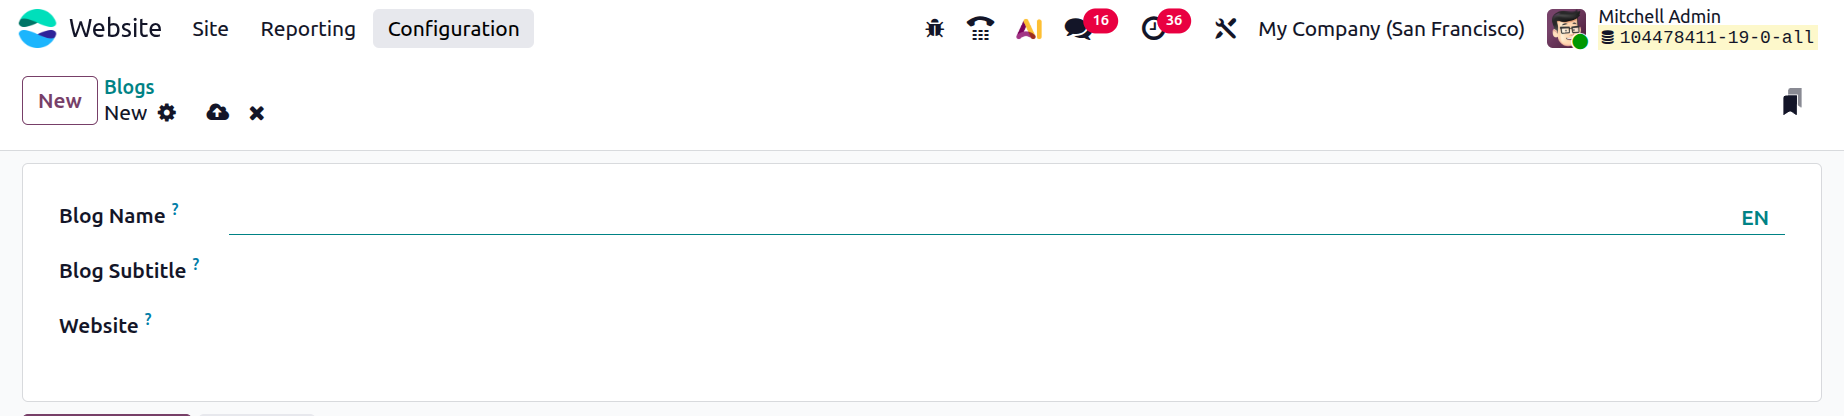
Click on the New button to add a new Blog. add the Blog Name, Blog Subtitle and Website. Then save the new blog.
Tags
The Blog Tags allows you to create and manage tags that help classify and organize blog posts on your website. Tags make it easier for readers to find related content by grouping posts based on specific keywords or topics. This improves content discoverability and helps visitors quickly navigate to articles that match their interests.
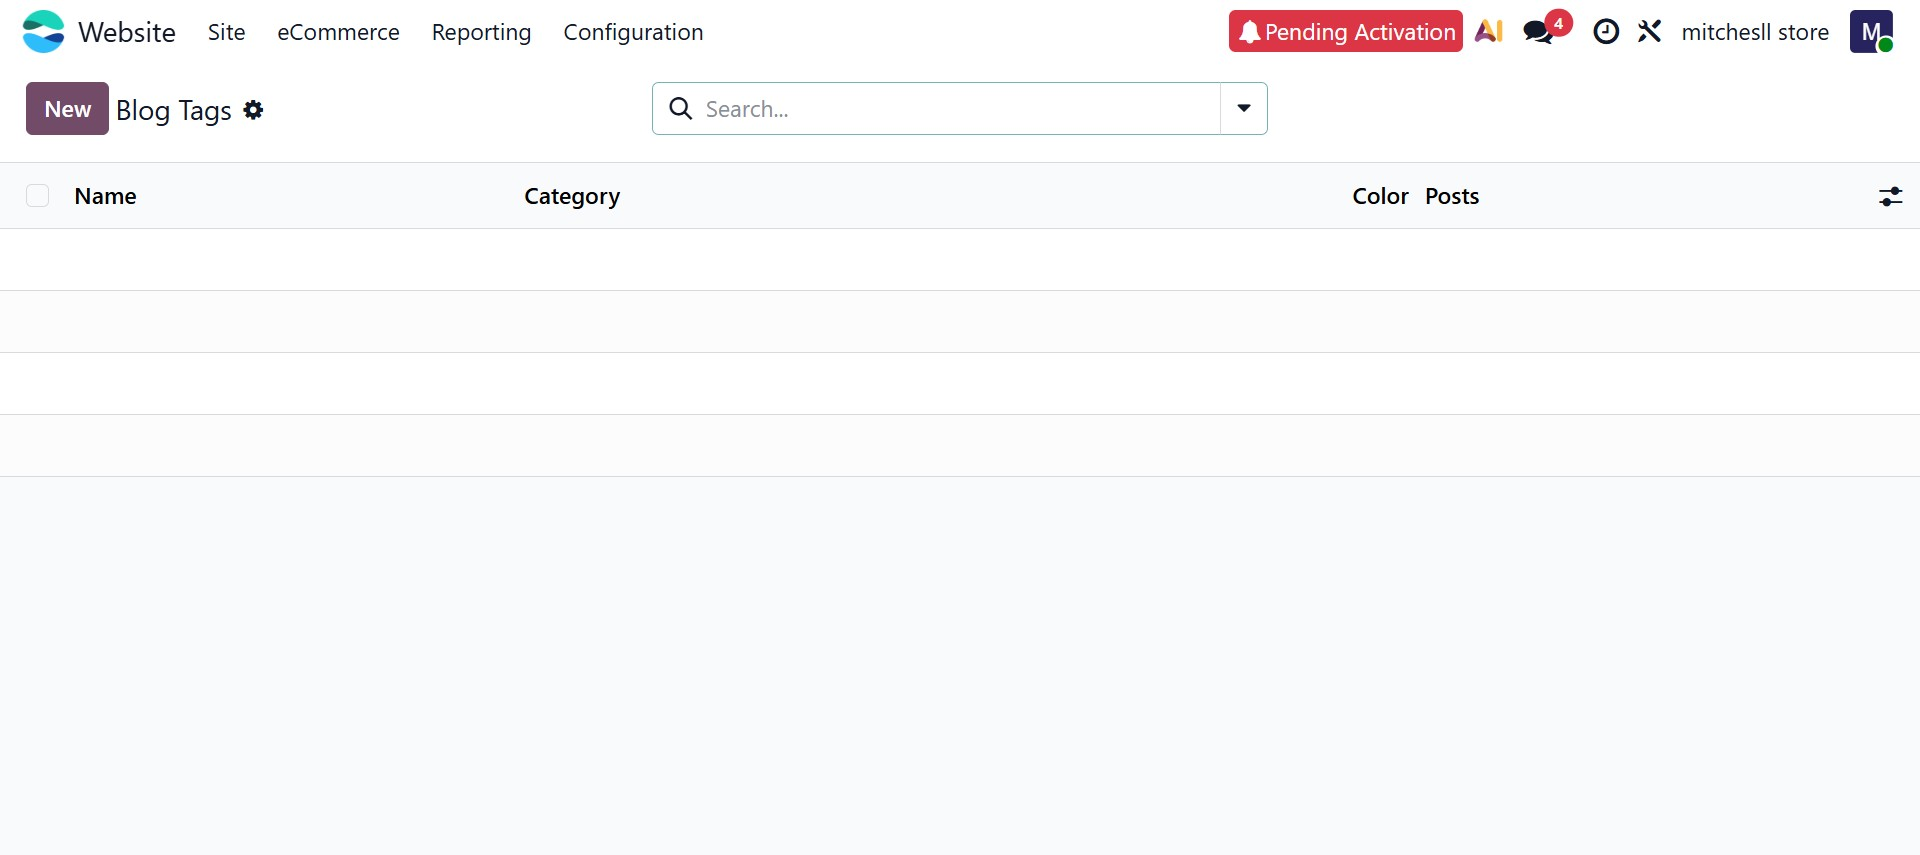
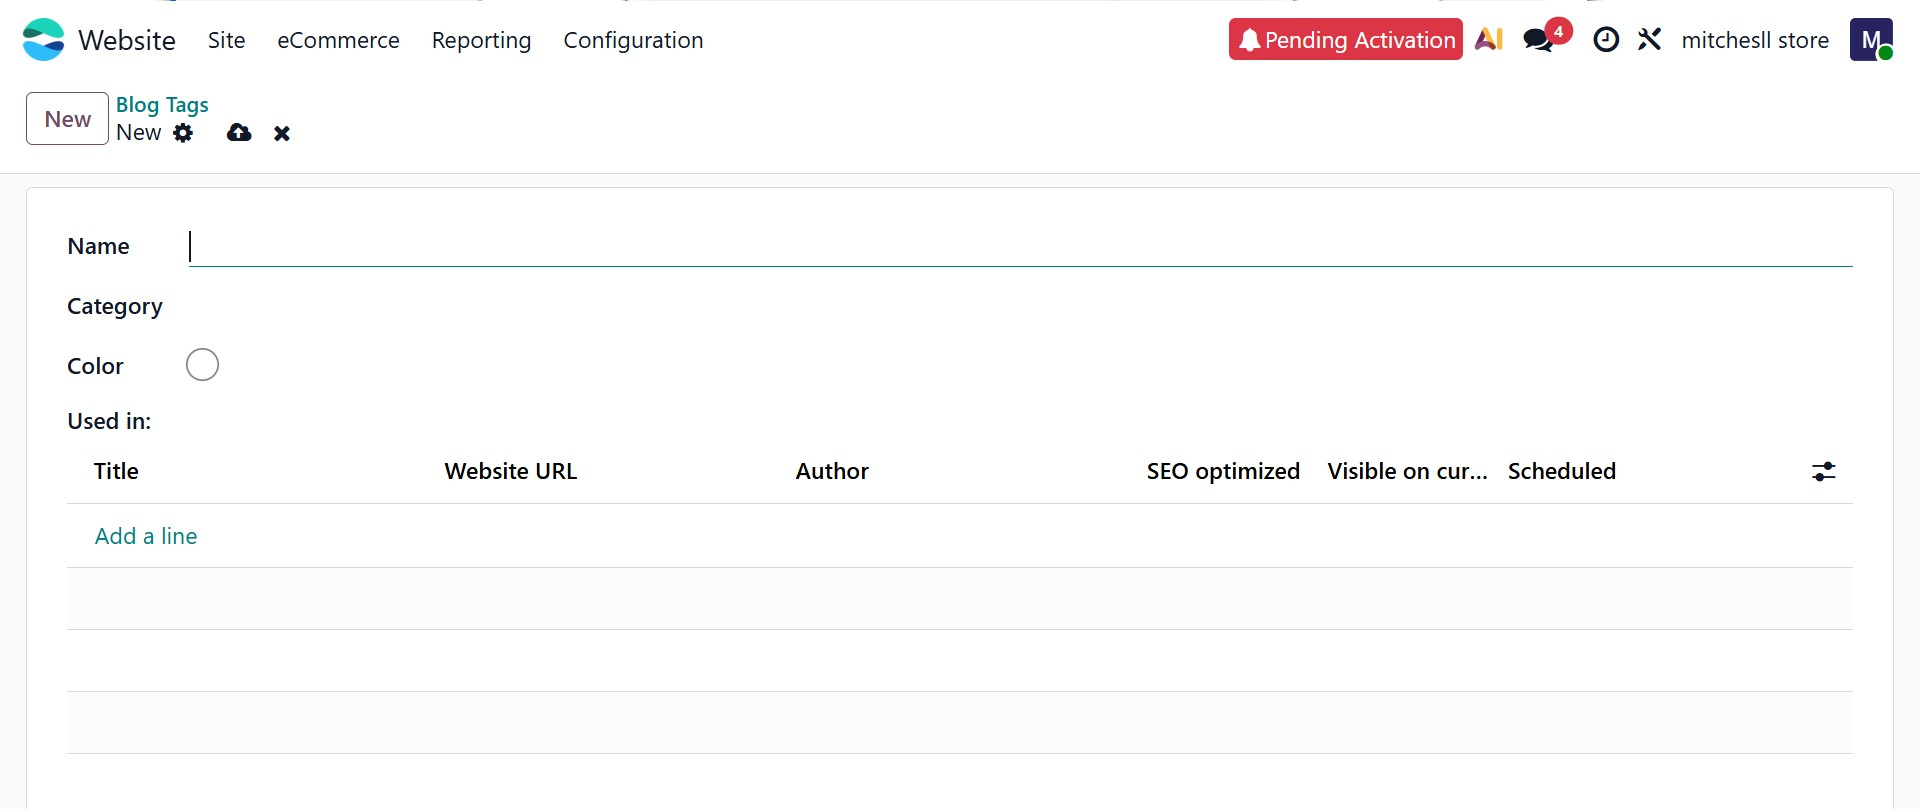
The page displays a list of existing tags along with details such as Category, Color, and the number of Posts associated with each tag. By clicking the New button, you can open the tag creation form where you can enter the Name of the tag, assign it to a Category, and select a Color to visually distinguish it. Once saved, the tag can be assigned to blog posts, making it easier to organize and filter content across the website.
Tag Categories
The Tag Categories option under the Configuration tab allows you to organize blog tags into structured groups. Instead of creating multiple unrelated tags, you can classify them under specific categories such as Topics, Content Type, Audience, or Industry. This helps maintain a clear tagging structure and makes it easier to manage large numbers of tags across blog posts.
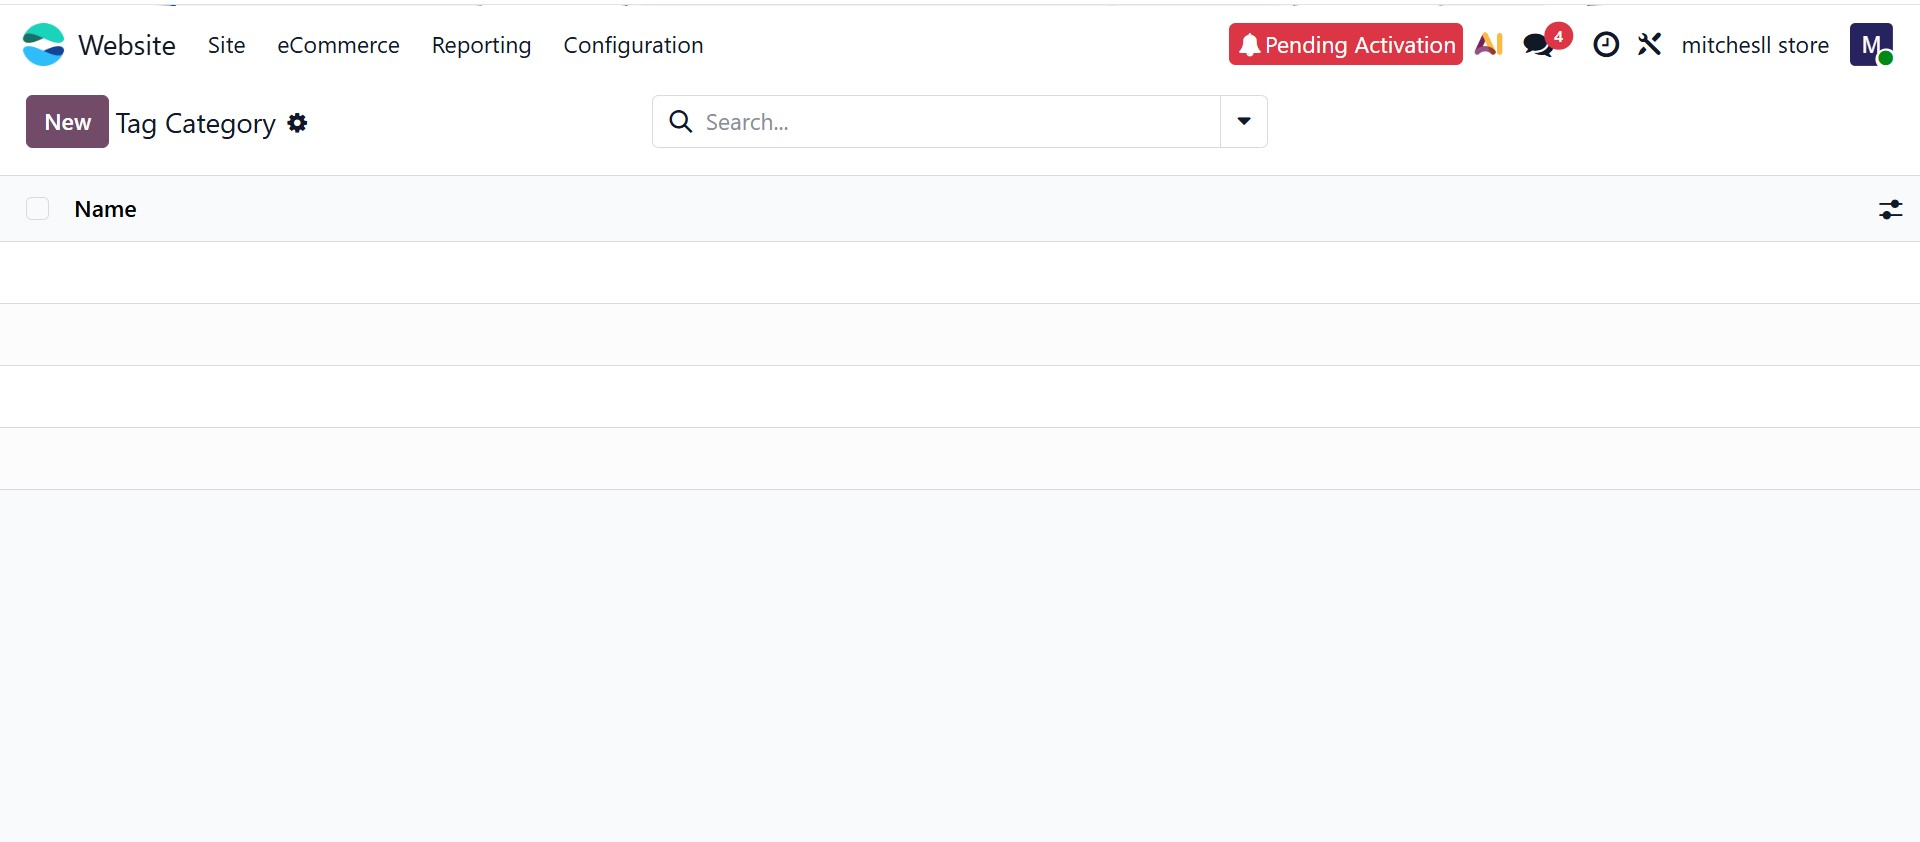
The page displays a list of existing categories along with a New button. By clicking New, you can open the tag category creation form where you simply need to provide a Name for the category. Once saved, this category can be used to group related tags when managing blog content, improving both content organization and filtering capabilities on the website.
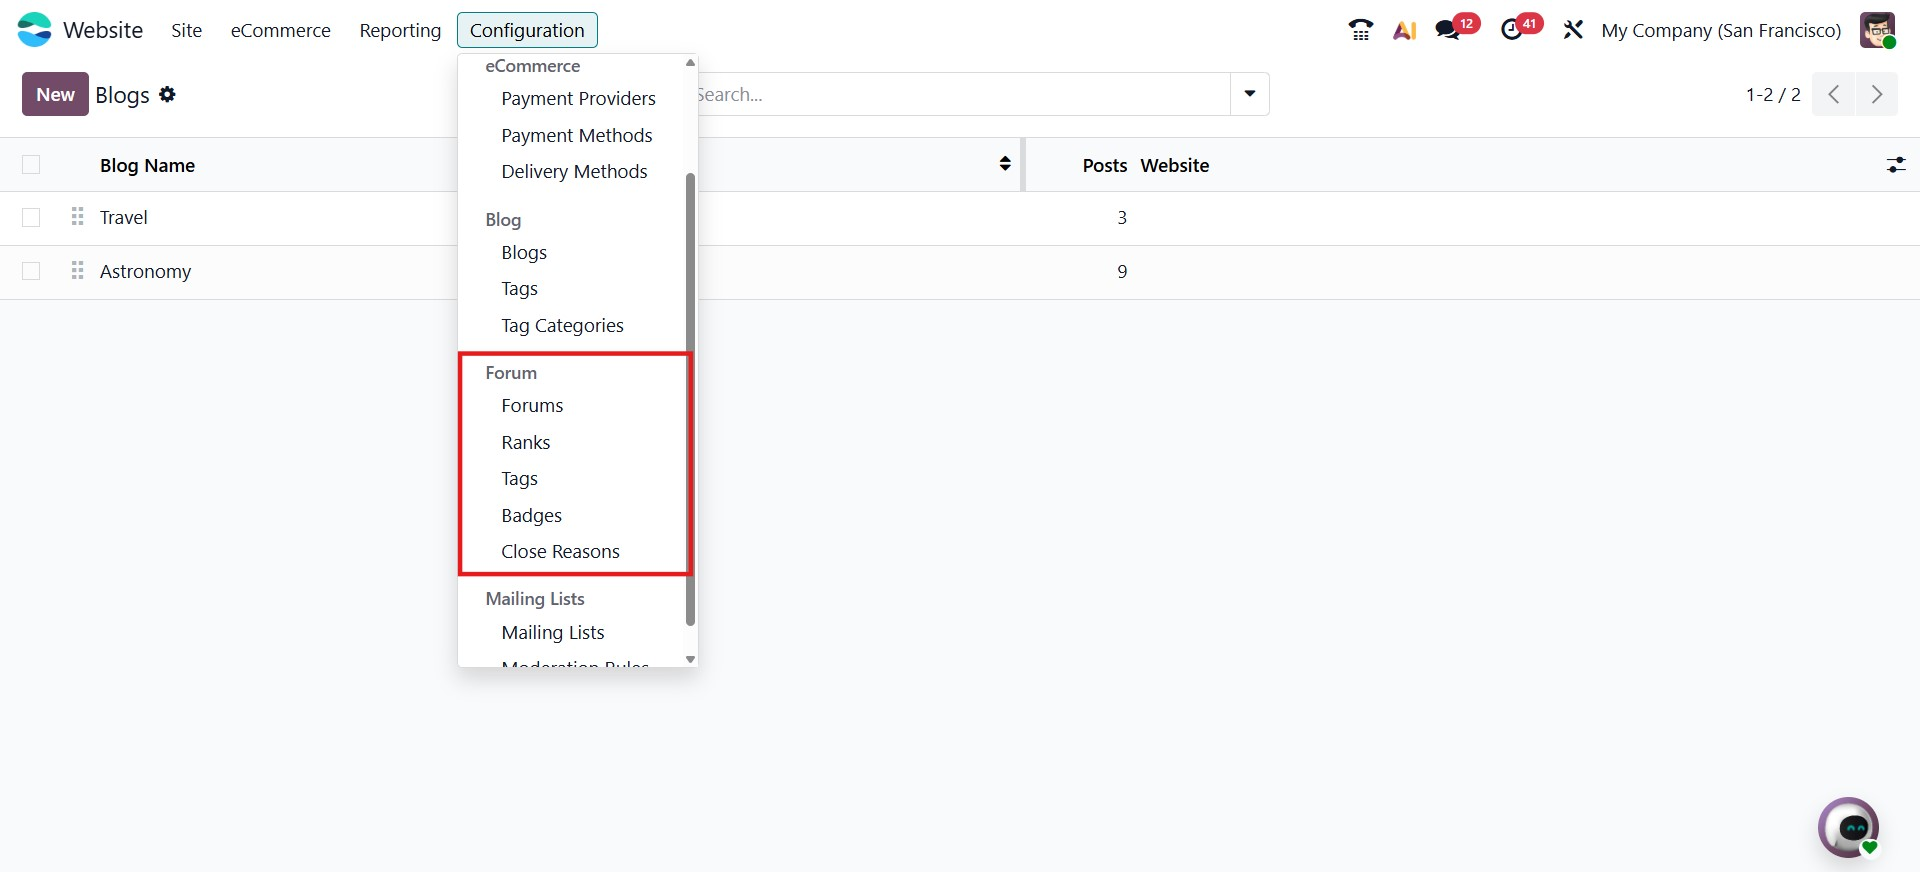
Forum
The Forum configuration option within the Website module allows you to manage discussion platforms associated with your website. From this menu, you can configure forum settings, define privacy policies, and organize forums according to business requirements. You can choose whether forums operate in Discussion mode or Q&A mode and determine access rights such as Public access, restricted access for signed-in users, or limited access for specific users. Proper configuration ensures structured communication and community engagement through your website.
By clicking on the Forum shows the Forum Name, Website, #Posts and #Views.
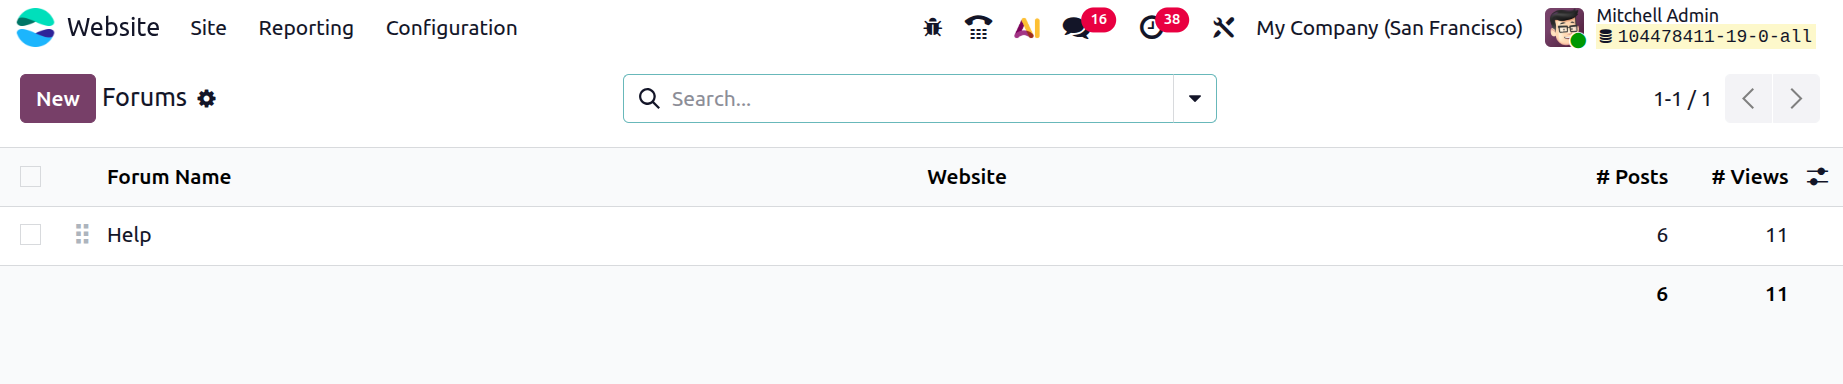
To add a new one click on the New button.
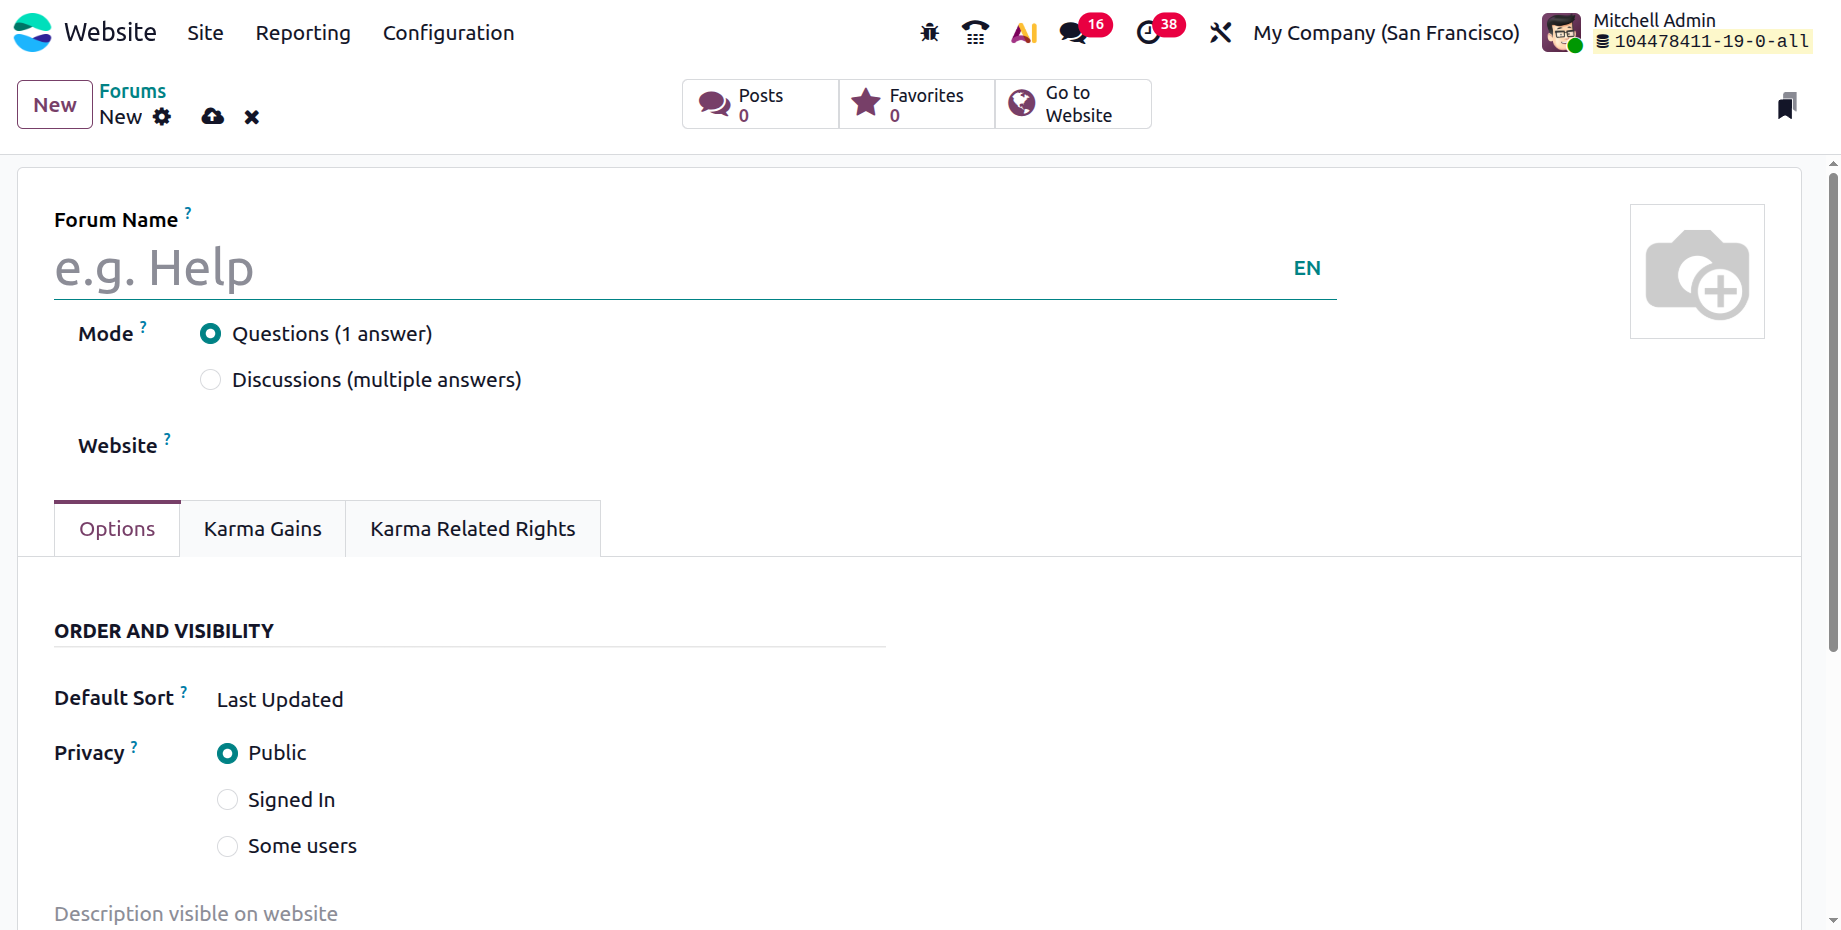
Administrators can configure and create a new forum for the website. In this window, the user can enter the Forum Name, which will be displayed as the title of the forum on the website. The Mode option allows the administrator to define how discussions will function within the forum, either as Questions (1 answer) where a single best answer can be selected, or Discussions (multiple answers) where users can post several responses and interact freely. The Website field specifies the website where the forum will be published. Additionally, the form includes configuration tabs such as Options, Karma Gains, and Karma Related Rights. In the Options tab, administrators can manage settings related to Order and Visibility, including the Default Sort method for posts and the Privacy level, which can be set to Public, Signed In, or restricted to Some Users, allowing administrators to control how the forum content is displayed and who can access it.
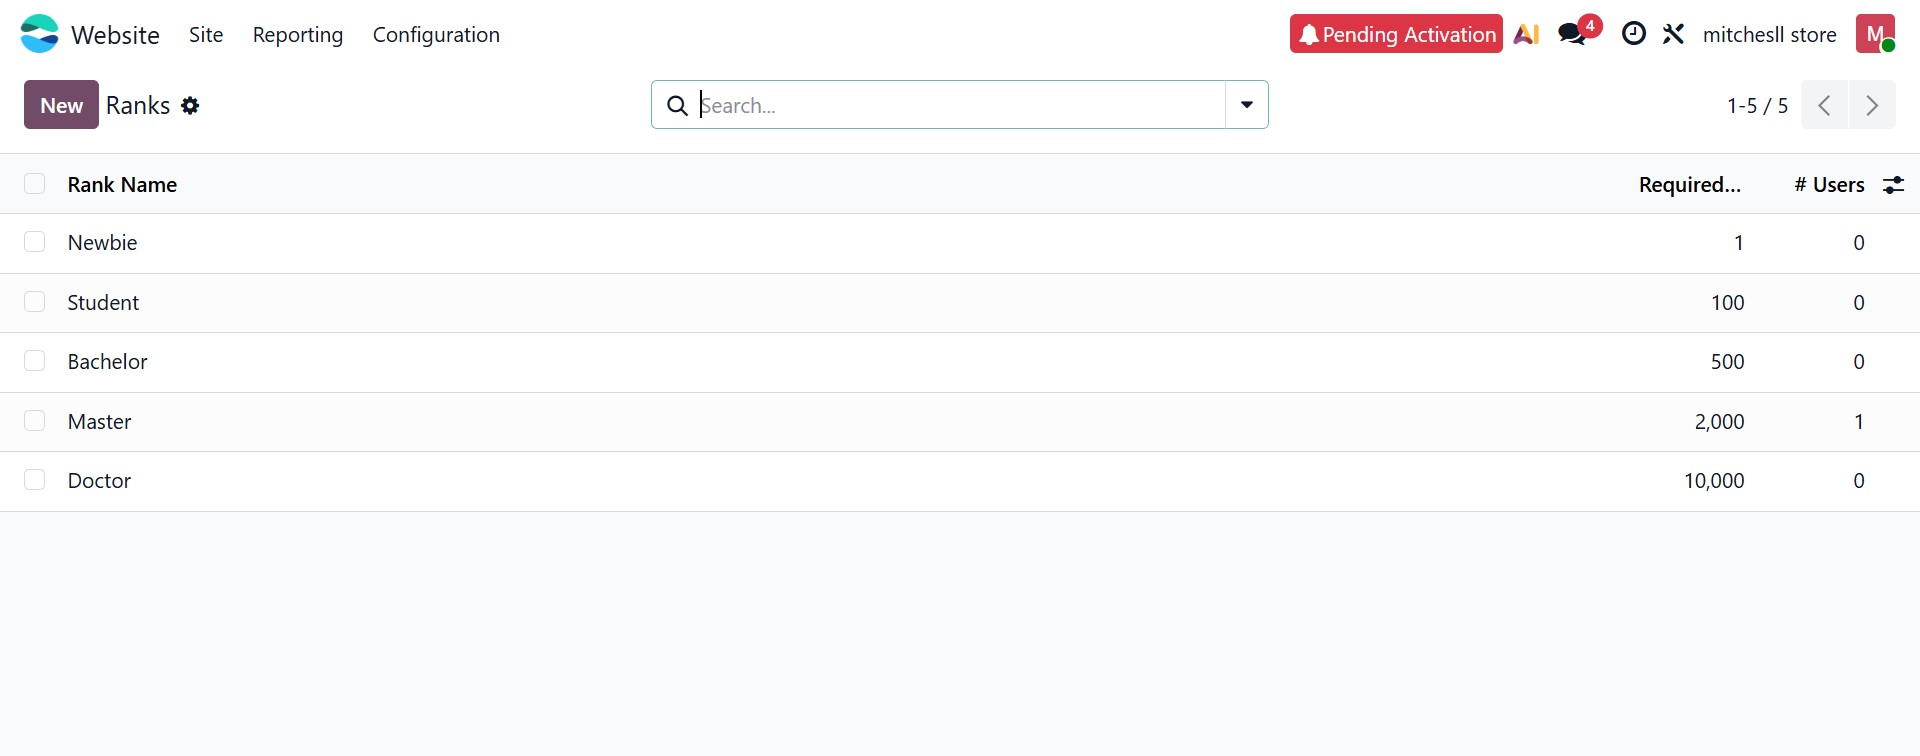
Ranks
By clicking on Ranks, the system displays a list of all available ranks along with details such as Rank Name, Required Karma, and the number of Users assigned to each rank.
To create a new rank, click on the New button.
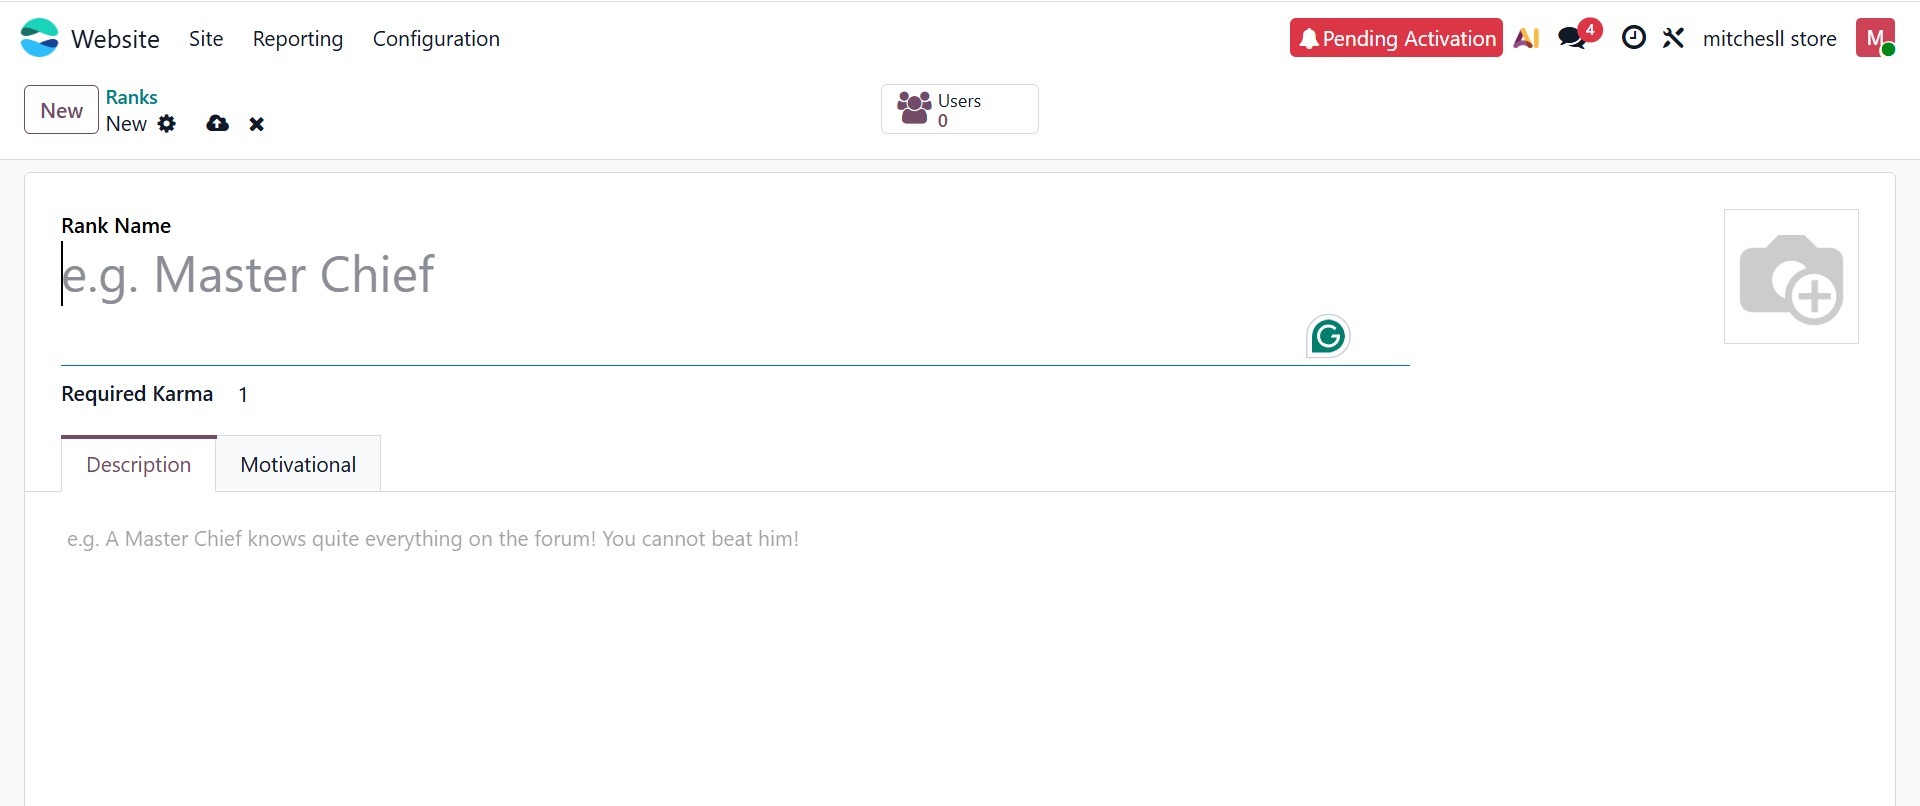
Administrators can configure and create new ranks for the forum in this window. The Rank Name field is used to define the title of the rank, which will be displayed to users on the website. The Required Karma field specifies the minimum number of karma points a user must earn to achieve that rank.
Additionally, the form includes tabs such as Description and Motivational. In the Description tab, administrators can provide a detailed explanation of the rank, helping users understand its significance. In the Motivational tab, a short encouraging message can be added to inspire users to reach that rank.
These ranks help in gamifying the forum experience by rewarding user participation and engagement within Odoo.
Forum Tags
By clicking on Forum Tags, the system displays a list of all available tags along with details such as the Tag Name, Color, and the associated Forum. To create a new tag, click on the New button.
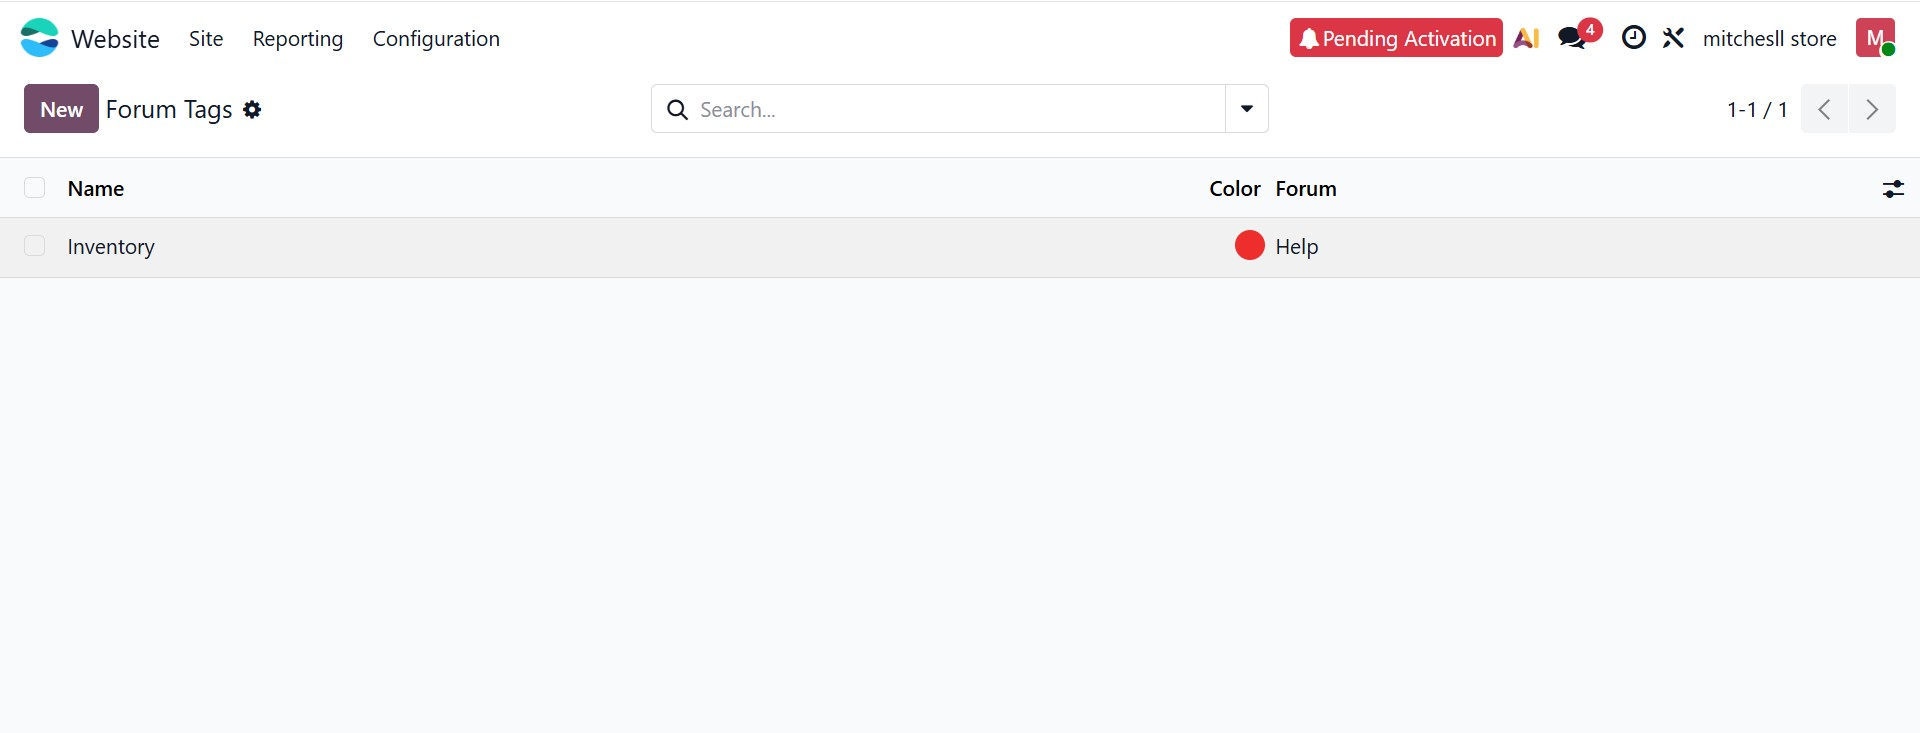
Administrators can configure and create new tags for forums in this window. The Name field is used to define the tag, which helps in categorizing and organizing forum posts. The Color option allows administrators to assign a specific color to each tag, making it visually easier to identify different topics within the forum.
Additionally, the Forum field specifies the forum to which the tag belongs, ensuring that tags are properly grouped and relevant to specific discussions.
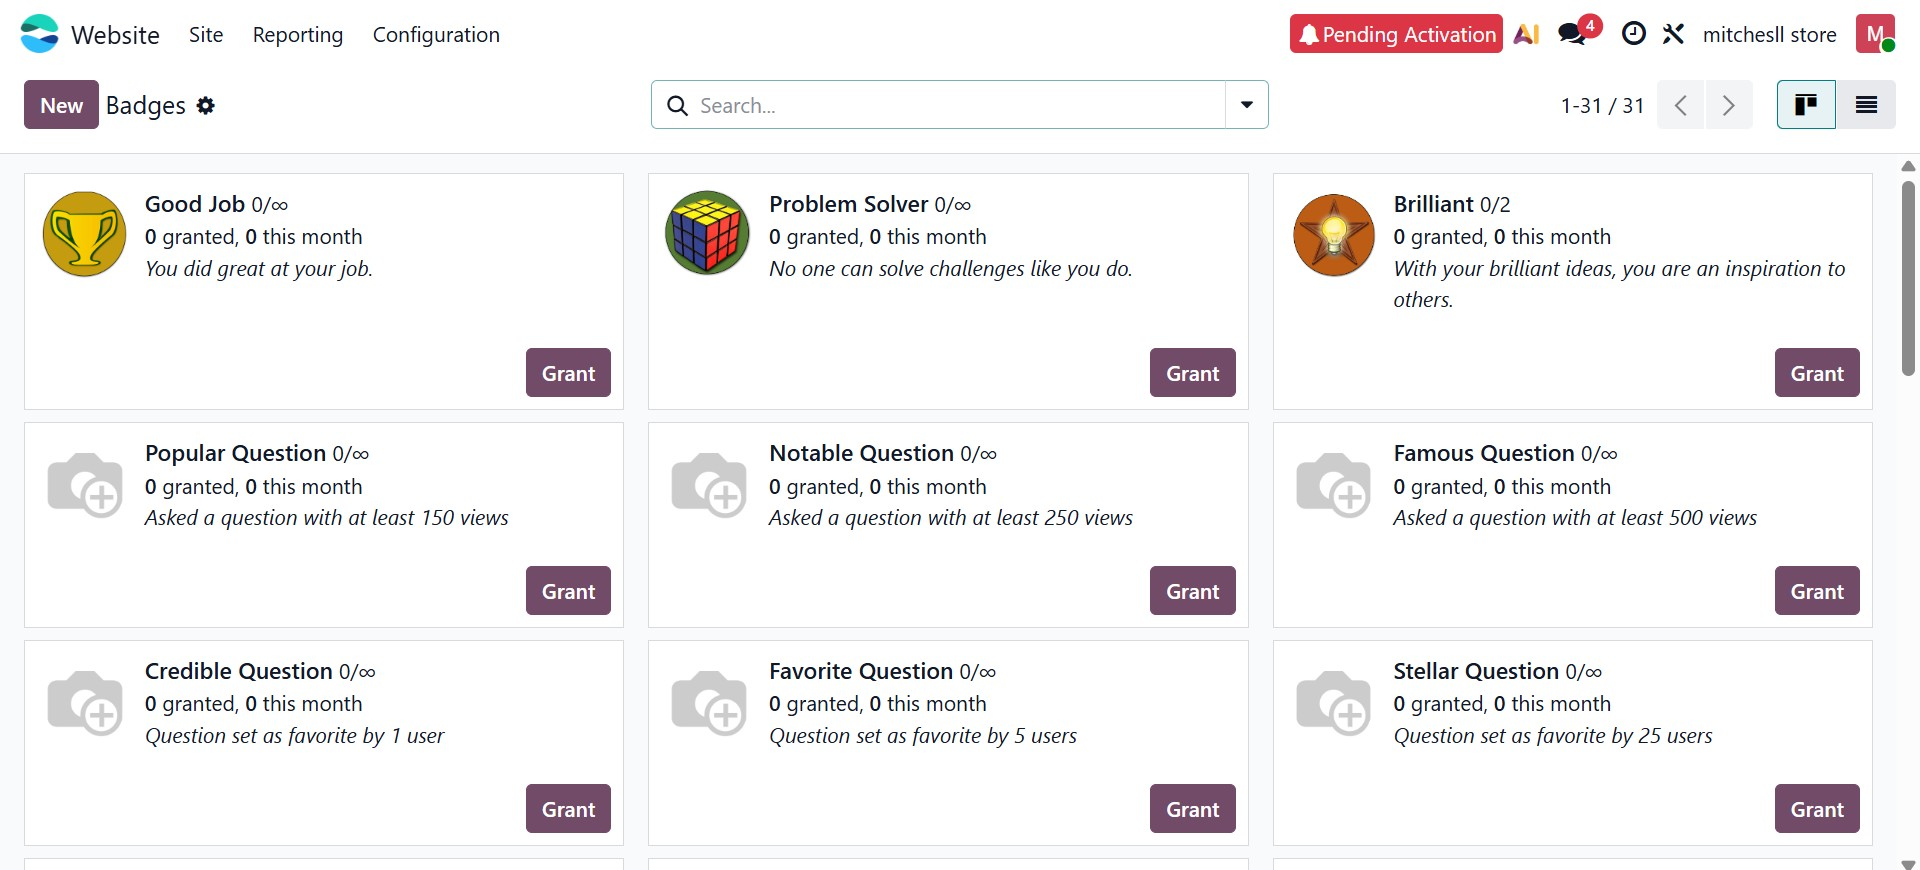
Badges
By clicking on Badges, the system displays a list of all available badges along with details such as the badge name, description, number of times granted, and monthly statistics.
To create a new badge, click on the New button.
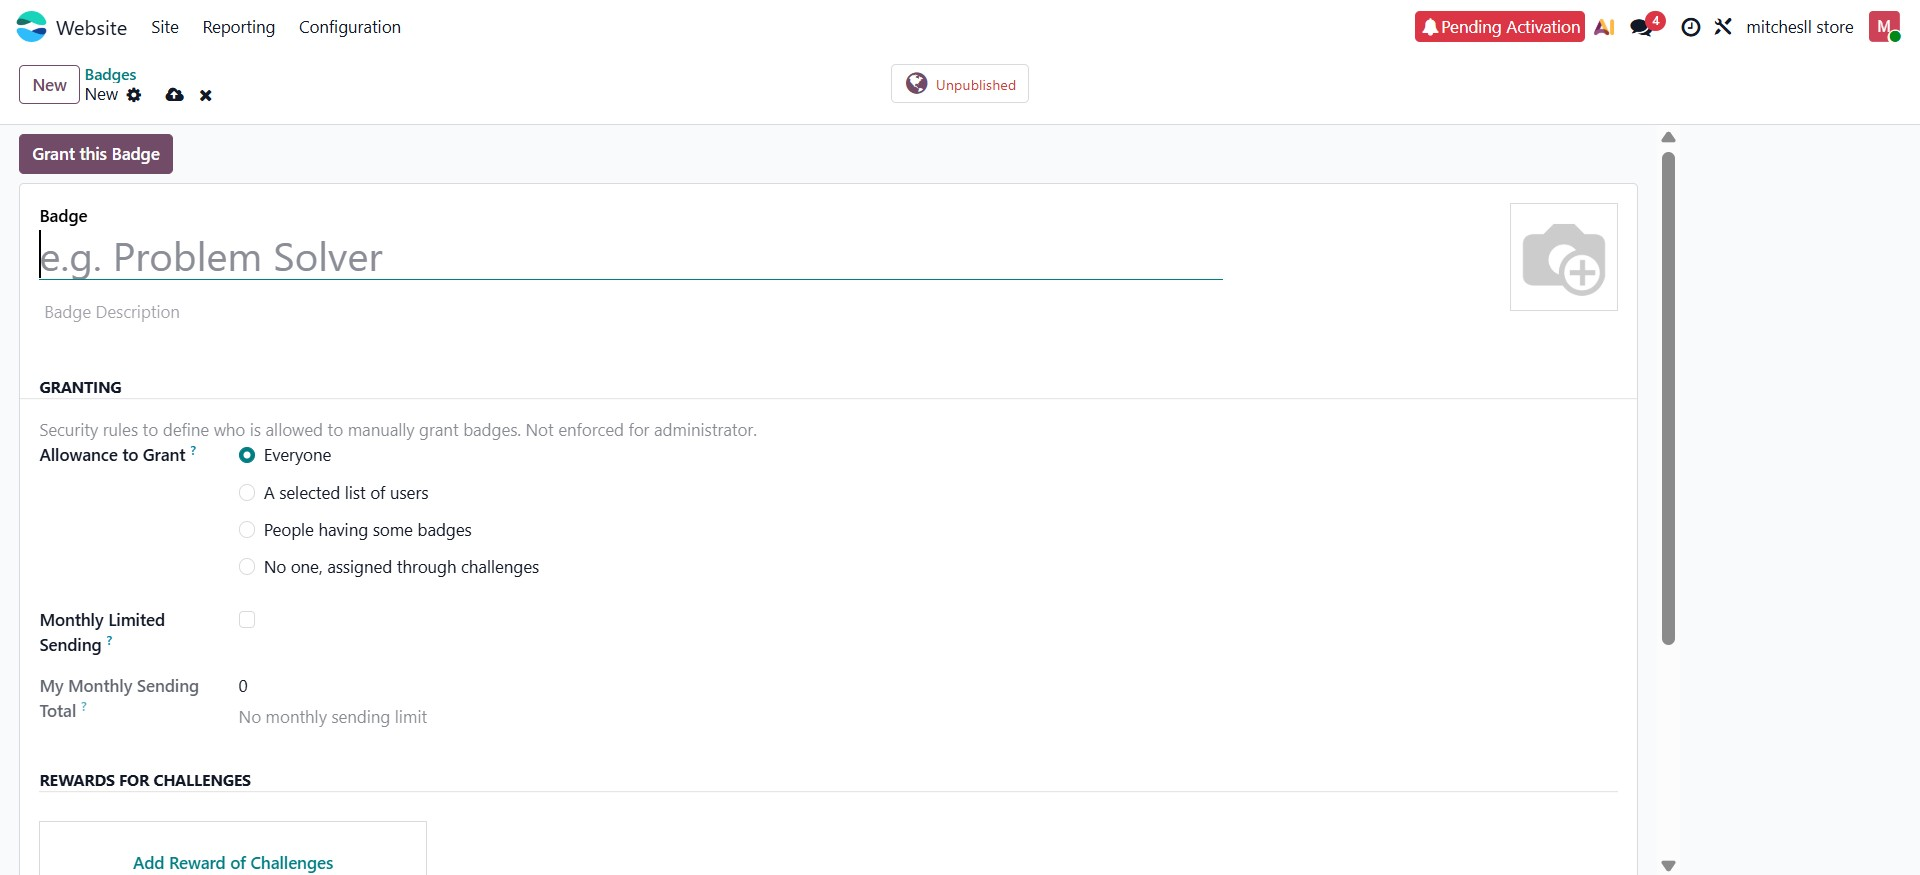
Administrators can configure and create new badges in this window. The Badge field is used to define the name of the badge, which will be displayed to users on the website. The Badge Description allows administrators to provide a brief explanation of the badge and its purpose. An image can also be added to visually represent the badge.
Under the Granting section, administrators can define who is allowed to assign badges. The Allowance to Grant option includes choices such as Everyone, A selected list of users, People having some badges, or No one (assigned through challenges). Additionally, the Monthly Limited Sending option can be enabled to restrict how many times a badge can be granted within a month.
The Rewards for Challenges section allows administrators to link badges to specific challenges, enabling automatic badge assignment when certain conditions are met. The Forum Badge Level indicates the level of the badge (e.g., Bronze), helping categorize badges based on importance or difficulty.
Furthermore, the Statistics section provides insights such as total number of times the badge has been granted, monthly totals, and the number of users who have received it.
Close Reasons
The Post Close Reasons section displays a list of all available reasons used to close forum posts, along with their corresponding Reason Type.
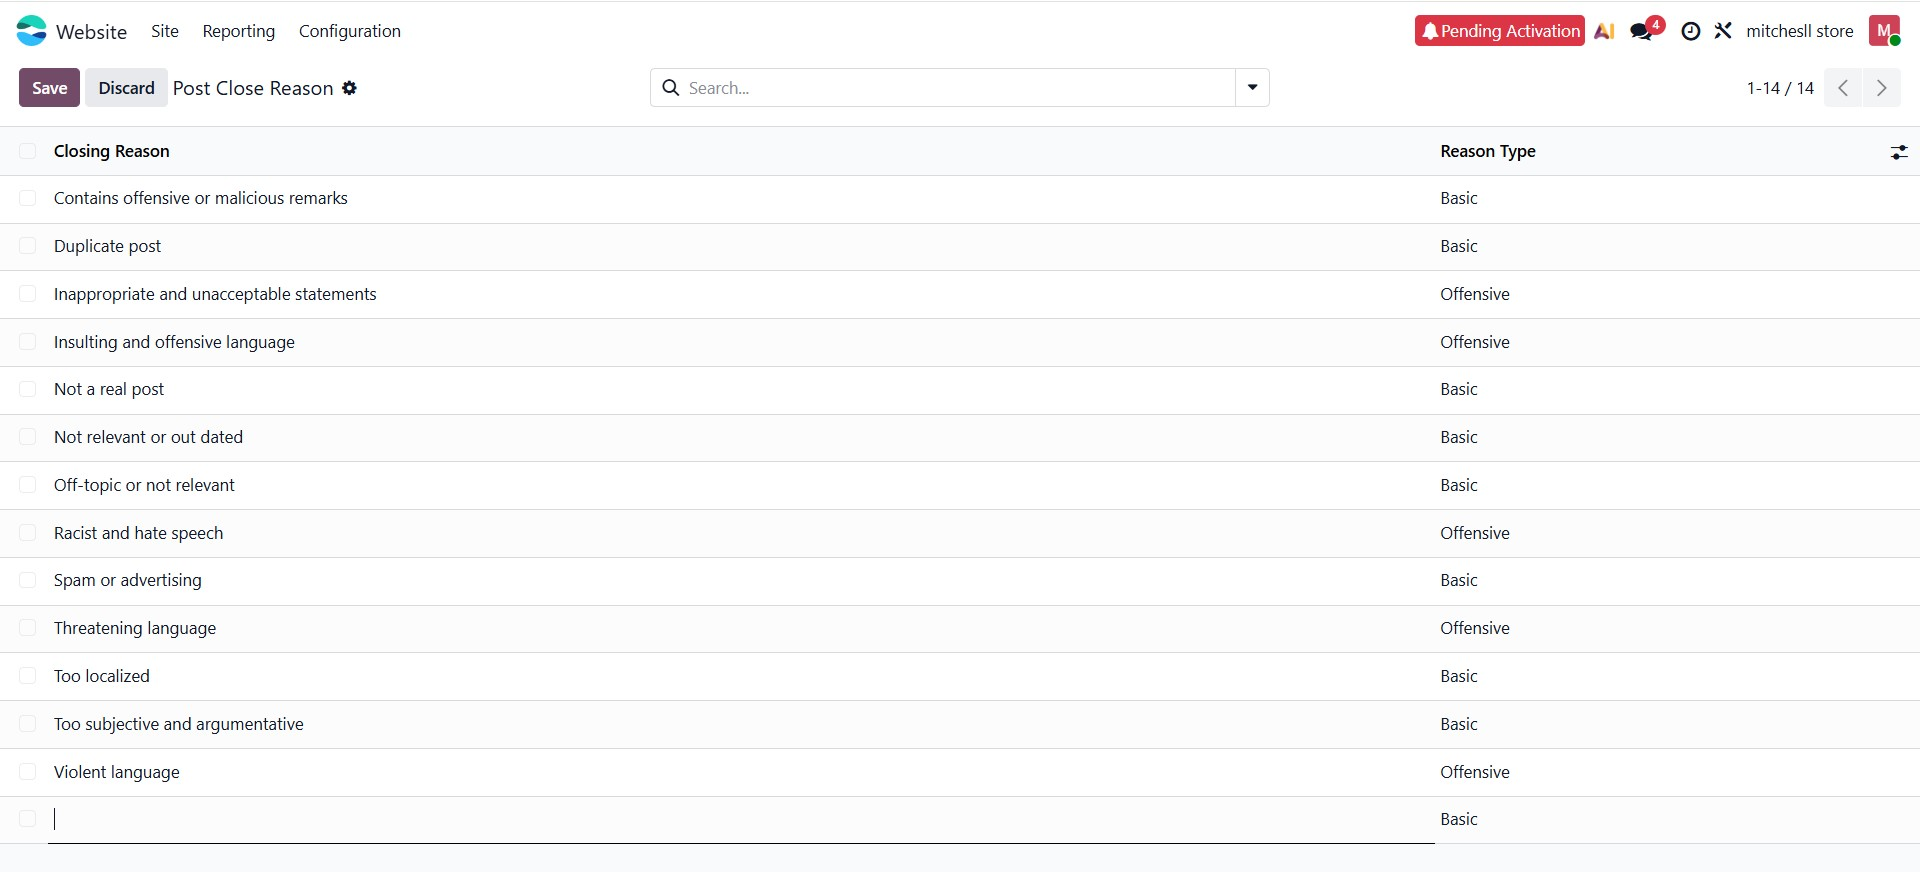
Administrators can manage and define closing reasons in this window. Each entry includes a Closing Reason, which explains why a post may be closed, such as duplicate content, inappropriate language, or off-topic discussions. The Reason Type helps categorize these reasons, typically as Basic or Offensive, allowing moderators to distinguish between general issues and more serious violations.
New closing reasons can be added by entering them directly into the list, while existing ones can be edited or removed as needed.
These close reasons help maintain the quality and relevance of forum discussions by providing clear justification when a post is closed, ensuring effective moderation within Odoo.
Now that we've covered the Forum function in detail, we'll move on to the Settings Feature.