Publish Specific Content for the Website
Odoo 19 allows users to efficiently create and publish various types of content directly from the website’s front end. This streamlined approach enables businesses to manage pages, blog posts, events, forums, and appointment forms without switching to the backend interface. Whether you are publishing product descriptions, blog articles, event announcements, or discussion topics, the Website module provides a smooth and user-friendly experience. After creating the content, you can instantly publish it, ensuring that updates are reflected on your website in real time.
1.1 Page
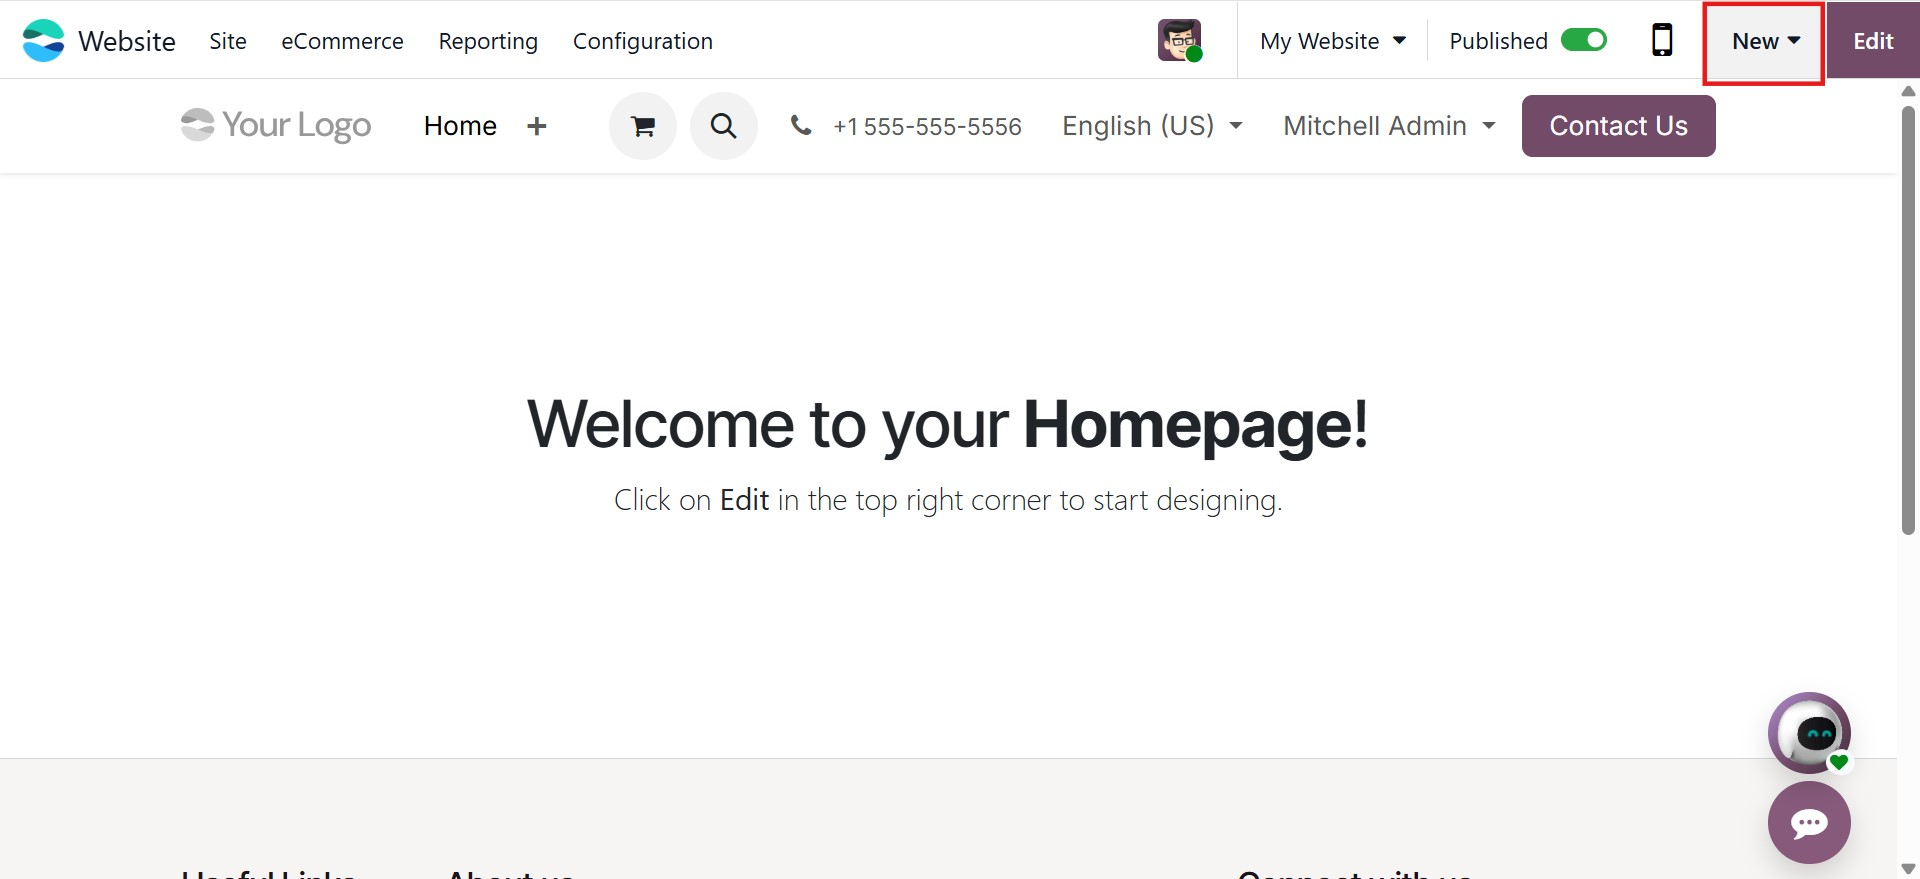
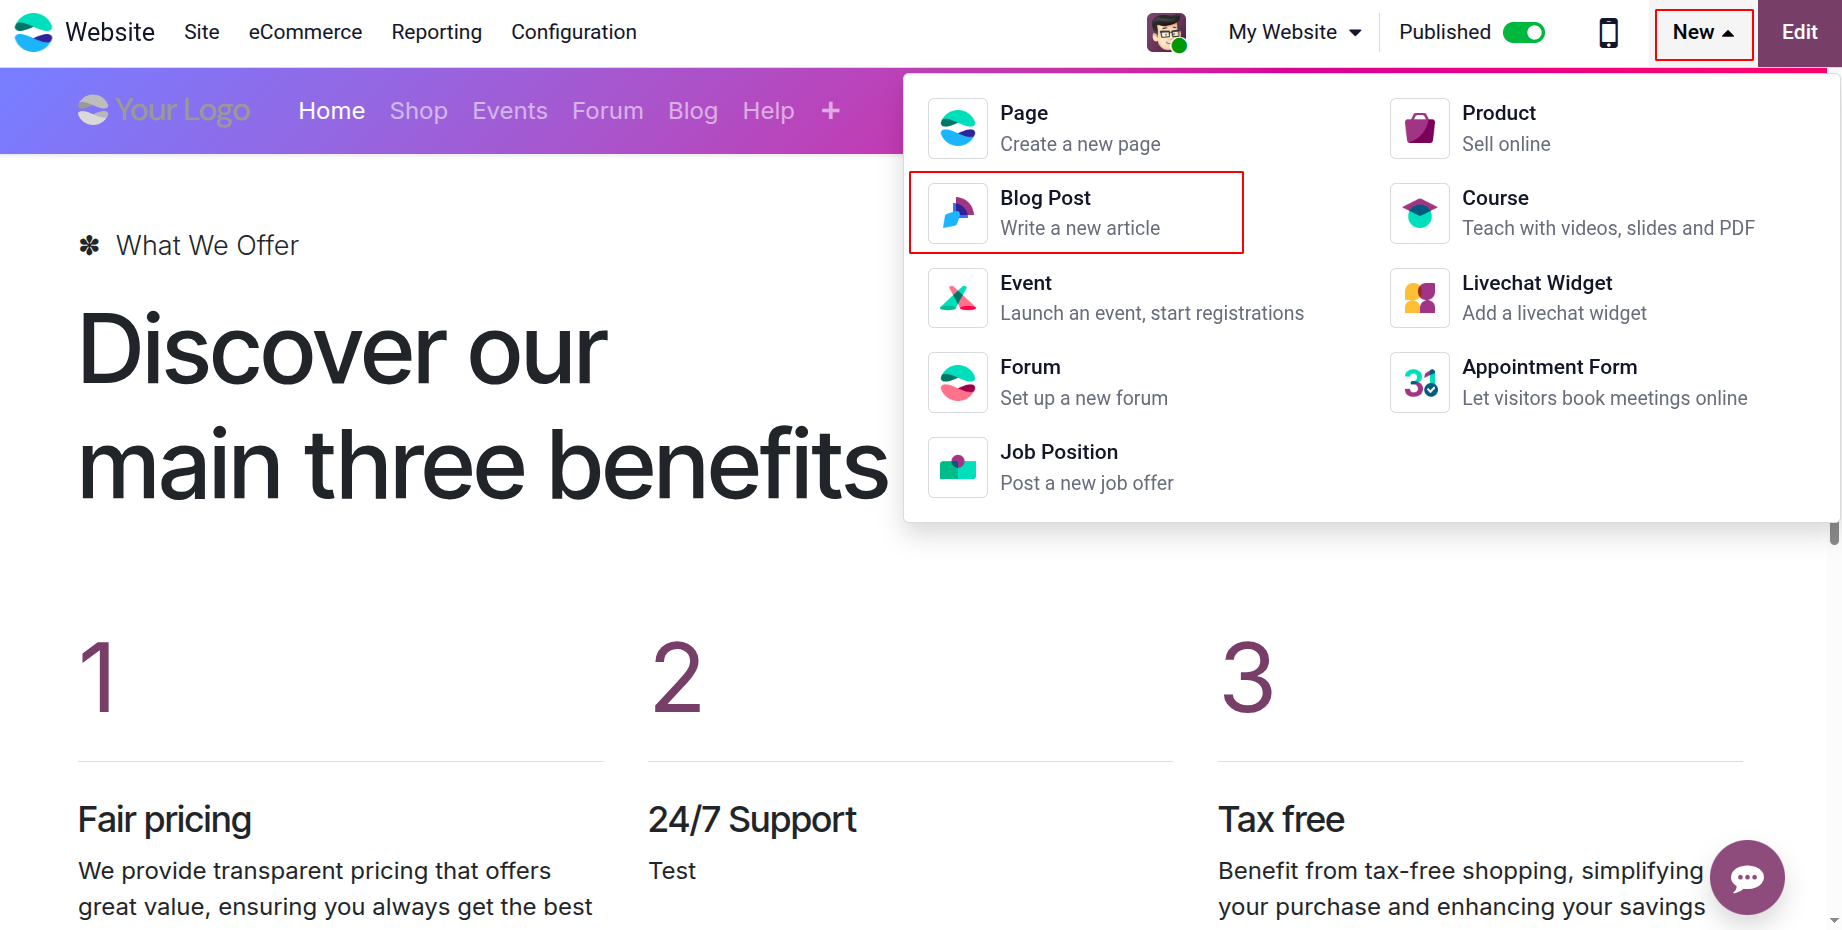
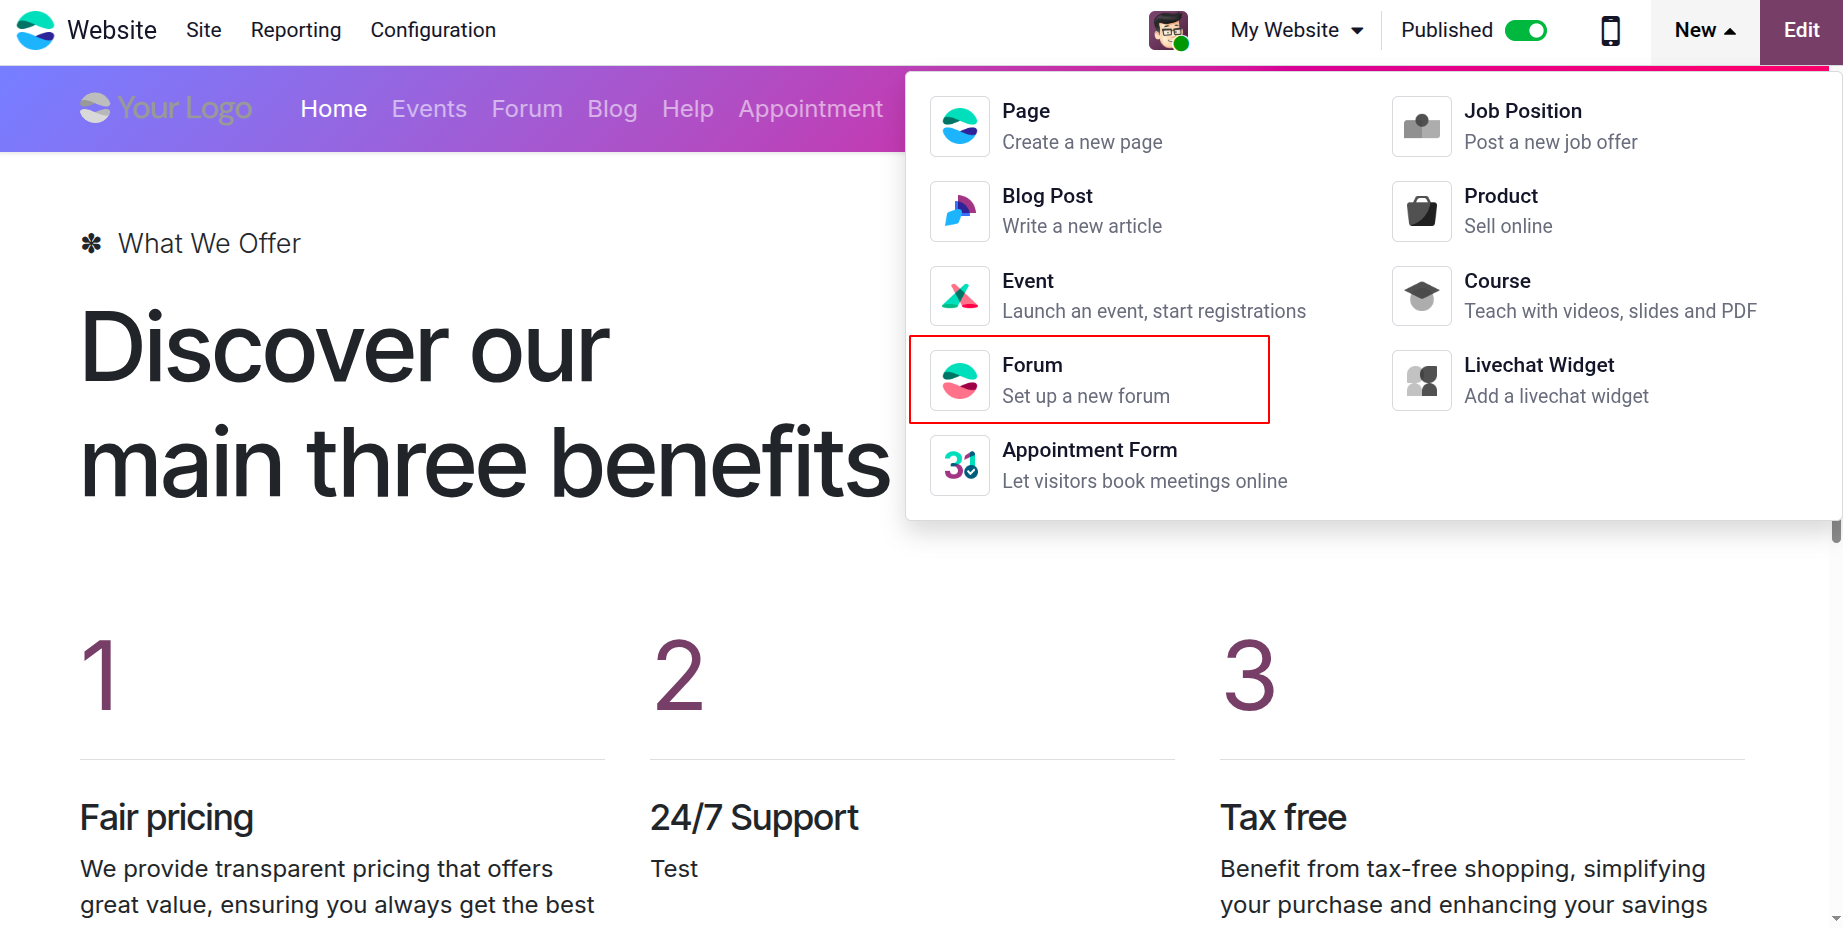
On your website, you will find a New button located next to the Edit button. Clicking the New button reveals different content creation options available within the Website module.
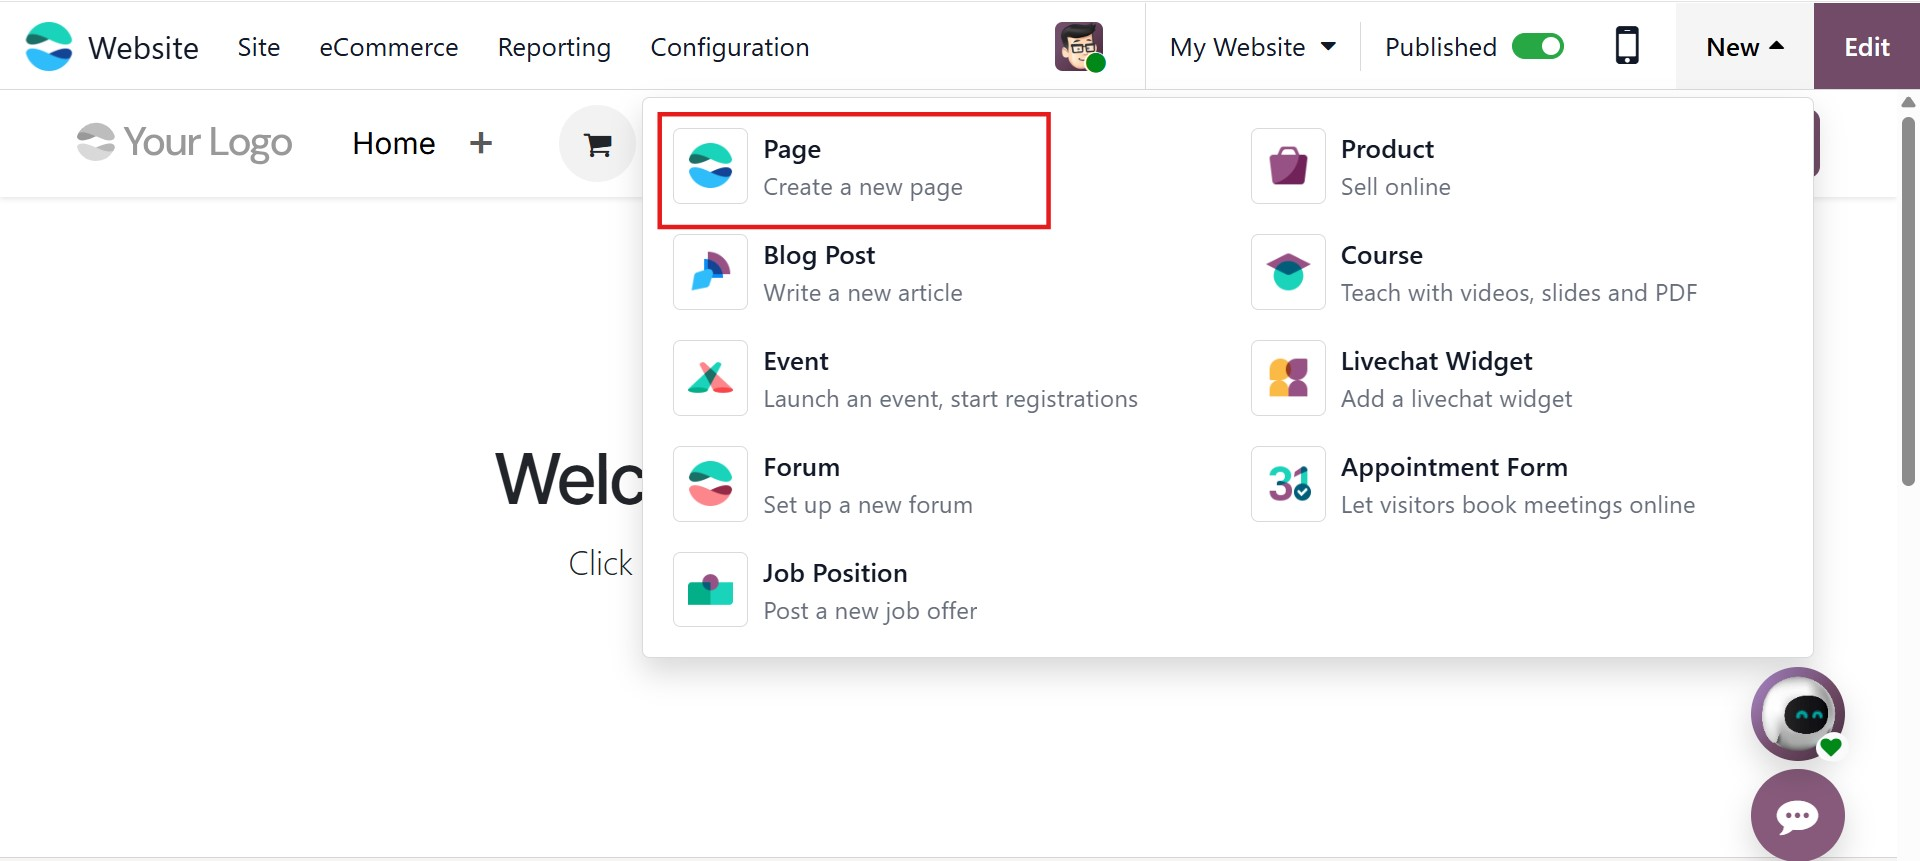
To create a new webpage, select the Page option.
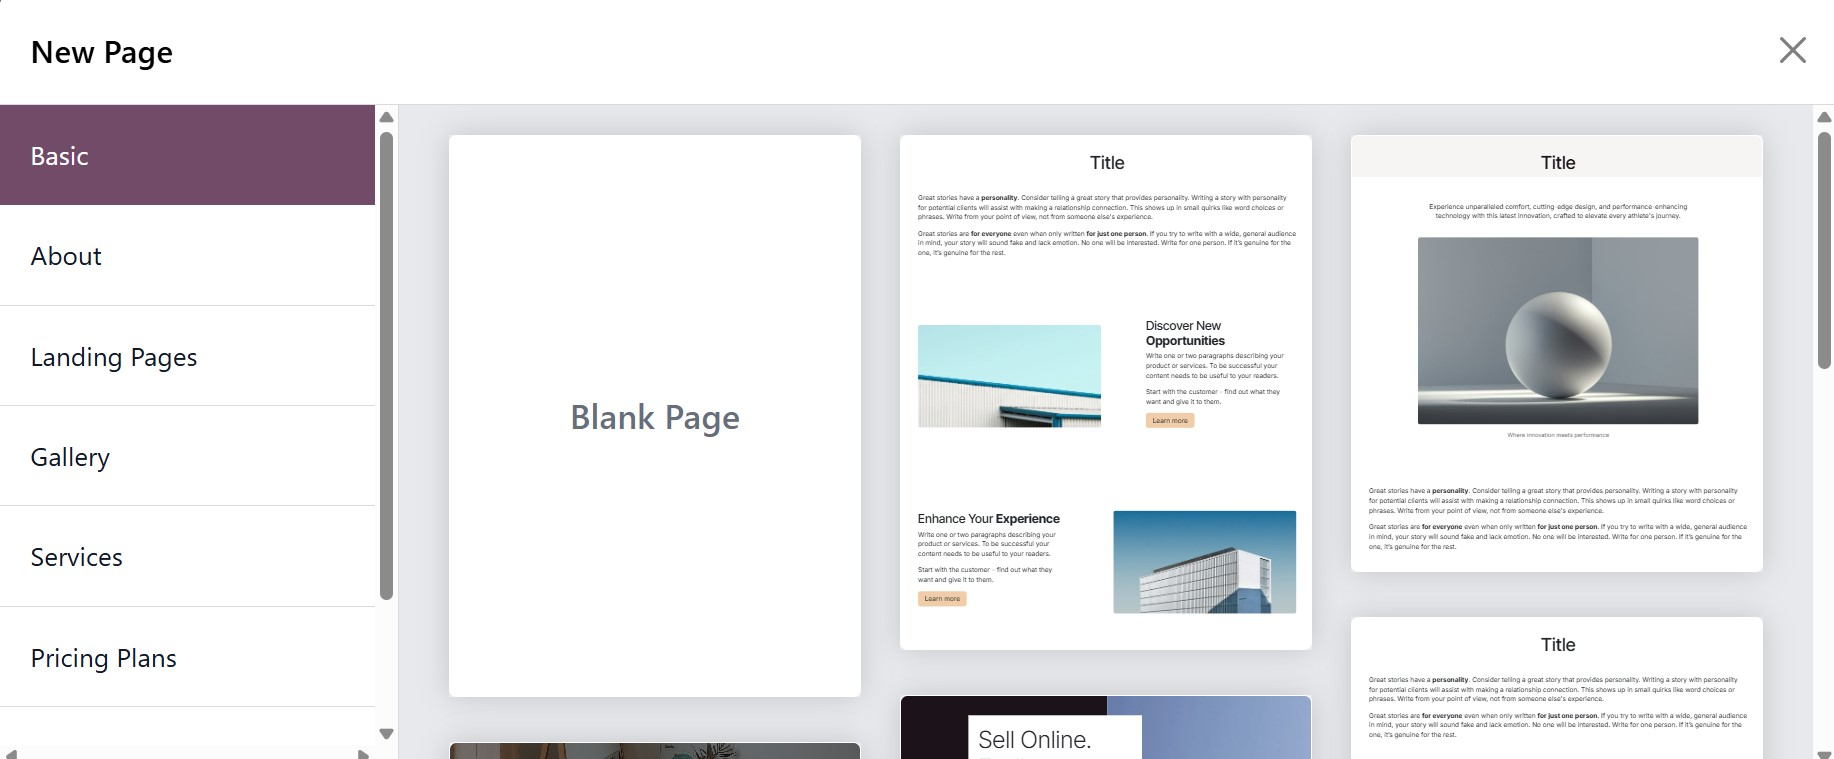
Once selected, a pop-up window appears prompting you to enter the Page Title.
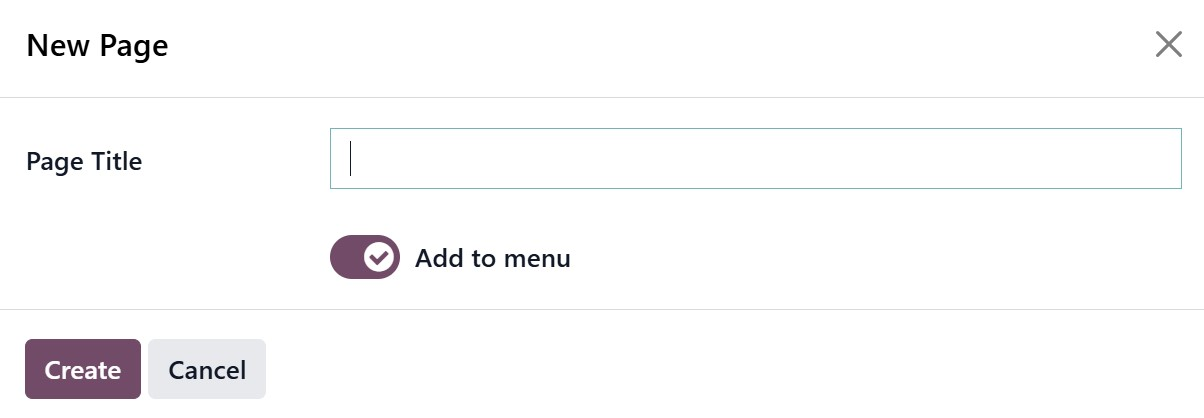
You also have the option to enable Add to Menu, which automatically includes the page in your website’s main navigation menu. After entering the required details, click the Create button. The newly created page will open in editing mode, allowing you to design it using drag-and-drop snippets and customization tools.
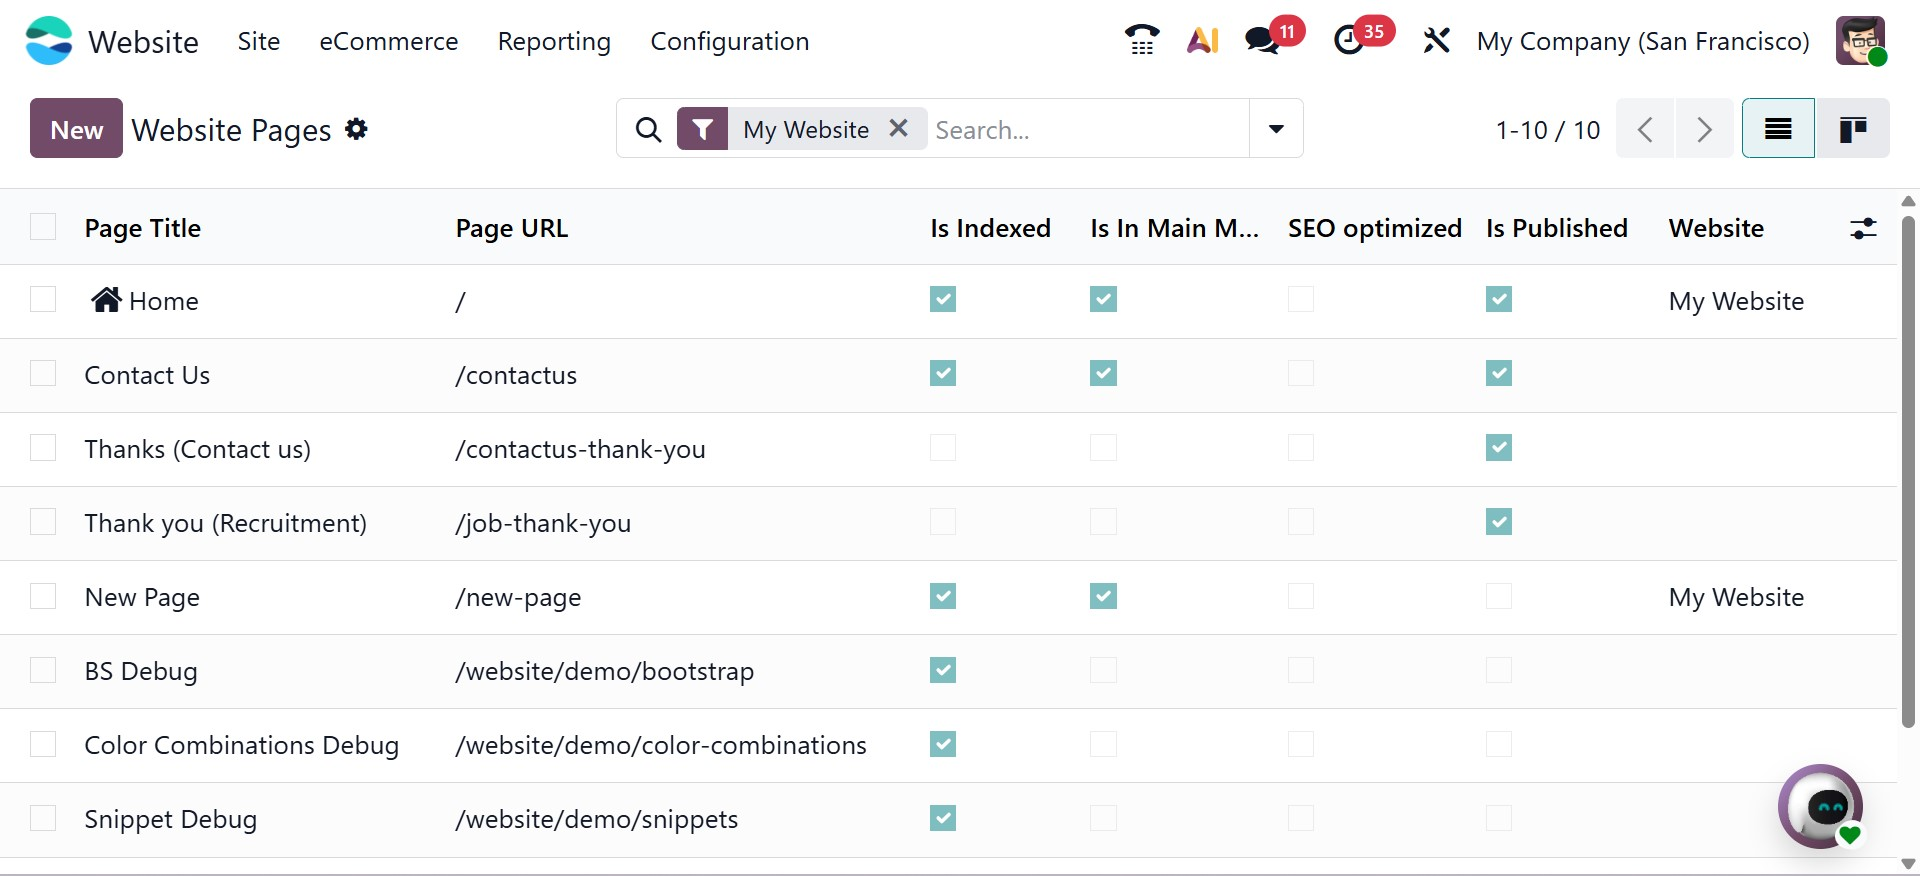
In Odoo 19, you can also manage website pages from the backend. By navigating to the Site menu and selecting Pages, you can access a dedicated page management window. This interface allows you to control whether a page is published, indexed by search engines, or optimized for SEO. Within this window, you can also view the options that describe the page's inclusion in the main menu, publication status, search engine indexing status, and SEO optimization status (indicated by checkmarks or crosses). Each page can be managed independently, and indicators clearly show its publication status, menu inclusion, and SEO configuration.
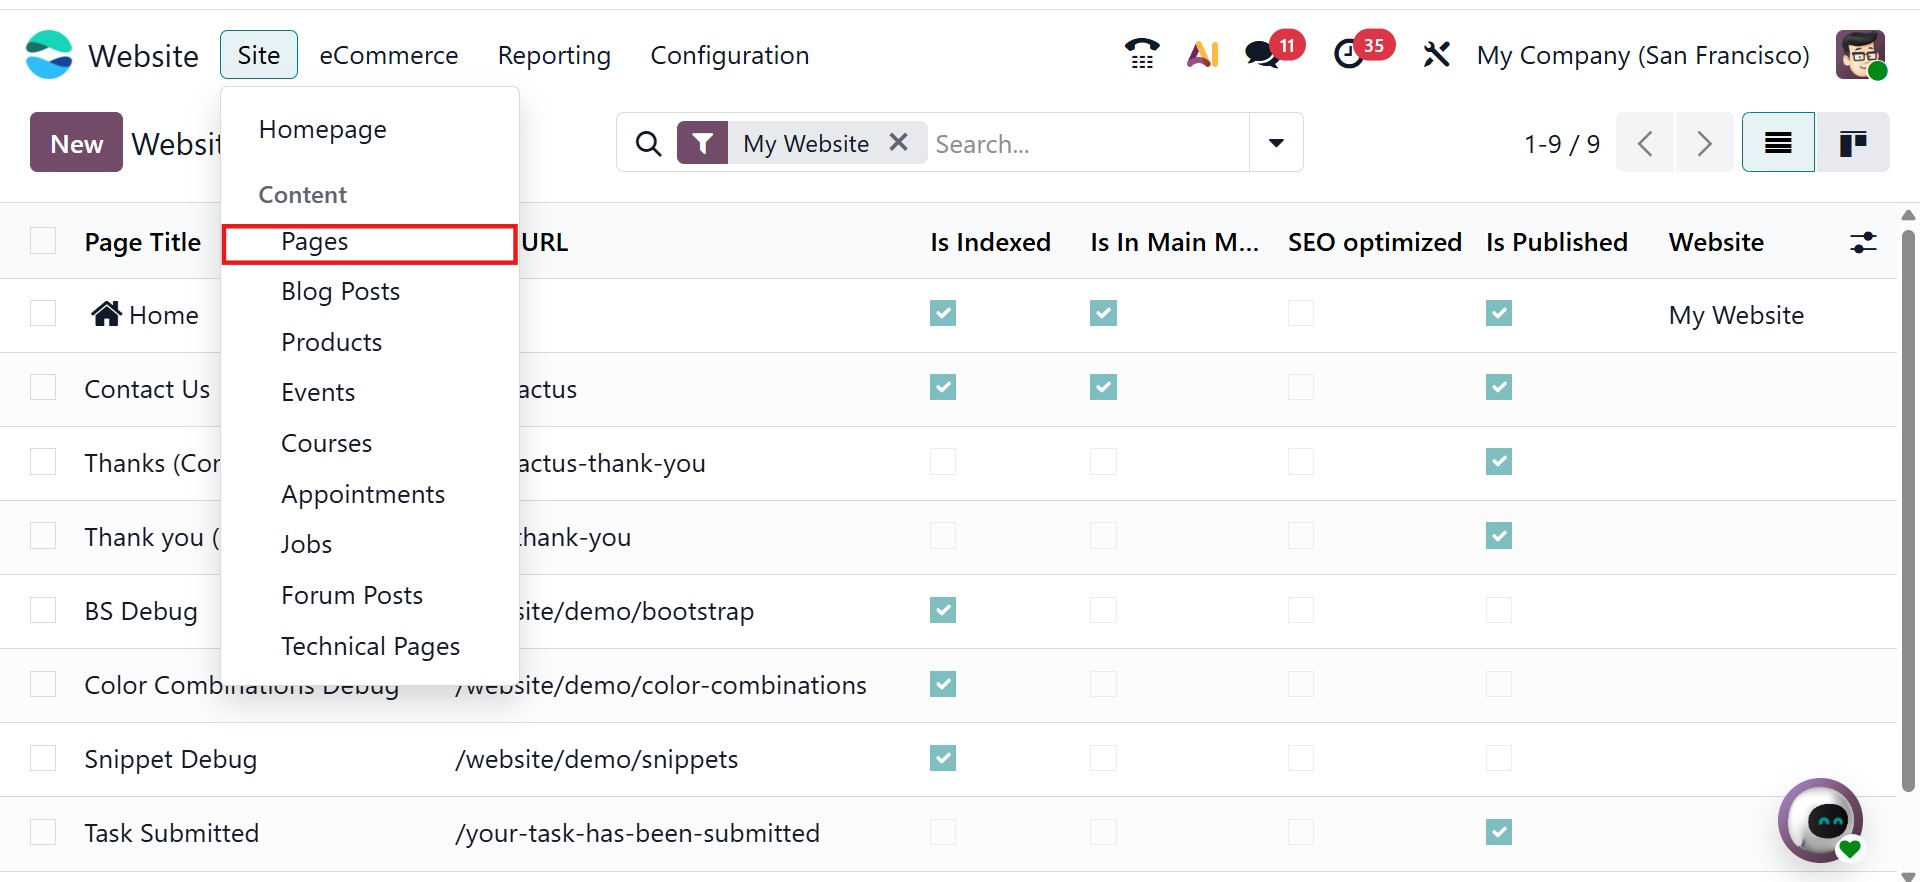
Clicking the New button within this window enables you to create additional pages from the backend.
1.2 Blog Post
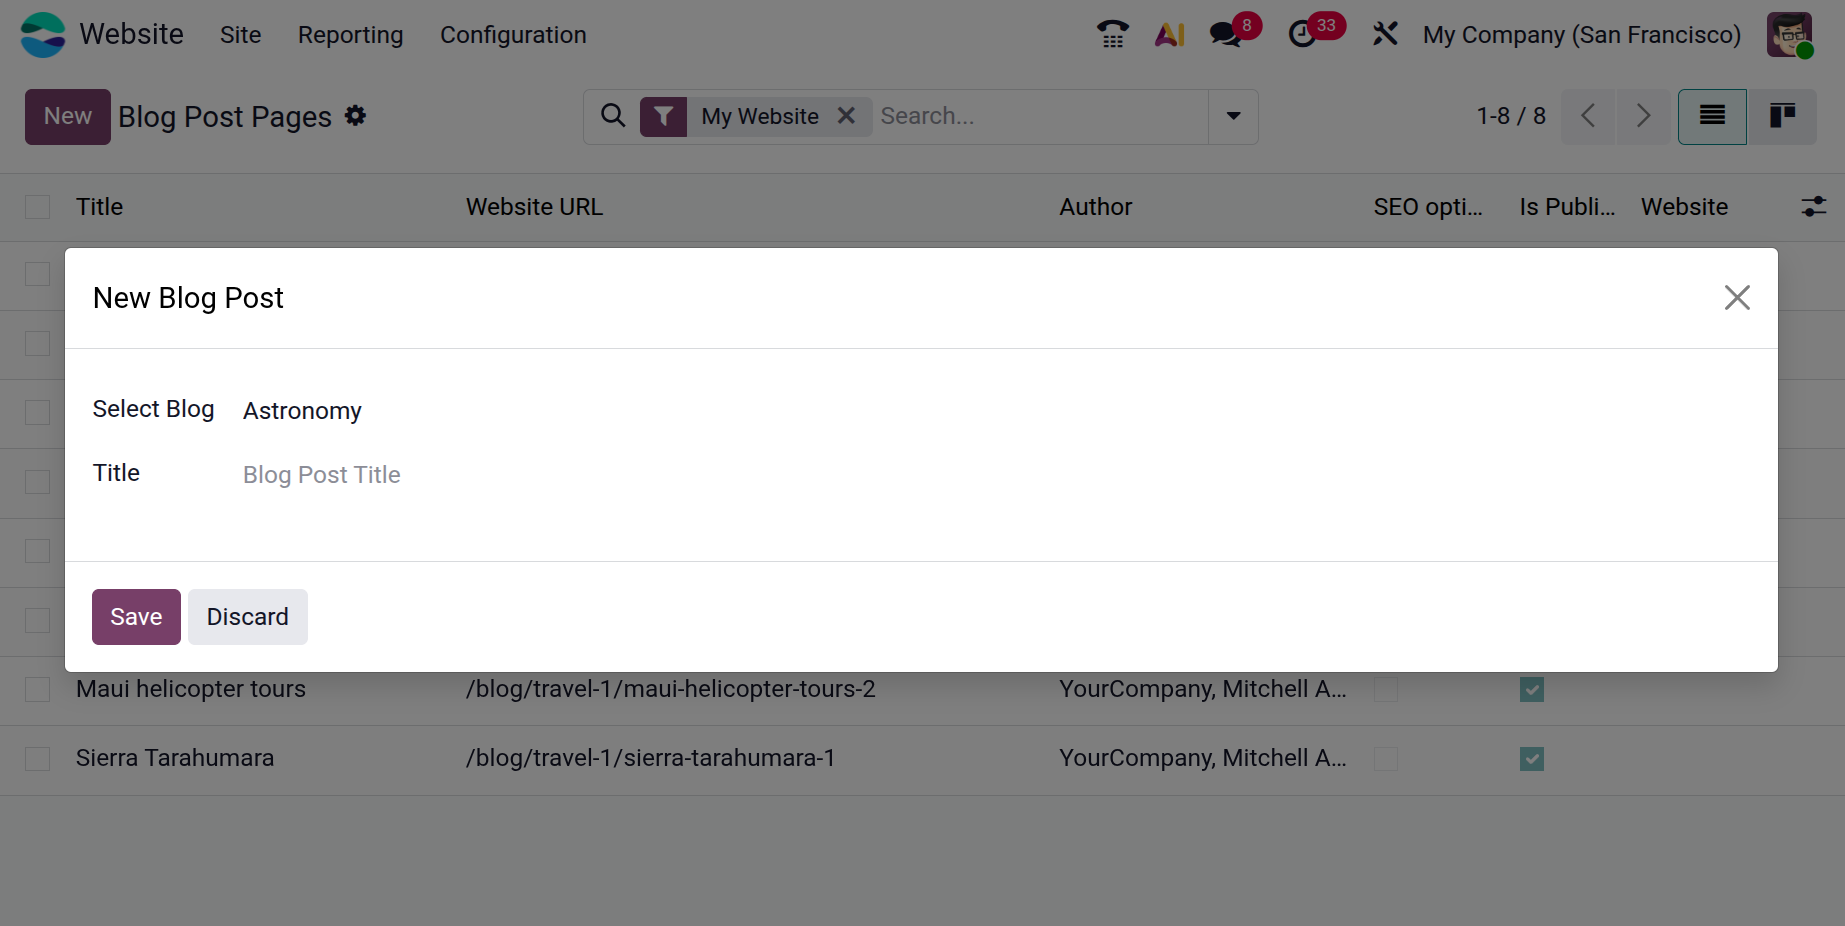
You can create a new blog post on your website by selecting the Blog Post option.
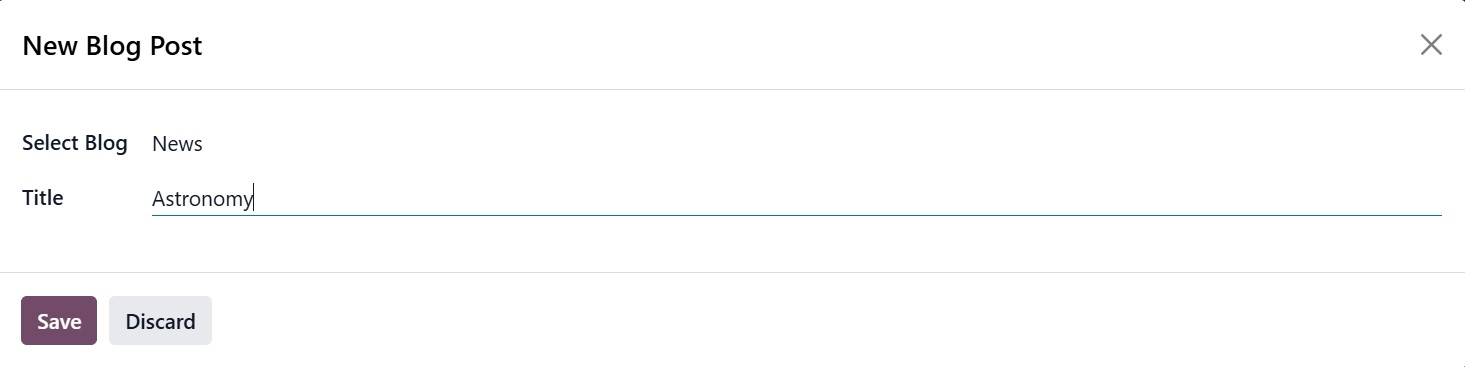
When this option is selected, a pop-up window appears where you can choose the blog type in which the post will be published. After selecting the appropriate blog, click Save to proceed. A new page will open where you can start composing your blog entry.
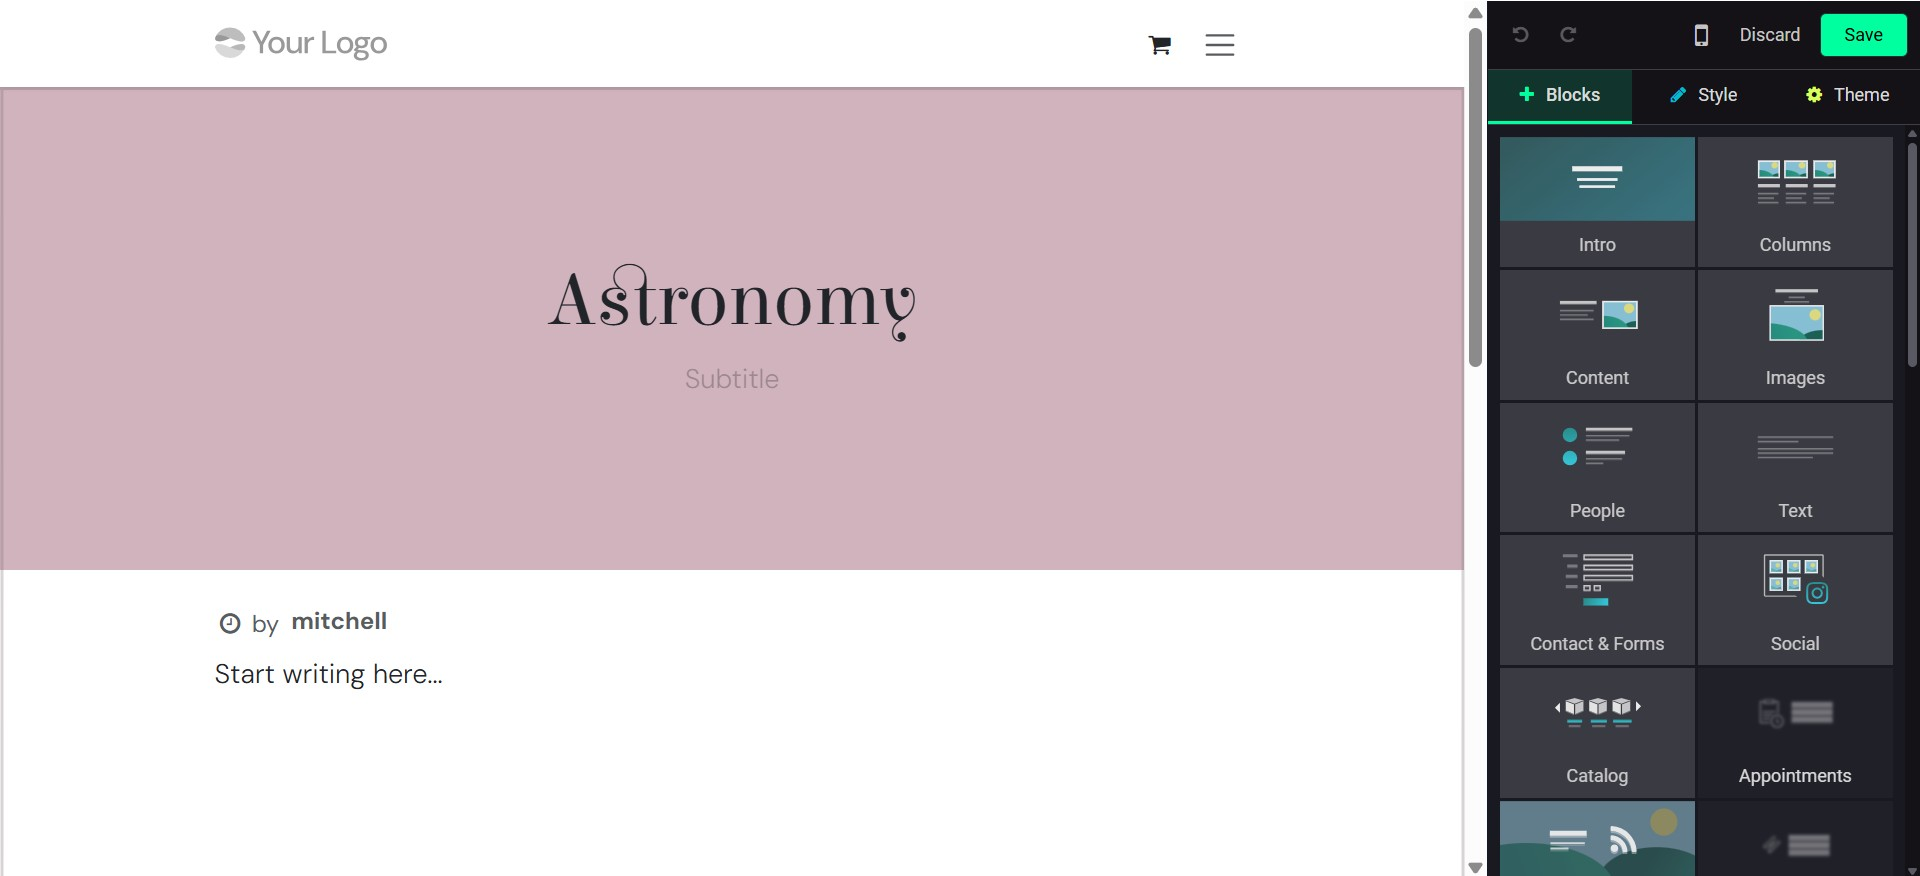
To create the blog content, first enter the Title of the blog post and optionally add a Subtitle. You can then begin writing the content directly on the page. The website editor provides several tools that help enhance the layout and appearance of the blog post, allowing you to format text, add images, and structure the content effectively.
To customize the appearance of blog posts, open the post and click Edit, then select Customize. The customization options available here apply to all blog posts on the website.

You can control how the blog title is displayed by selecting a layout option. The Title Inside Cover option places the title within the cover image, while Title Above Cover displays it above the image. Enabling the Increase Readability option improves the clarity of the text, making the blog easier to read.
A Sidebar can also be enabled to add additional features to the blog page. The Archive option allows visitors to browse posts by month, while the Author setting displays the writer’s name and publication date. The Blog List provides quick access to other posts on the website, and Share Links allow readers to share the blog post on social media platforms. Additionally, enabling Tags helps organize content by keywords, making it easier for readers to find related posts.
These customization features allow you to tailor the design and functionality of the blog page while improving user experience
To view all blog posts, navigate to Site → Blog Posts. This opens the Blog Posts window, which displays all blog entries available on the platform. The list view shows important details such as Title, Author, Blog, Website, SEO Optimization status, and other relevant information.
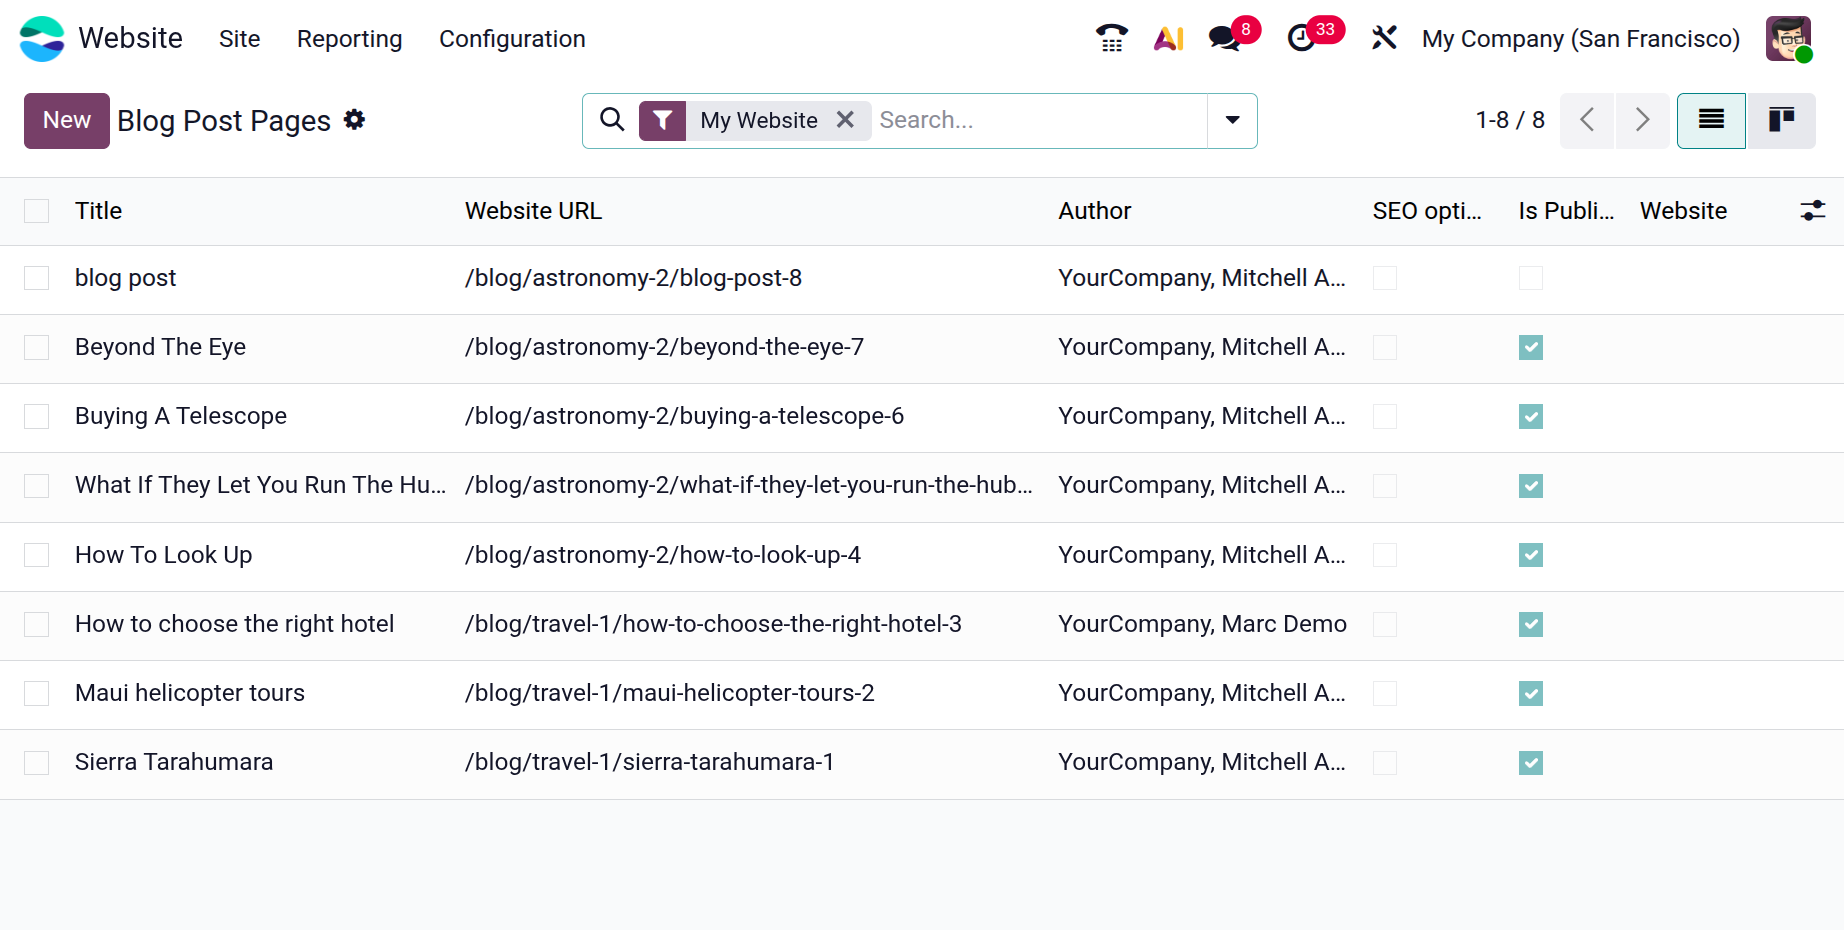
The records can also be viewed in Kanban format by selecting the Kanban icon located at the top-right corner of the window. In addition, the interface provides Search, Filter, Group By, and Favorites options to help users quickly locate and organize blog posts.
To create a new blog entry from the backend, click the New button in the top-left corner of the window. This opens the blog post form where users can enter the required details.
In this form, users can select the Blog name from the dropdown list. Additional details such as Website, Tags, Title, and Subtitle can also be specified.
Under the Publishing Options section, users can define the Author Name and Publishing Date. If a blog post is being edited after publication, the system also displays information such as the Last Contributor and the Last Updated On date.
1.3 Events
.The Events feature allows you to publish and manage events directly from your website.
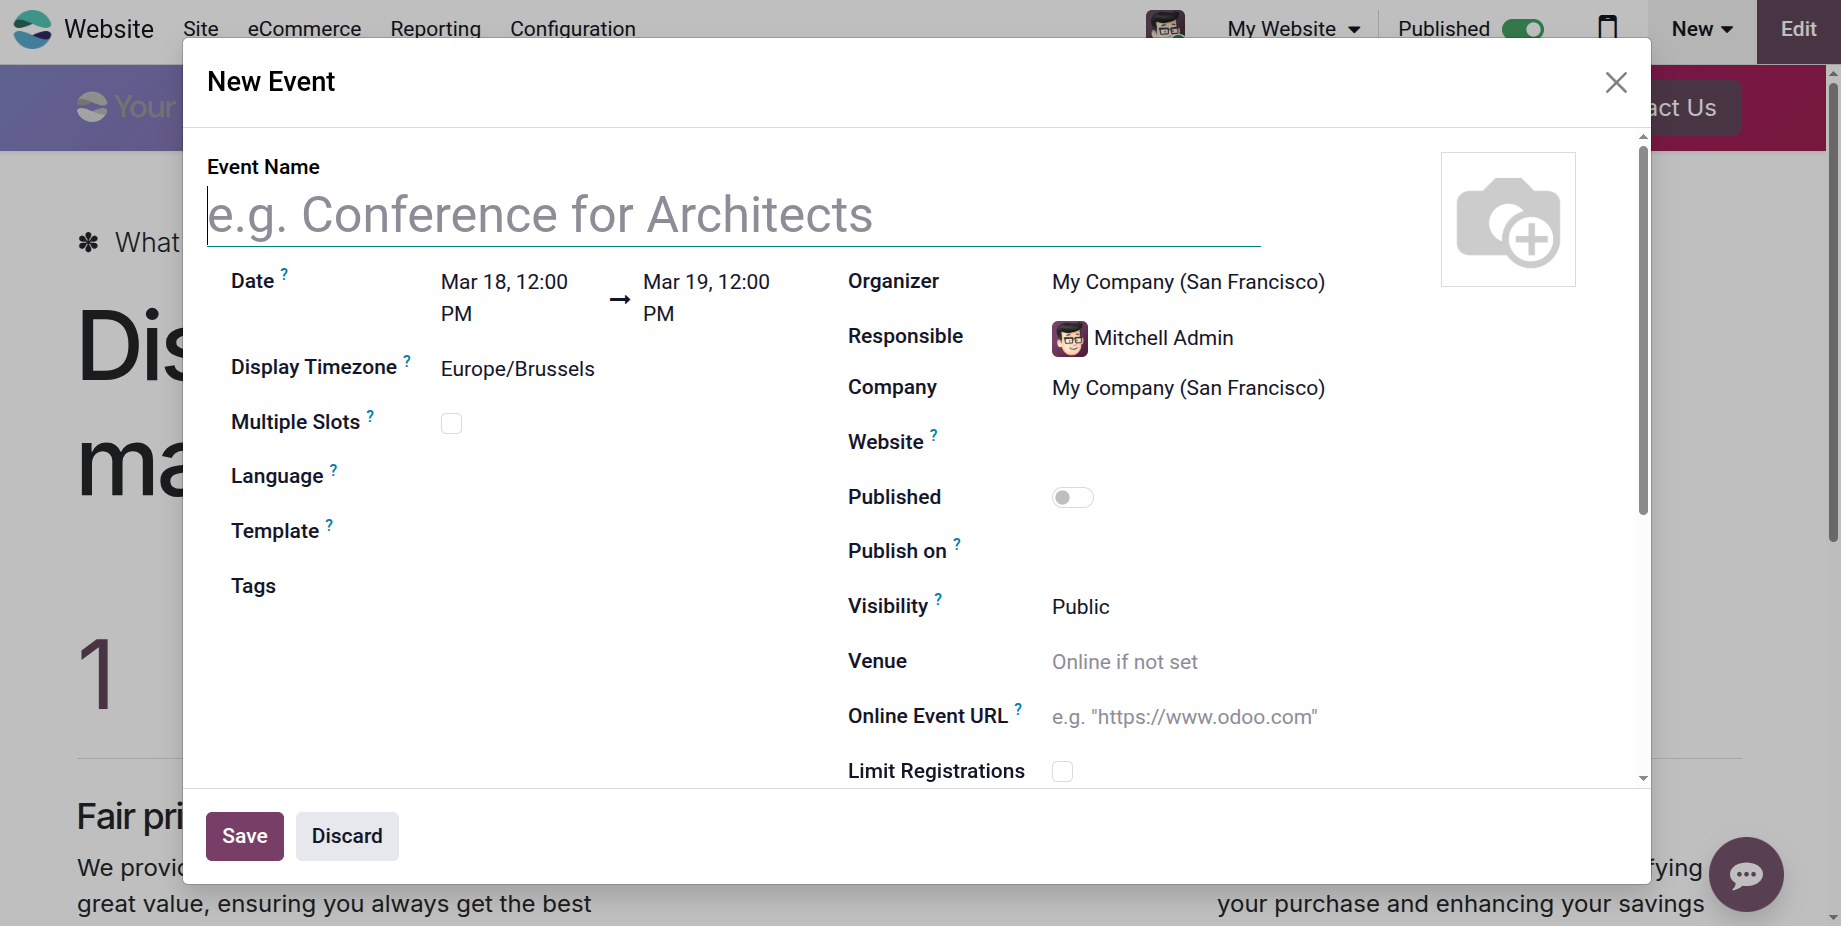
To create a new event from the website editor, go to the +New option and select Event. A pop-up window will appear where you can enter the basic details of the event.

In this window, you must provide the Event Name and specify whether the event will take place online or on-site. If the event is hosted on-site, you must also enter the venue location.
The Start Date and End Date must be defined to schedule the event properly. After entering the required details, click Save to create the event.
Once the event is created, the event page opens, where additional information can be configured. Users can modify details such as event description, organizer information, registration options, ticket configuration, and other related settings using the editing tools available on the page.
The Events page also offers customization options similar to other website pages. You can adjust the layout and design to suit the style of your event listings.
For example, the Grid View organizes events in a structured layout, while Card Design presents each event in an individual card format for a more visually engaging display. The Template Badge feature allows events to be highlighted with labels or visual indicators.
You can also enable the Top Bar Filter, which allows visitors to filter events based on criteria such as date or location, making it easier to find relevant events. Additionally, enabling the Sidebar provides extra navigation and filtering tools to improve the browsing experience.
Events can also be managed from the backend. Navigate to Site → Event Pages to view all created events. From this window, users can review existing events or create new ones by clicking the New button.
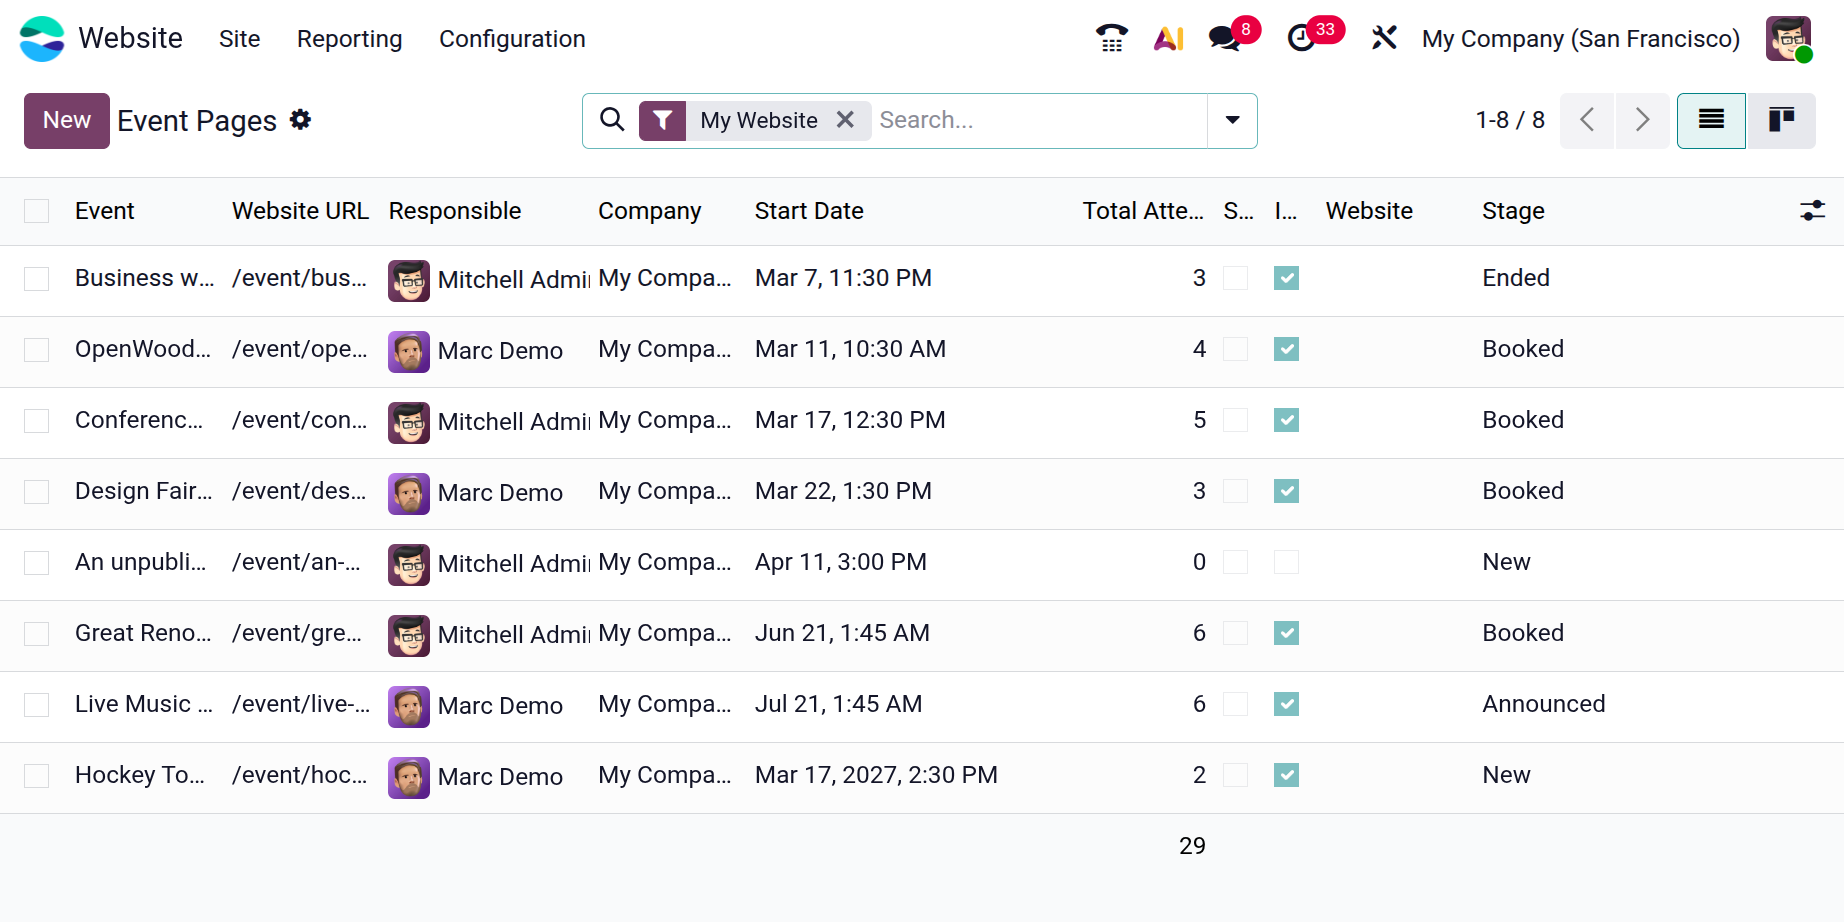
Within the event form, administrators can configure additional details such as the Event, Website URL, Responsible person, Start Time, Total Attendees, Website and Stage. For more advanced configurations, refer to the Events module documentation.
1.4 Appointments
The Appointments option available under the Site menu in the Website module allows businesses to schedule and manage online appointments directly through their website. This feature enables customers to book meetings, consultations, or service sessions with your team in a convenient and organized way. To use this functionality, the Appointments module must first be installed from the Odoo Apps menu, as it works in close integration with both the Website and Calendar modules.
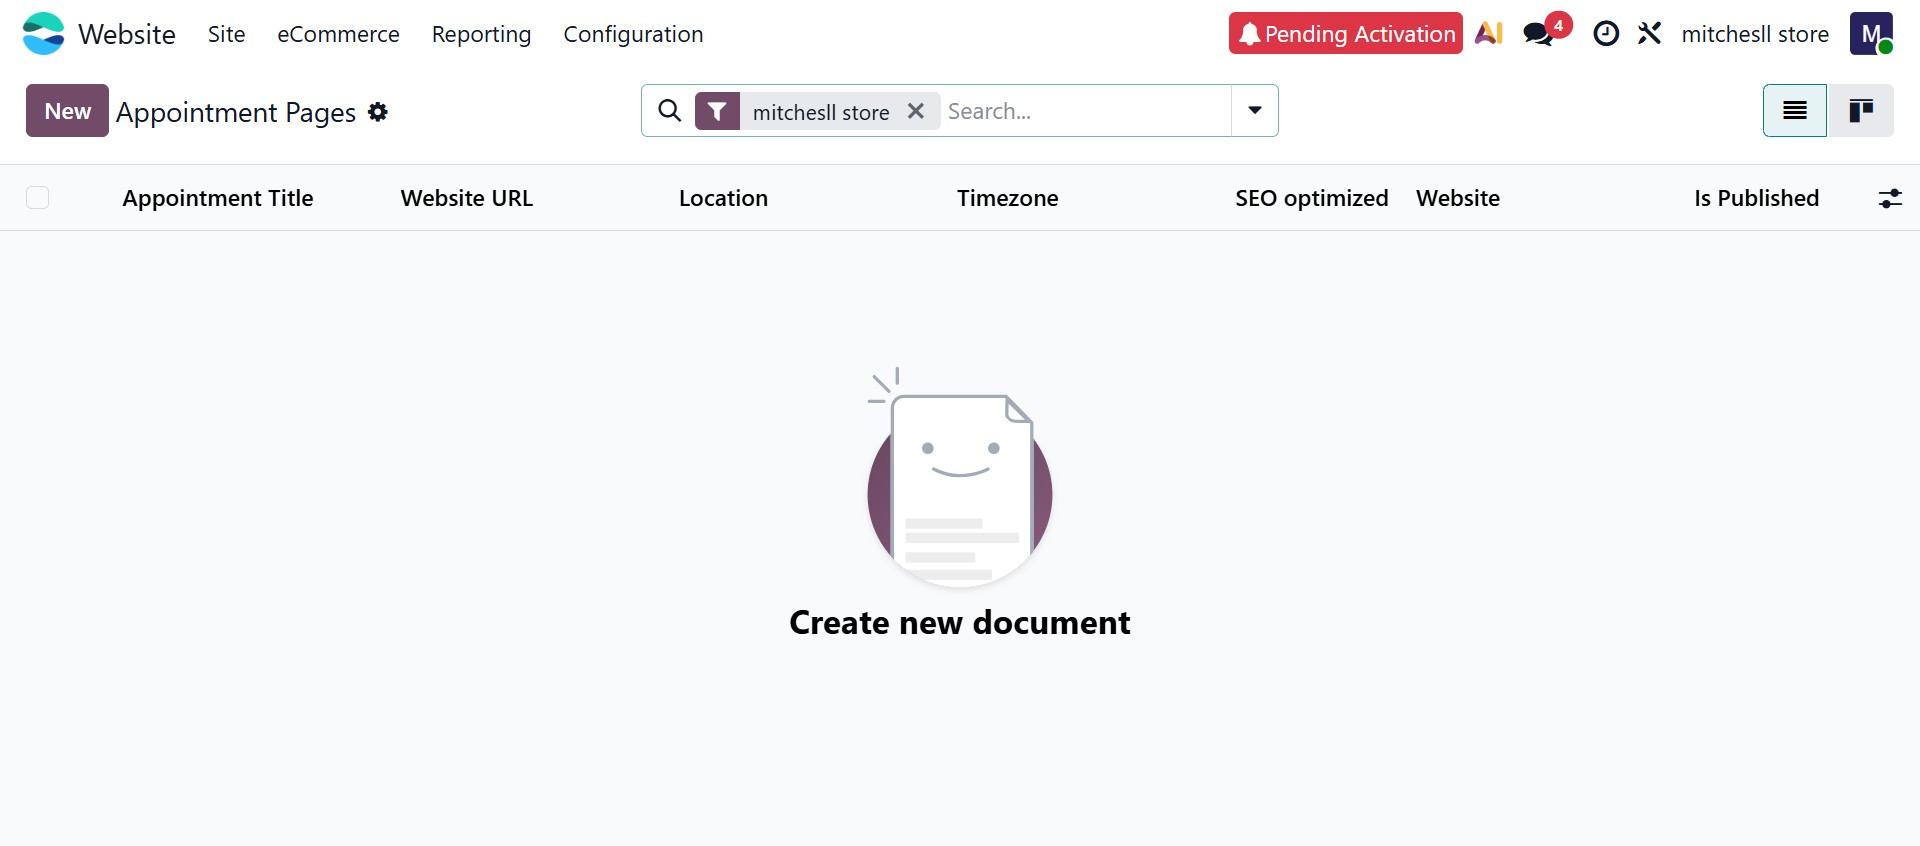
When you select Site → Appointments, a window appears displaying all the previously created appointment types. These appointments are presented in List and Kanban views, allowing users to easily review and manage them. From this page, you can create a new appointment type by clicking the New button.
Clicking the New button opens the New Appointment Type configuration window. Here, you can define the basic appointment details such as the Appointment Title, Duration, Location, and Video Link for online meetings. The Book option allows you to determine whether appointments are scheduled with specific Users. In the Users field, you can select the staff members responsible for handling the appointment. The Manage Capacities option allows you to control how many appointments can be scheduled simultaneously for each user.
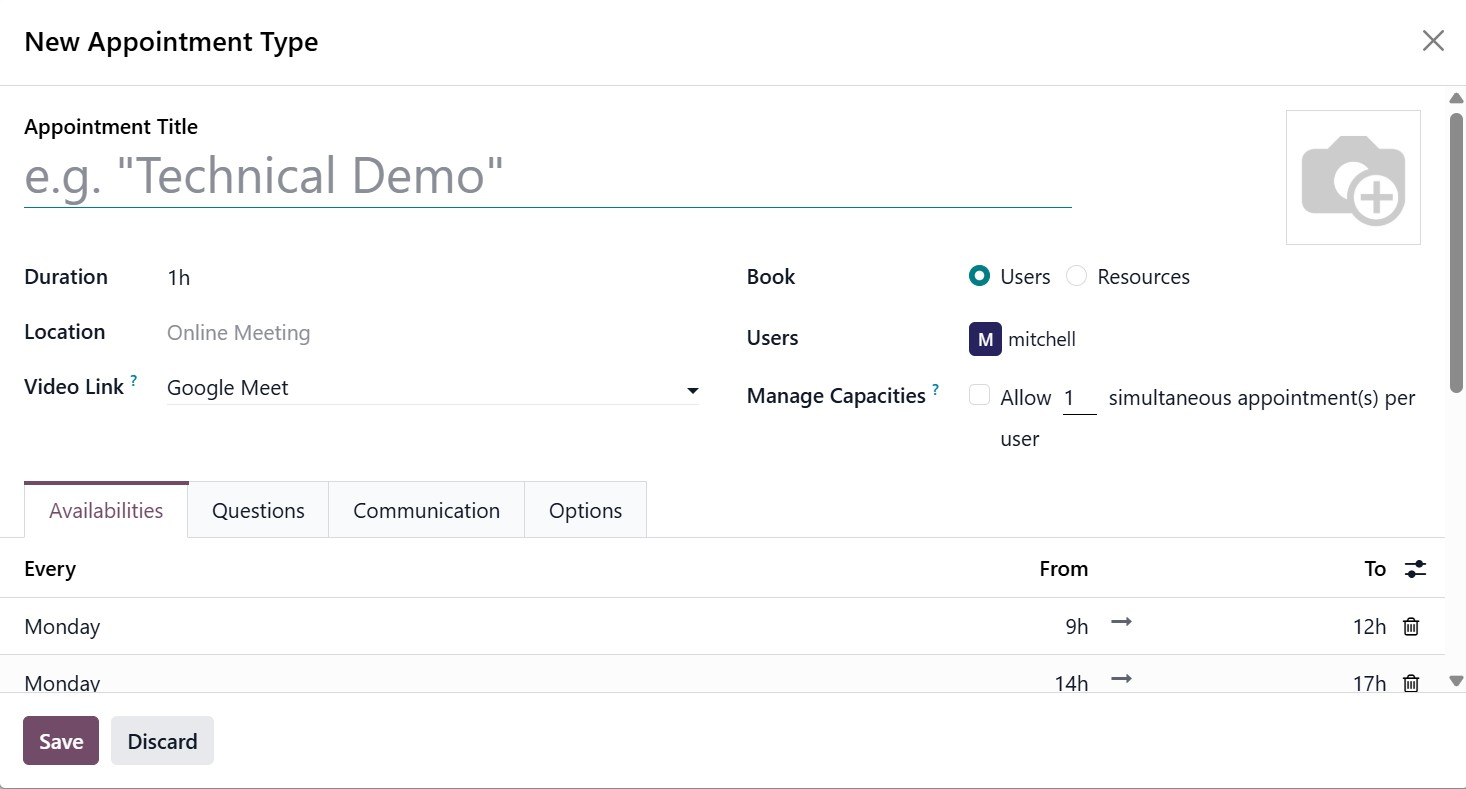
The Availabilities tab allows you to configure the days and time slots when appointments can be booked. You can define availability for each day of the week by specifying the start and end time for the appointment slots. This ensures that customers can only book appointments during the defined working hours.
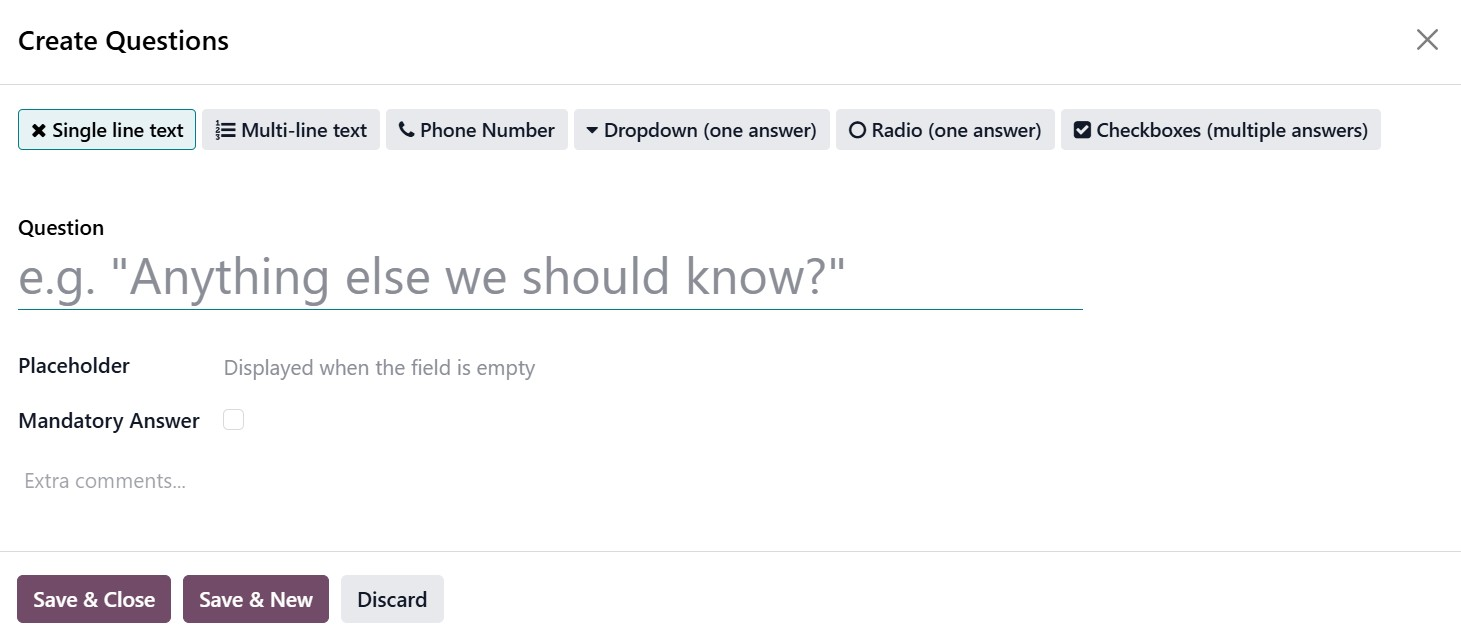
In the Questions tab, you can add questions that customers must answer while booking the appointment. These questions help collect important information in advance.
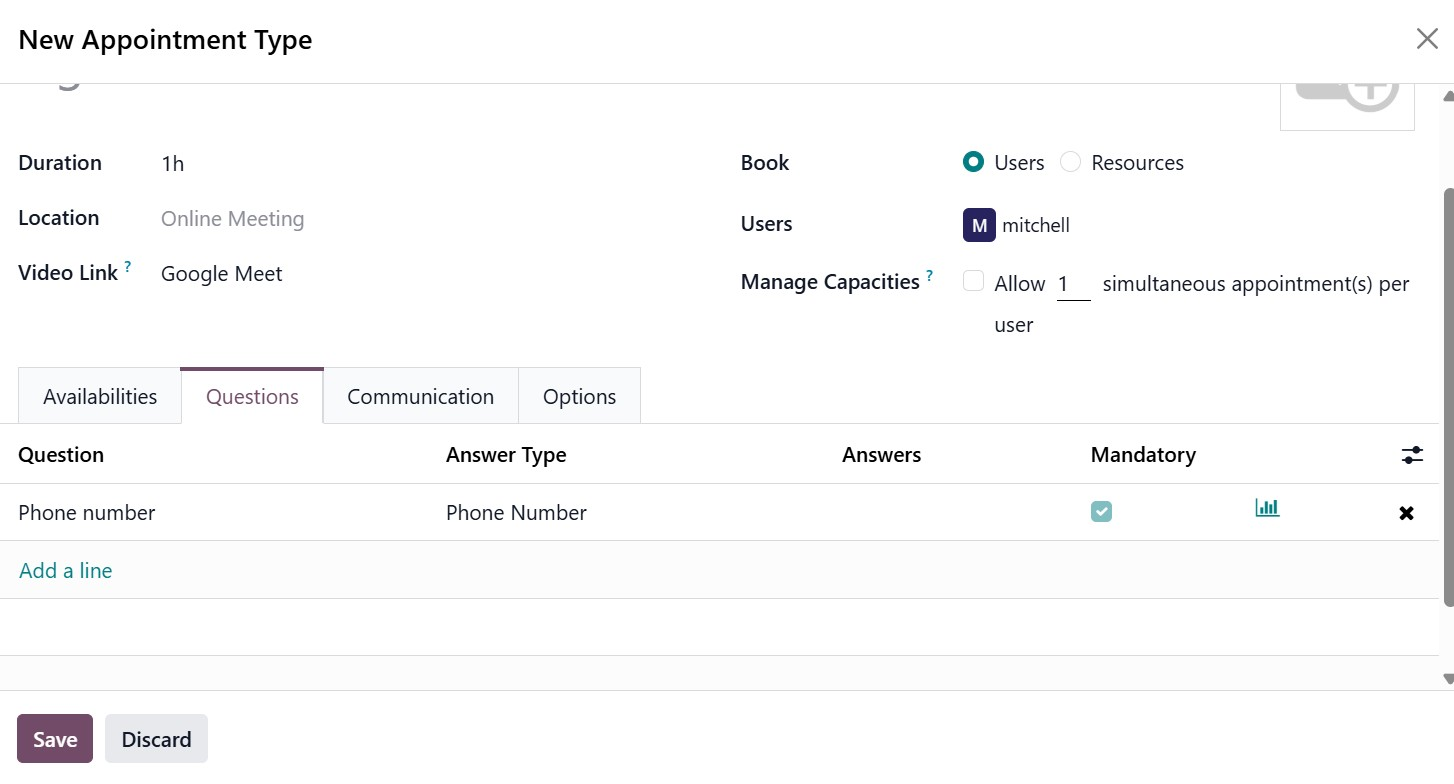
By clicking Add a line, you can select the appropriate question type such as Checkbox, Dropdown, Radio Button, or Single-line Text.
The Communication tab allows you to configure the messages sent to customers during the appointment process. You can customize the appointment introduction and confirmation messages that appear during booking and after the appointment is scheduled.

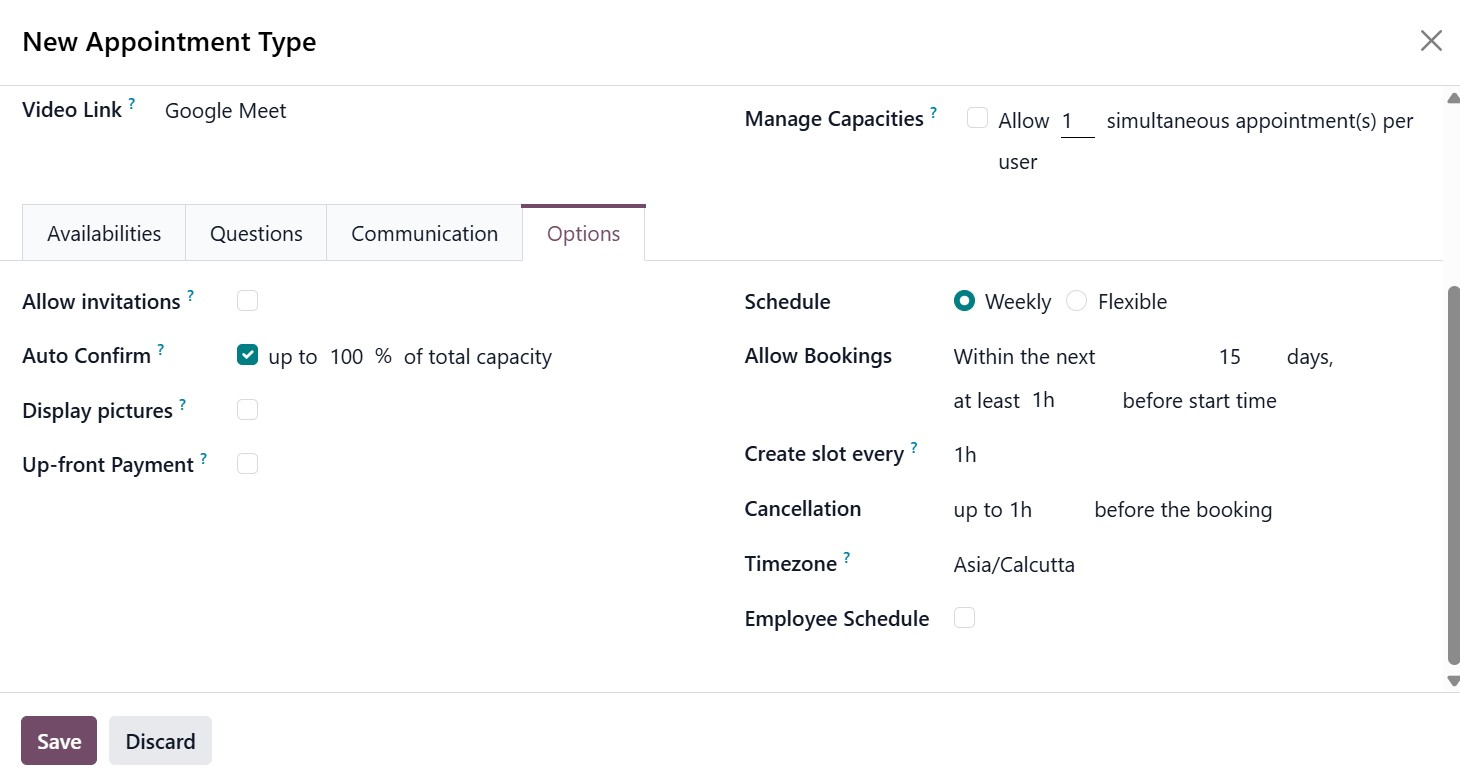
Additional configuration options are available in the Options tab. These settings allow you to define advanced behaviors related to appointment booking and management, helping tailor the scheduling process according to business requirements.
After completing the configuration, click the Save button to create the appointment type. Once published, customers visiting your website will be able to select the appointment type and schedule a meeting based on the available time slots. This feature simplifies appointment management and provides a seamless booking experience for both businesses and customers.
1.5 Forum Post
The Forum feature allows organizations to create discussion platforms where users can ask questions, share knowledge, and participate in community discussions.
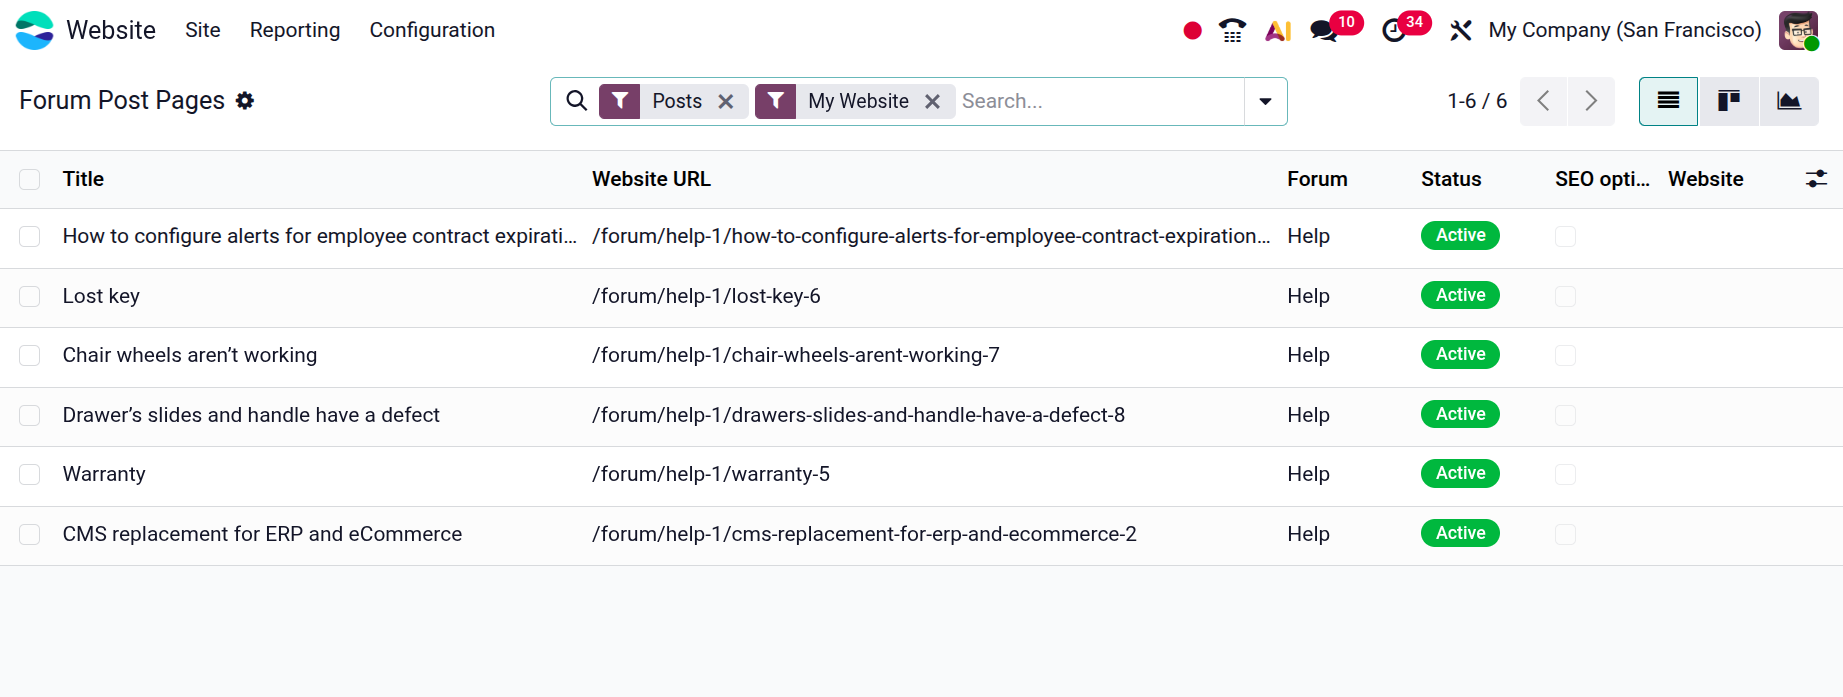
Forum posts can also be managed from the backend. Navigate to Site → Forum Posts to view all created posts. This page displays details such as the Post Title, Website URL, Forum Name, and Website. The page also includes an SEO Optimized option that allows administrators to optimize the post for search engines.
New Forum posts can be created from the Website. Click on the +New, then choose the Forum Post.
In this window, enter the Forum Name and choose the Forum Mode. The forum can be configured in either Discussion Mode or Q&A Mode, depending on how interactions should be structured.
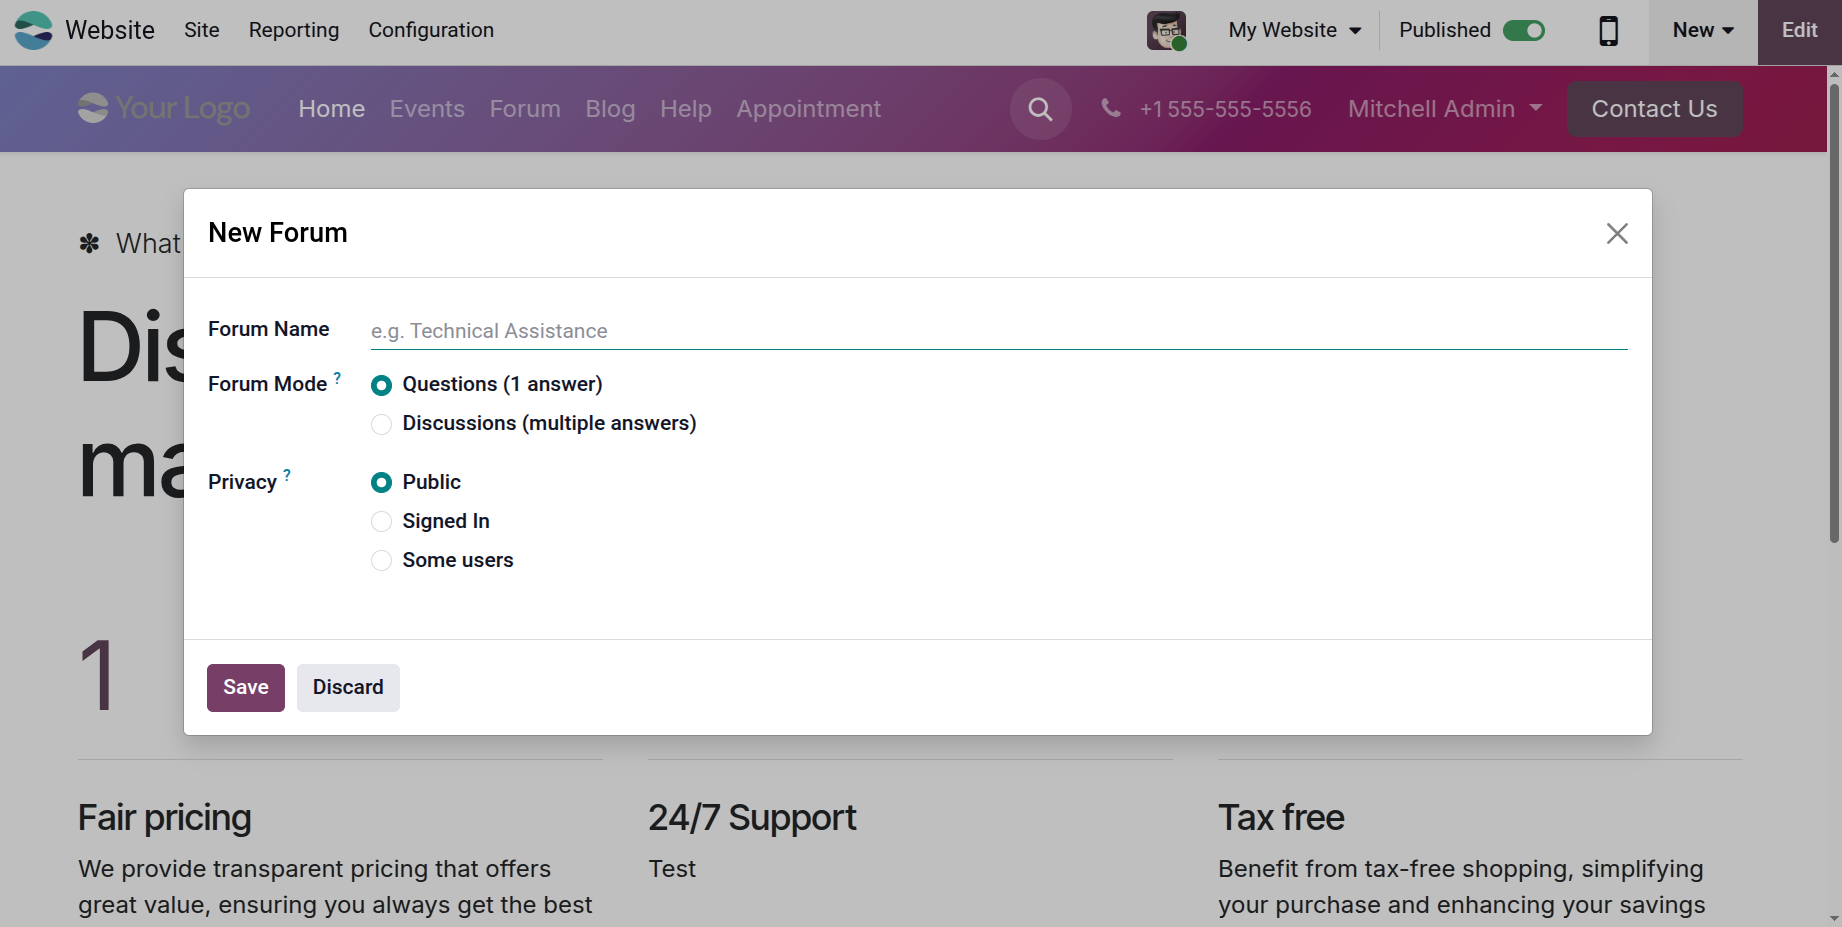
You can also define the privacy level for the forum. The available options include Public, Signed Users, or Selected Users, allowing administrators to control who can access and participate in the forum.
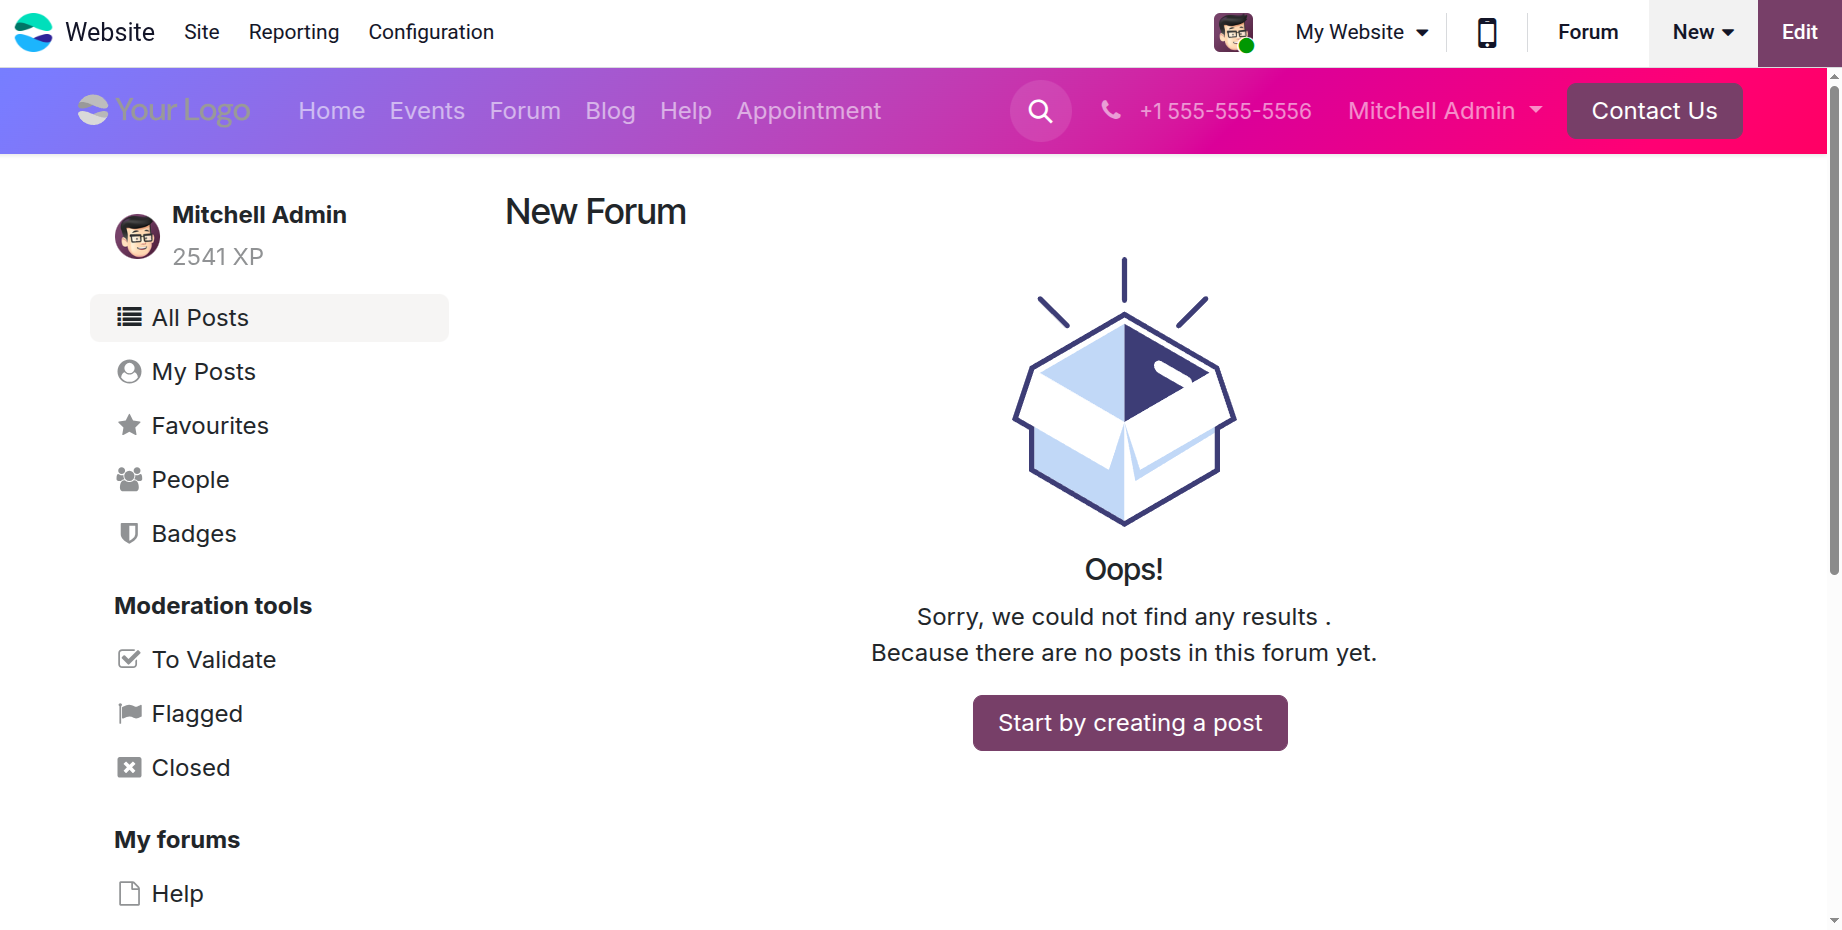
Once the forum is created, users can begin contributing by clicking the Start by creating a post button. A form will appear where users can enter the Post Title, Description, and relevant Tags before clicking Post Your Question.