Sales Team Management
A company's sales teams are often appointed to oversee the sales-related operations of its products/services. To keep an eye on this function, select "Sales Teams" from the Configuration menu.
You can view all of the sales teams that are ready to be allocated to various activities here. To make changes, click on each individual record. You may add new sales teams to this list by configuring them using the Create button.
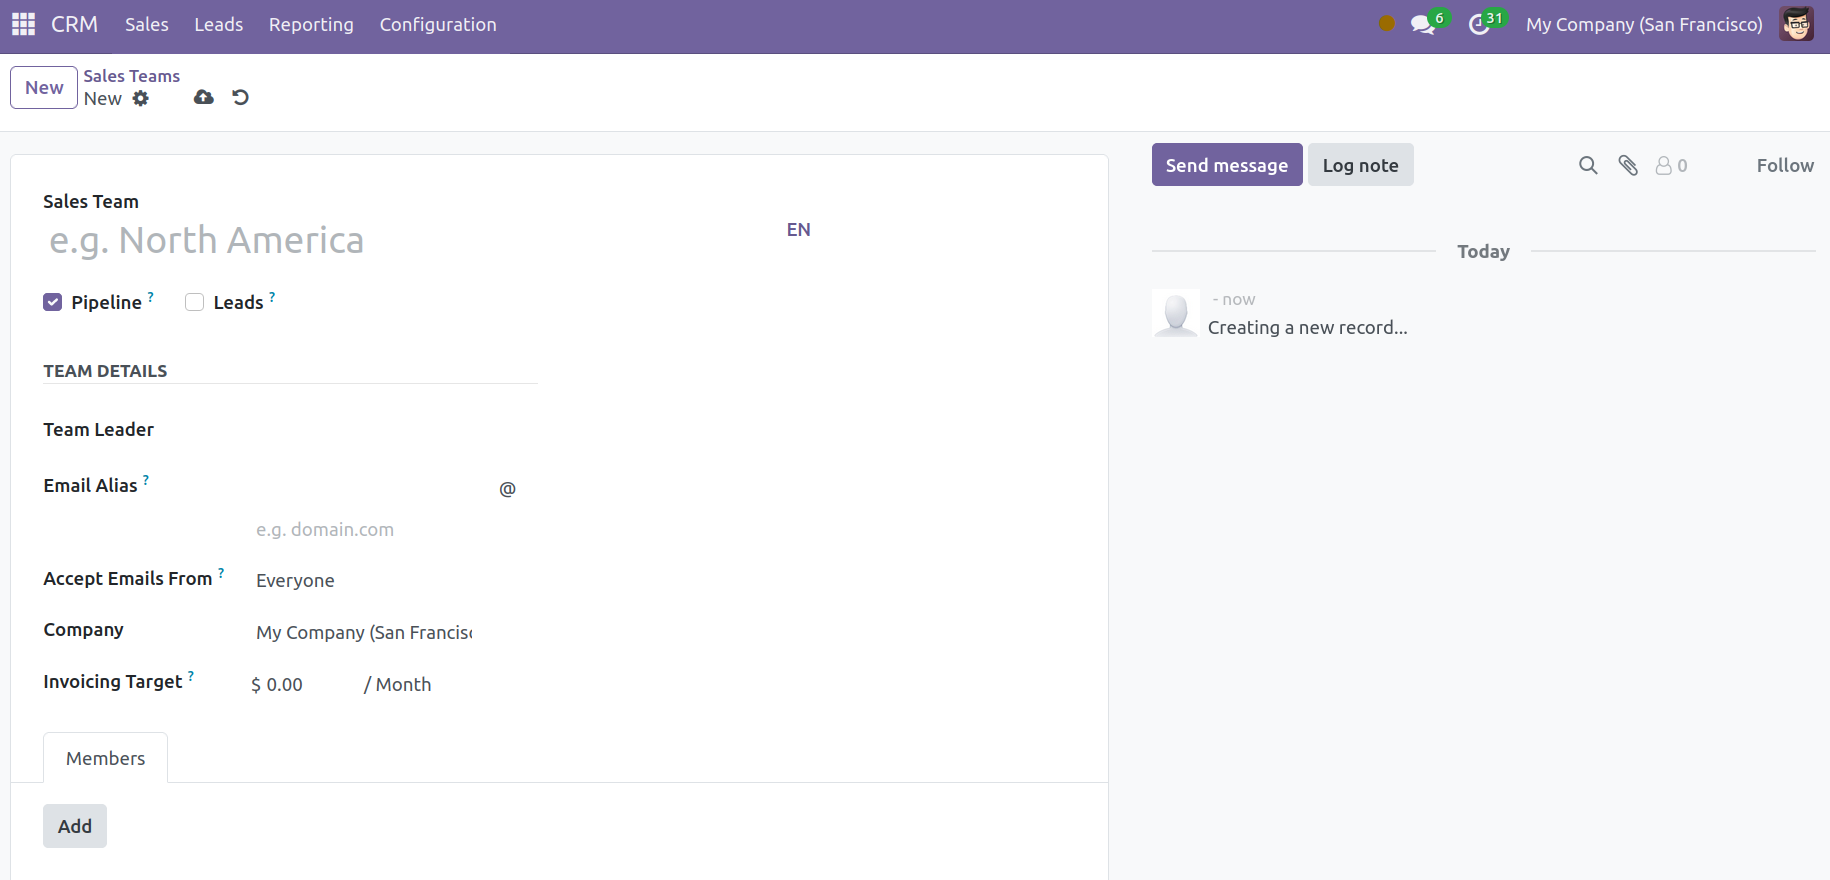
In the "Sales Team" section, provide the team name. Three boxes—Quotations, Pipeline, and Leads—are shown beneath this section. If you would rather provide quotes to clients rather than immediately confirm sales orders, turn on "Quotations." Include information such as the company name, email alias, team leader, and invoice target. Select from the following options in the "Accept Emails From" dropdown list: Everyone, Authenticated Partners, Followers Only, and Authenticated Employees.
To add new salespeople to the team, go to the Members page and click the 'Add' button.
The pop-up window displays a list of all available salespeople on this platform. Adding new members is possible by utilizing the Create button.
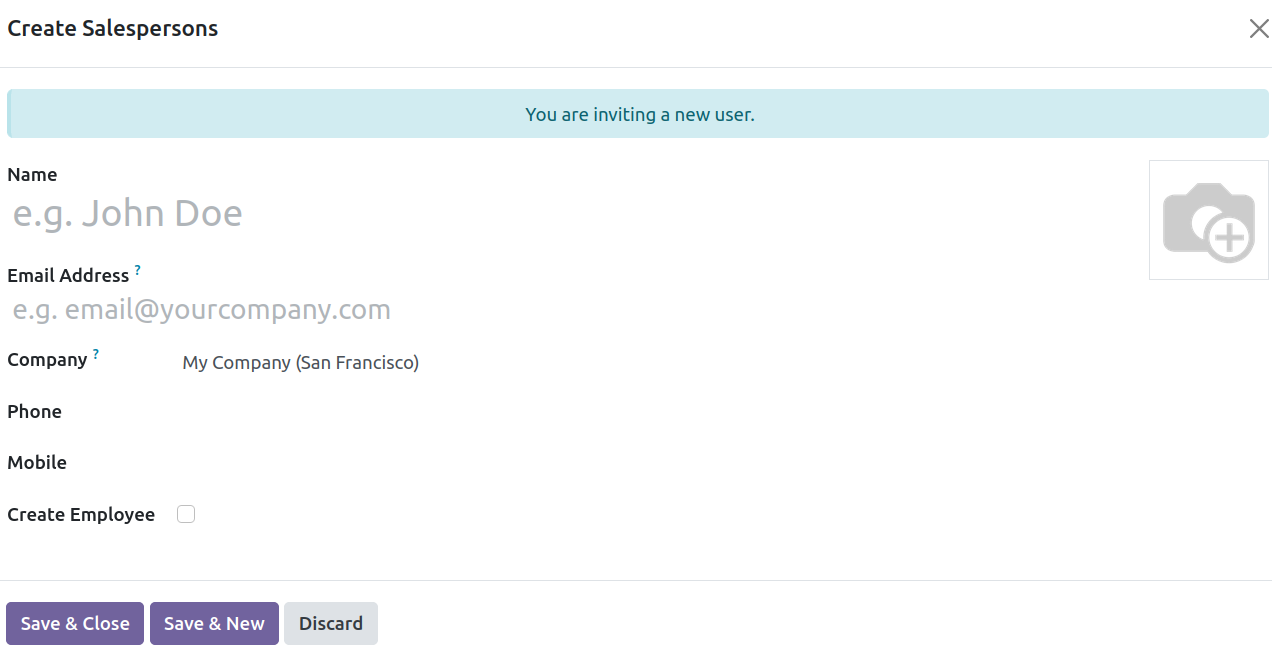
Enter information such as your name, email address, company, phone number, and mobile phone number. To create an employee, select the Create Employee option. Once this information has been added, select "Save and Close" or "Save and New."
To view the sales team dashboard, select 'Teams' from the dropdown list in the Sales menu. This is where you can keep a close eye on the sales team pipeline dynamics.
The window provides a thorough overview of sales-related information, including the quantity of leads, orders to invoice, quotations, and opportunities. Under each part is a clear graphical depiction of fresh opportunities over the designated timeframes. Select the three-dot button located in the upper right corner of every preview to examine the categories, which include New, examine, and Reporting.
Click on any title to examine or edit its content.
Click on 'Pipeline' to open the Pipeline widow for that specific group. By just clicking on them, you may also interact with certain areas such as "Open Opportunities," "Quotations," and so on. Additionally, opportunities and quotes may be created straight from these distinct windows using the features included in the Odoo 17 CRM.
Customers
All of your customers information, including contact data, may be stored in the CRM module. To access these stored contacts, select Customers from the Sales menu.
The customer's information is displayed in this window in the Kanban view. A record's parameters can be seen or edited by clicking on it. Select the List view by clicking on its icon, which is seen above, in the upper right corner of the window.
Recurring Plans
The CRM module provides a productive framework for planning on the opportunities that are specified inside it and defining recurring revenues. Select 'Settings' from the Configuration menu.
Check the box next to 'Recurring Revenues' as indicated above. The Manage Recurring Plans button, which is located just below this option, or selecting "Manage Recurring Plans" from the Configuration menu's dropdown list may be used to manage this feature. This action will bring you to the following window.
This window displays all of the pre-configured recurring plans. By just clicking on any of them, you may make individual edits. To include a new plan in the list, click the Create button.
Fill in the Plan Name and Months boxes as needed, then click 'Save.' Now, navigate to the opportunity's form view.
You may view the revenue split under "Expected Revenue," as previously mentioned. Choose the period from the dropdown list after deciding on a value. The order will now be invoiced in accordance with your specifications.
Tags
The CRM module's Tags feature facilitates finding and searching through the records that are set up there. To use this functionality, choose the Tags menu from the Configuration tab's dropdown list.
Here are all of the pre-configured tags. Simply click on each tag to make the necessary changes to the name or related color. In order to add a new tag to this list, click the Create button.
Give the new tag a name and choose its color in the area that is indicated above. Once these details have been added, select "Save."
Lost Reasons
This function helps you identify and resolve the cause of an opportunity lost. The Configuration tab contains the Lost Reasons menu.
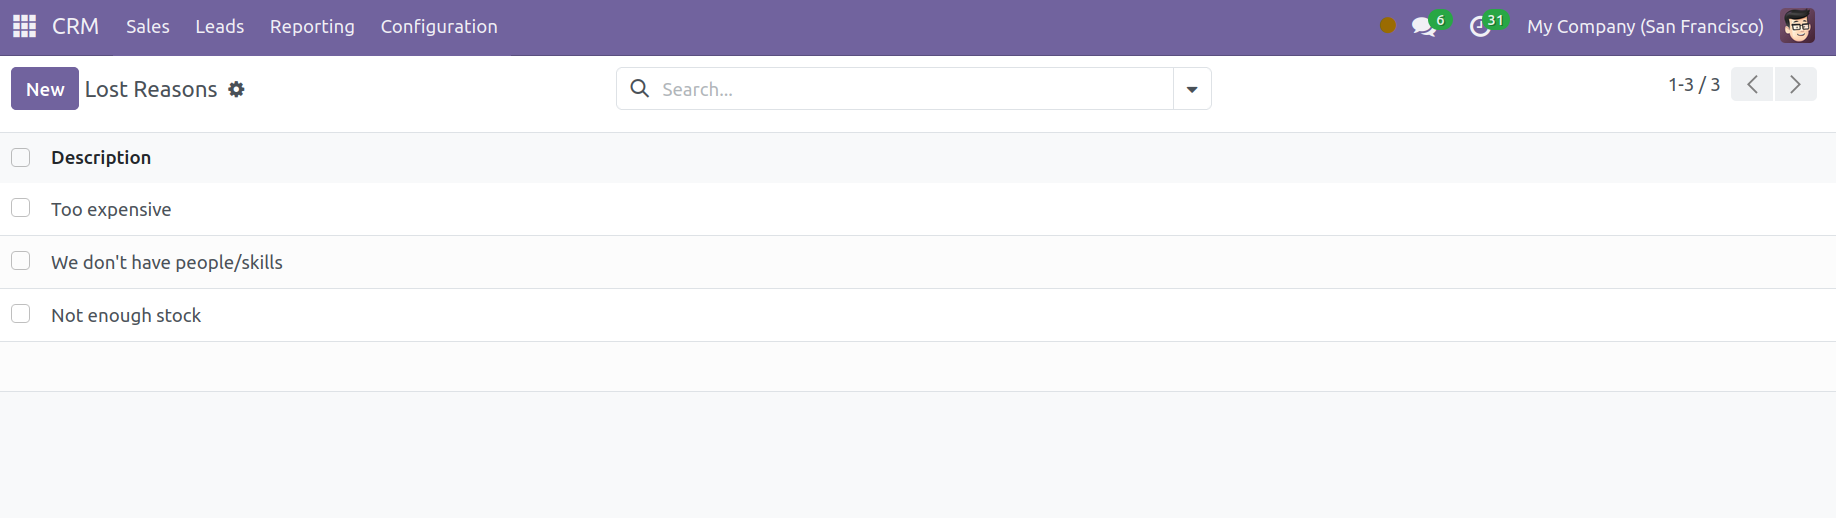
This window provides all of the system-configured reasons for missed chances. To include a fresh lost cause, choose "Create." The window will display a new line, as seen below.
This function helps you identify and resolve the cause of an opportunity lost. The Configuration tab contains the Lost Reasons menu.
You can enter the new reason in the above-mentioned area.
You may observe the Won and Lost alternatives in their form format while keeping an eye on the dynamics of a lead or opportunity. If it doesn't fit the definition of a quote, you can label it as "Won." The window shown below appears.
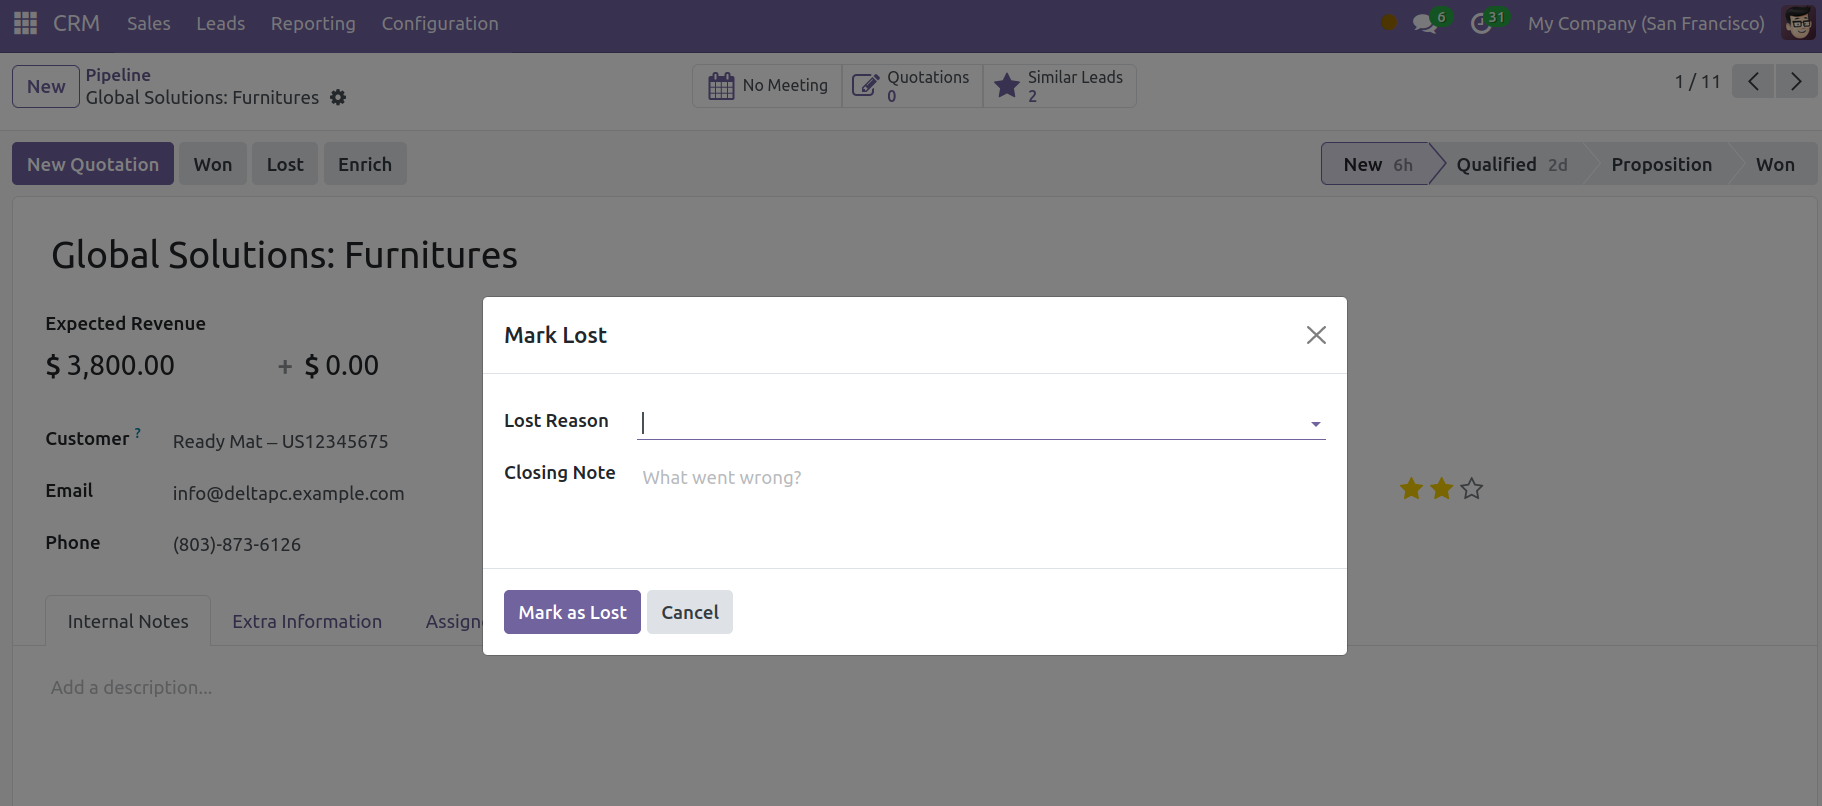
As seen above, you may choose the lost reason from the dropdown list. Once you click "Submit," the Lost tag will appear in the form view.
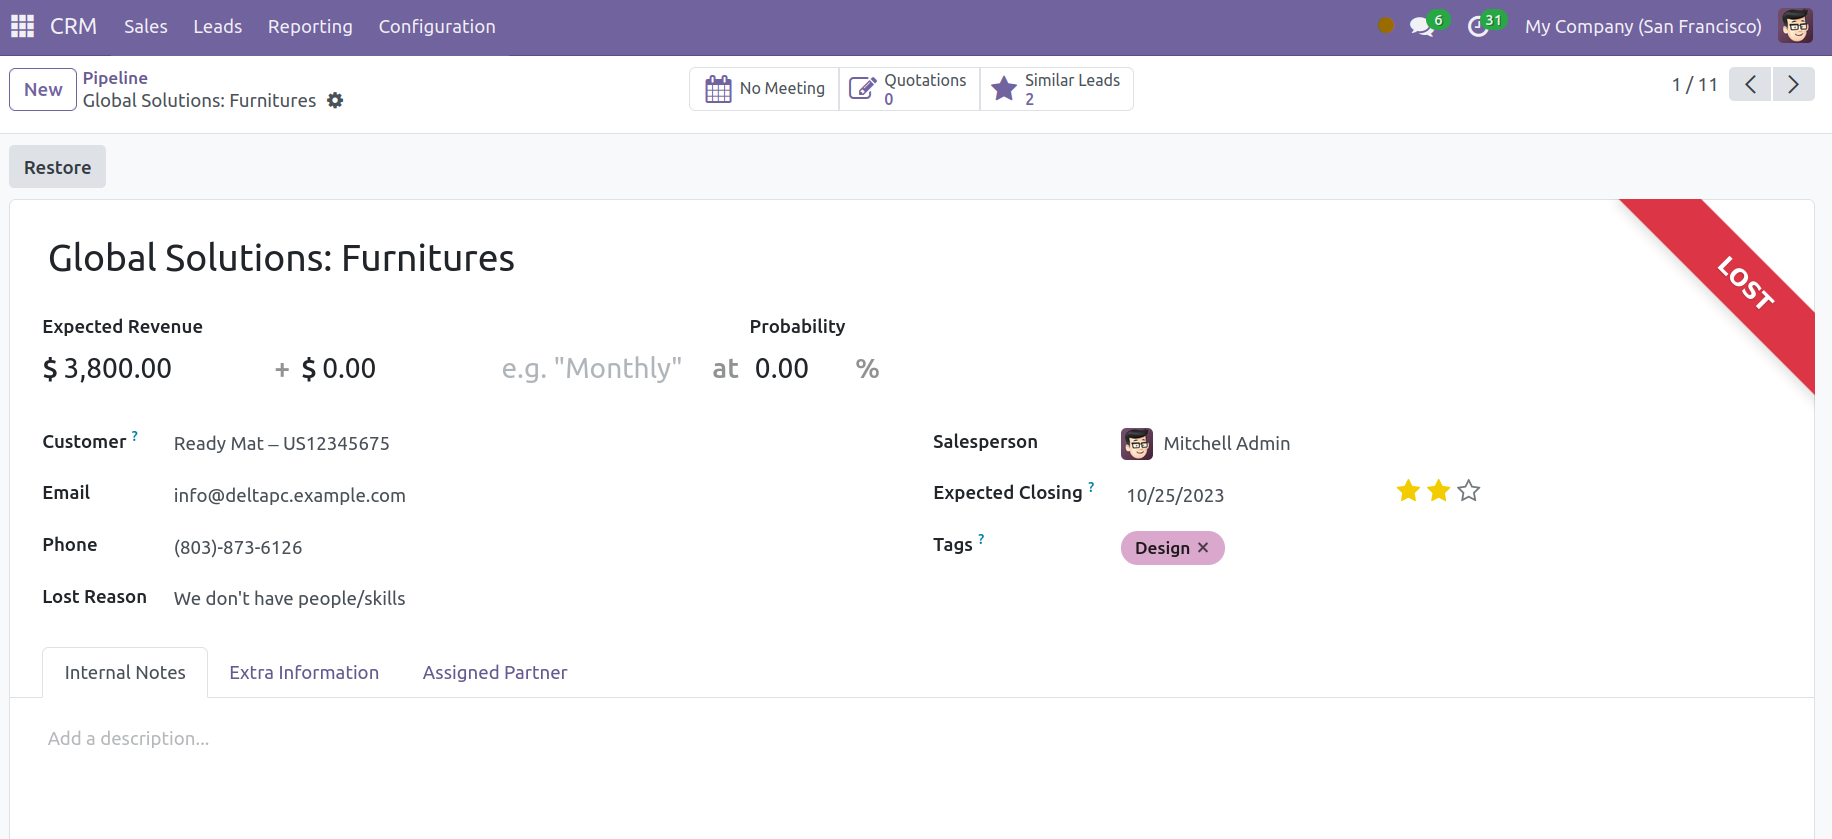
By selecting the Restore button, which returns you to the initial form view, you may reverse this action.
Now, we shall move on to some features in the Settings menu of Odoo 17 CRM.