Notes
There will be several meetings, events, appointments, and dates in a business that you need to keep in mind. Certainly, such information may be lost due to varying timetables. You should therefore, handle all of these tasks in an orderly fashion to ensure the smooth and efficient operation of the business. The Notes Module in Odoo ERP Software serves this function for its users. This module helps you by organizing all of this data according to the various tasks that you need to finish. This notes module makes it simple to record important dates and tasks that need to be accomplished. And doing so will be very beneficial for upcoming events.
You can quickly and precisely schedule the projects with this To Do module. Here, the challenging assignments will be finished first, which may release some of your bonds. You'll be able to relax throughout the remainder of the day in this fashion. All upcoming tasks, information, schedules, meetings, appointments, and even freshly generated thoughts can be easily preserved in this notes module. Odoo Software assists users in minimizing paper use through this approach. You can also connect this module to other modules without any issues. Let's now examine the several features and capabilities that this notes module offers.
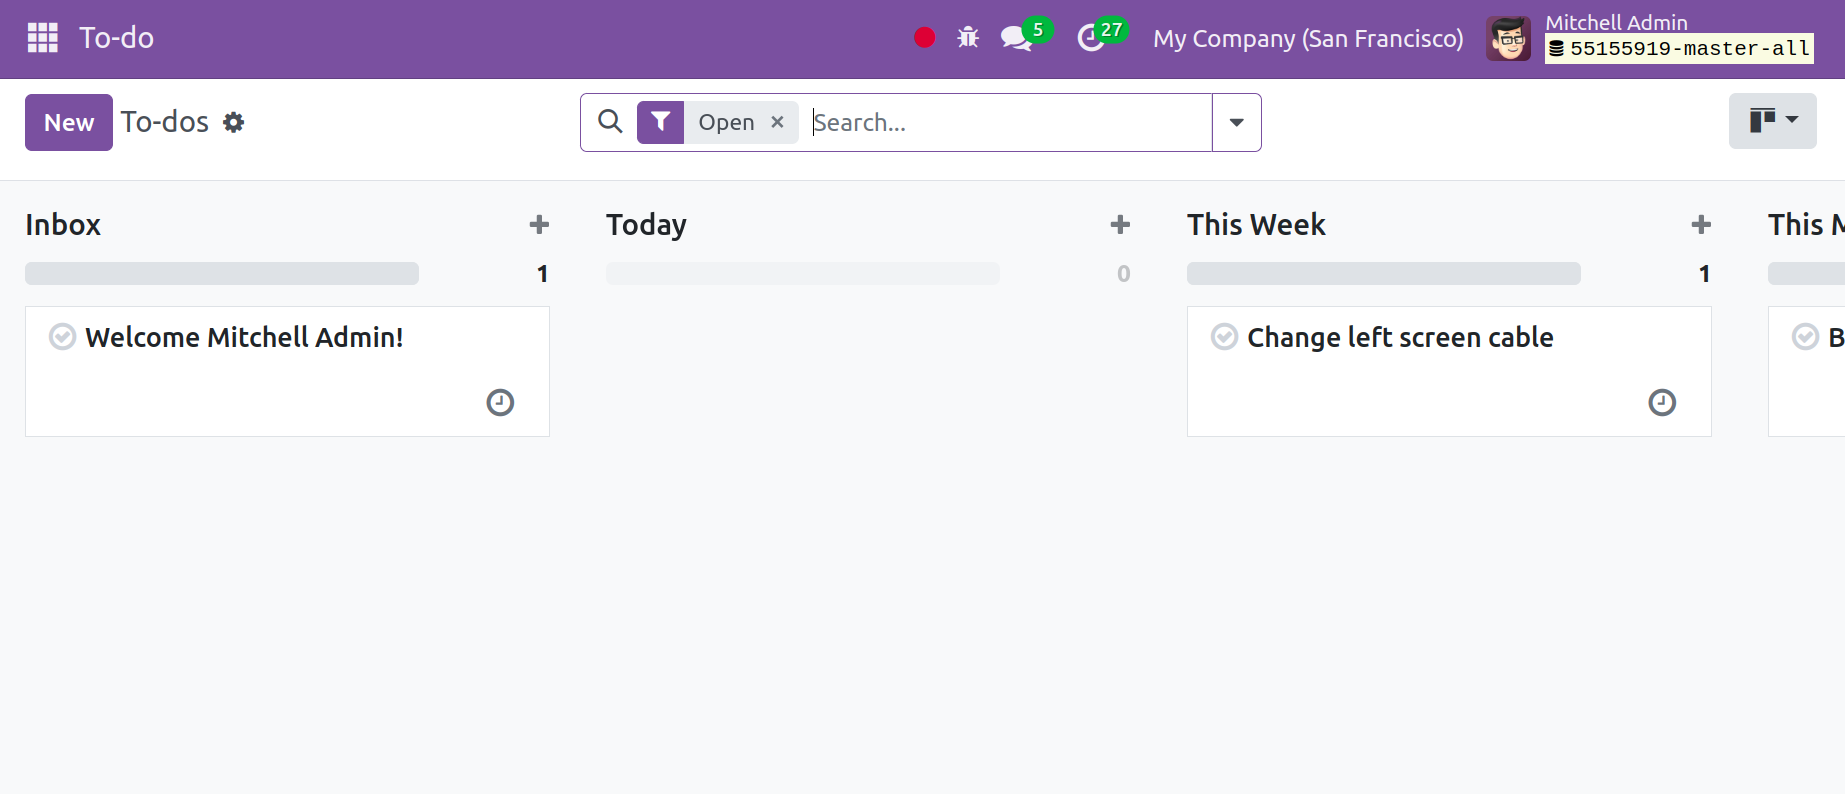
When you choose the To Do Module in the Odoo ERP, a screen with preconfigured information will be displayed. As seen below, notes are visible as a Kanban View. You will see an extremely visual representation of the actions in this view. The works can be categorized according to the deadlines. Daily, monthly, or later, in other words. You may also see which activity needs more participants here.
You can adjust the default Filters on this page and use the Group By option to organize the notes into other categories. If you need notes quickly, you can save those notes under Favourites.
If necessary, you can quickly identify each note according to its significance by using the three dots that are located in the upper right corner of each note.

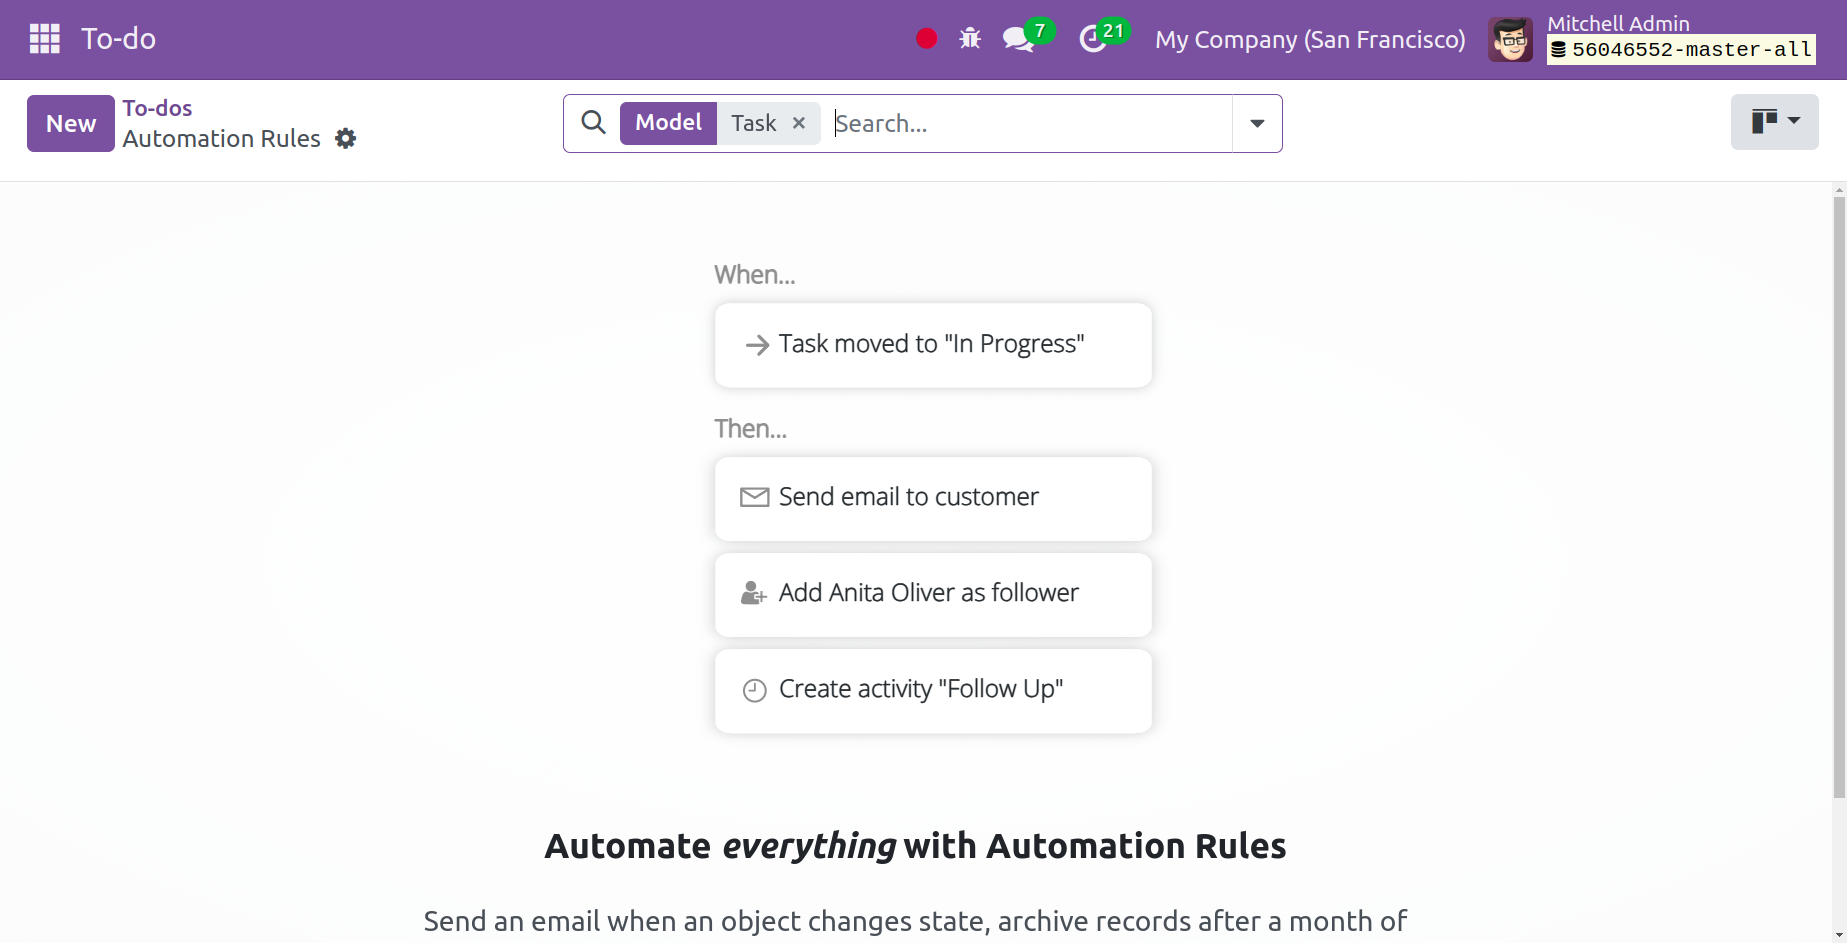
You can quickly Fold, Edit, Delete, Archive, or Unarchive the stage by using the three dots that are located in the upper right corner of the notes. The Automation can be used to add new automation rules.
The user can set new rules to carry out automations by clicking on the Automation. In order to create new automation rules, click the New button.
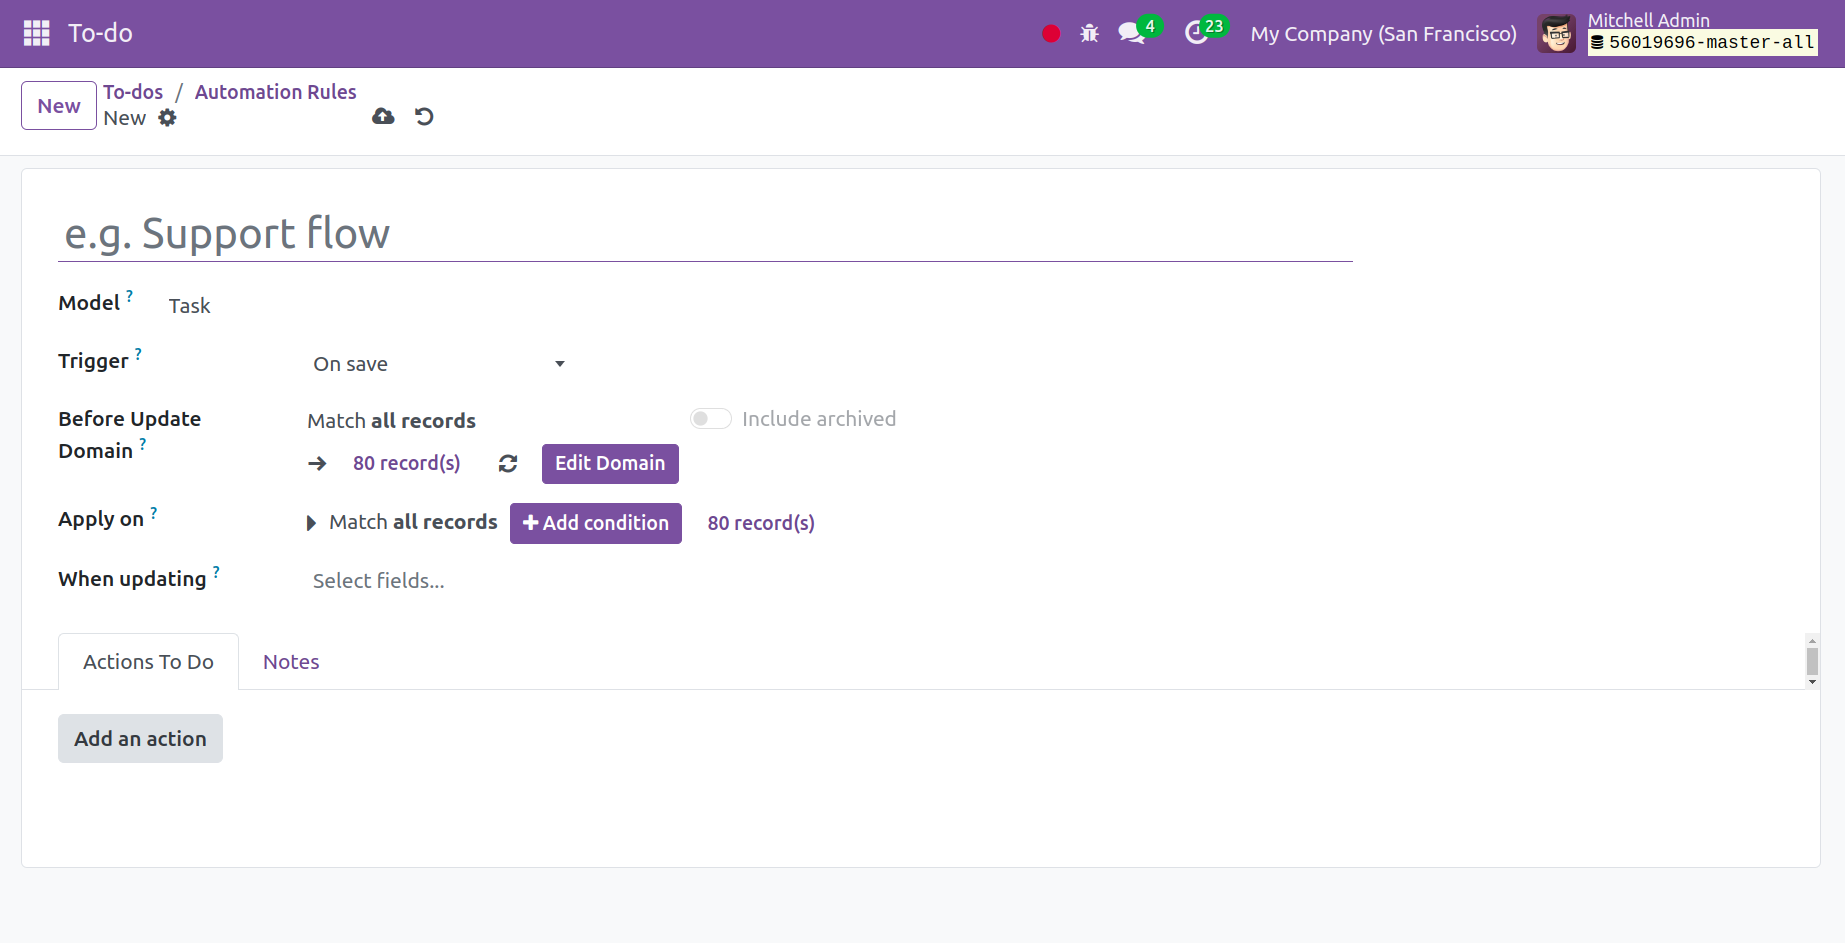
Add the name of the Automation rule first. Subsequently, enter the necessary trigger conditions in the Trigger box and specify the model that the automation rule operates on. Next, apply a filter to the field before changing the domain and create a condition for the field when updating. The necessary action can then be found under the Actions To Do tab.
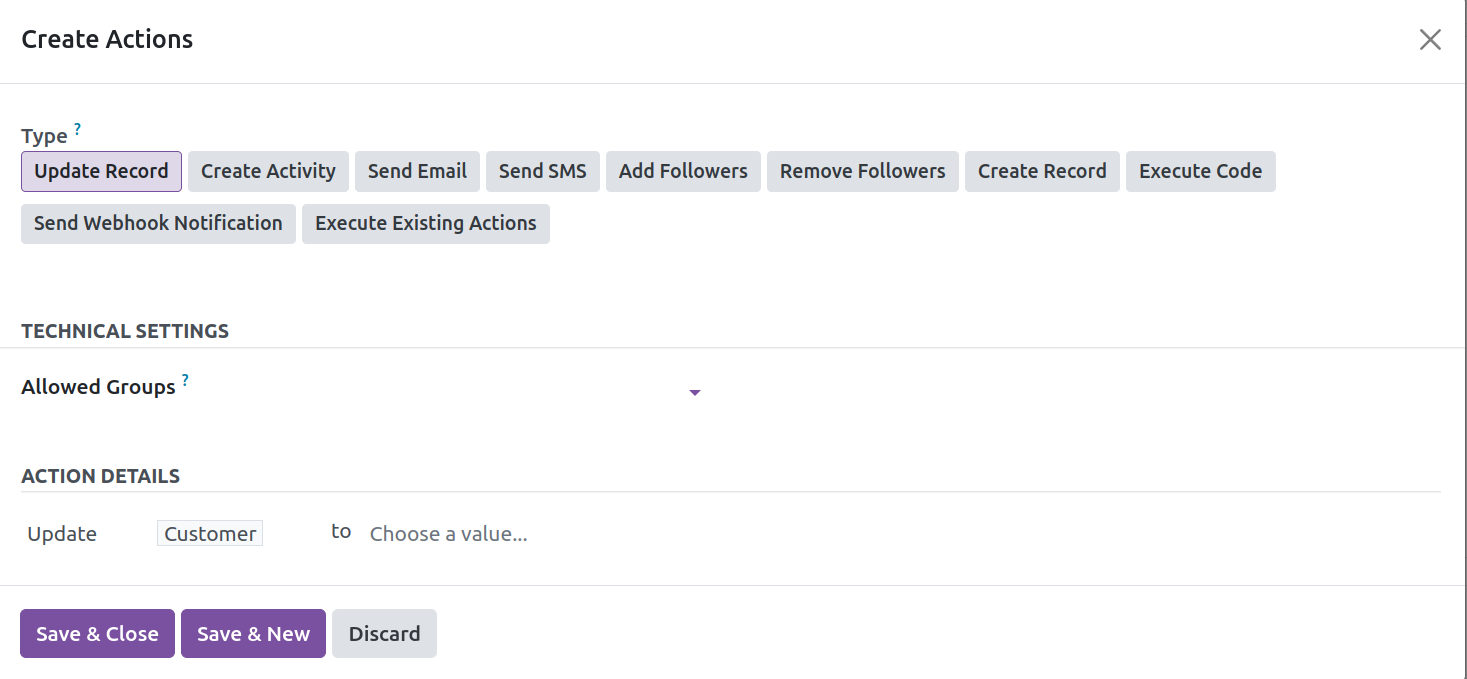
Add the TECHNICAL SETTINGS and ACTION DETAILS after selecting the type of action. Next, select the Save & Close option. Alternatively, use the Save & New button to store the current action and add a new one.
You may now view these notes in a List view in addition to this Kanban view, as seen below.

The note data are displayed to you in this window, including the Note Summary, Active Status, Stages, their Tags, and, lastly, the Next Activity column. To this list, you may also add a new note by using the New button.
You may quickly schedule different activities in this Notes Module right from the main window. Numerous programs, including those for calls, emails, appointments, to-do lists, and many more categories, can be planned. As seen below, you can access this function by clicking on the clock icon located in the upper right corner of the page.
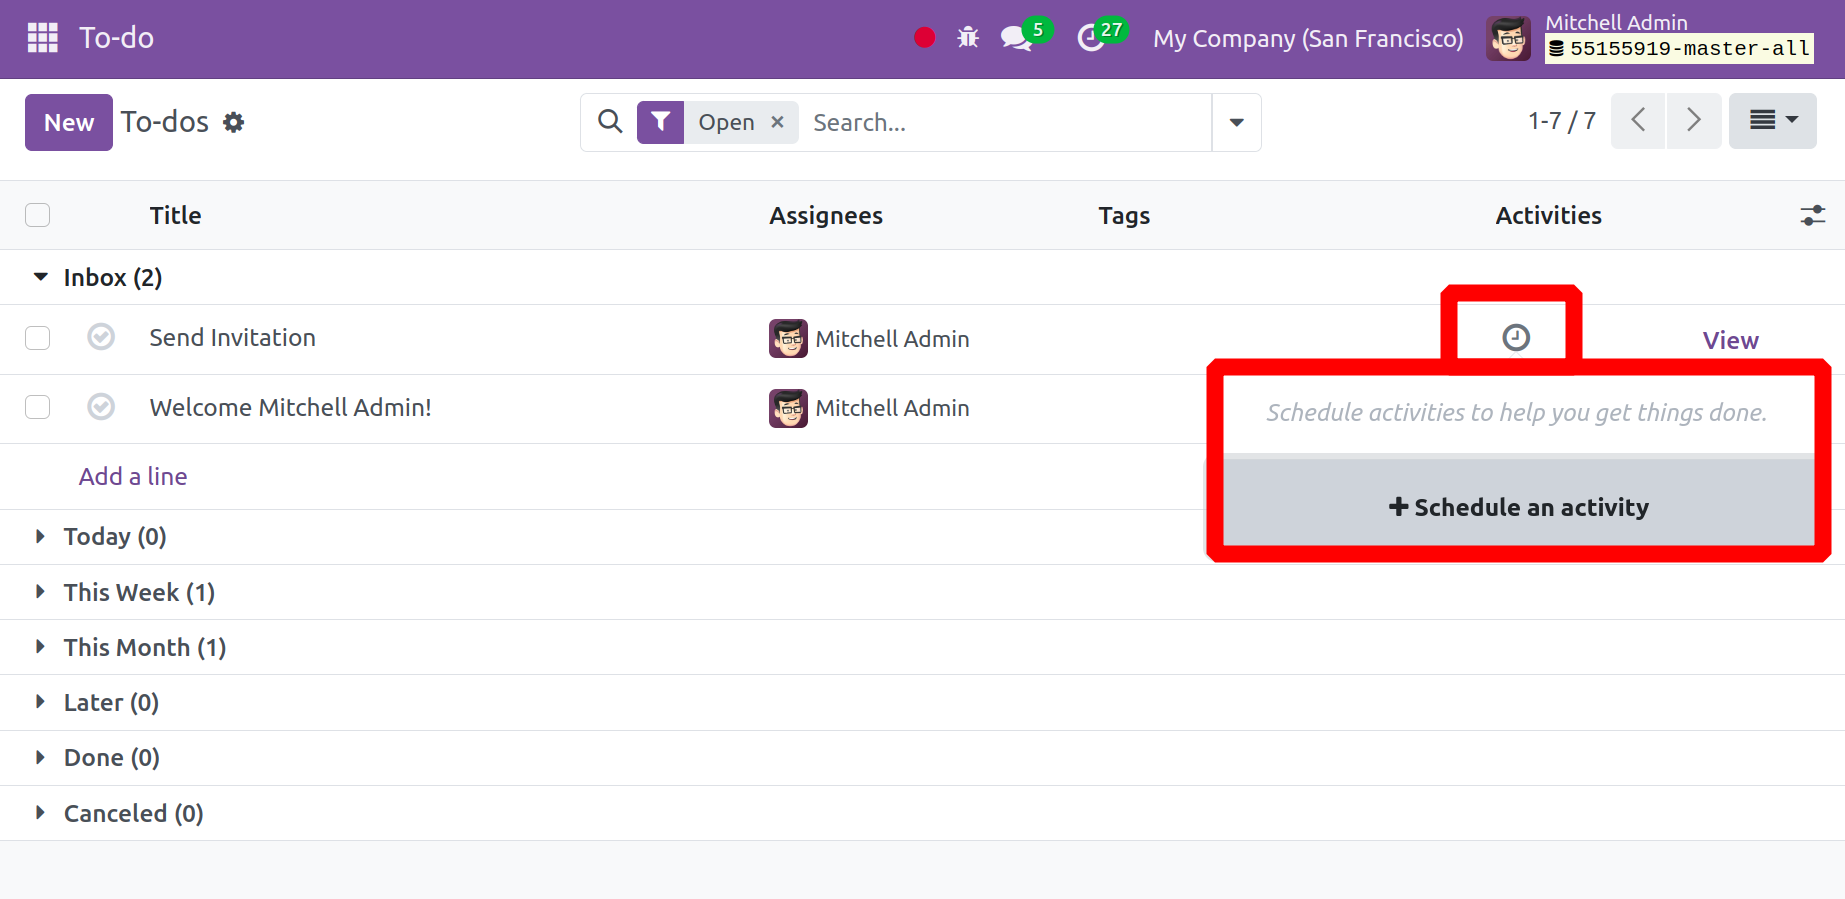
When you click on the clock icon, a screen similar to the one above appears with the option to Schedule an activity, as seen in the image above. You may accomplish a number of tasks on the page, including uploading documents, calling, meeting, to-do lists, and reminders. You can start a new activity by choosing the Schedule activity option.
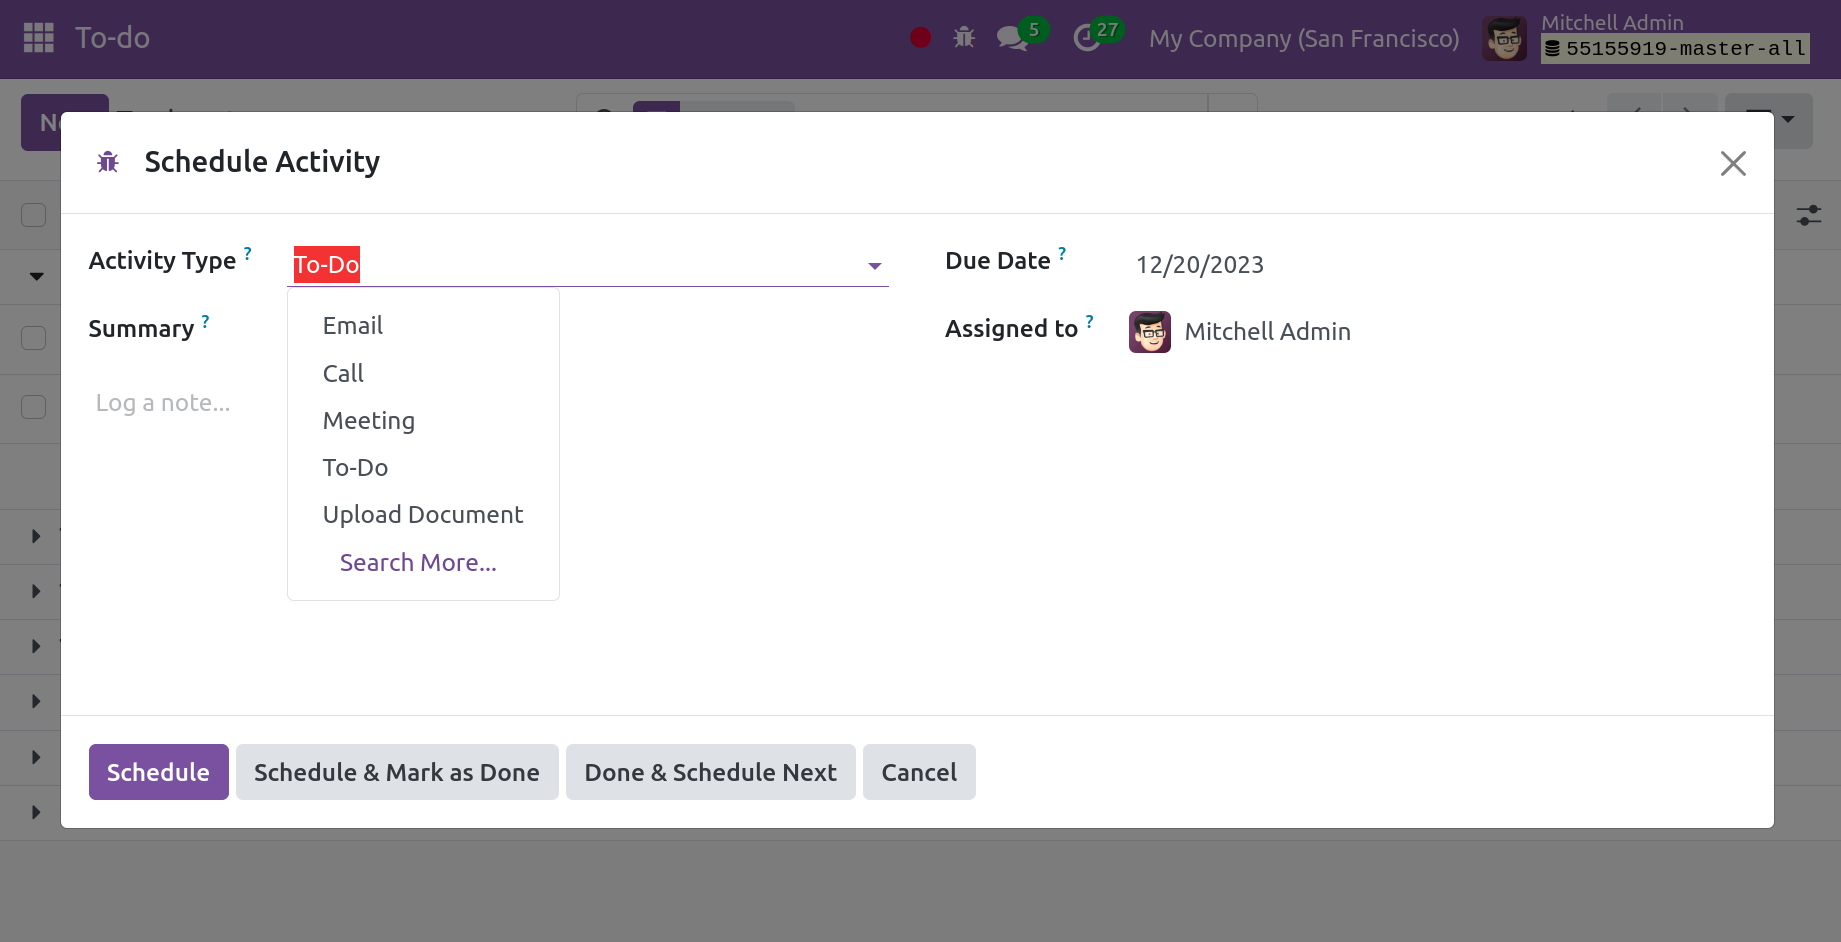
On the page where you create scheduled activities, a drop-down menu allows you to choose the type of activity. You can also include a summary of the activity in the allotted space. The due date option now allows you to specify both the date and the recipient of the task. If you select the Meeting activity type, the page's calendar view will open, allowing you to assign their tasks.
As seen in the image, you may create your own notes by clicking the New button. Additionally, a search box is available for locating data based on note contents. You will find several note-related sections on this home page, including Inbox, Today, This Week, and This Month To-Do List, in that order.
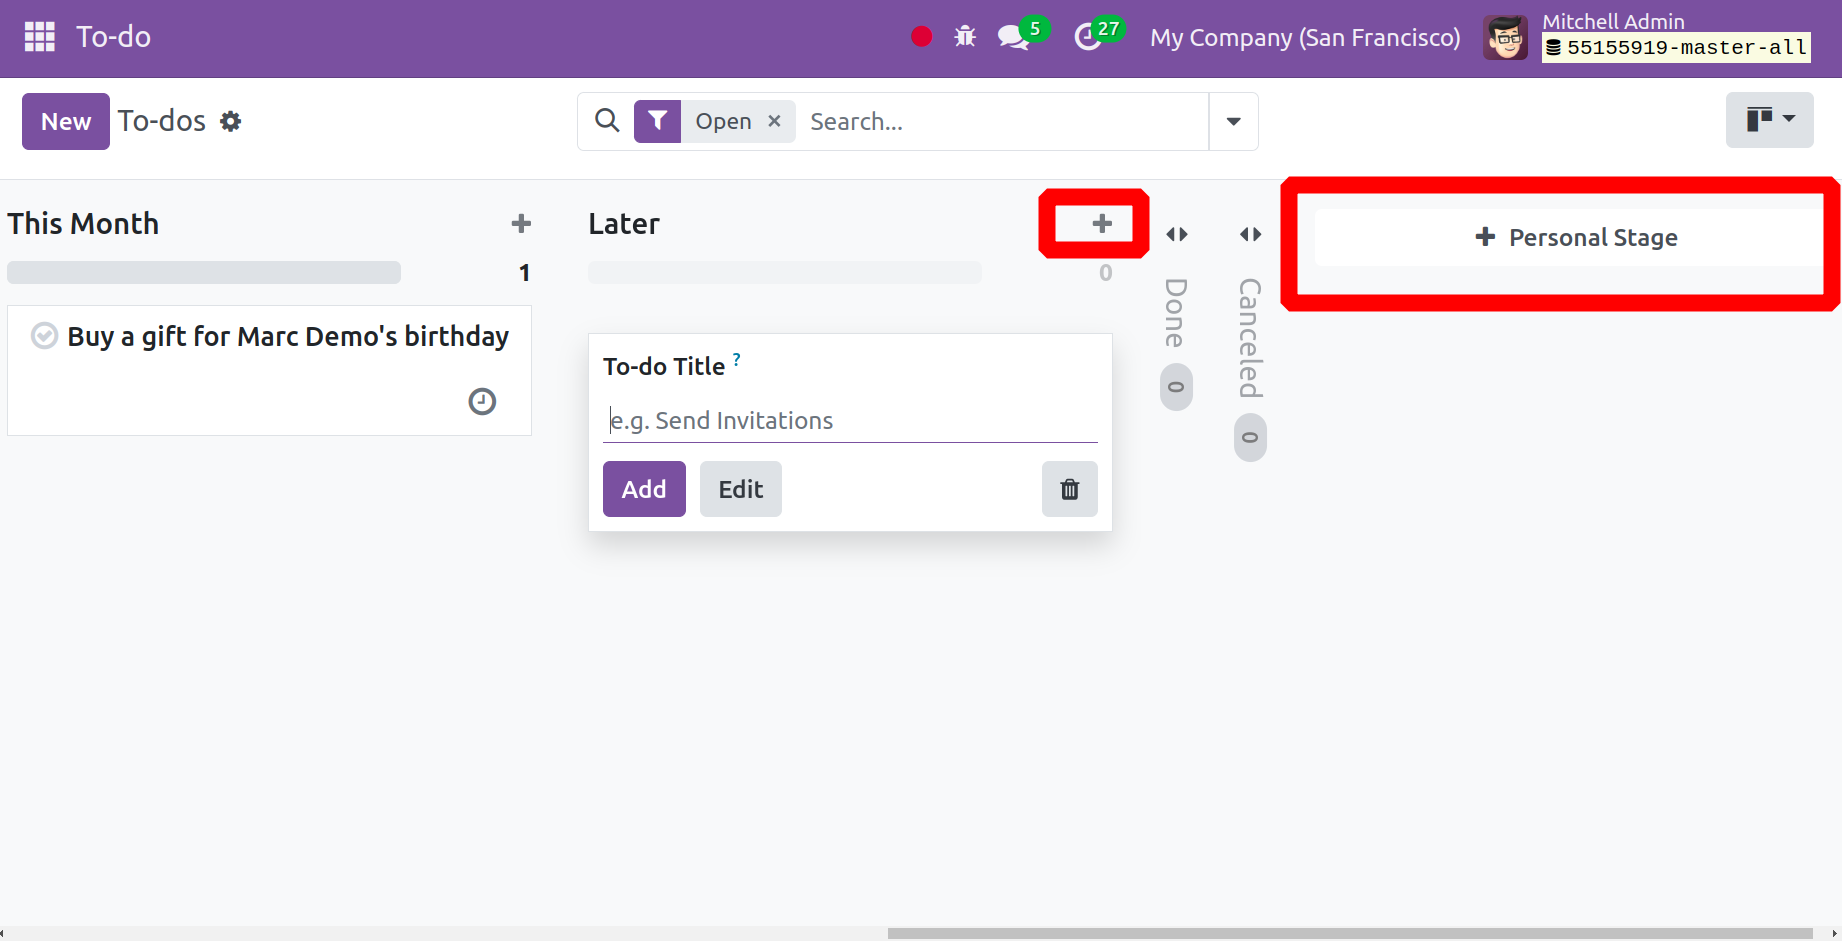
You can add new stages for the corresponding notes using the Stage option. You may quickly add additional stages by using the + icon, which also makes it easy to add new notes for specific categories.
You can add the note's title by using the + icon, which will open a new field beneath the specific category we choose. You may quickly save your freshly produced notes and add them to the list of notes that already exist with the aid of the Add button. You can make the necessary edits to the notes by selecting the Edit button, as seen below.
You have the option to edit each note individually if necessary when you choose one from the main page. You can use the Tags option to add additional tags to the notes.
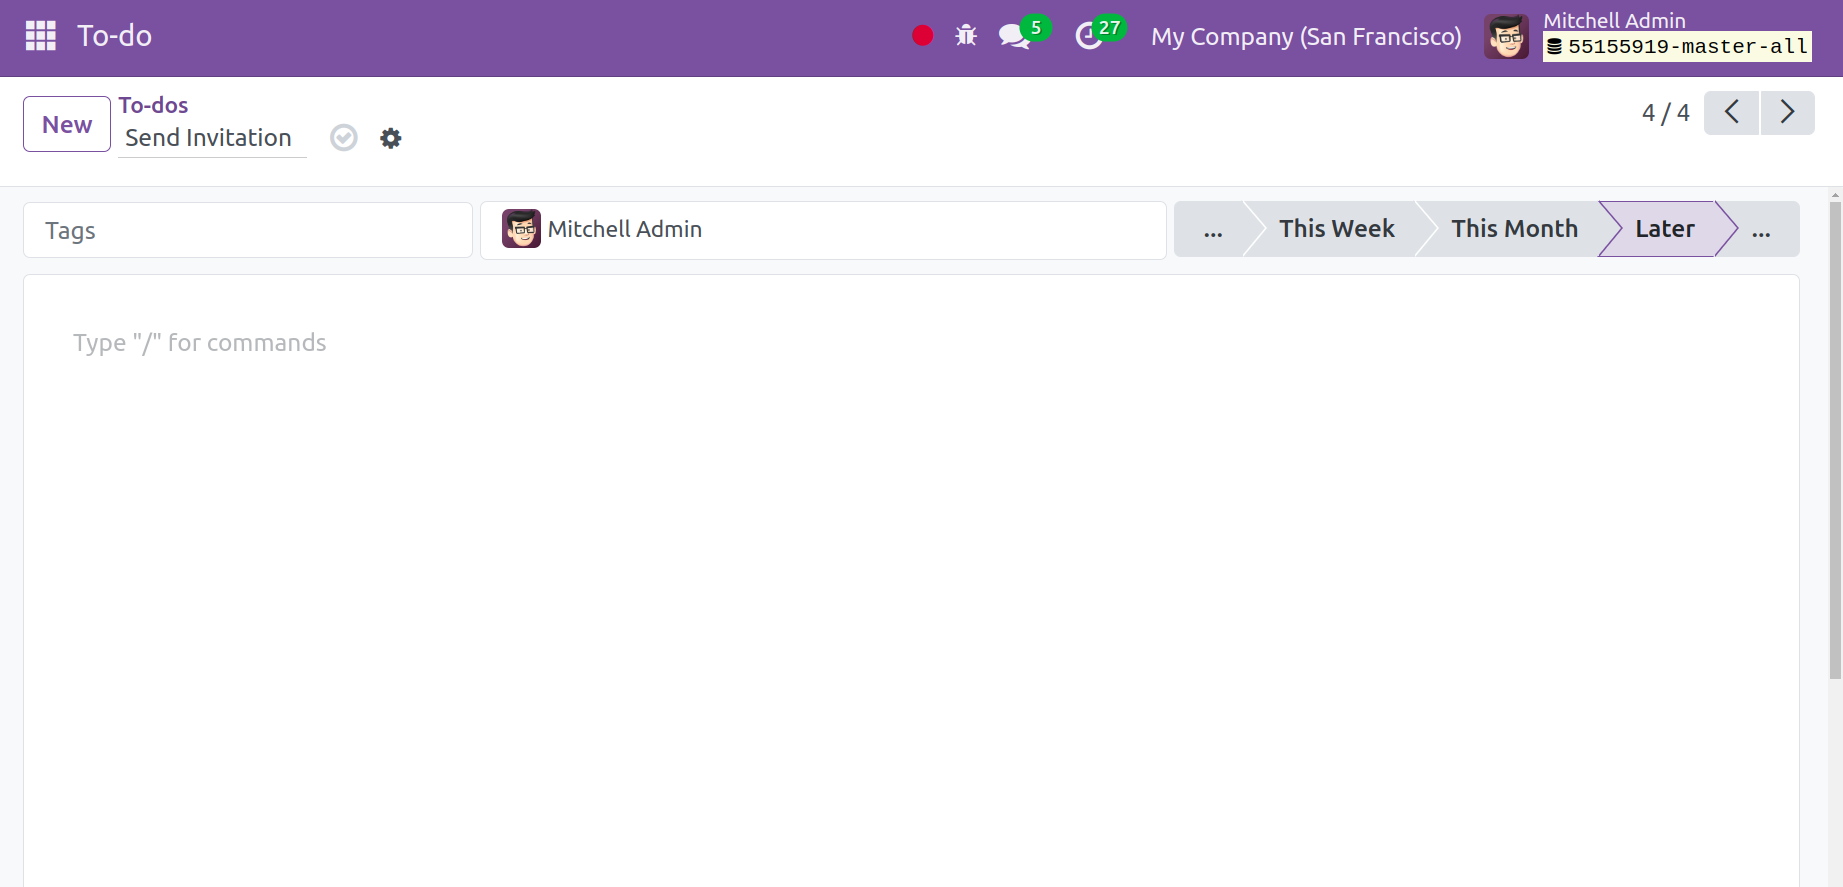
Using the Tags option, you can supply particular tags. You can even get more than one tag if needed. Under the contents section, navigational elements such as buttons and links can be added. You can add pictures and videos to the article if needed. The notes may be discussed in the meeting minutes and changed to the status of Meeting Minutes.
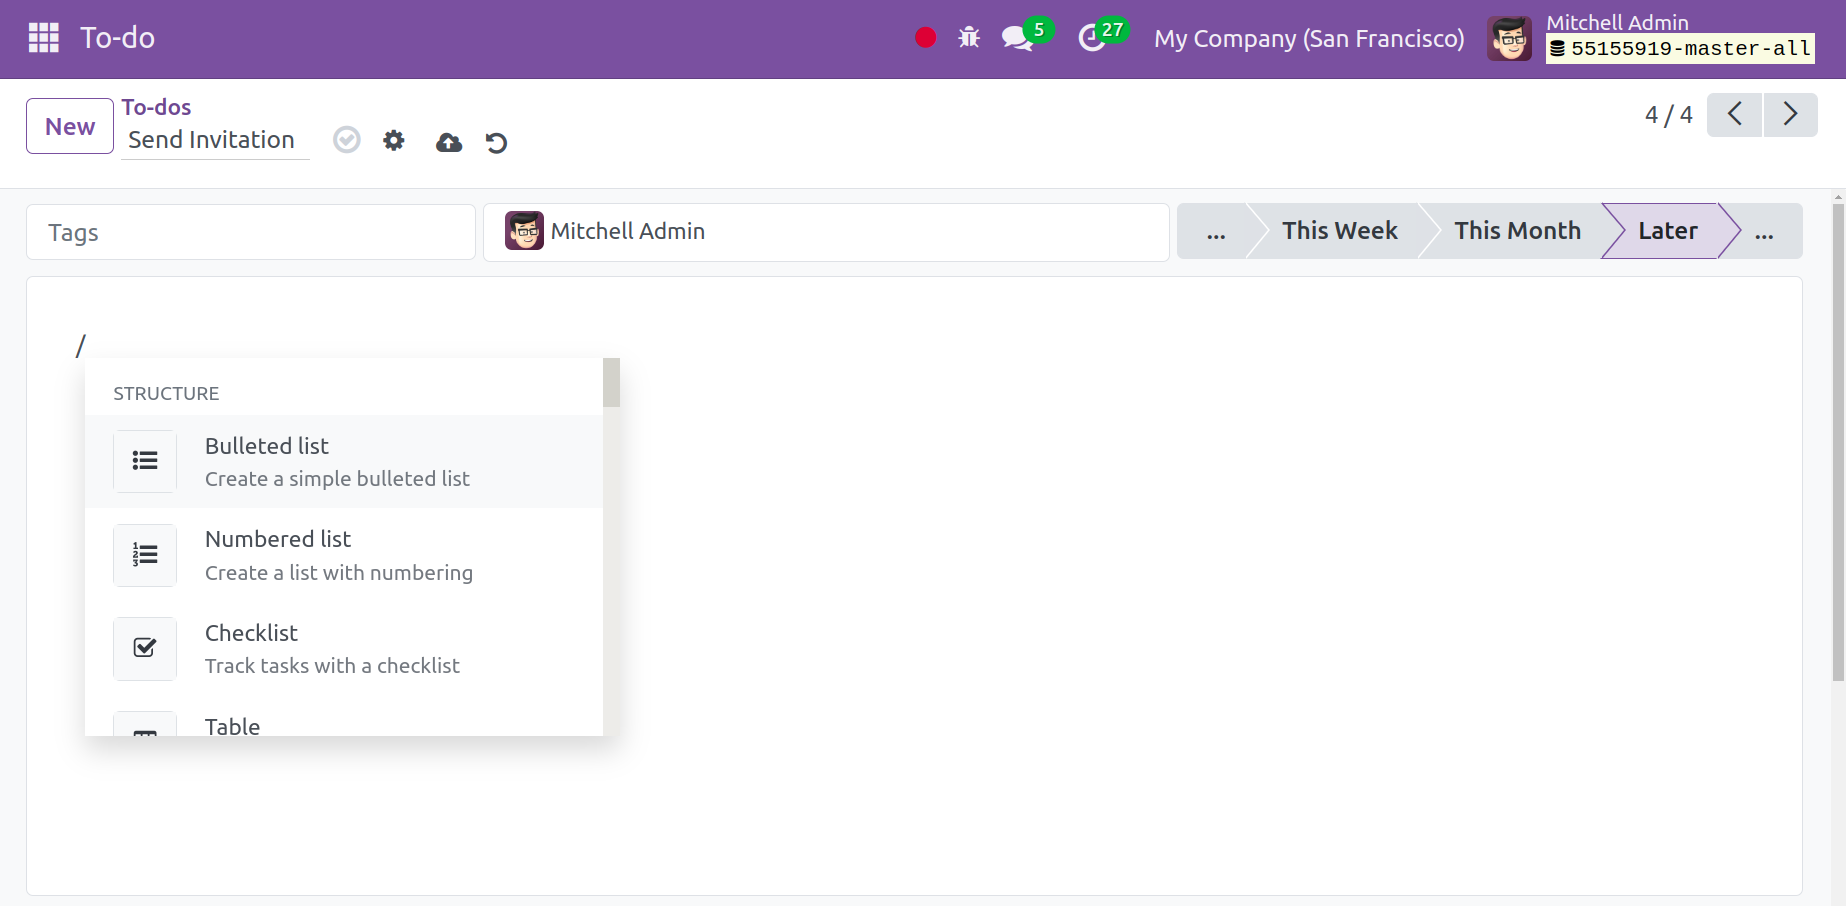
If the notes are set up to be notes, the stage can stay below the notes stage itself. If the notes are a list of things that need to get done, then the stage can be included under the ToDo option.
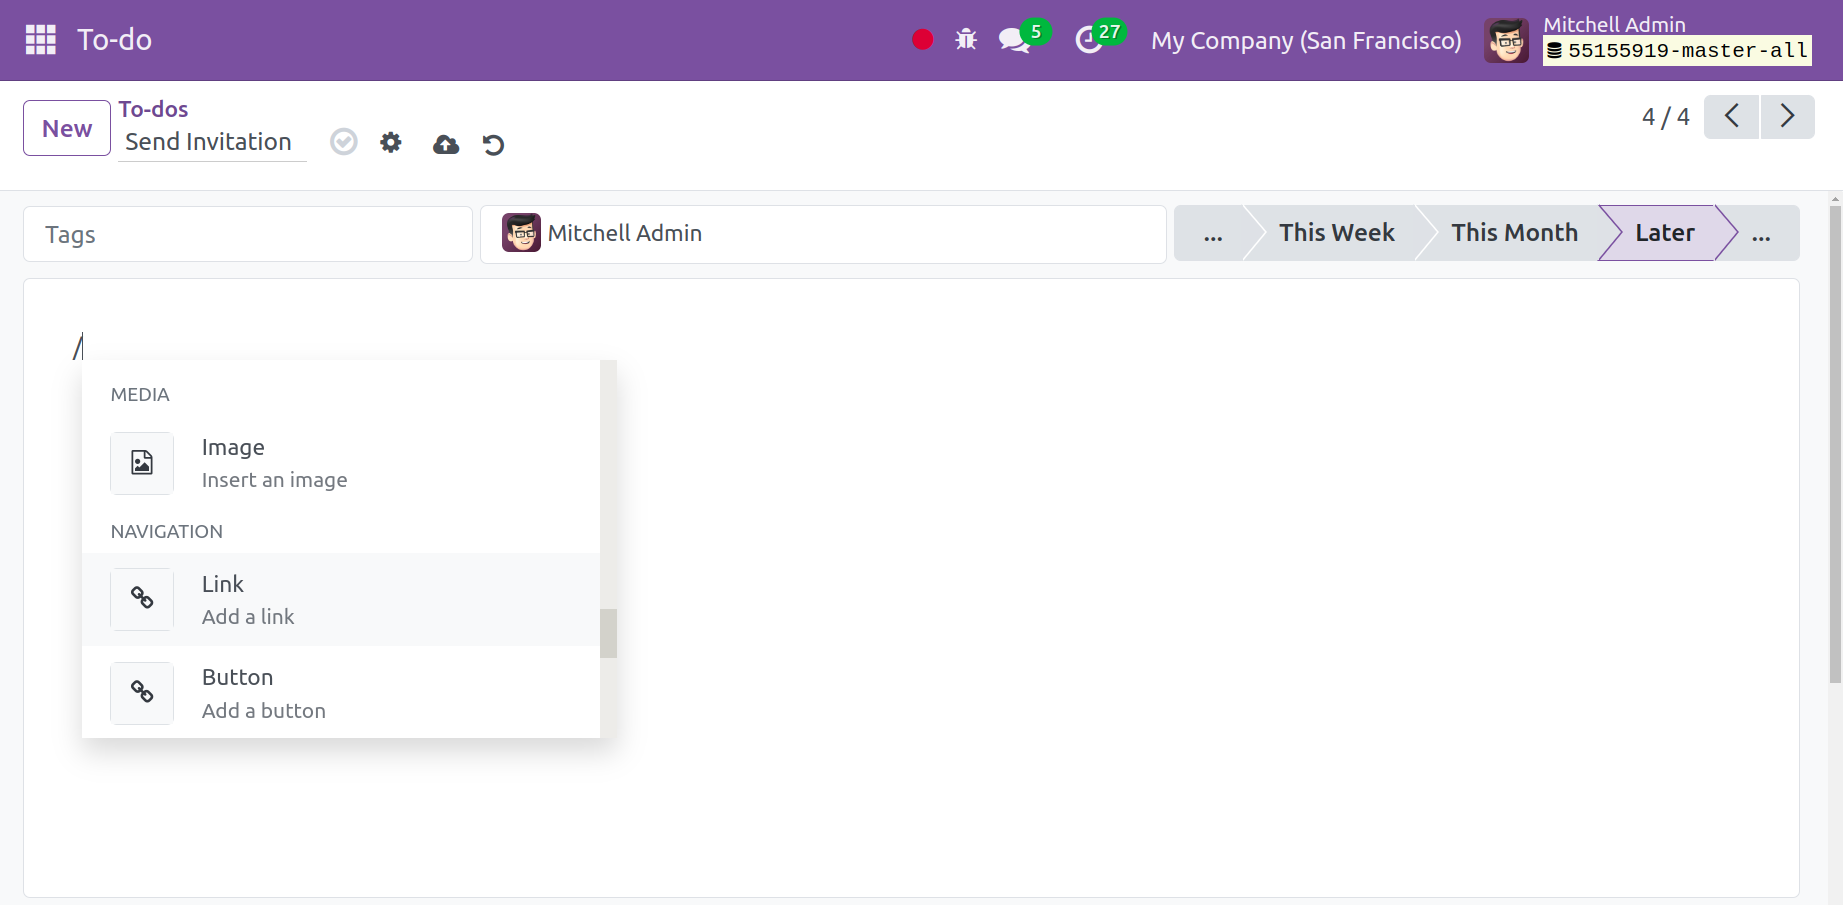
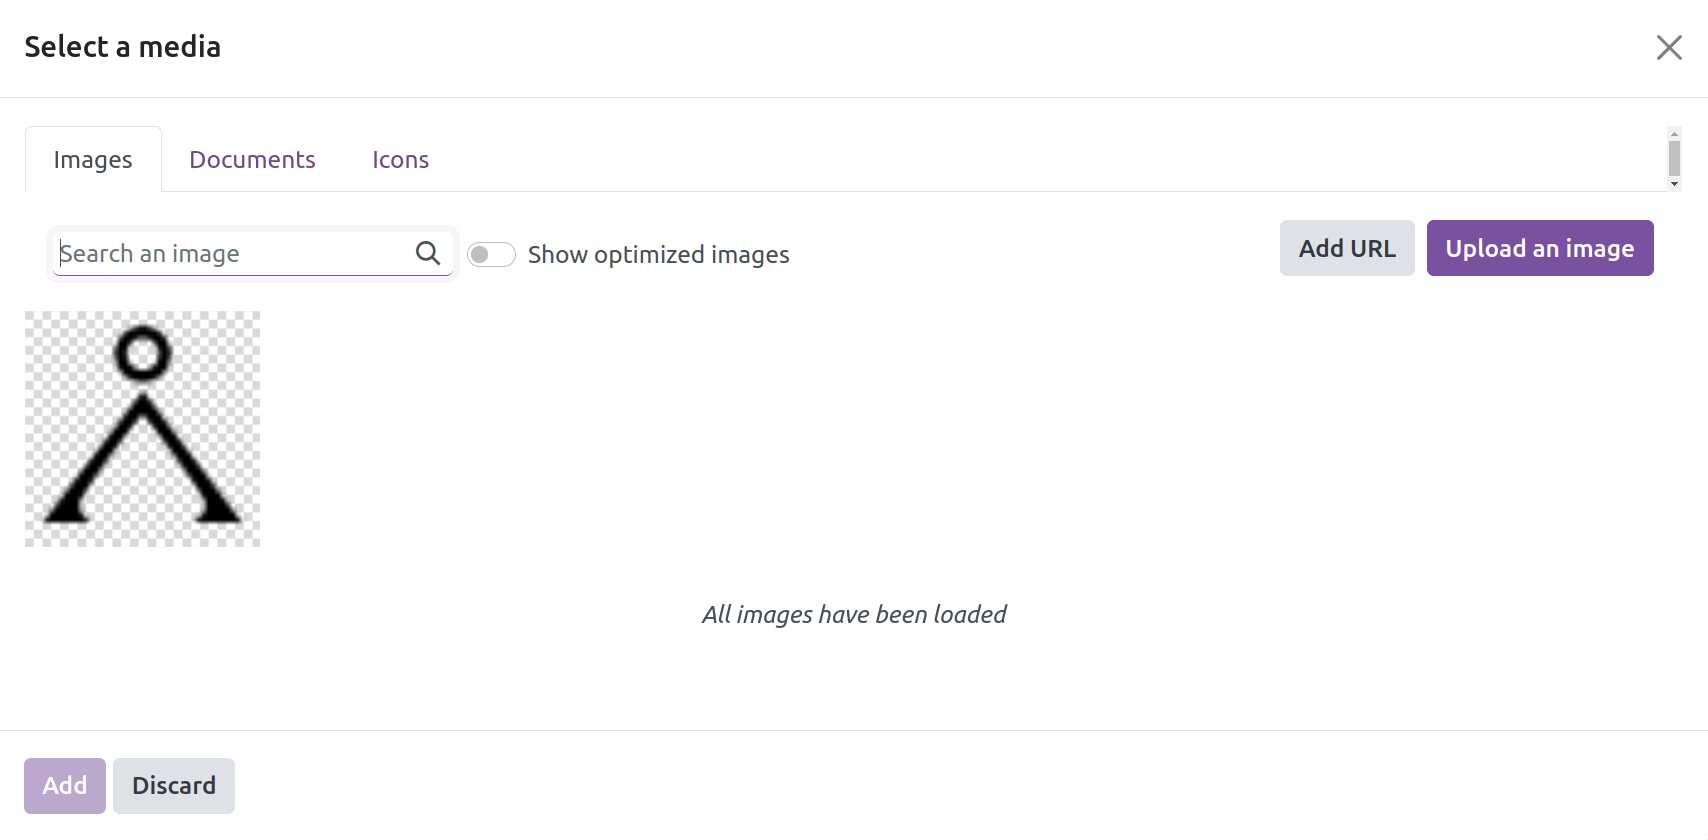
This is where the media option is located, allowing you to upload photos and articles. Clicking the button to add a button will bring up the button creation window, as shown in the screenshot below.
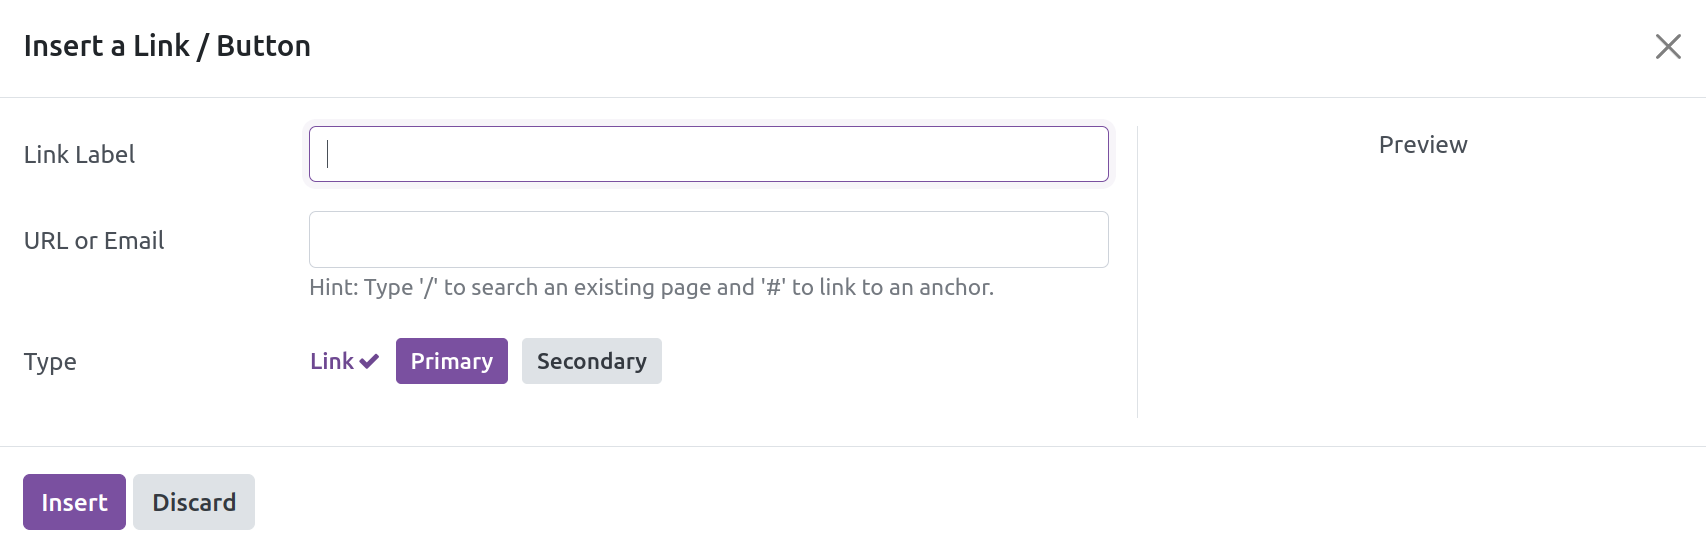
You have the option to add a link; doing this will open a new pop-up window. On this screen, the URL or email address can be entered together with the link label. Depending on the type of button, you can mark the link as primary or secondary. You can choose Style and Size by using the available choices. In the end, click the Save icon.
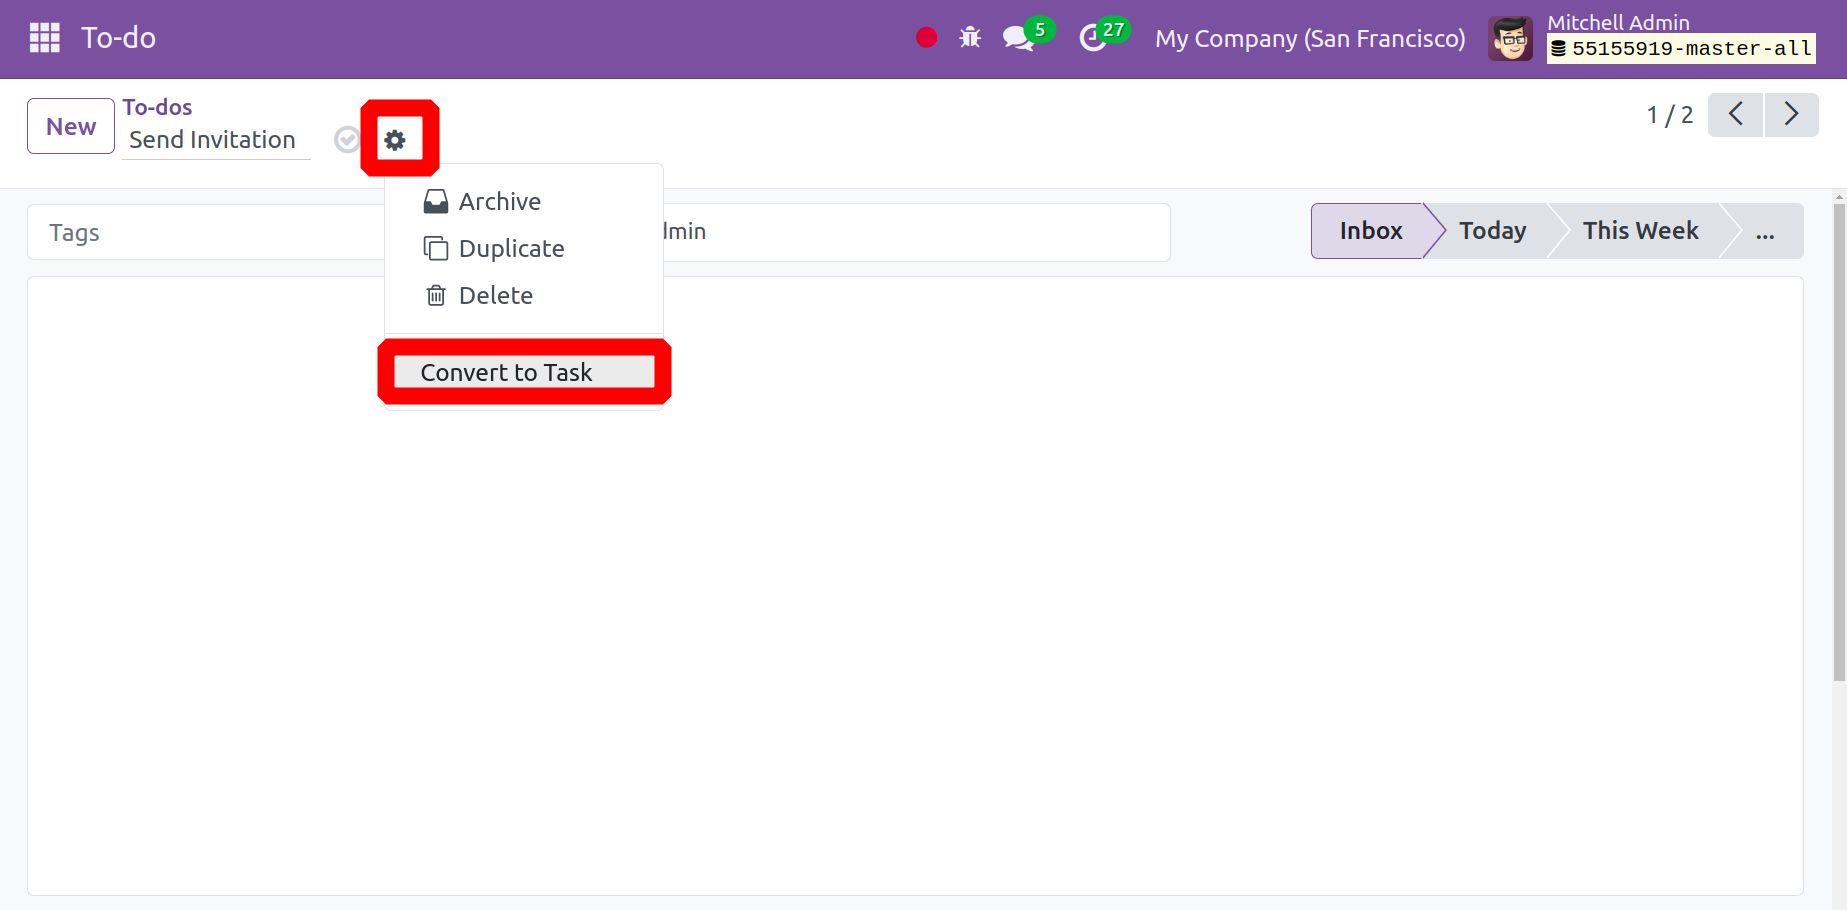
It is now feasible to turn a note into a task. You can now find the Convert to Task button next to the Action button.
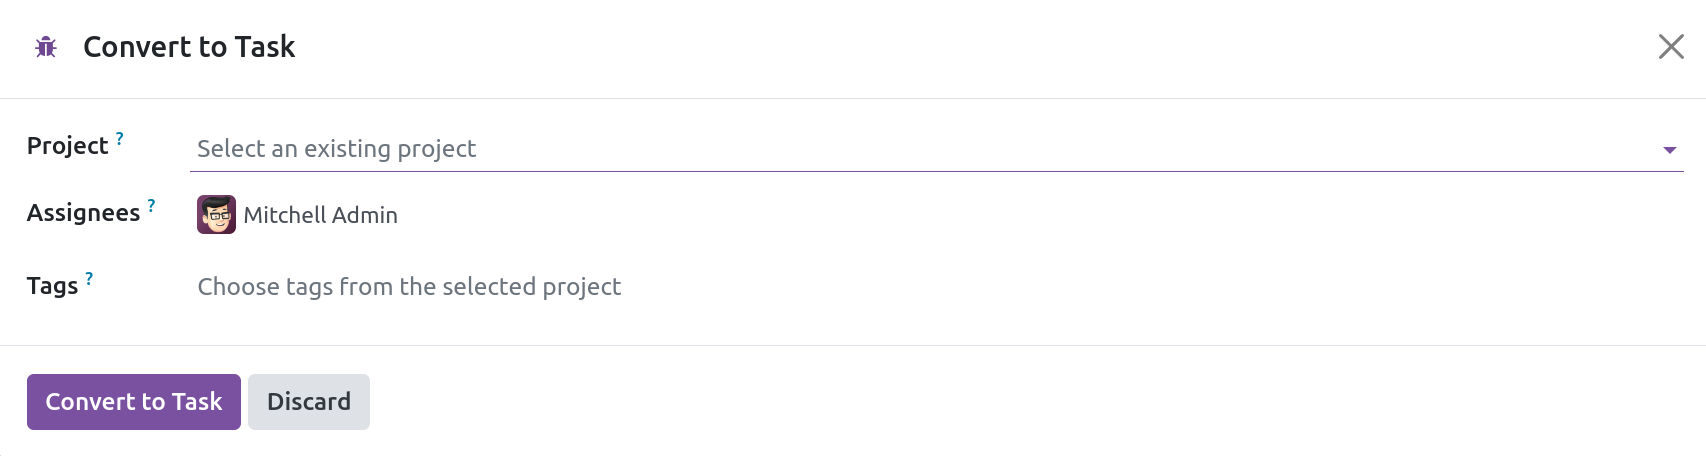
When you click the button, a small popup window appears where you can choose the project. Next, the user can choose the project that the task is meant for. After adding the assignee and tag, click the Convert to Task button to turn the note into a task.
You may also share such notes with external users in the Odoo ERP to ensure that they have access to edit and make changes in compliance with the organization. These are the primary features that the To Do Module of Odoo17 ERP Software offers.