Products
In this module, let's examine the process of developing a new product. The method of making a product is comparable to the purchasing module's creation procedure. The Products menu is displayed in the module's main window. Within a firm, the products in the window can be used for retail. The page will display the product list in a Kanban view. There is also a list view option for the page. You can choose any of the offered products to view more information about it. Additionally, you can use the Edit option to make any necessary modifications.
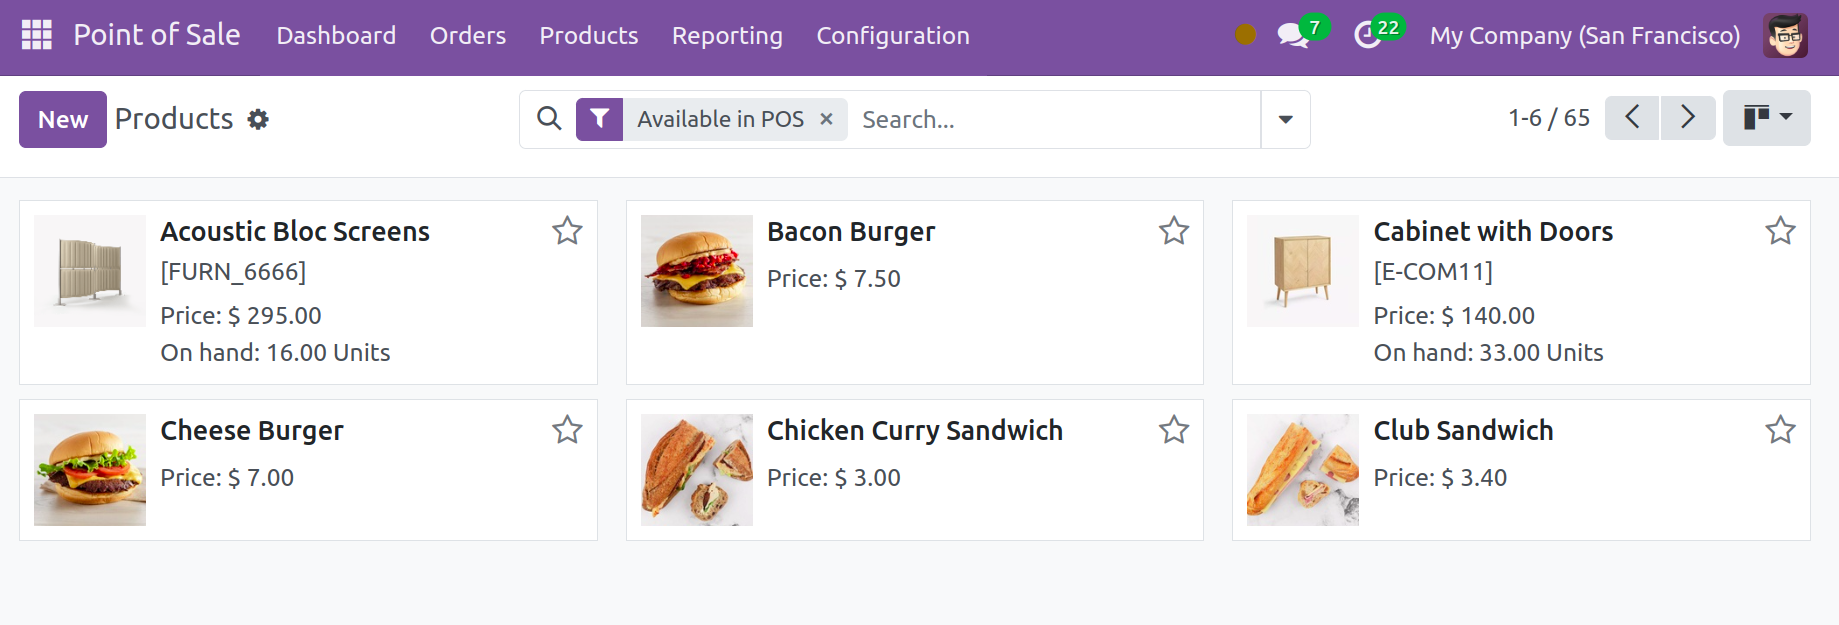
You can use the Filters and Group by option to assist you in sorting the products that are offered based on a specific criterion. You can organize the products into groups based on your preferences.
You can click on the New icon to start creating new products.
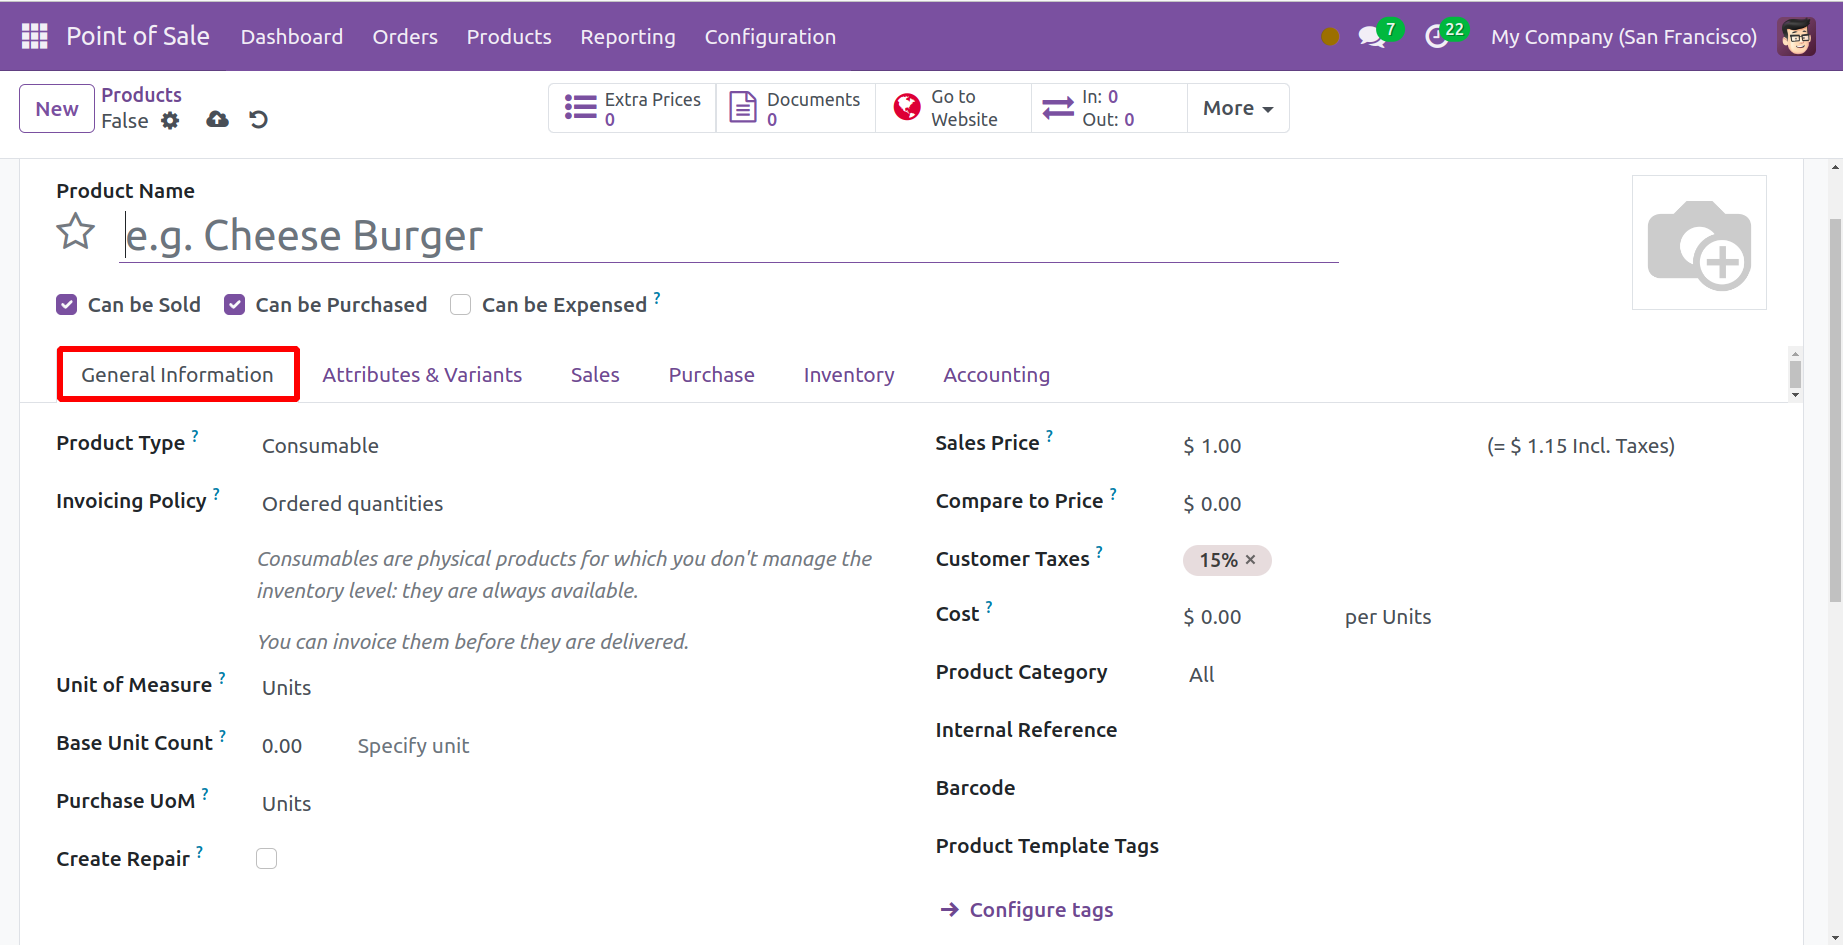
Here, you can fill in the designated space with the product's name. For further information about the product, an image of it can be included. You now have the choice of whether to buy or sell the product. You can enter other details, such as the product type and the invoicing policy as well as the delivered or ordered quantities, under the General Information tab. Units of measurement, purchasing units of measure, product sales price, customer tax, cost, product category, internal reference, barcode, and company can be entered in the designated spaces below that. You can provide an internal product note in the internal notes area.
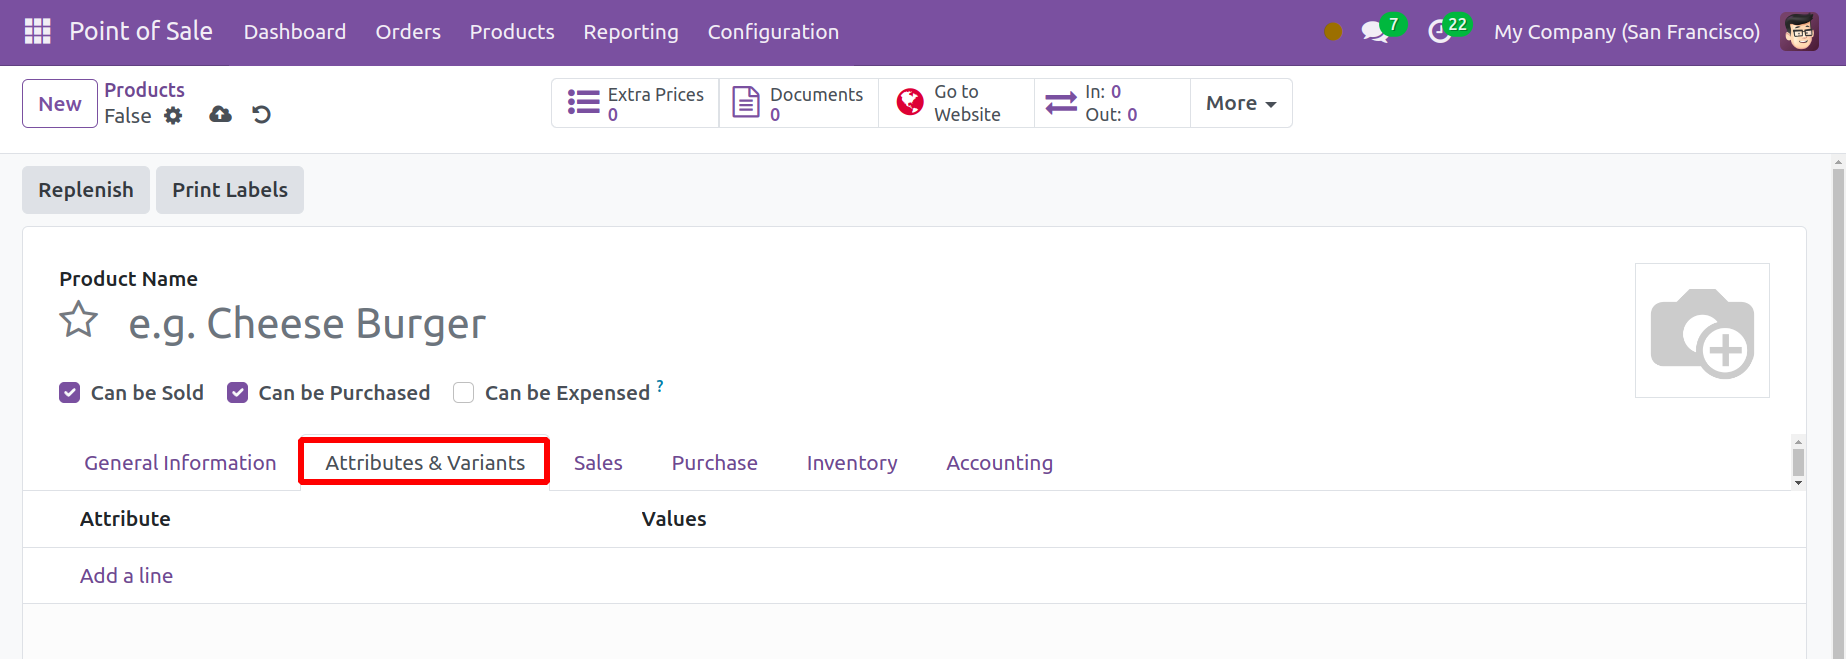
As seen here, other goods can be included by using the Add a Line option under the Attributes and Variants tab.
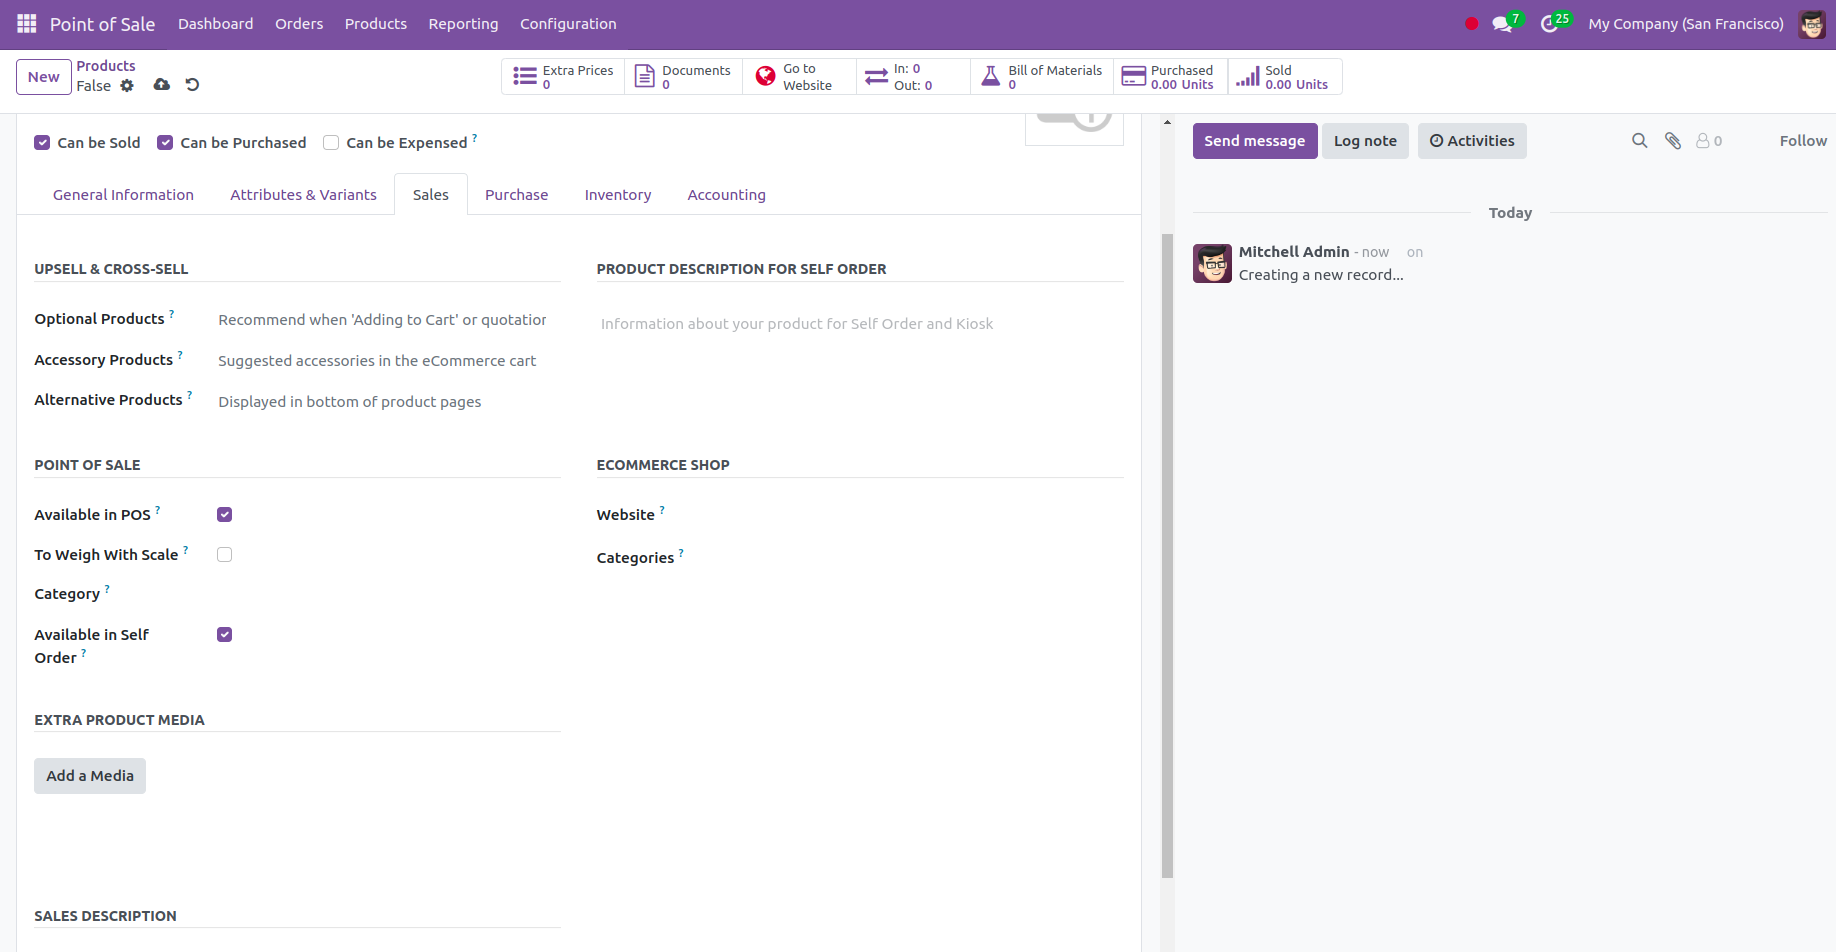
The different properties and their values are displayed in the designated fields. You may find information about upsells and cross-sells, points of sale, additional product media, sales descriptions, eCommerce shops, and fillable sales warning options under the Sales Tab. You have options for optional products, supplemental products, and alternative products under the upsell and cross-sell sections.
You can indicate the scale choice to use to make a specific product visible at the point of sale, which point of sale option to trigger, and which product category to mention below the point of sale. You can specify the categories and the website where it shall be published under the eCommerce option. You can Add media, which could be a picture, a video, or anything else, under the extra product media section. You can include a brief product description in the sales description.
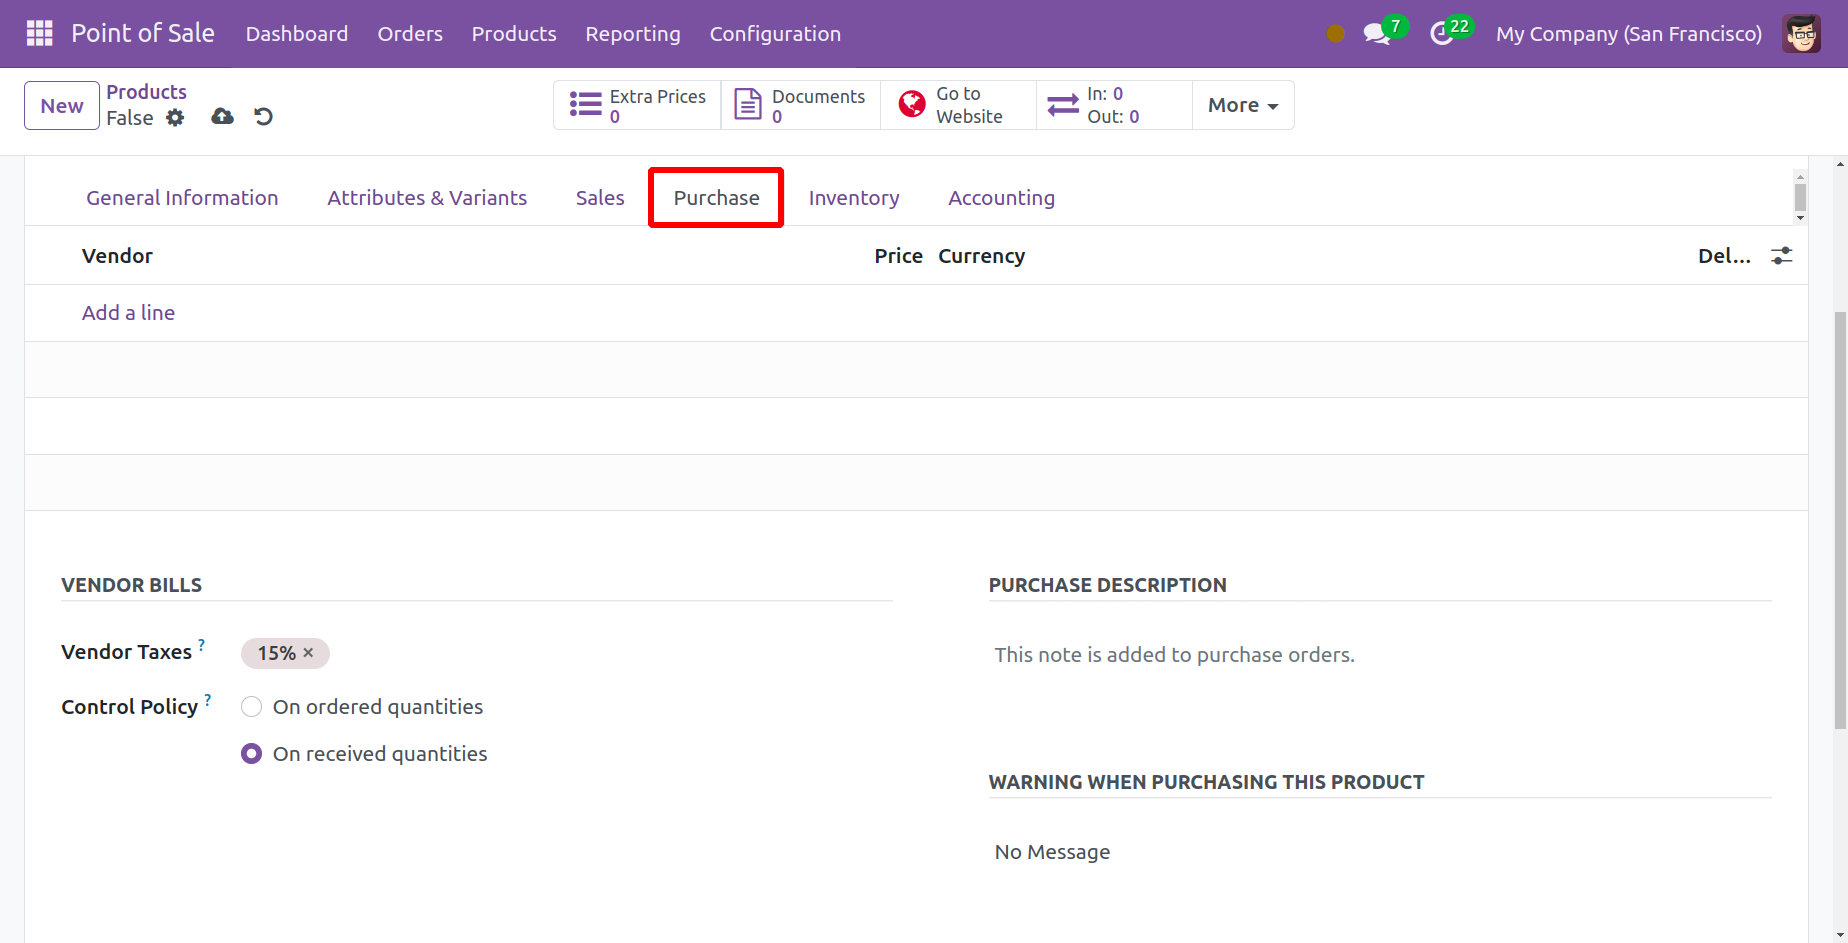
Now, the next tab is the purchase. Here different vendors can be added with the help of the Add a Line option very easily. Here, you can easily mention the vendor, currency, price, and delivery lead time according to the allotted space. The vendor taxes and control policies may be given under the vendor bills option. You may simply add a brief description of the product purchase underneath the purchase description.
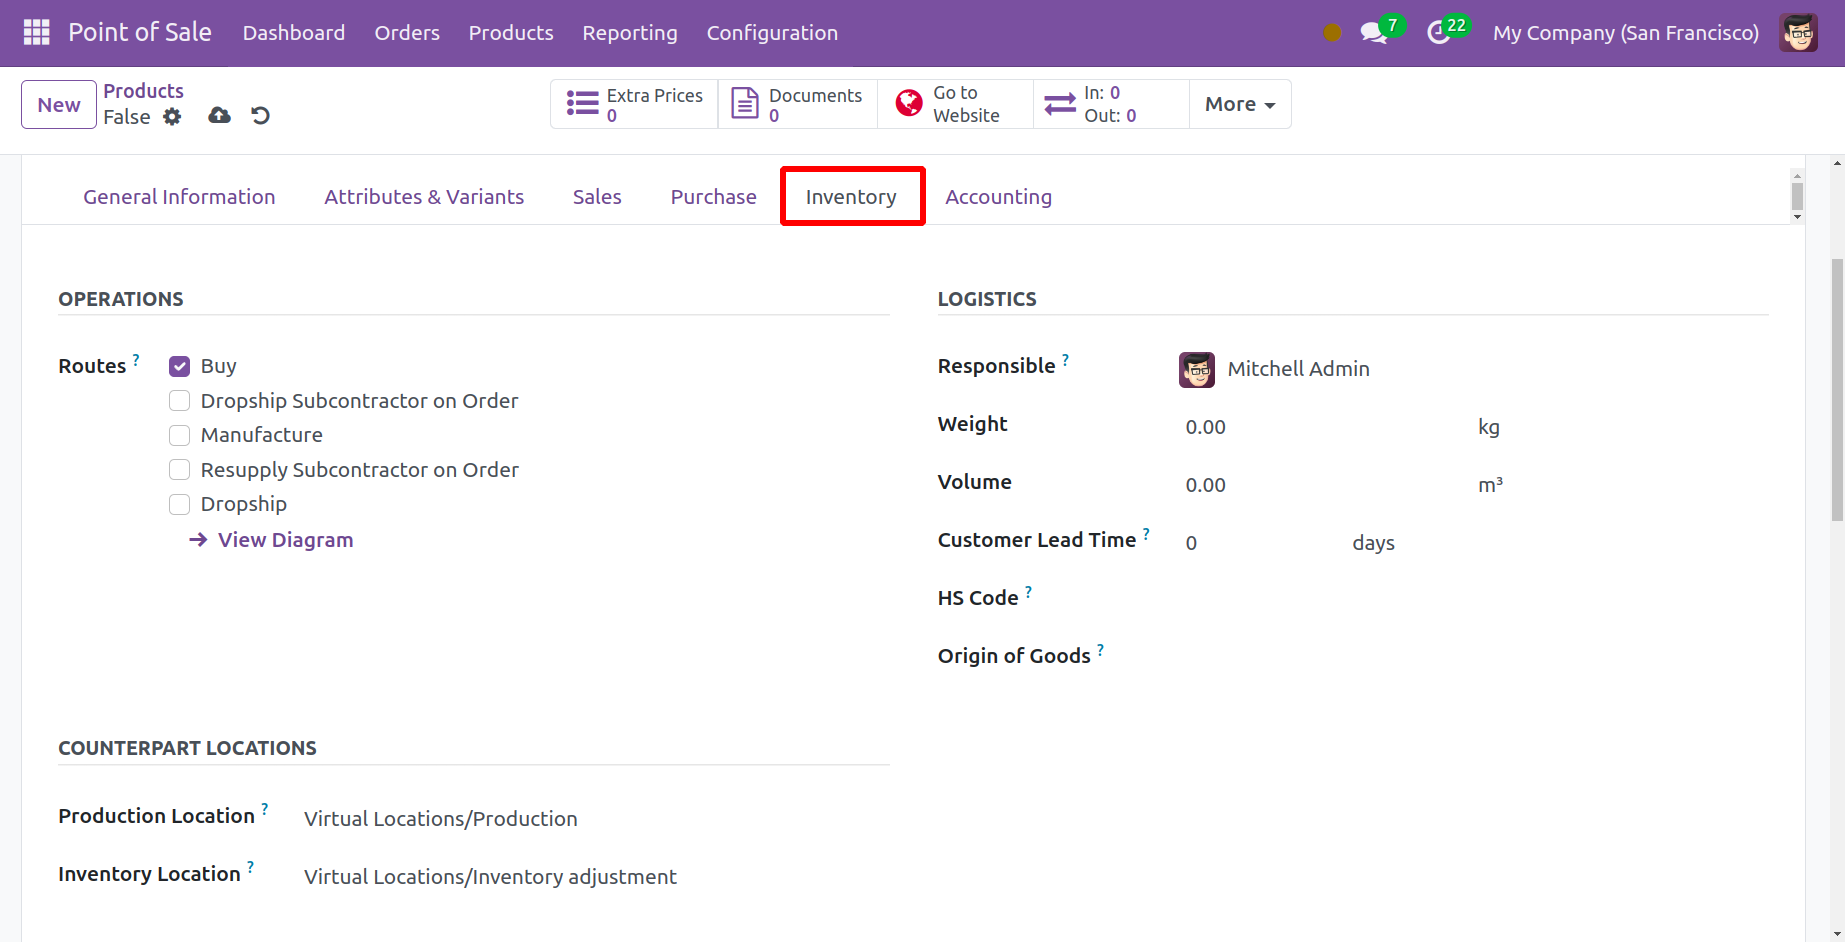
The operational routes are listed under the Inventory tab. There are several paths available under the routes option, including buy, repair, manufacture, restock subcontractor on order, dropship, and dropship. You can also view the diagram if necessary. The logistic option allows for the addition of responsible officers for the following operations: inventory, weight, volume, lead times for manufacturers and customers, HS codes, and origin of goods. Customer lead time is the delivery lead time that the customer requests in a given day while manufacturing lead time is the typical amount of time it takes to produce a product in a given day. You can include the production and inventory locations under the corresponding locations option. In the designated area, you can include descriptions for delivery orders, internal transfers, and receipts.
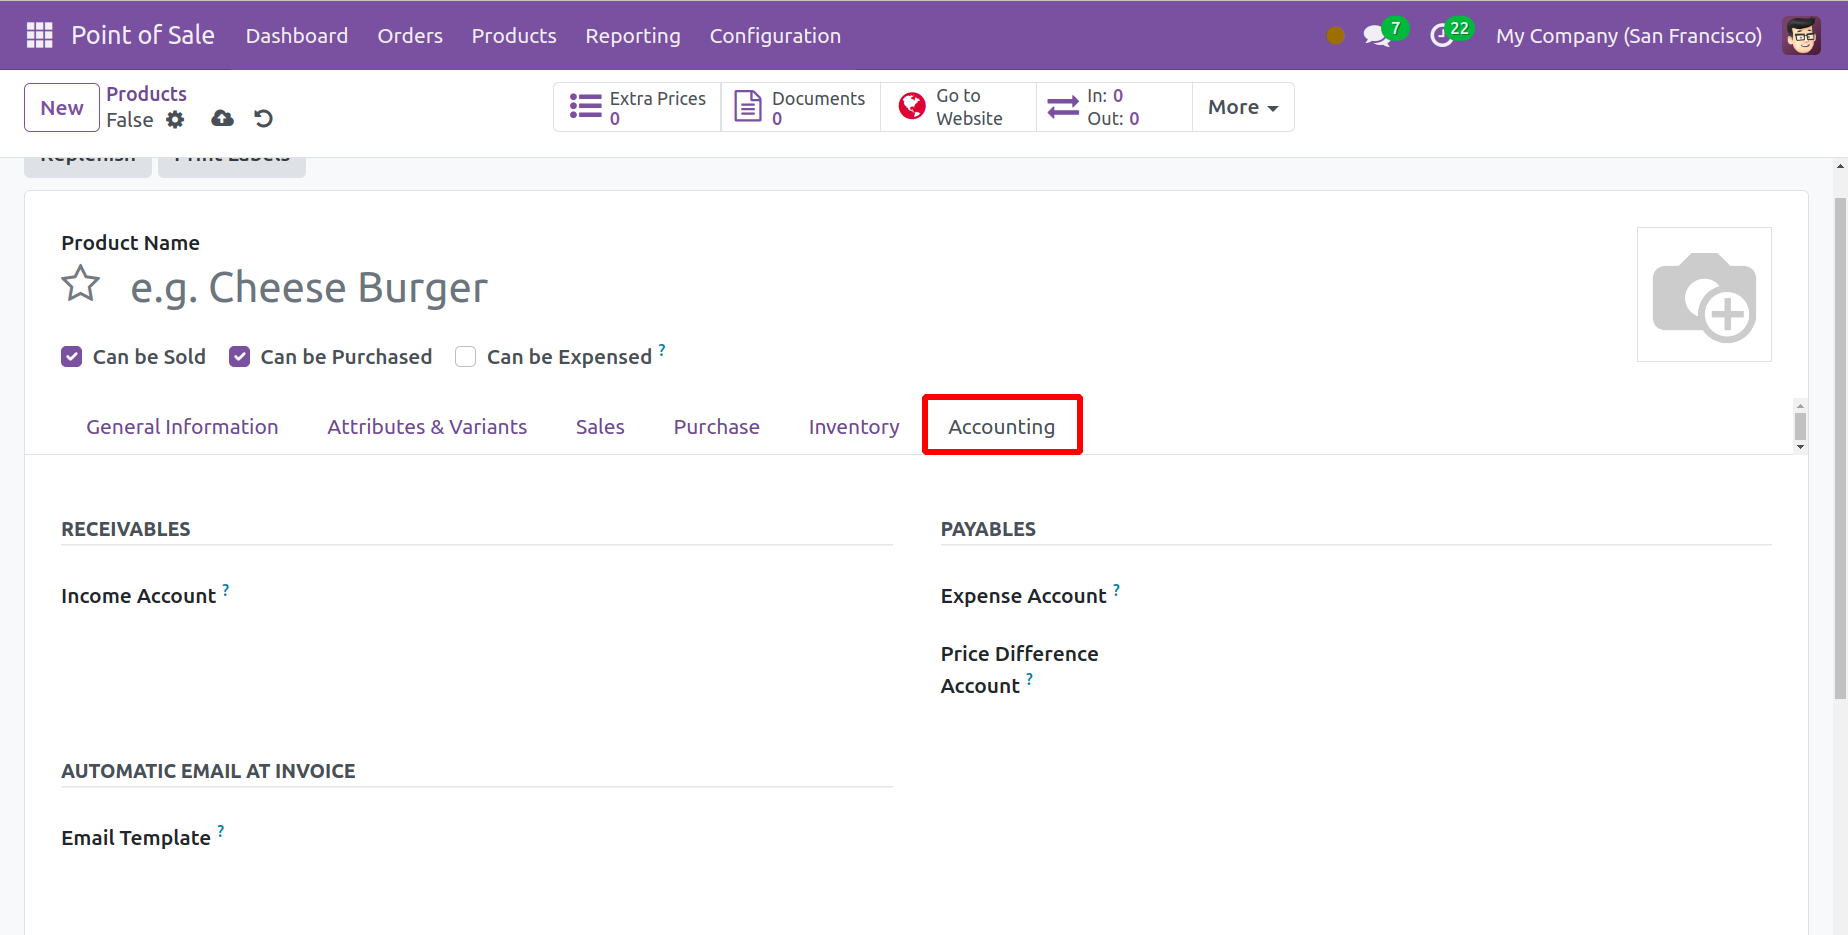
You can refer to the income account in the receivables option beneath the Accounting tab. The payables option allows you to provide the expense account and price difference accounts. An email template can be added to the automated email at the invoicing option risk-free. This helps to send the email to a product-specific email after the invoice is validated. At last, I was able to add the product to the list by clicking the Save icon.