Configuration
Time Off Types
It is necessary to specify the type of time off when submitting a request for time off.
The graphic below illustrates how simple the process is for the step beneath the
Configuration tab.
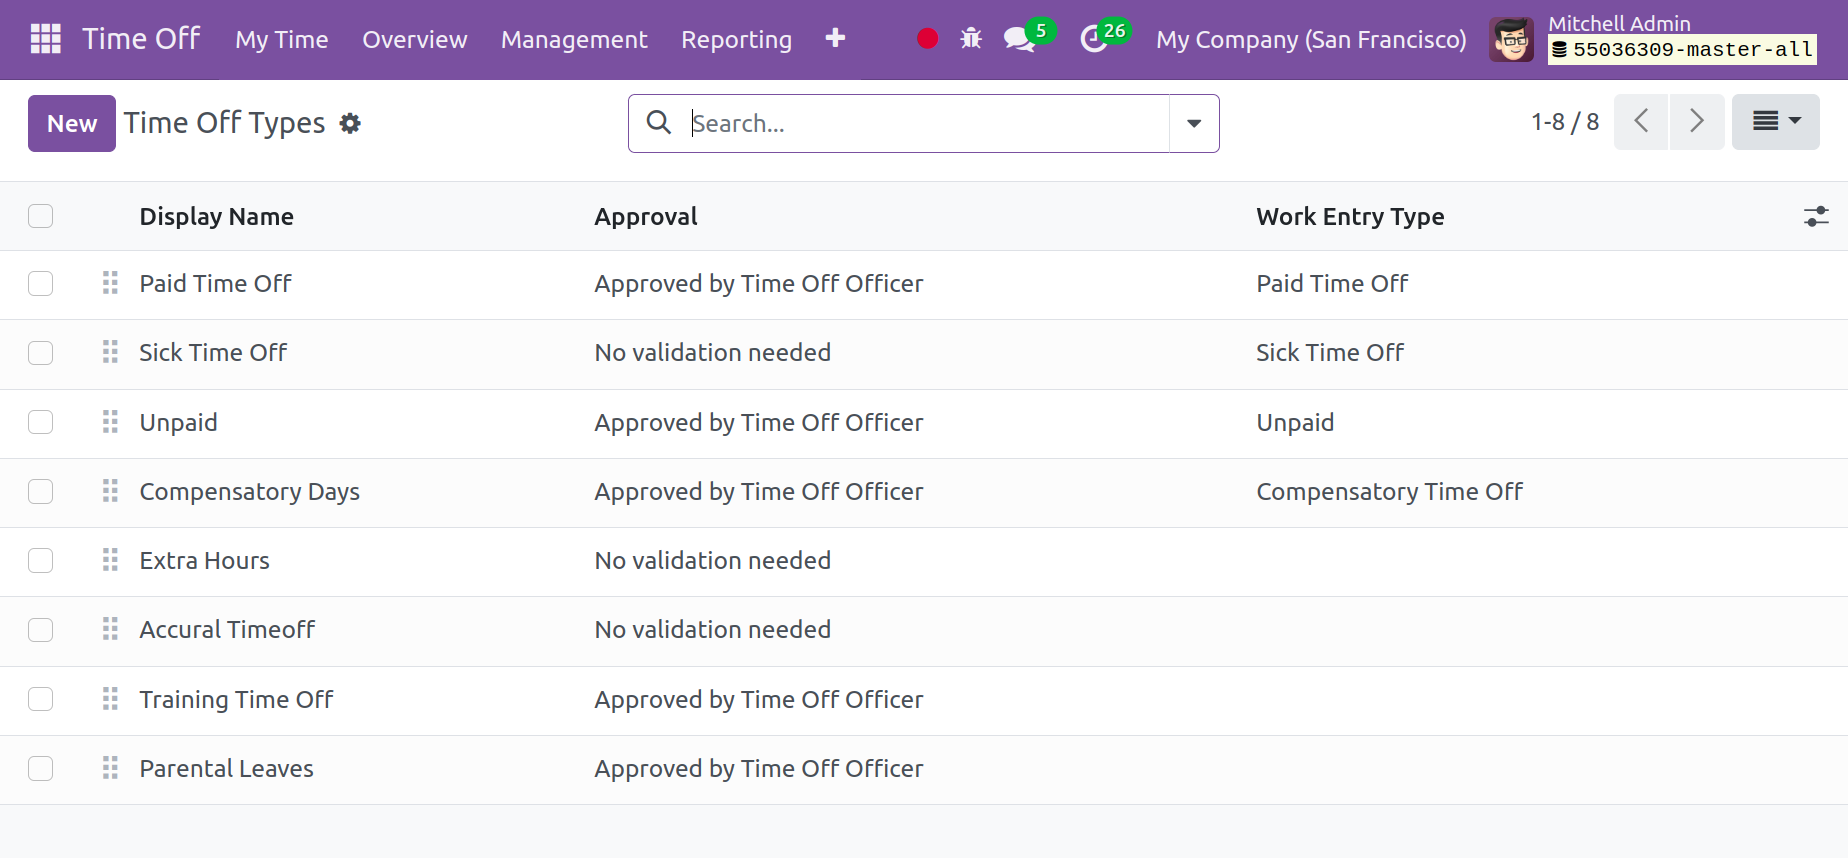
This section displays the previously created Types of Time Off along with their Display
Name, Approved Status, and Work Entry Type. The page is also observable in the Kanban
view. Click the New button to create a new Time Off Type. As soon as you select
the choice, the window displayed below will appear.
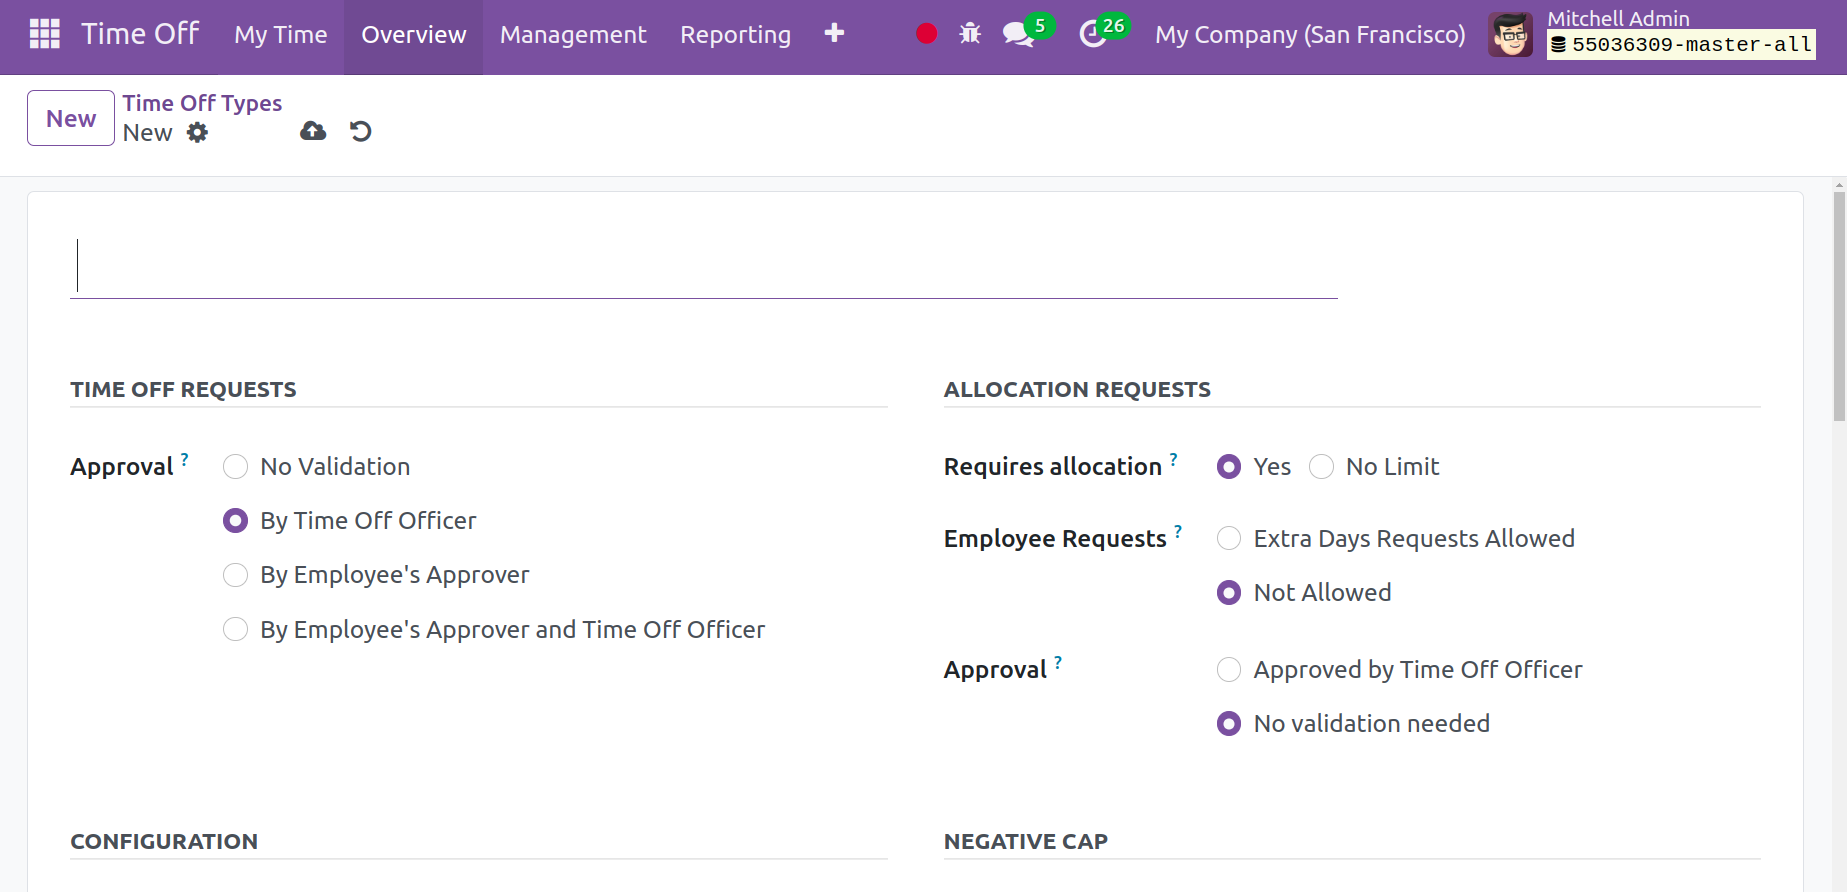
Give the Time Off type a name. Indicate who has been permitted to approve the leave
request under the Approval option. If validation is not required, it cannot be
done by the employee's approver, the time off officer, the employee's approver, or both.
Additionally, a double approval permission can be made.
You can find out if the allocation is necessary or not under the Allocation
Request Tab. To allow for unlimited requests for time off, the request time can
be set to No limitations. It is possible to designate whether an employee's request for
extra days is allowed or not.
If the Allow Negative Cap is turned on, user requests can exceed the number of
days allowed, which would leave a negative balance. Next, indicate in the Amount in
Negative the maximum number of negative days that this kind of leave may be
taken; this field must have a value of at least one.
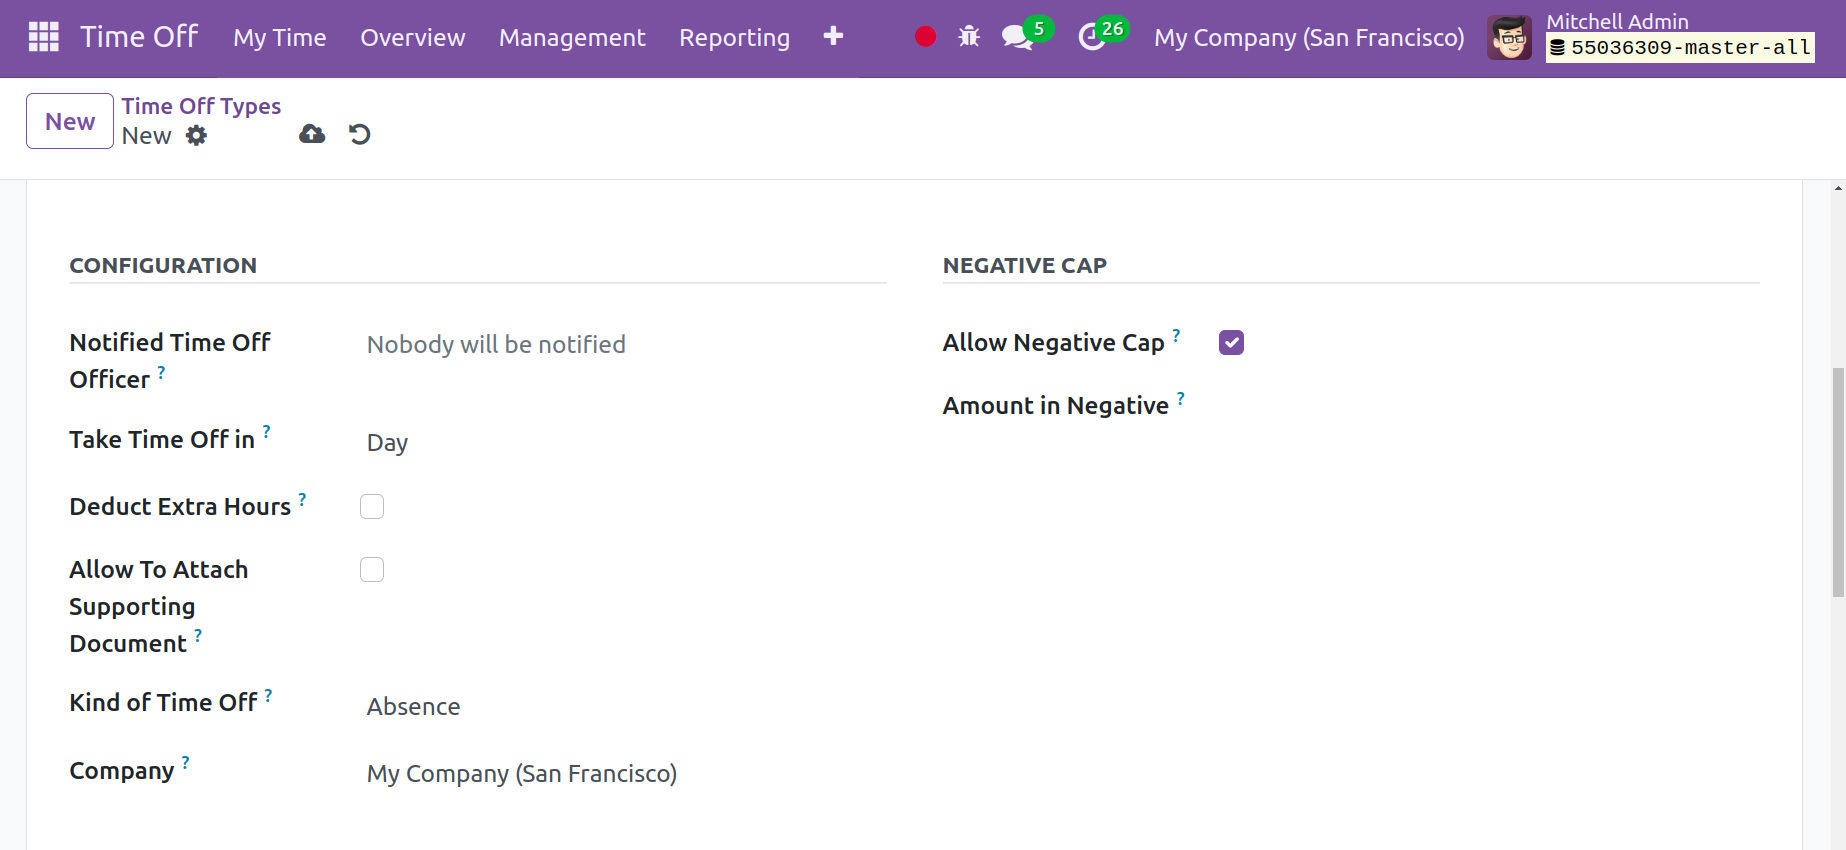
You can specify the name of the officer who authorizes the allocation and makes time off
requests in the Responsible Time Off Officer field. A full day or half day can be
selected for the Take Time Off Type. The setup specifies the order of time for each sort
of time off, which is the default.
When this form of time off is accepted, you can activate the Deduct Extra Hours
Field to remove additional hours. Likewise, you may also put this time in the supporting
documentation upon activating the Allow To Join Supporting Document option. You
can select "Absence" or "Working time" under the "Kind of Time Off" option, and
you can also enter the name of the company in the designated field.
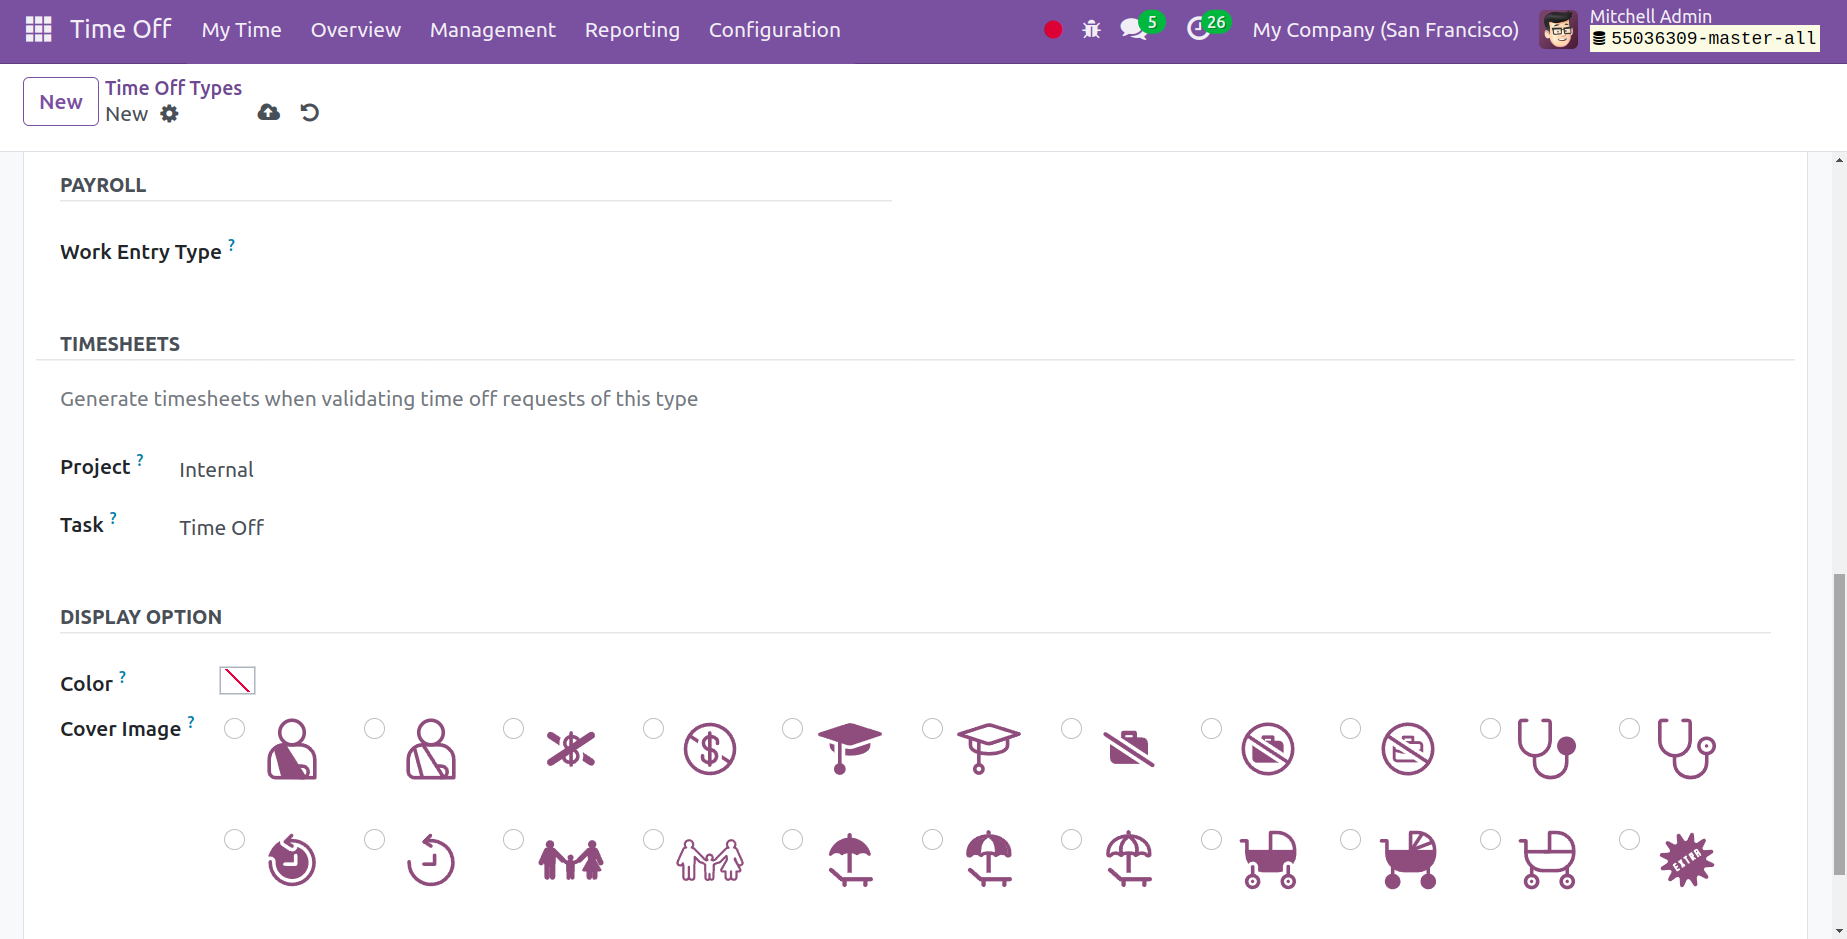
You can enter the Work Entry Type under the PAYROLL Tab. You can choose the
project type from the list of available options under the TIMESHEET Tab. It is also
possible to set the Task as training, a meeting, or a break. You can now select a
specific color and cover image from the list below the Display option. Lastly, "Save"
it.
Accrual Plans
As seen in the screenshot below, Accrual Plans is another option in the
Configuration Menu.
Two primary categories of allocations exist Regular and Accrual. A set amount of leave is
given to employees as part of the regular allocation. However, in the event of accrual,
the desired amount of leave will be granted based on a certain set of criteria. Our goal
is to establish a specific guideline for the automated distribution of leaves.
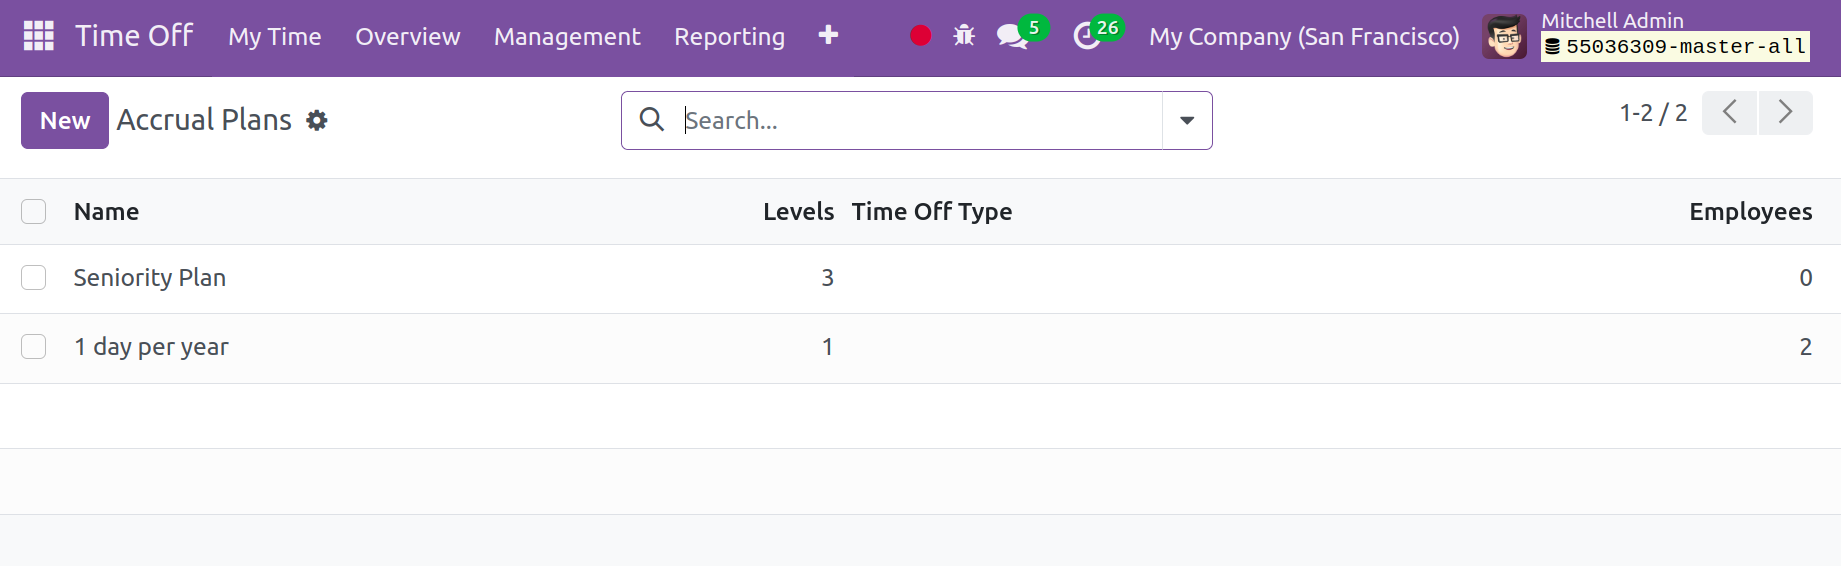
You will receive the list of accrual plans that are already configured, much like in the
image above. Details like Plan Name, Levels, Type of Time Off, and Employees will be
given here. We may quickly create a new accrual plan by clicking the New icon.
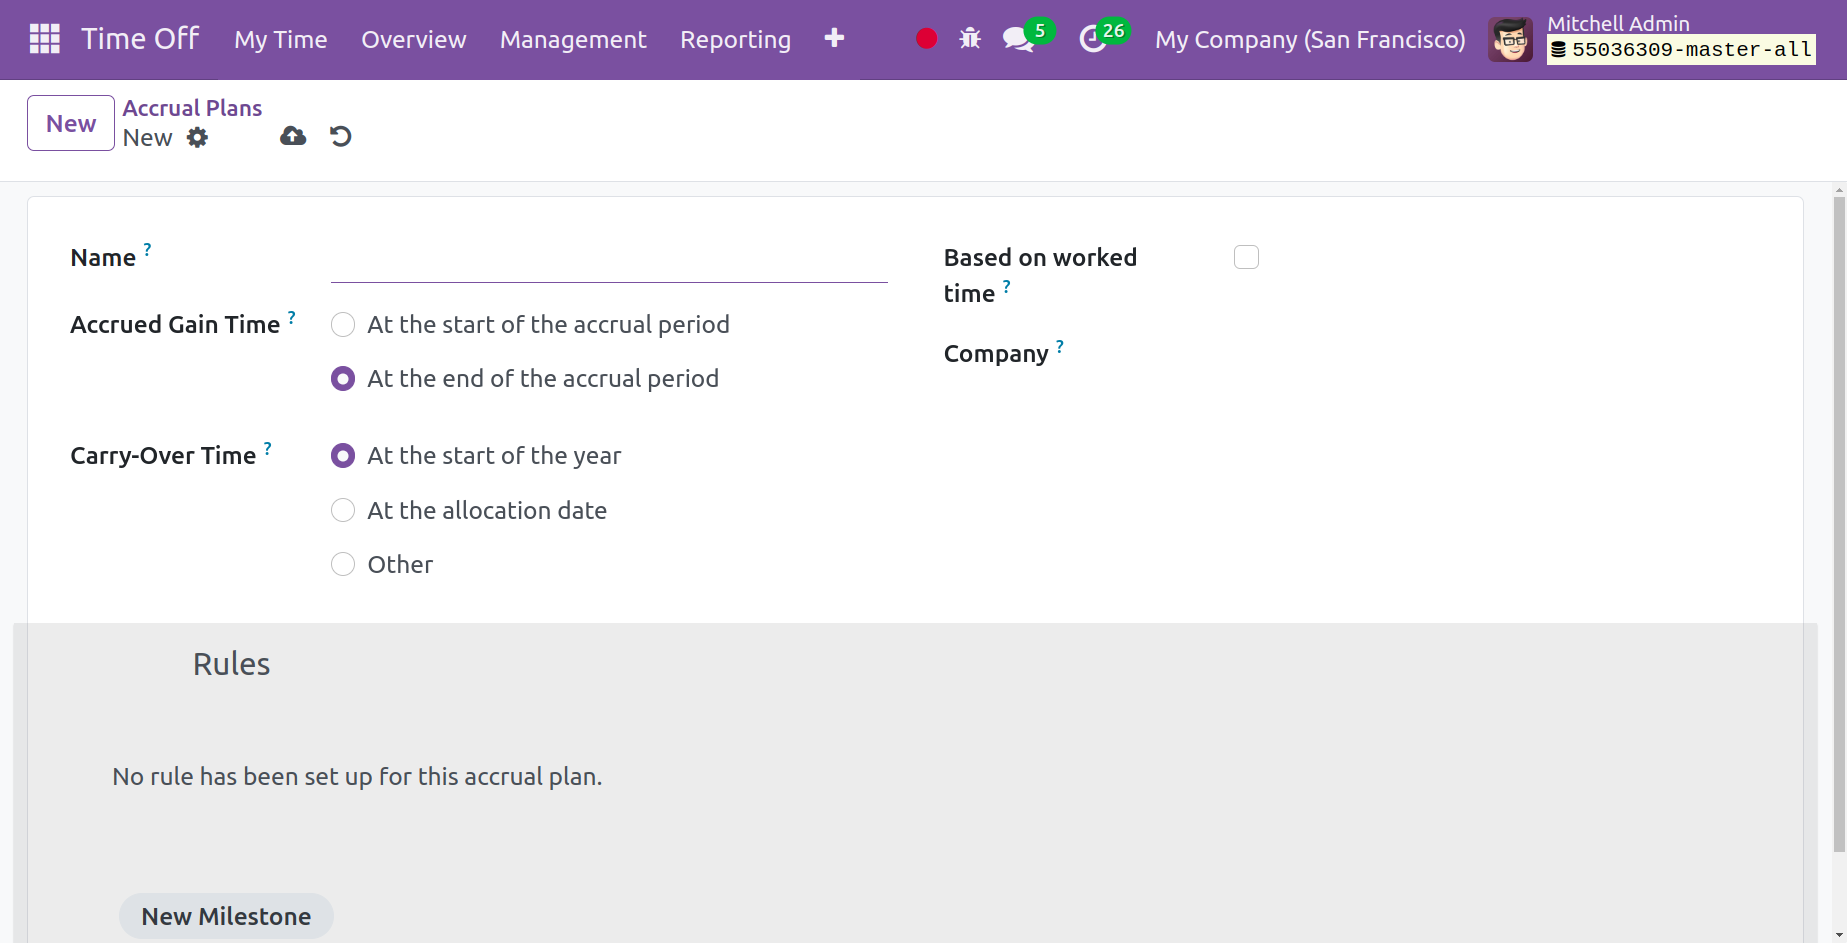
You can assign a name to the accrual plan using the Name option. Bring up the
Accrued Gain Time and Carry Over Time next. The accrual period will be
calculated using working days rather than calendar days when the "Based on Worked
Time" option is chosen.
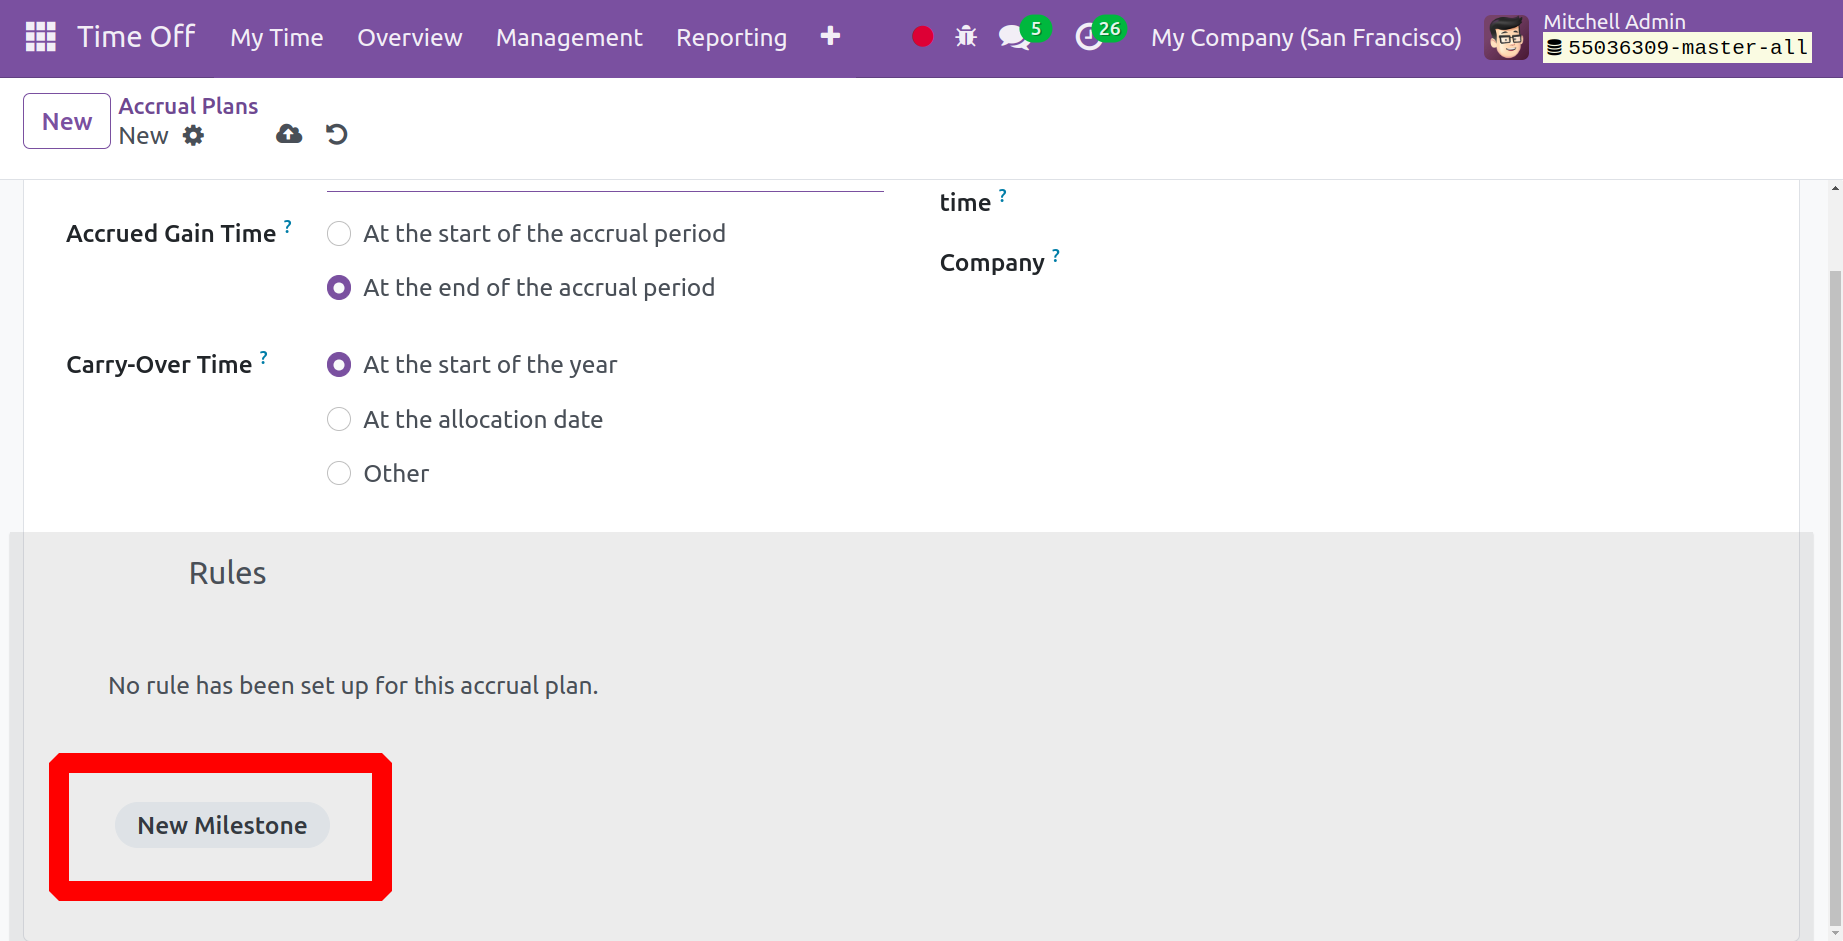
The rules of the accrual plan are now modifiable. To accomplish this, click the New
Milestone button. Odoo17 will show you the new pop-up as soon as you click on
this button, as seen below.
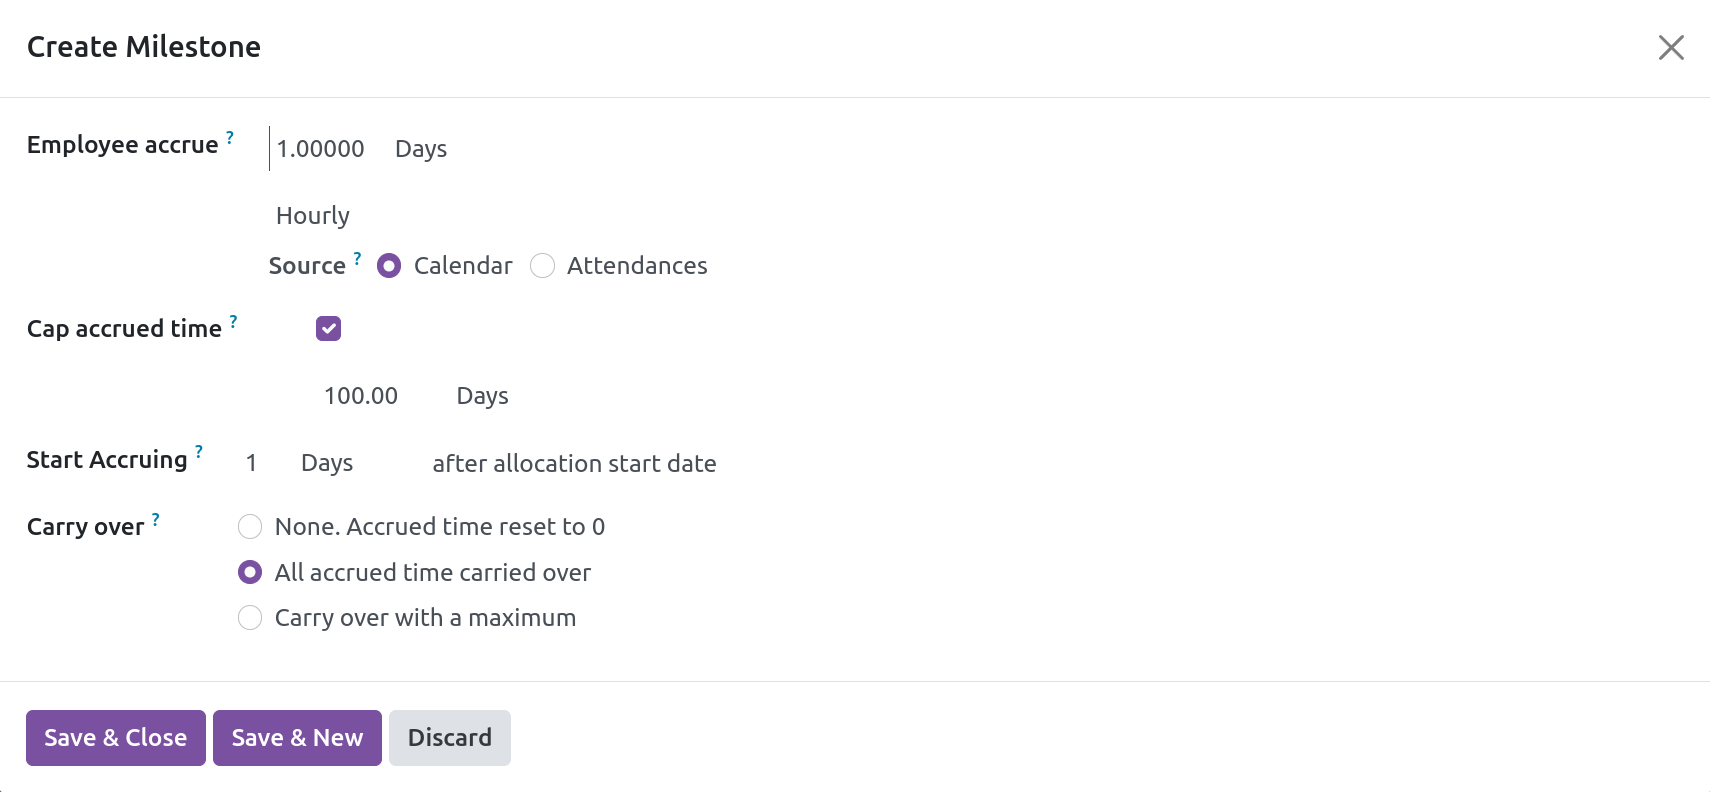
Note the number of hours or days that will be added to the allotted time off for each
period in the Employee Accrue box. If the Employee accrue is set to hourly, they
added a new field called Source. If the source is set to Calendar, the number of
work hours will be determined using the employee calendar and vacation time. If not, the
number of hours worked will be ascertained from attendance records. The accumulation
starts on the date that is specified to be the allocation start date. You can select how
many days, months, or years accrual is applied after in the Milestone Reached box. Next,
choose the Carry Over. Once you've added more details, click Save & Close
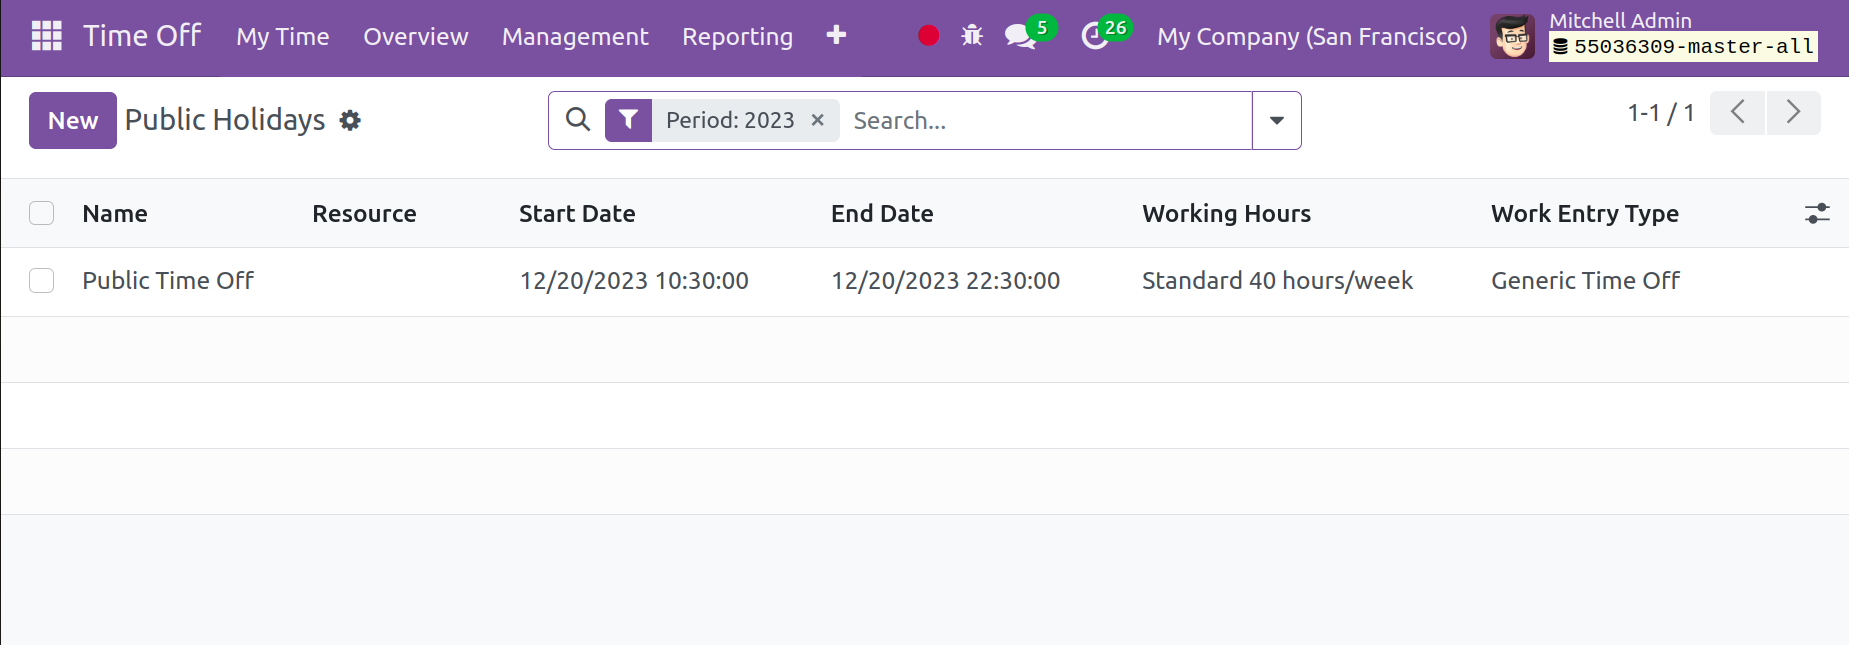
Public Holidays
There is another option for Public Holidays in the Configuration menu. This
is where you may view all of the public holiday records. Setting a new record for public
holidays is permitted.
As you can see, the page has information on the holiday, the company, the start and end
dates, the working hours, and the type of work entry. Select the New icon to
create a type that is similar to it.
The holiday's new name, company, start and end dates, working hours, and work entry type
can all be added here. In a similar vein, you can list every public holiday observed so
far this year. In this case, the public day off will be refunded and canceled if it was
made on the same day.
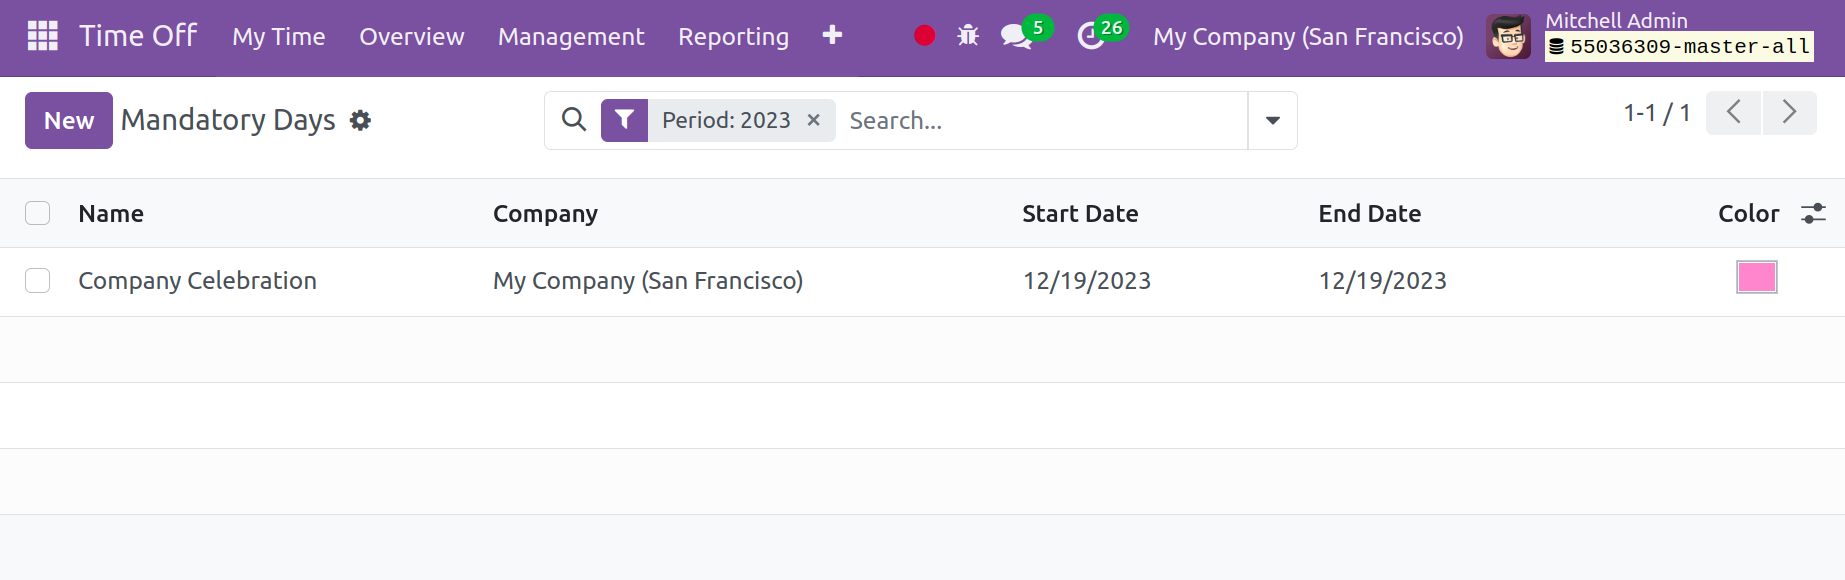
Mandatory Days
You can specify the required days on which employees are not permitted to request leaves
under the Mandatory Days option in the Configuration menu. You may quickly
make a new one by using the New button.
Activity Types
The Activity types option, found under the Configuration menu, allows you
to create several activity kinds that can be used to manage employee vacation time. You
can view a list of the activity kinds that have previously been configured by selecting
this option.
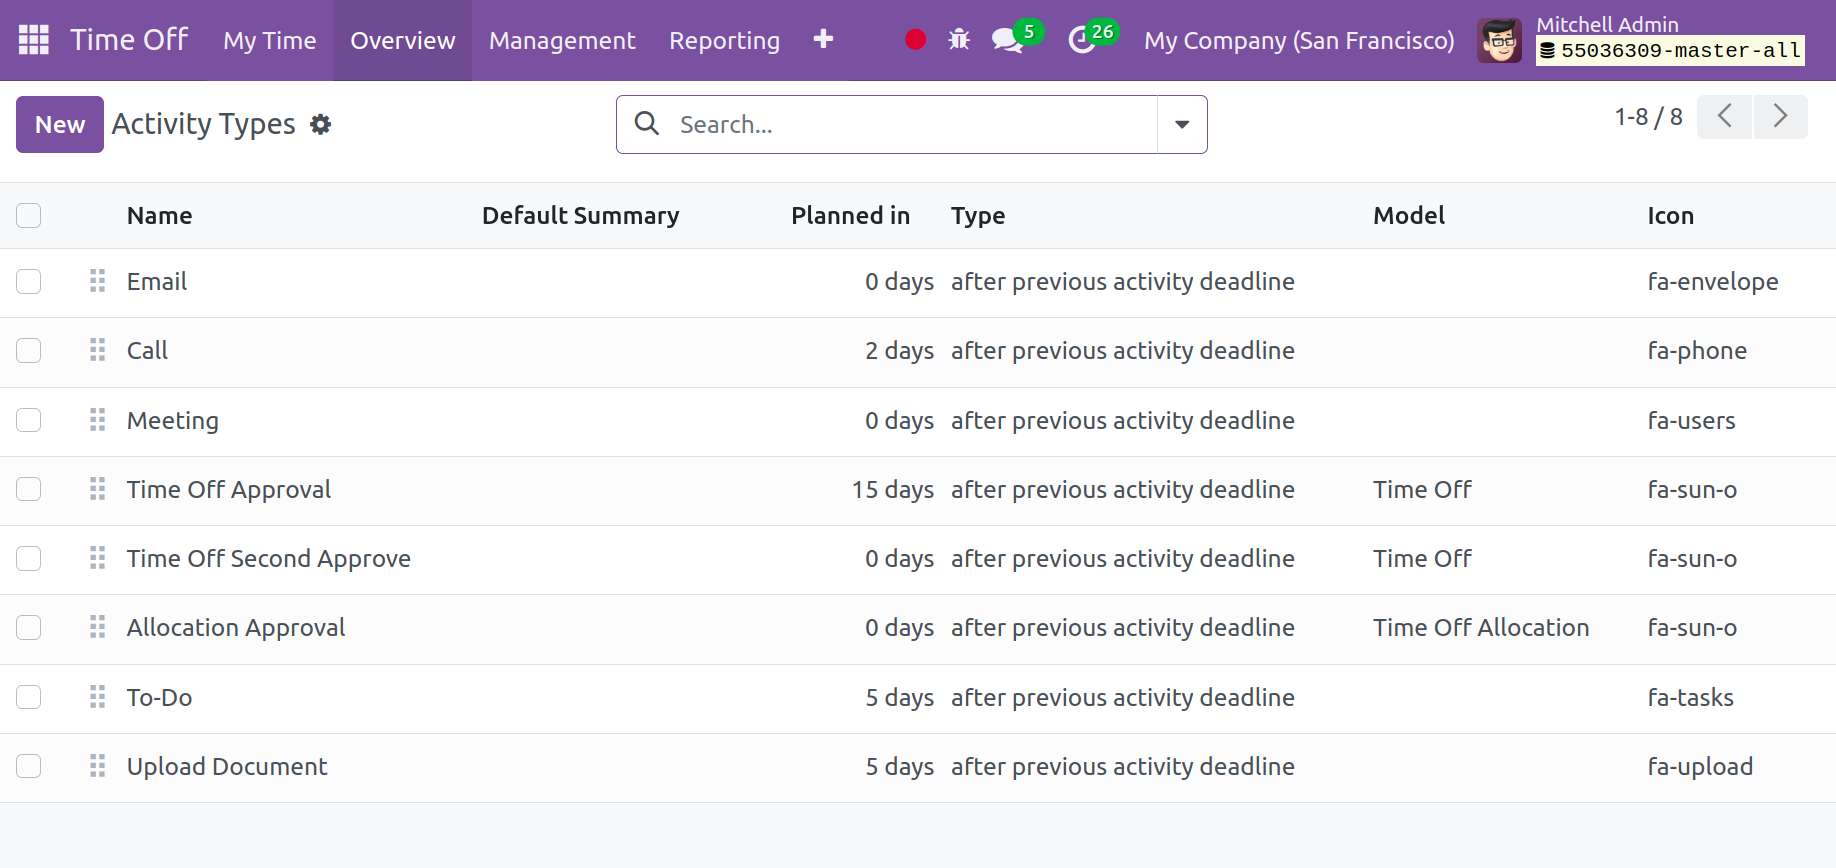
This feature will help you control any kind of activity. Name, Default Summary, Planned
In, Type, Model, and Icon are among the details you will find here. You can use the
New icon to create a new type of activity.
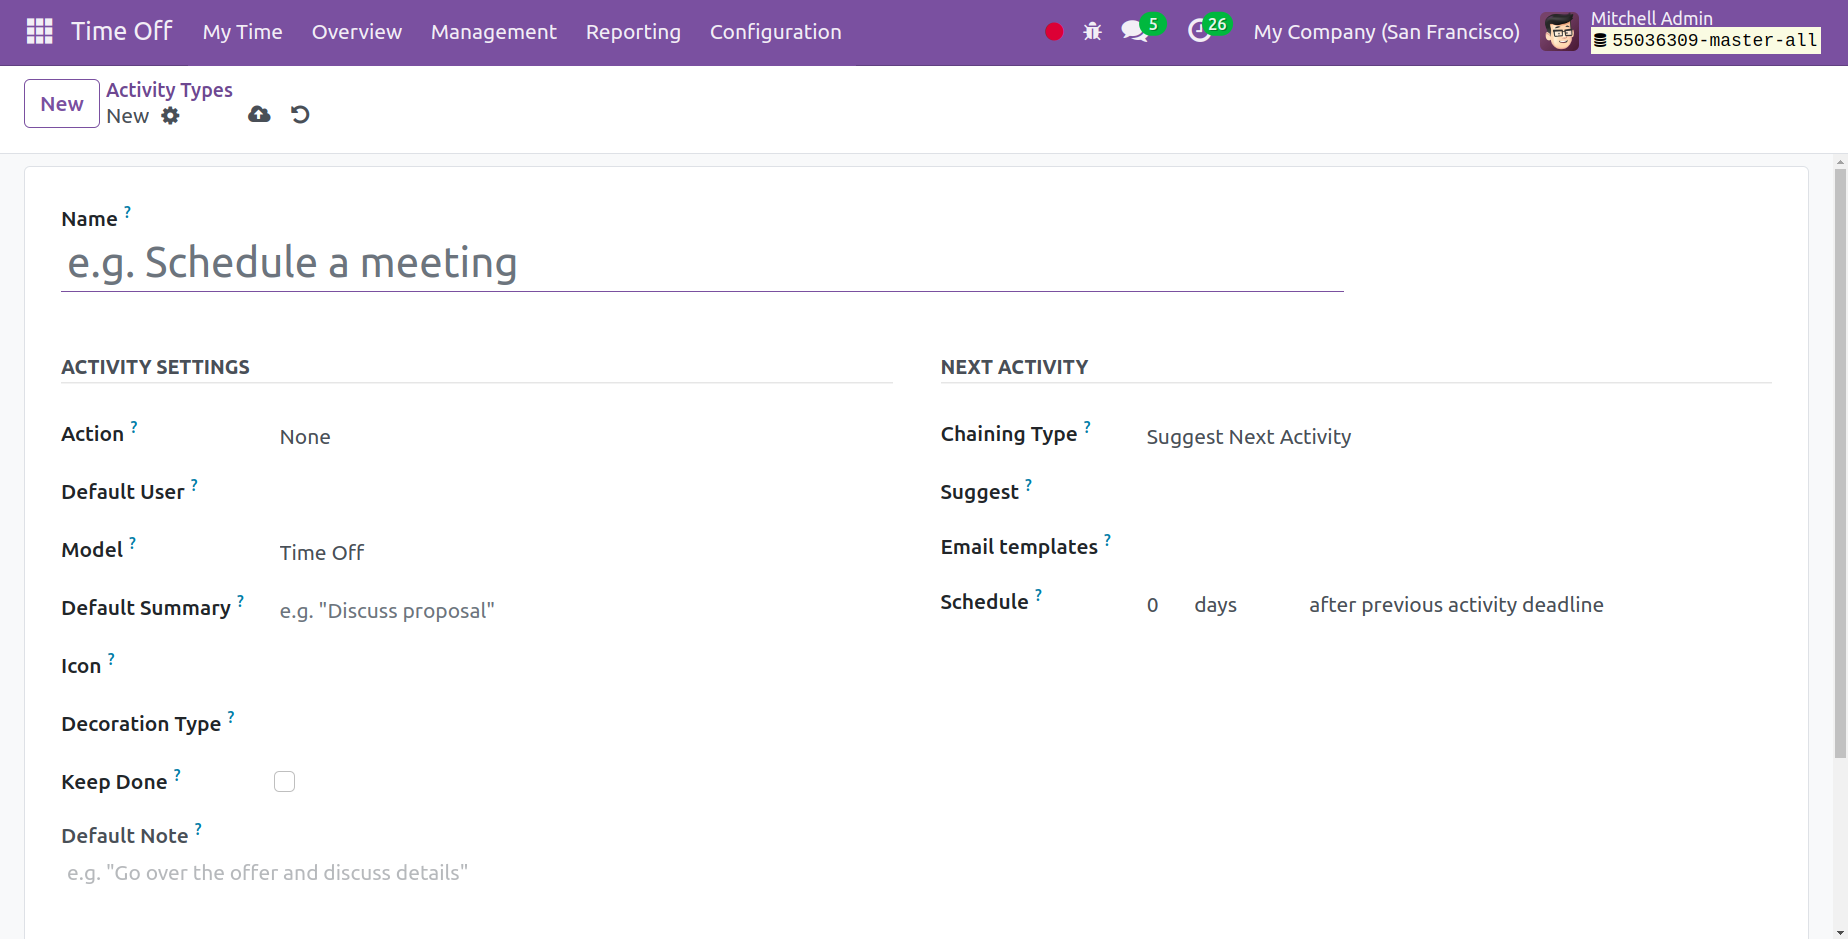
You must identify the activity type in the provided window. Next, select any action from
the provided drop-down menu under the activity settings. This menu contains choices like
None, Upload Document, Phone Call, Meeting, and Reminder. Next, choose any Model from
the area given. Next, enter the appropriate information under the Default Summary and
Icon option. It is also possible to specify a certain type of decoration. A brief note
regarding the activity might be included in the Default note. You can now select Suggest
Next Activity or Trigger Next Activity as the Chaining Type under the Next Activity Tab.
Enter the desired action in the Suggest area and email template, indicating how many
days, weeks, or months you want to give it before deciding. Lastly, "Save" it.