Odoo 17 Contacts
You can manage and maintain records of all the contact information for every employee in
the firm with the use of Odoo ERP software. Using certain clicks to complete the process
makes it very simple. You can store data on partners, suppliers, workers, and consumers
in this module. The lesson will be very helpful because it is a necessary skill to have
during a business.
The dashboard displays all of the contacts that you have previously made when you first
launch the module.
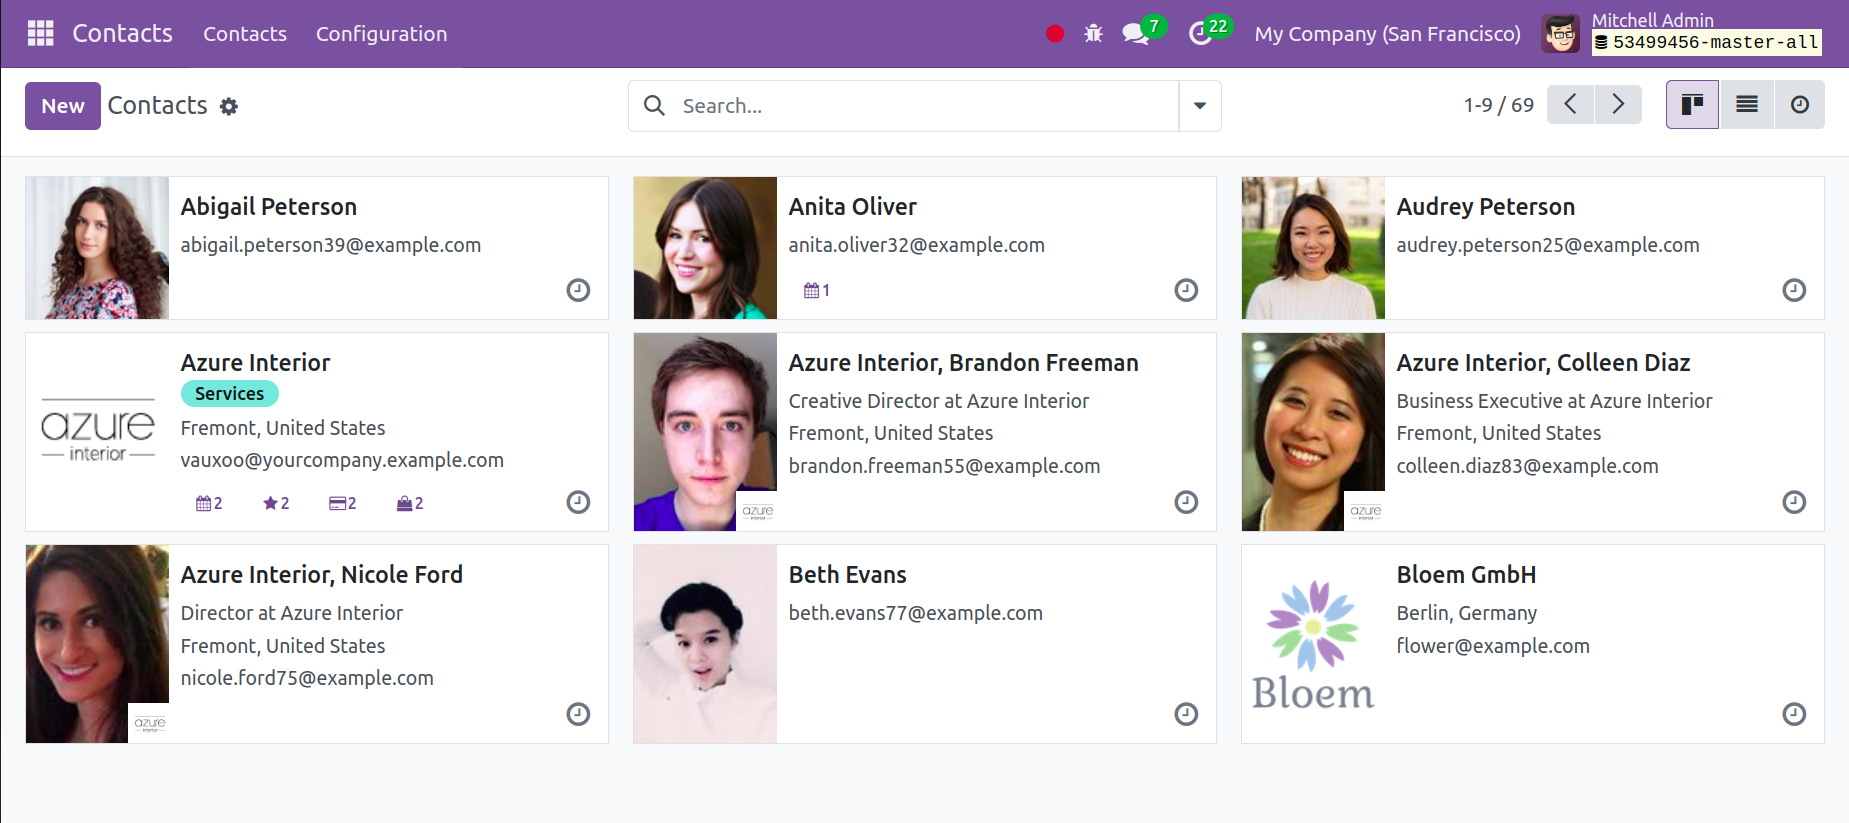
You will see the page in a Kanban view, just like in the picture, complete with features
like contact information and accompanying images. You may add the sorting options by
using the Filter and Group By options. You can add a specific contact to your favorites
list by using the Favourites option. The page is also visible in the List view.

You will see details about the specific contact on the page, including Name, Activity,
City, Country, and Company. The three dots that you see can be used to access the
additional options in the list view.
To make such a contact list, click the New icon, as seen in the figure above.
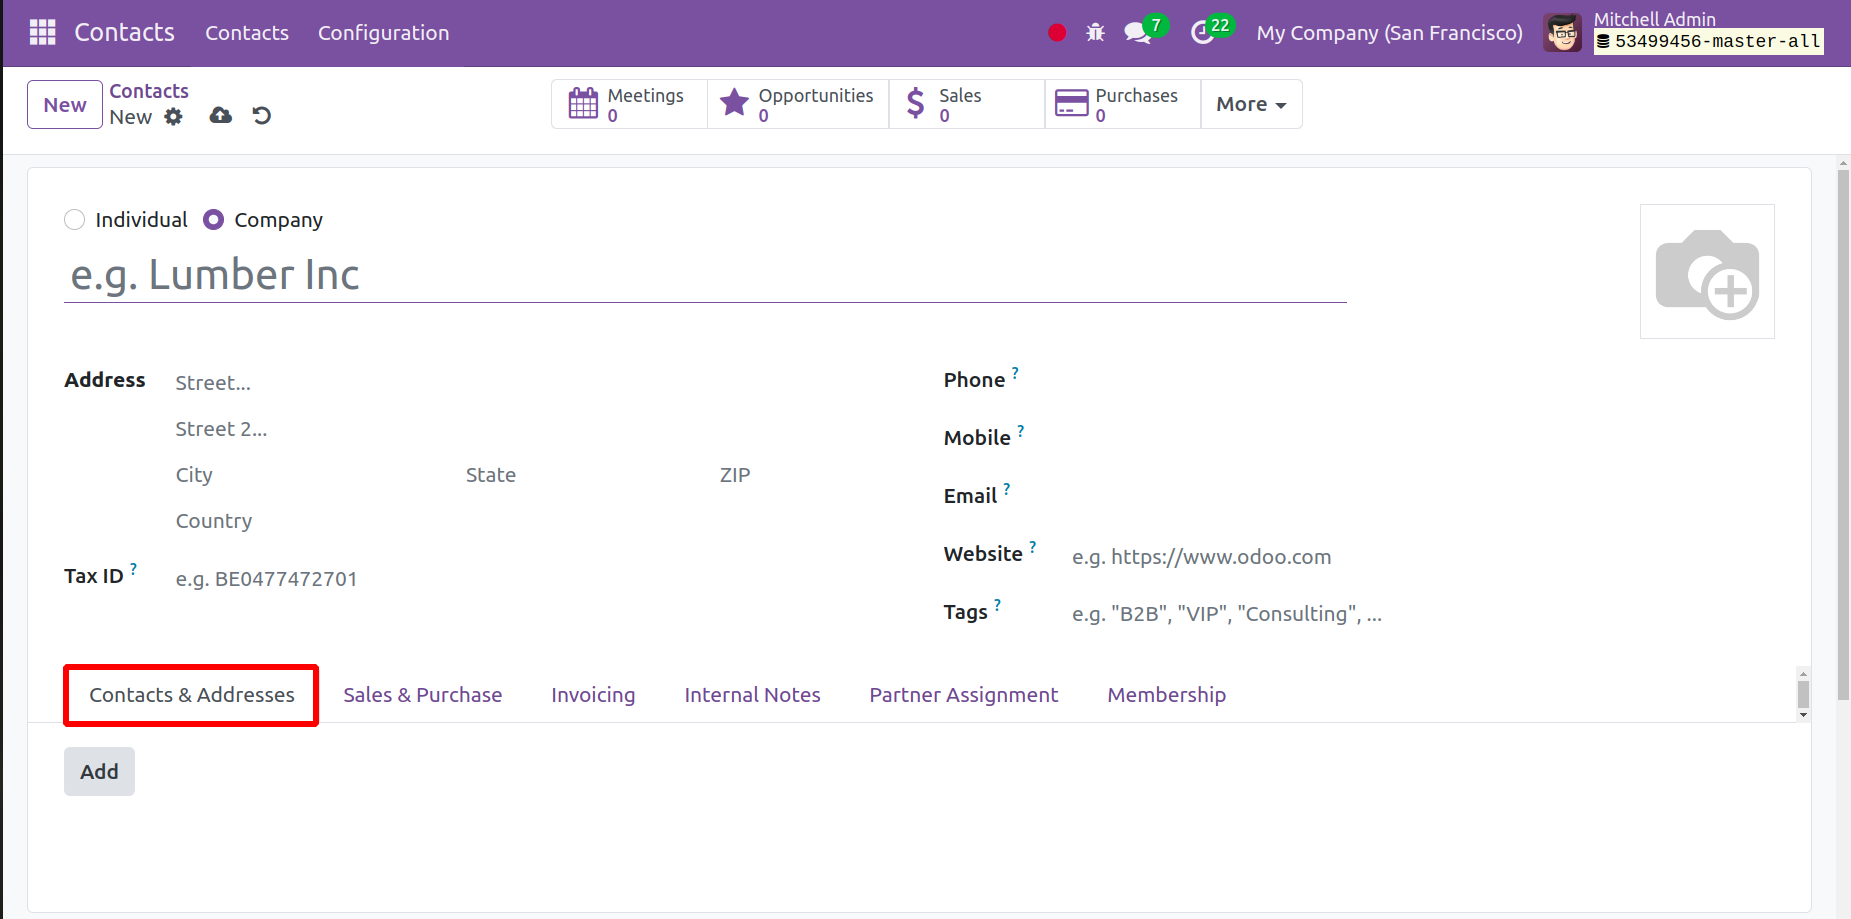
You have the option to enter the contact's name or the name of the company on the contact
creation page. Next, include the contact's address, phone number, email address,
website, language, and tags. A Tax ID may be entered in the designated field. By using
the Add icon, you may add further information below the Contact and Address tab. You
will see another window after doing this.
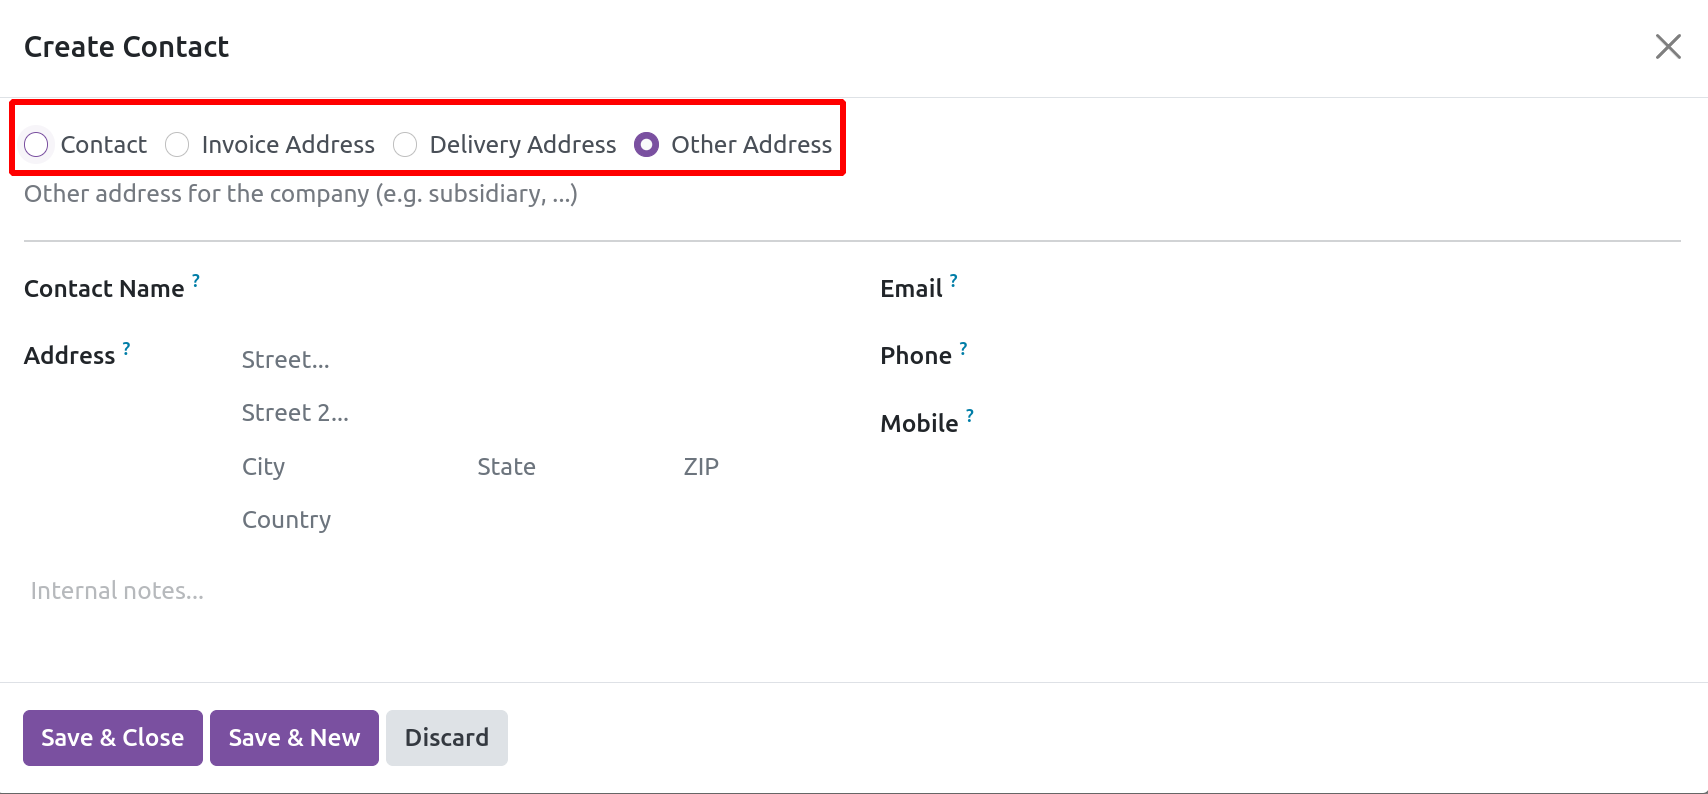
You can add more contacts here if necessary. For the sales orders, the invoice and
delivery address are provided. You can enter the phone number, email address, contact
name, address, and cellphone number in the designated spaces. You can provide the
contact address in the internal remarks section as well. Lastly, select the Save and
Close menu item. You may also select the Save and New icon to add an additional address.
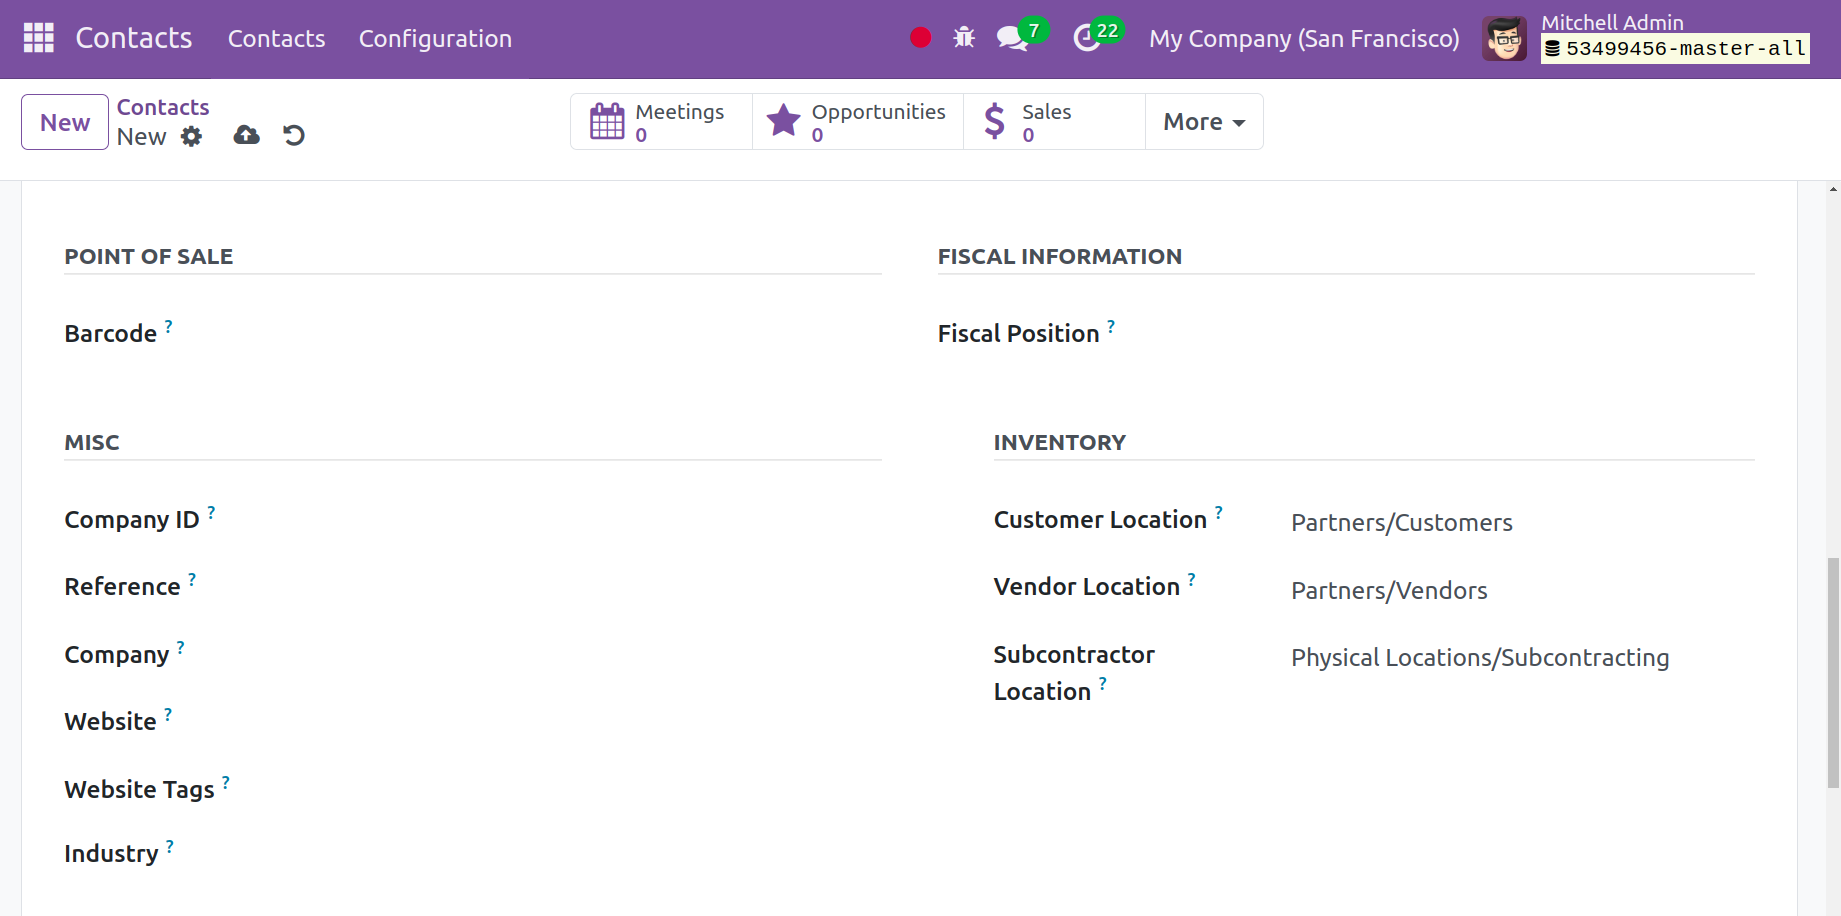
You can mention the facts based on sales and purchases under the Sale and Purchase Tab.
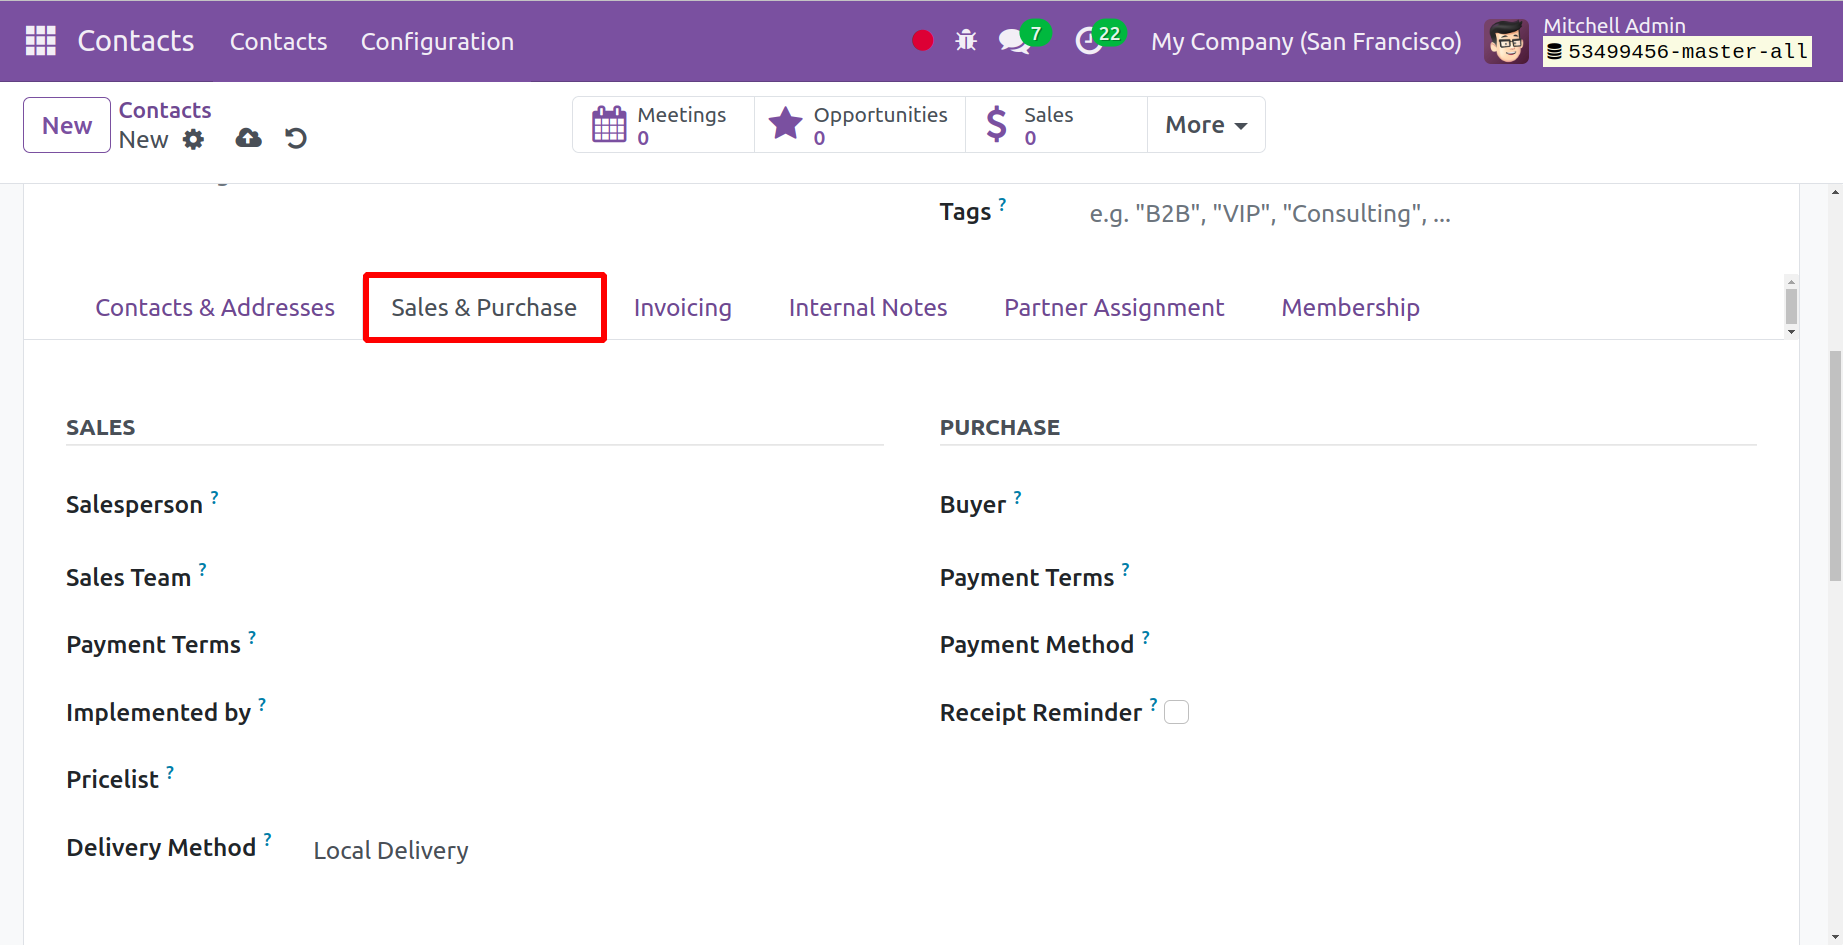
You can provide the sales information under this page, including the salesperson's name,
the terms of payment, a pricing list, and the delivery method. You can enter the barcode
to locate the contact below the Point of Sale option. You can specify the terms of
payment and the payment method in the purchase box. You can now choose to turn on the
receipt reminder so that the vendor receives an email verifying the date on its own. You
can also put the fiscal position under the fiscal details. You can now provide the
industry, website tags, firm name, reference, and website here in the miscellaneous
option.
The Invoicing tab is the next tab, and it allows you to add bank account information.
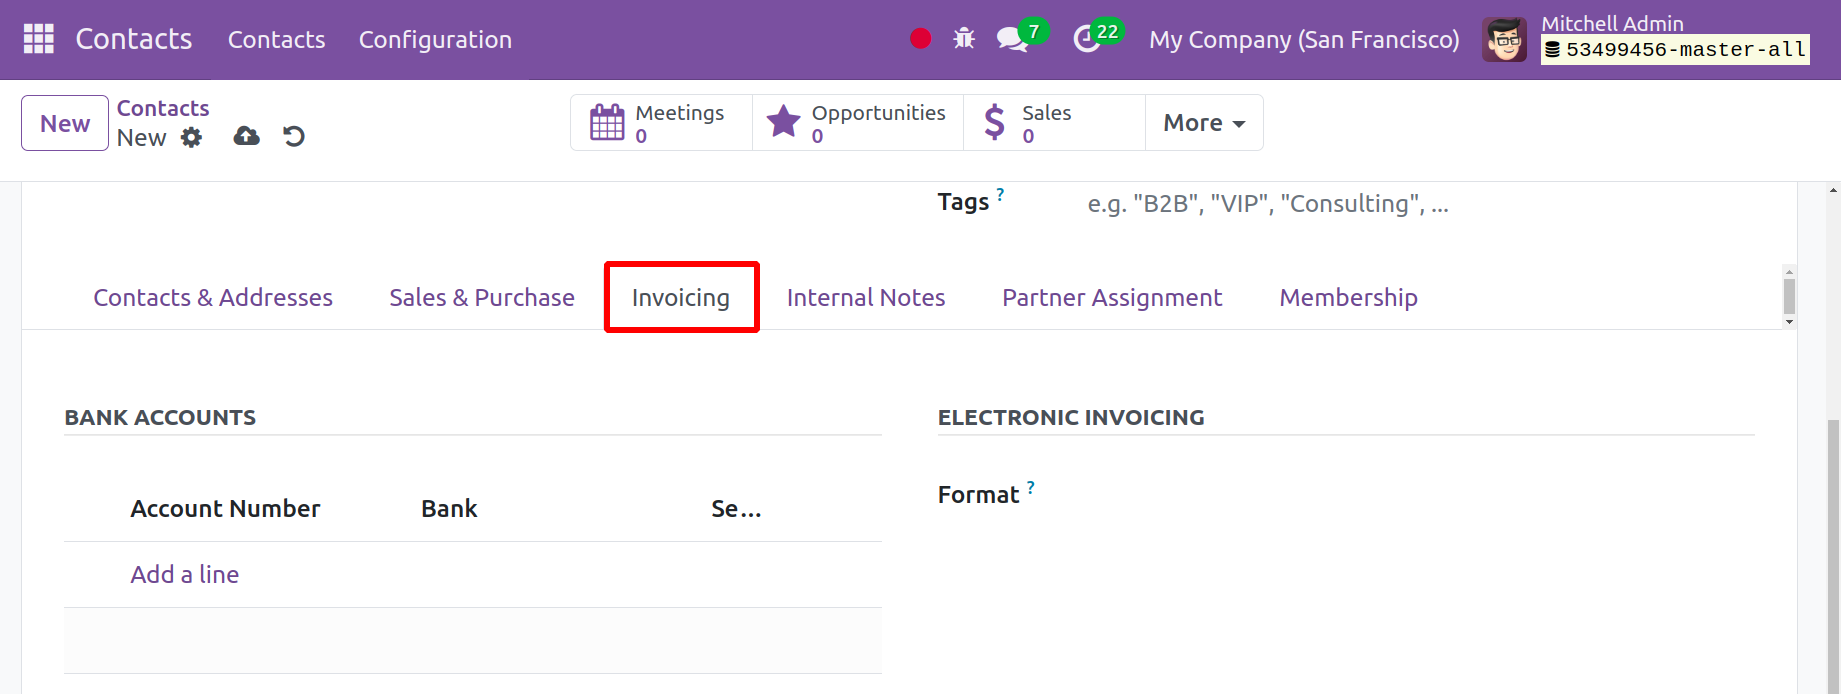
You can quickly enter the bank account details and the associated account number of the
contact by choosing the Add a note option.
The Internal Notes tab is the next tab, where you can provide further details about that
specific contact.
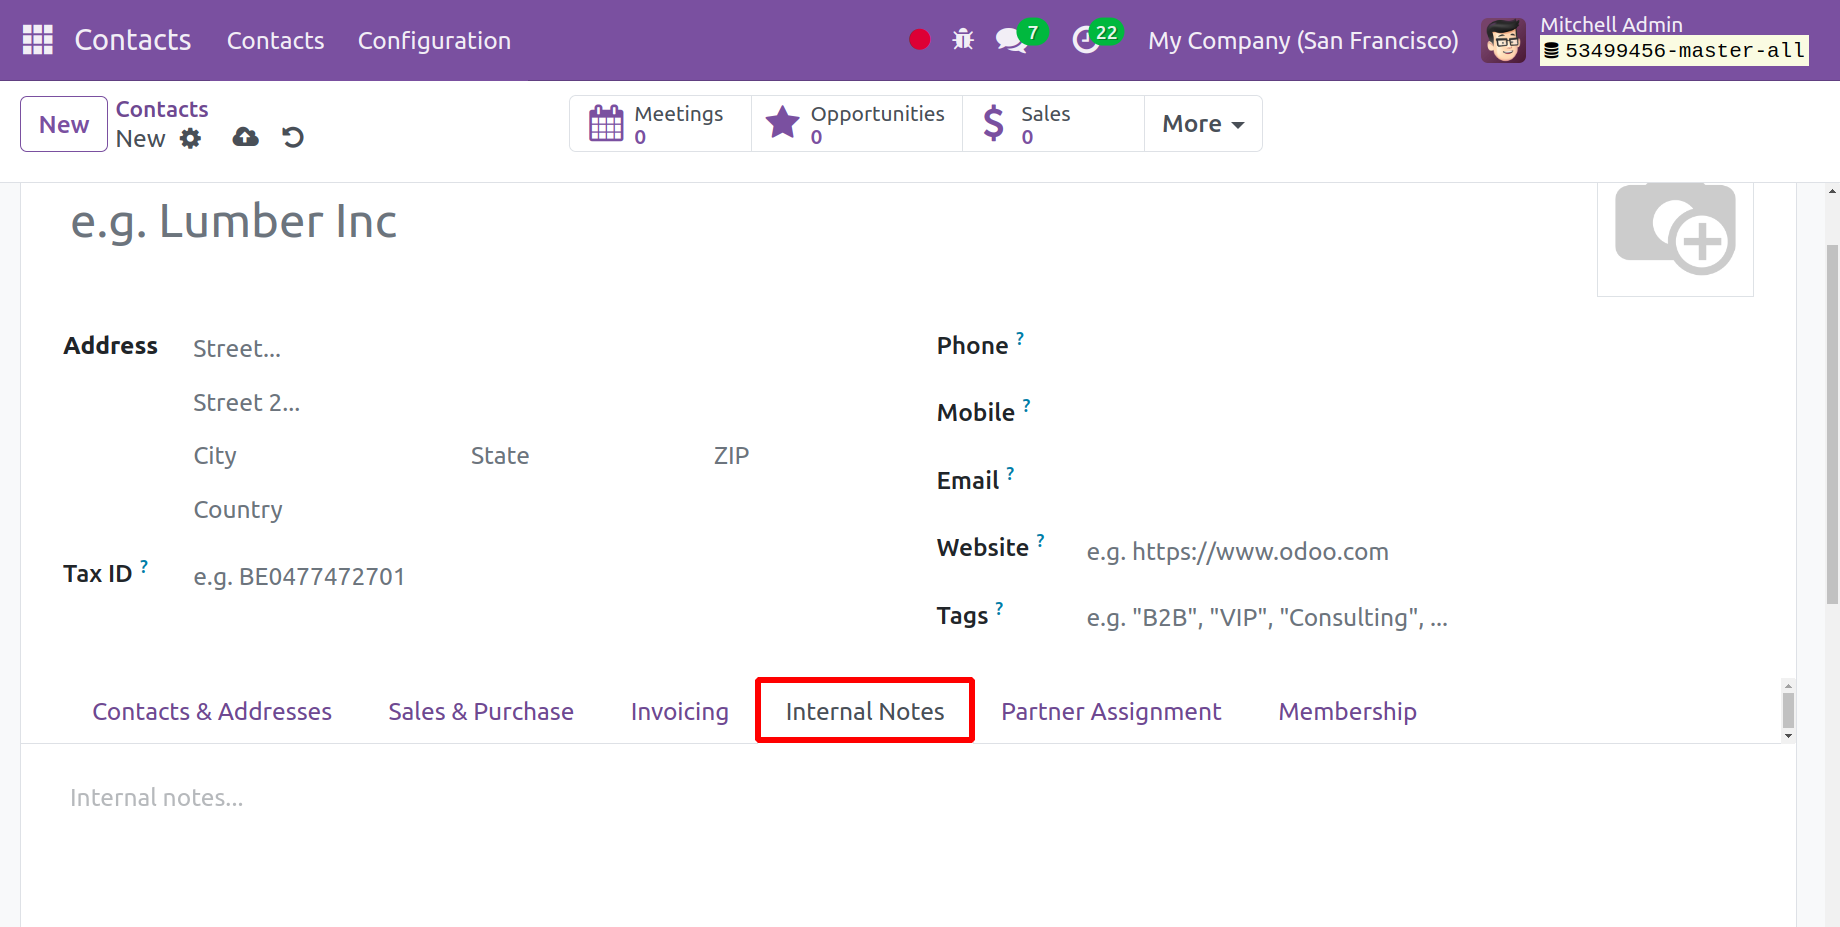
You can quickly enter new details about the contact you are saving here. You can now
specify the additional Warning option on the Picking option below to either No Message,
Warning, or Blocking Message.
Partner Assignment is the next tab, where you can enter a specific contact's geography.
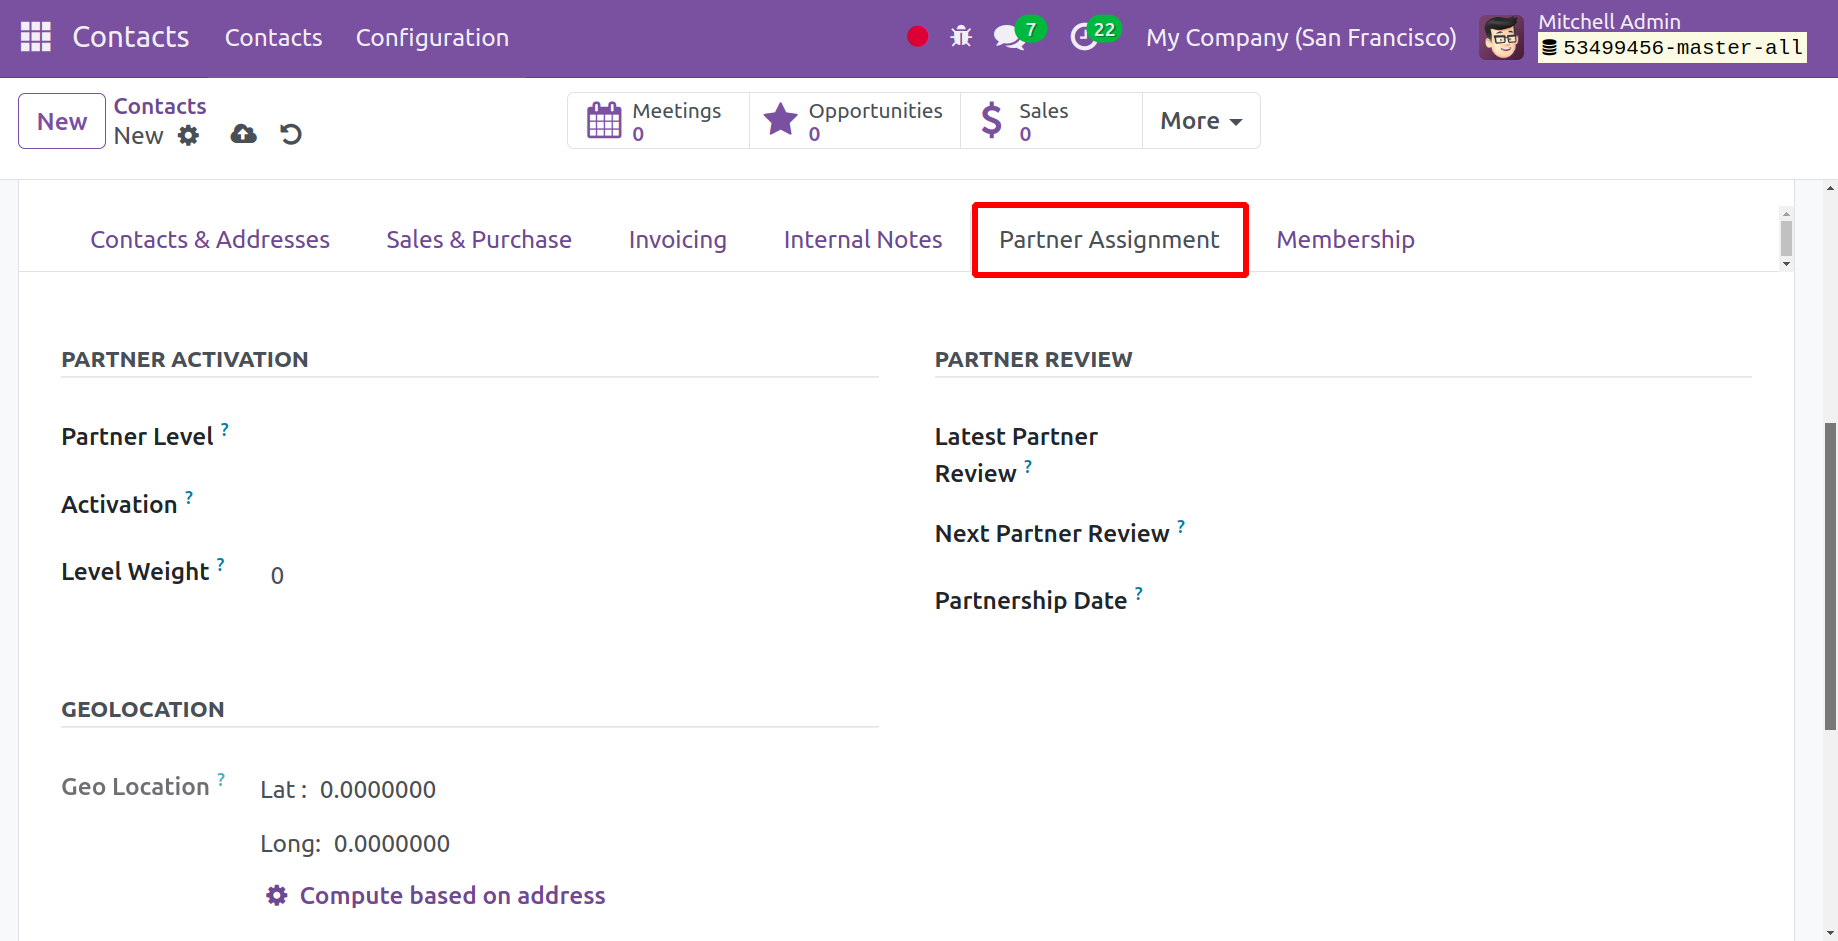
You will have the option to add partner level, activation, and level weight in the
partner activation. You can include the date of the partnership, the next partner
review, and the most recent partner review under the partner review, accordingly.
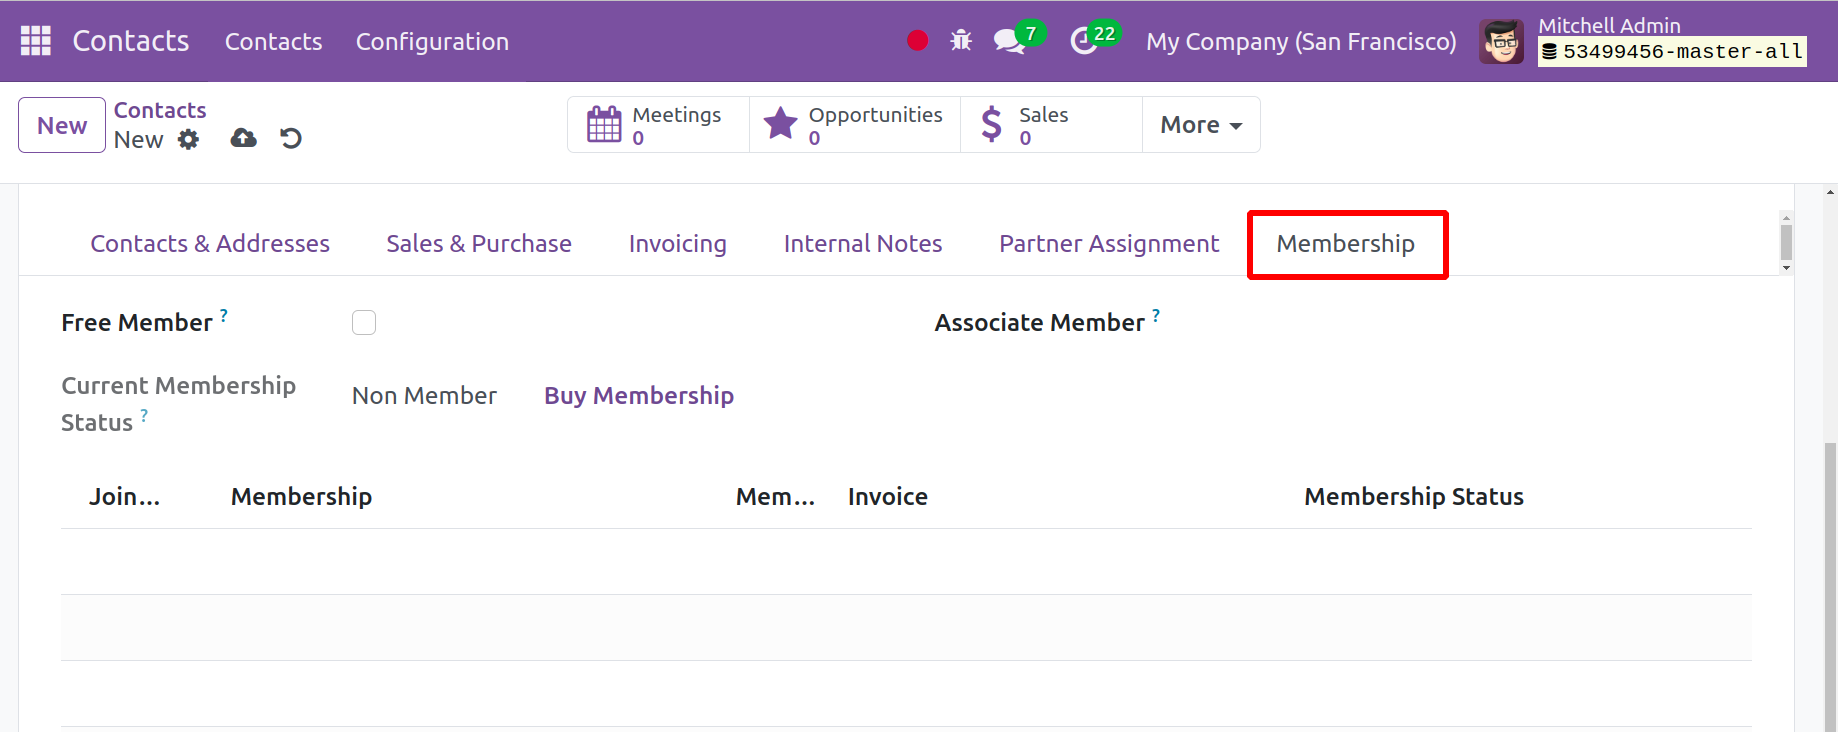
If a free membership is required, you can activate it under the Membership tab. You can
choose who you want to associate with by using the associate member option. It is also
possible to include the current membership status in the designated place. Lastly, click
the "Save" button.
Contact Tags
You will find the Contact Tags option under the Configuration tab. Here, you may find
many types of contact tags. It will show the contact tags as shown in the screenshot
below.
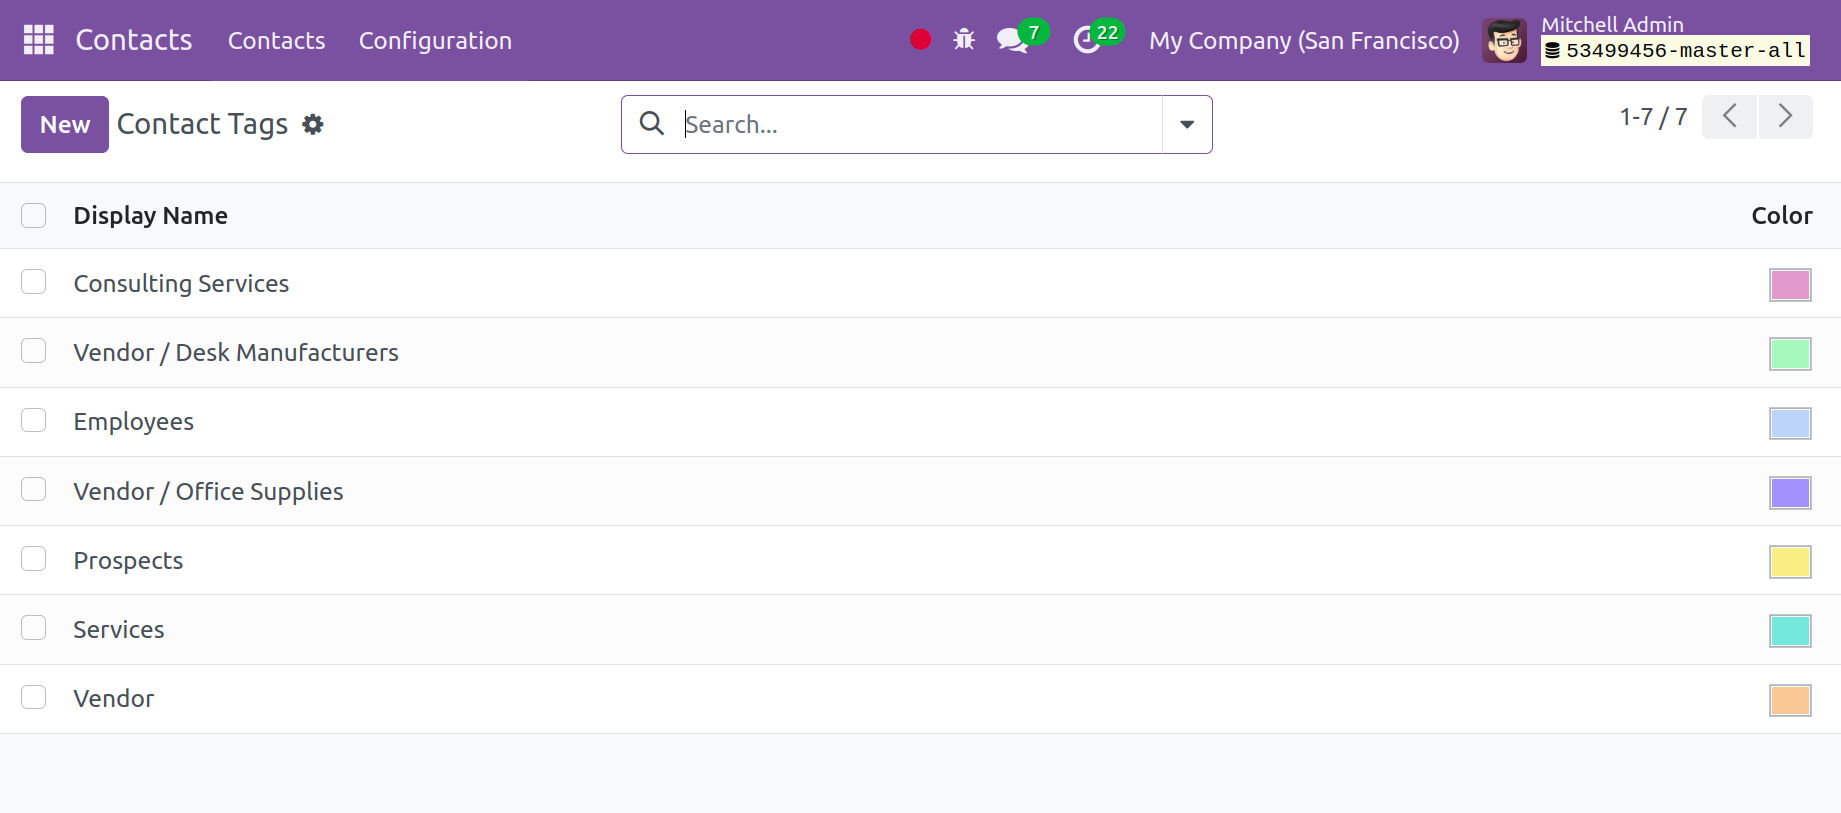
To make sorting options simpler, there are two options: Group By and Filters. A list of
previously created tags is available on the page. Each item's display name and color are
shown in the list. You can use the New option to create a contact tag that is similar to
this one. The view of the page will be as follows.
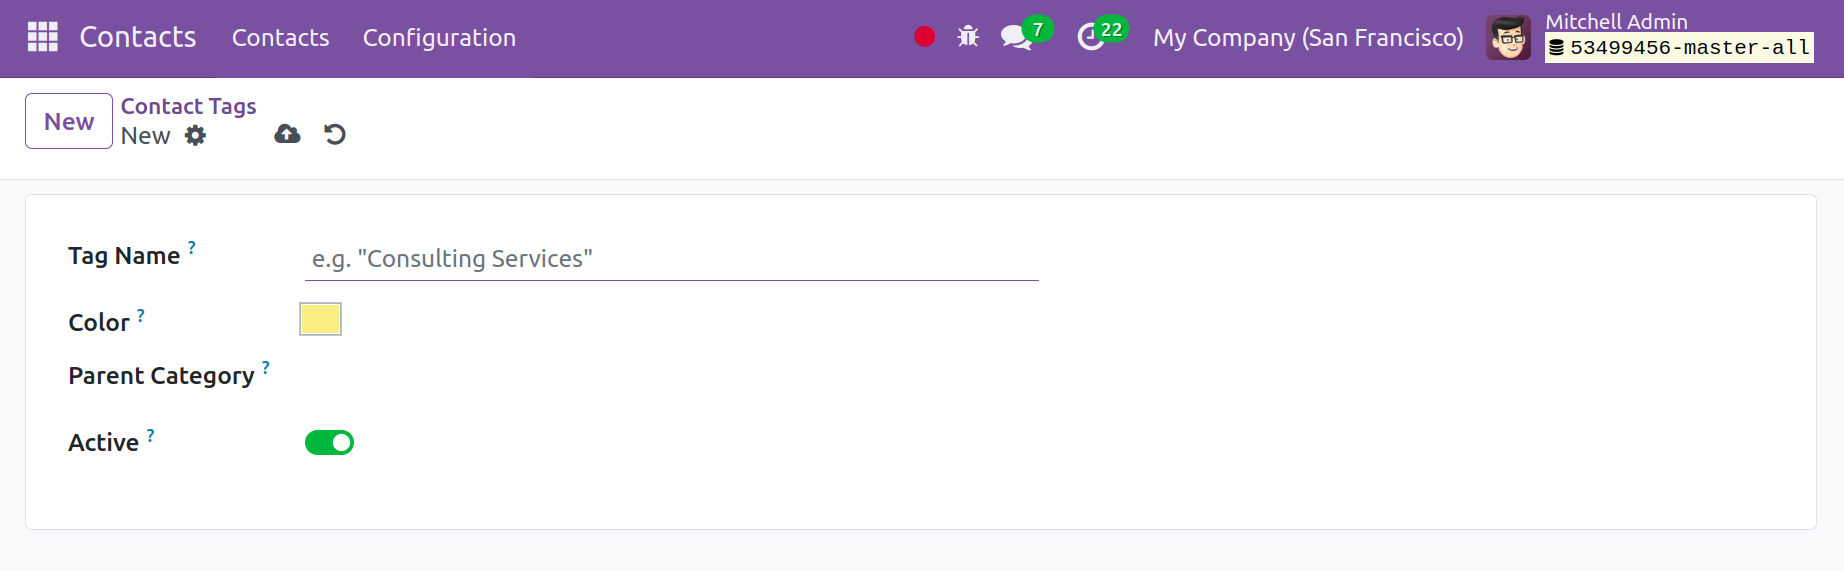
You can enter the appropriate parent category and tag name on this creation page.
Additionally, you can choose the color of the specific tag. You can select Active to
trigger in order to activate the tag.
Website Tags
The Configuration tab is where you will find the Website Tags option. The screenshot
below illustrates the variety of website tags that are available here.

Using the New option, users can create a website tag that is similar to this one. You can
choose the class from a list and provide the category name on this creation.
Contact Titles
The contact module allows you to add different contact titles. The Configuration menu
will provide the option.
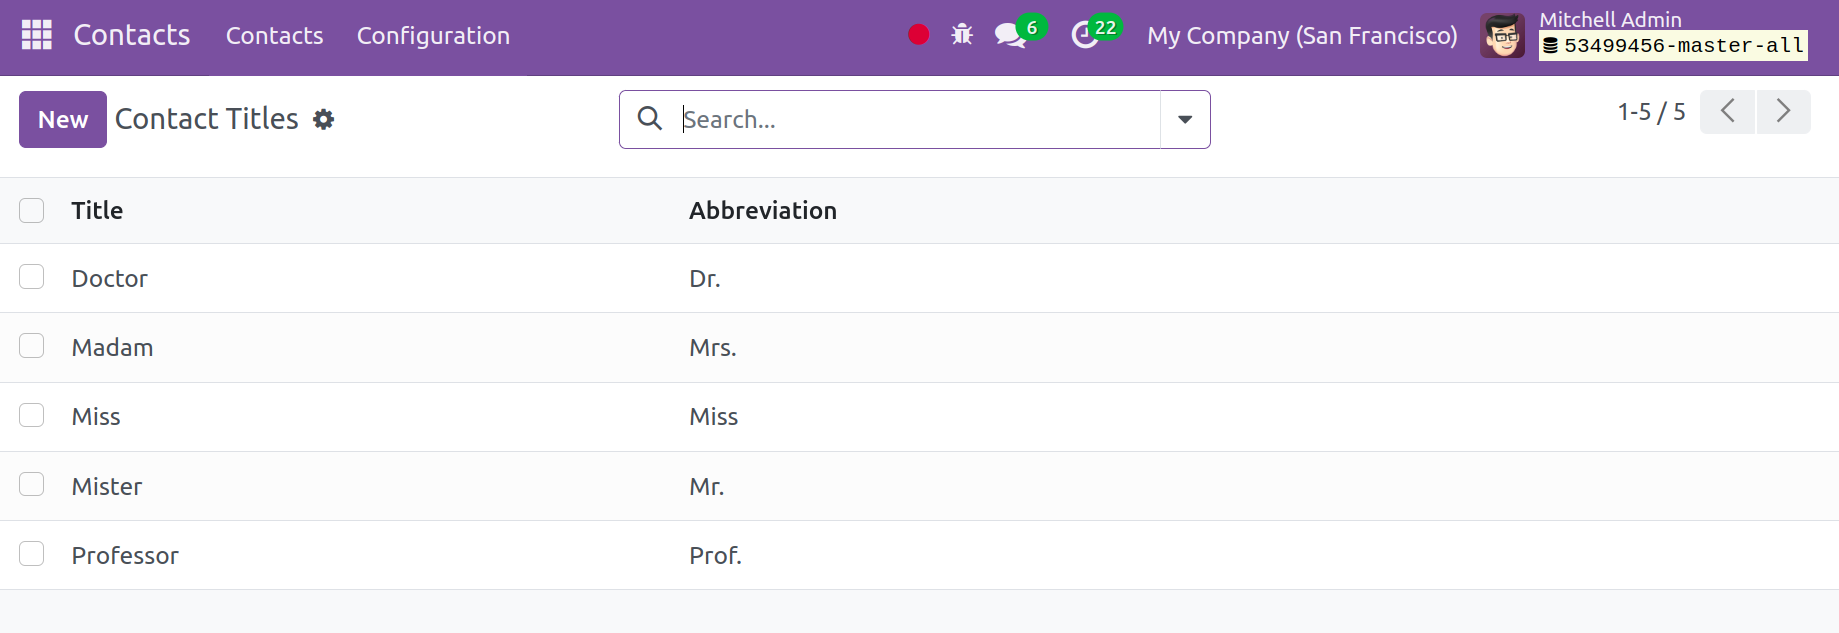
The information is on the page, including the Title and Abbreviation. You can use the New
icon to create a contact title like this. You only need to click a few times to add the
contact title to the extra space supplied.
Industries
Industries are the next item on the Configuration menu. After choosing the choice, the
list of already established industries appears, as indicated below.
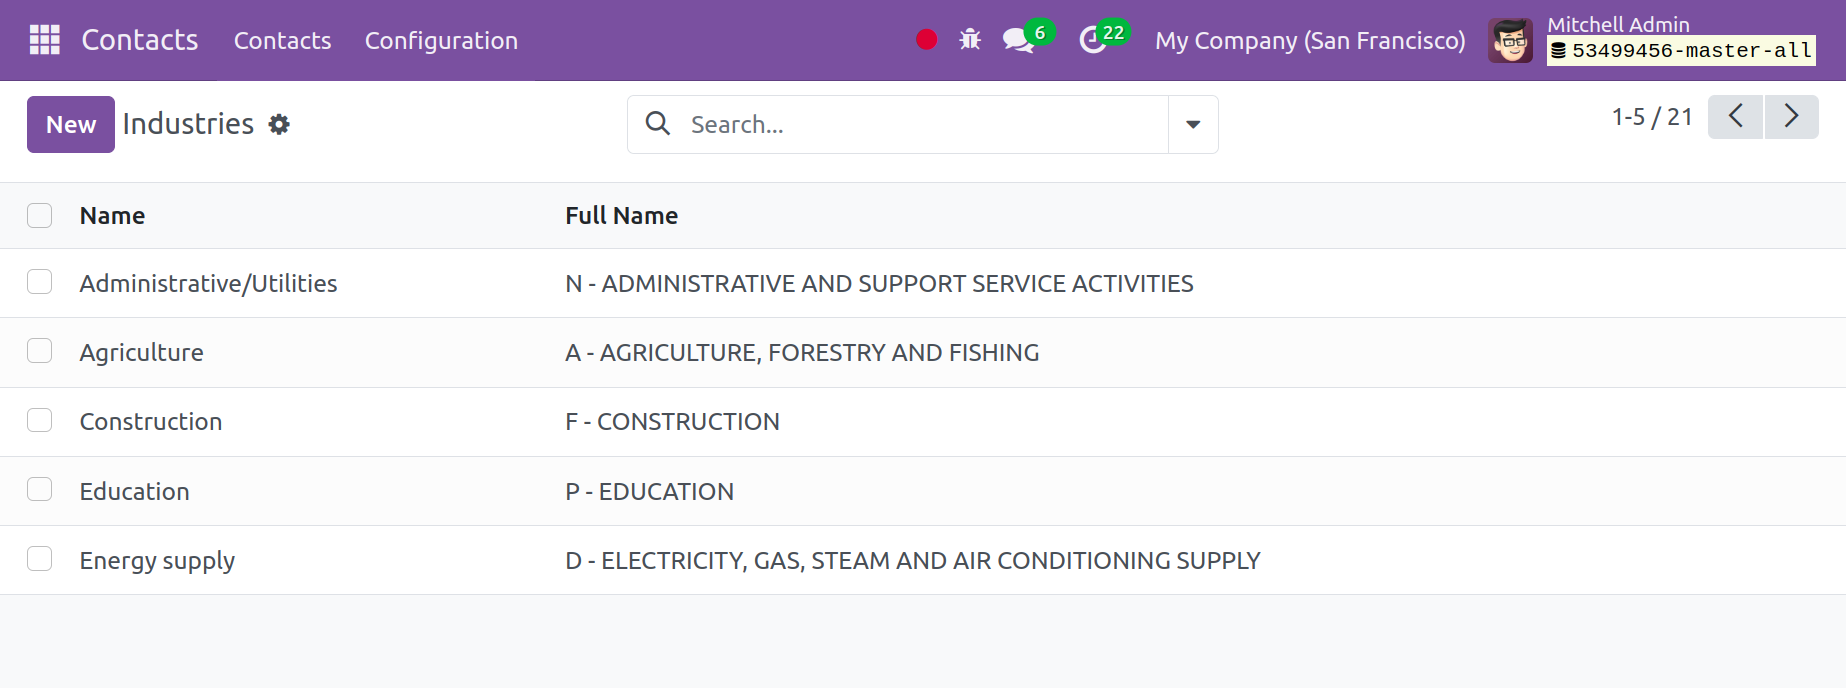
The industry's entire name is included in the material on this page. Simply select the
New symbol to start a new industry of a comparable nature. It is simple to add a similar
kind to the newly created line. Next, select the "Save" icon.
Bank
You have an option in the Contacts module to add the bank details. The Configuration menu
will have the choice available.

You will receive the information in the creation window, which includes the bank's name,
code, and country name, respectively.
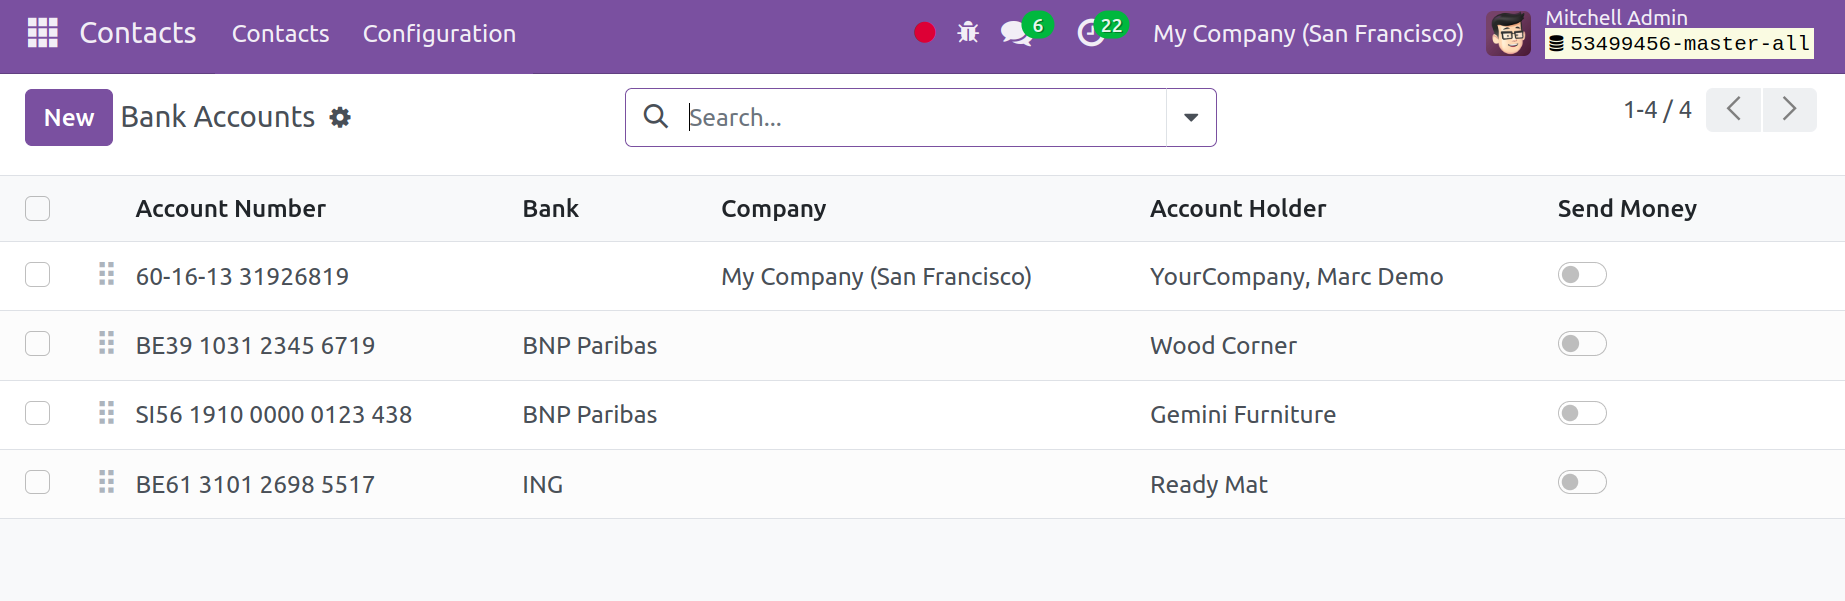
Bank Accounts
You can create a new bank account inside the contact module. The Configuration menu will
provide the option. You can find a list of all previously created bank data on this
page. The information includes the account number, name, account holder's name, company
name, and trigger if the funds are spent.
This page contains the full name of the bank. To open a new bank account of a similar
kind, just click the New button. The comparable kind can be easily added to the
just-formed line.
You can click the New button to open a bank account of a similar type.
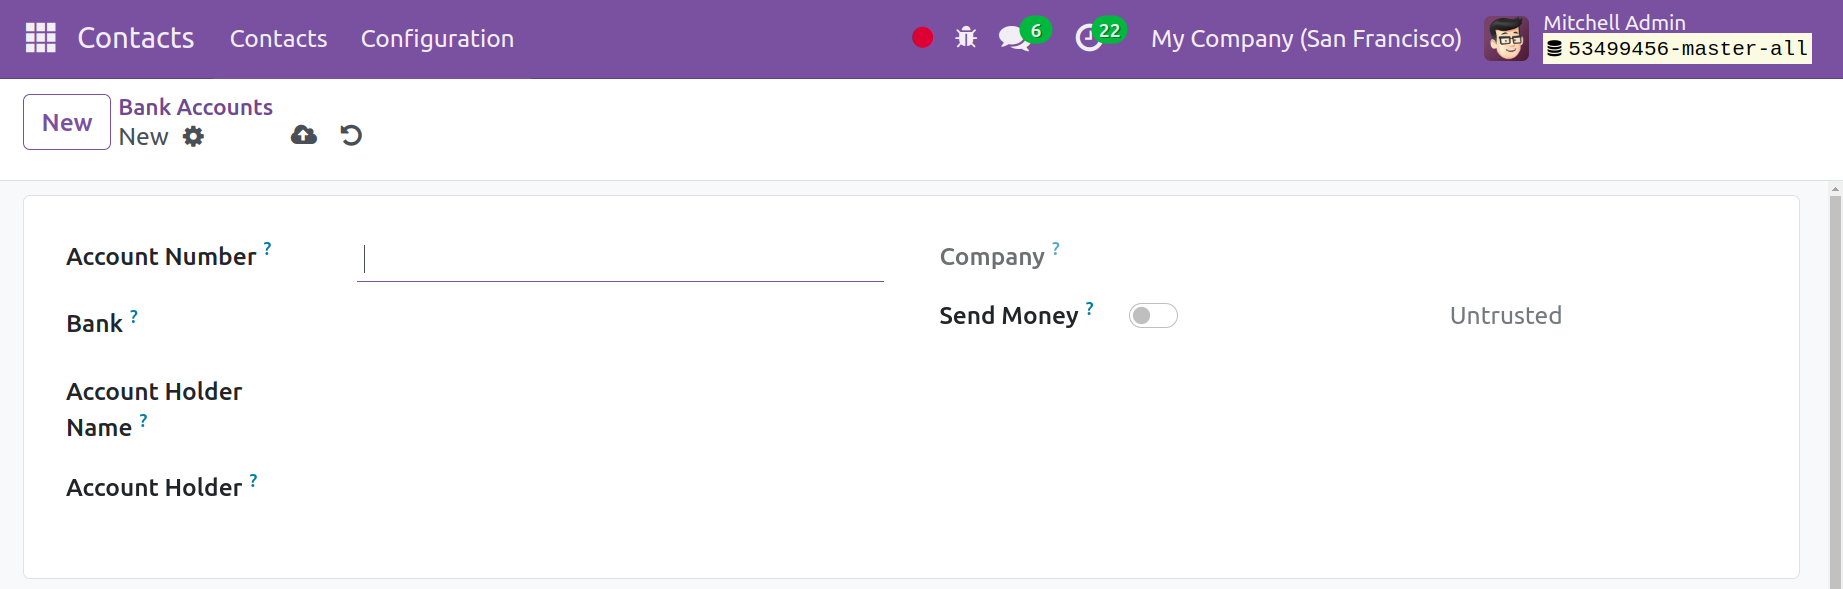
The account number, company name, account holder, bank name, currency, and whether it is
ABA or routing can all be included on the creation page. Additionally, there is a way to
activate the send money option, activate it for a trusted one. Lastly, click the "Save"
button.
Countries
You may find options like countries, Fed. States, and country groupings in the setup menu
under the contact module of the Odoo ERP software. After choosing the countries option,
the following page will be displayed to you.
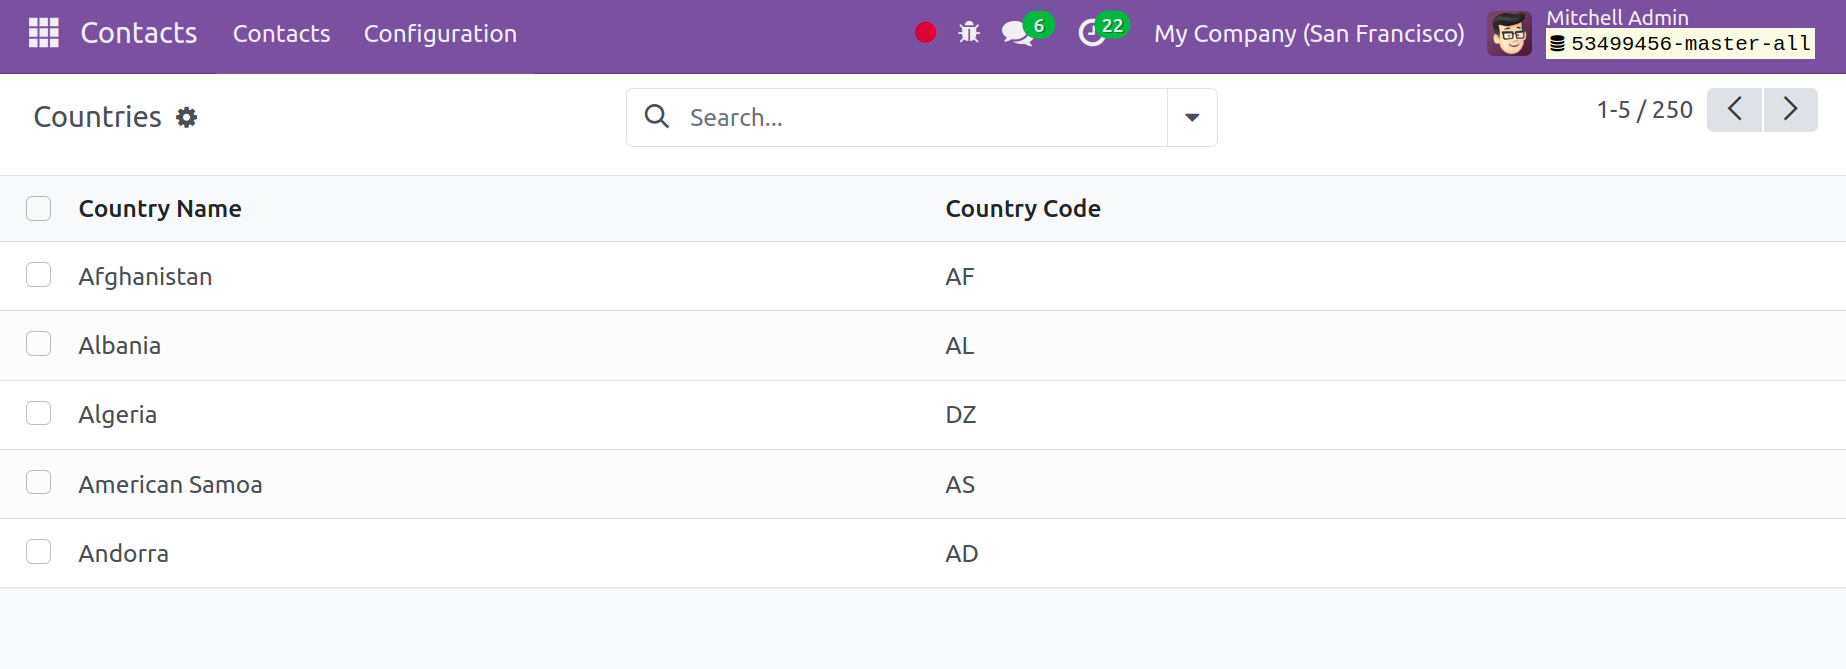
The list of all the countries and their country codes is displayed on the page, as you
can see.
Fed States
When you choose the Fed States option, a list of state names, state codes, and country
codes are displayed, correspondingly.
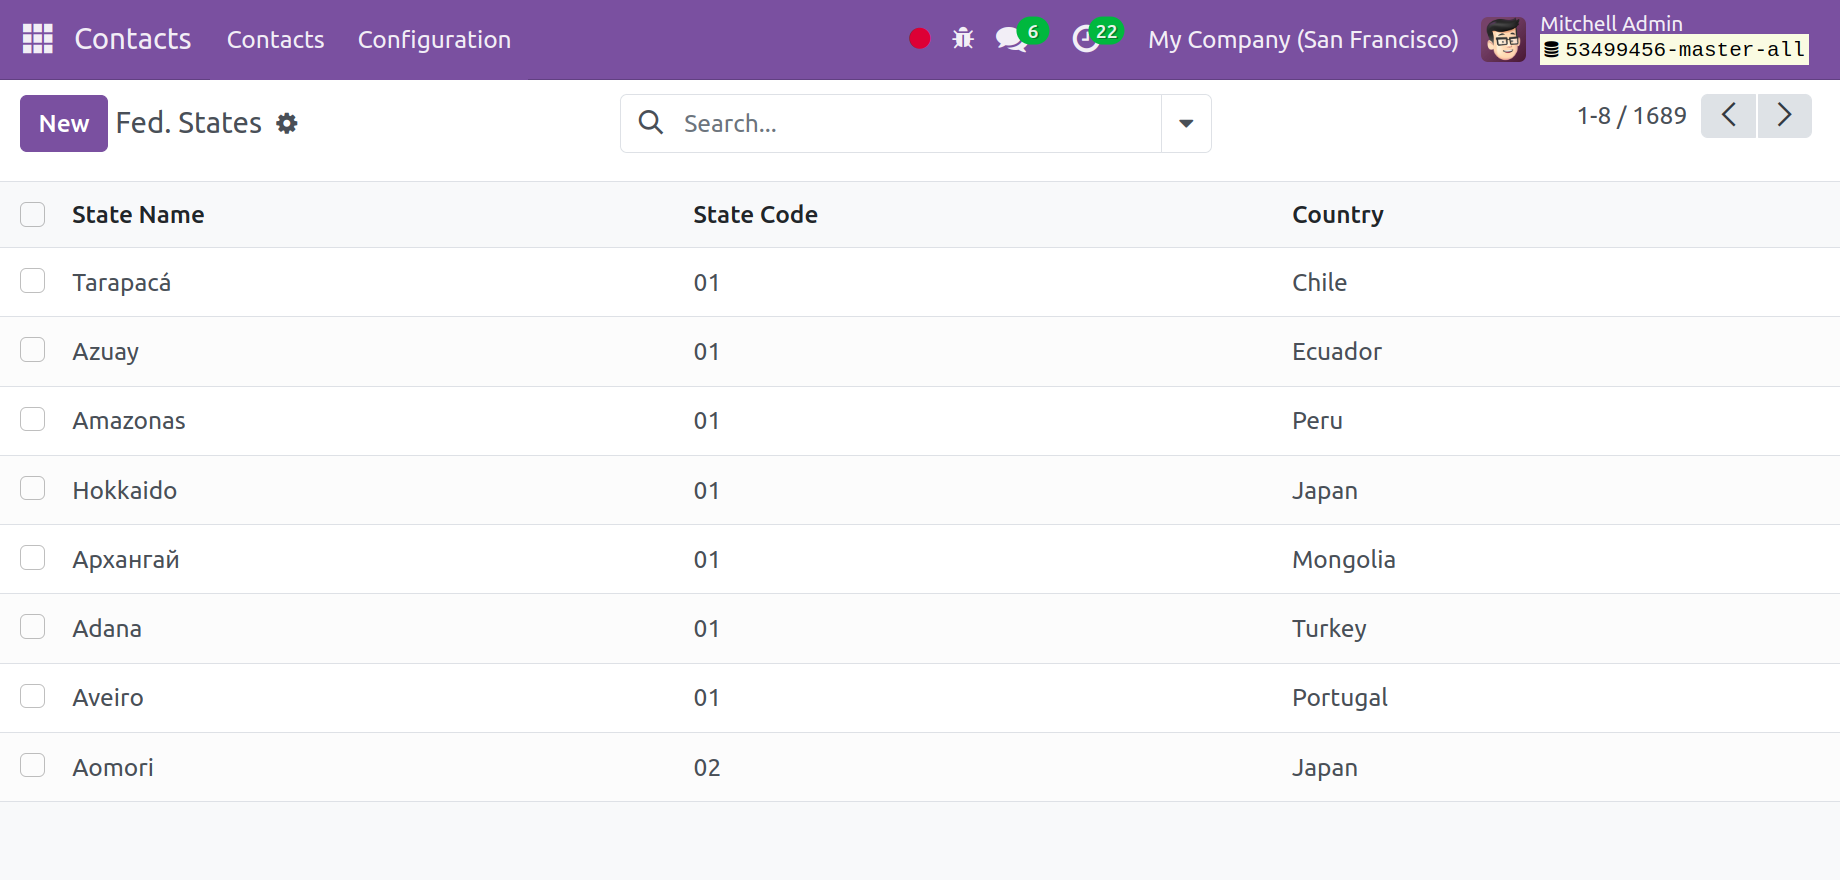
By choosing the New icon, adding a new state is quite simple.
Country Groups
All of the previously established country groups on the page are available through the
configuration menu's country group option.
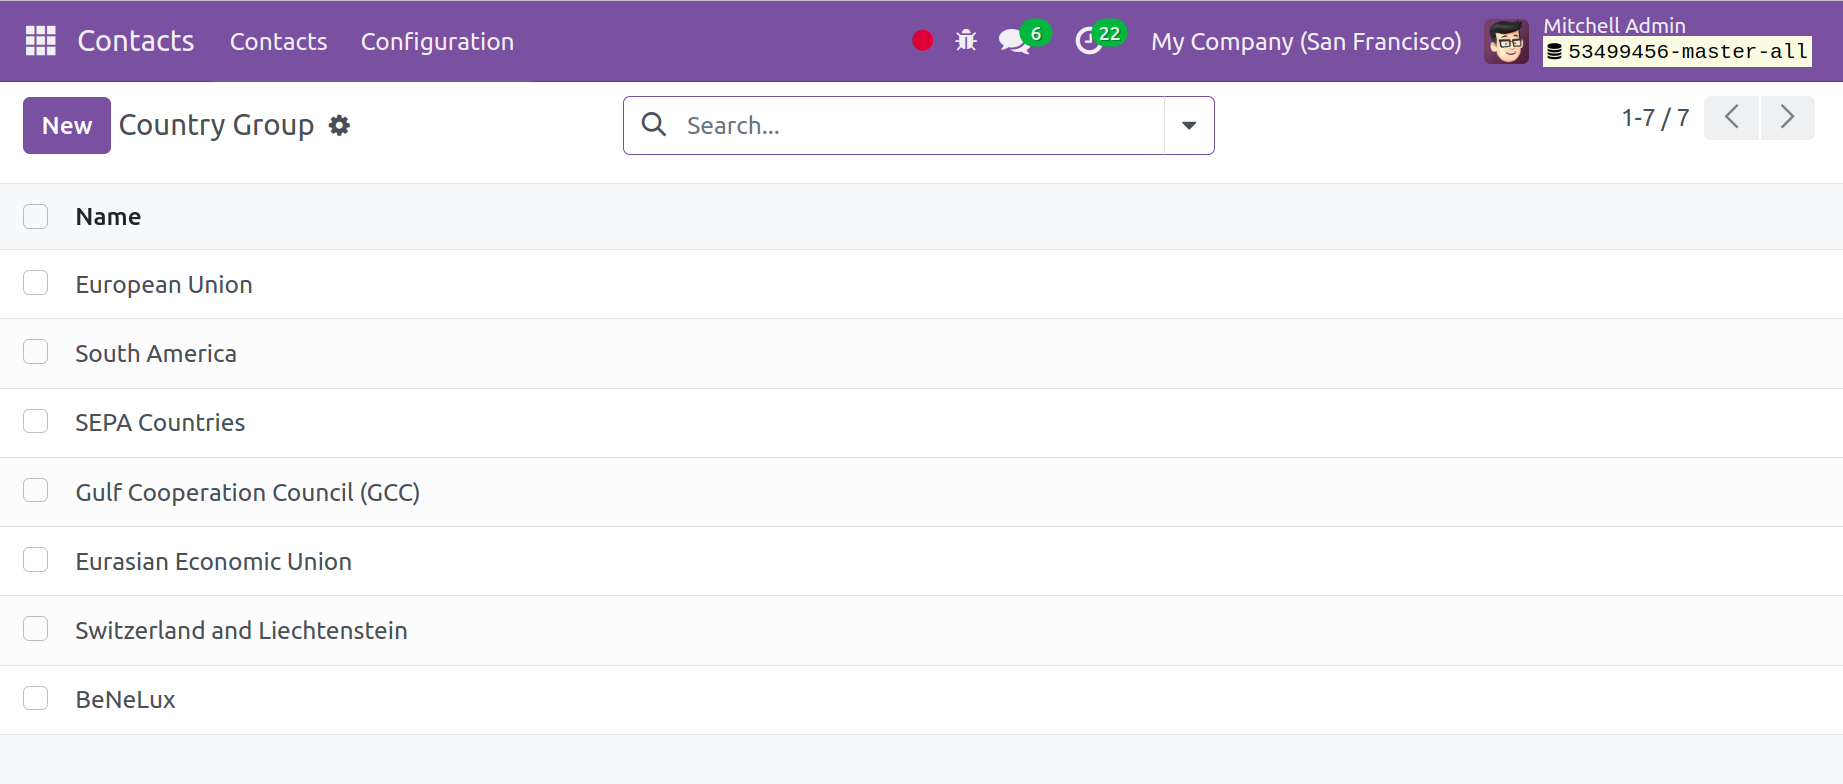
Go to the New icon to create a country group of that kind. You will now see the updated
page looking like this.

Both the name of the country group and the name of the individual country must be entered
on the creation page. You may simply add a new pricing list below that by using the Add
a Line option. The contact listed under this contact module will adhere to specific
updated price lists. In the designated space, you have the choice to include the Company
name, Website, Currency, and Discount policy.
Within the Odoo 17 ERP software, the contact module makes it incredibly simple to oversee
and control all contact-related matters.