Stages
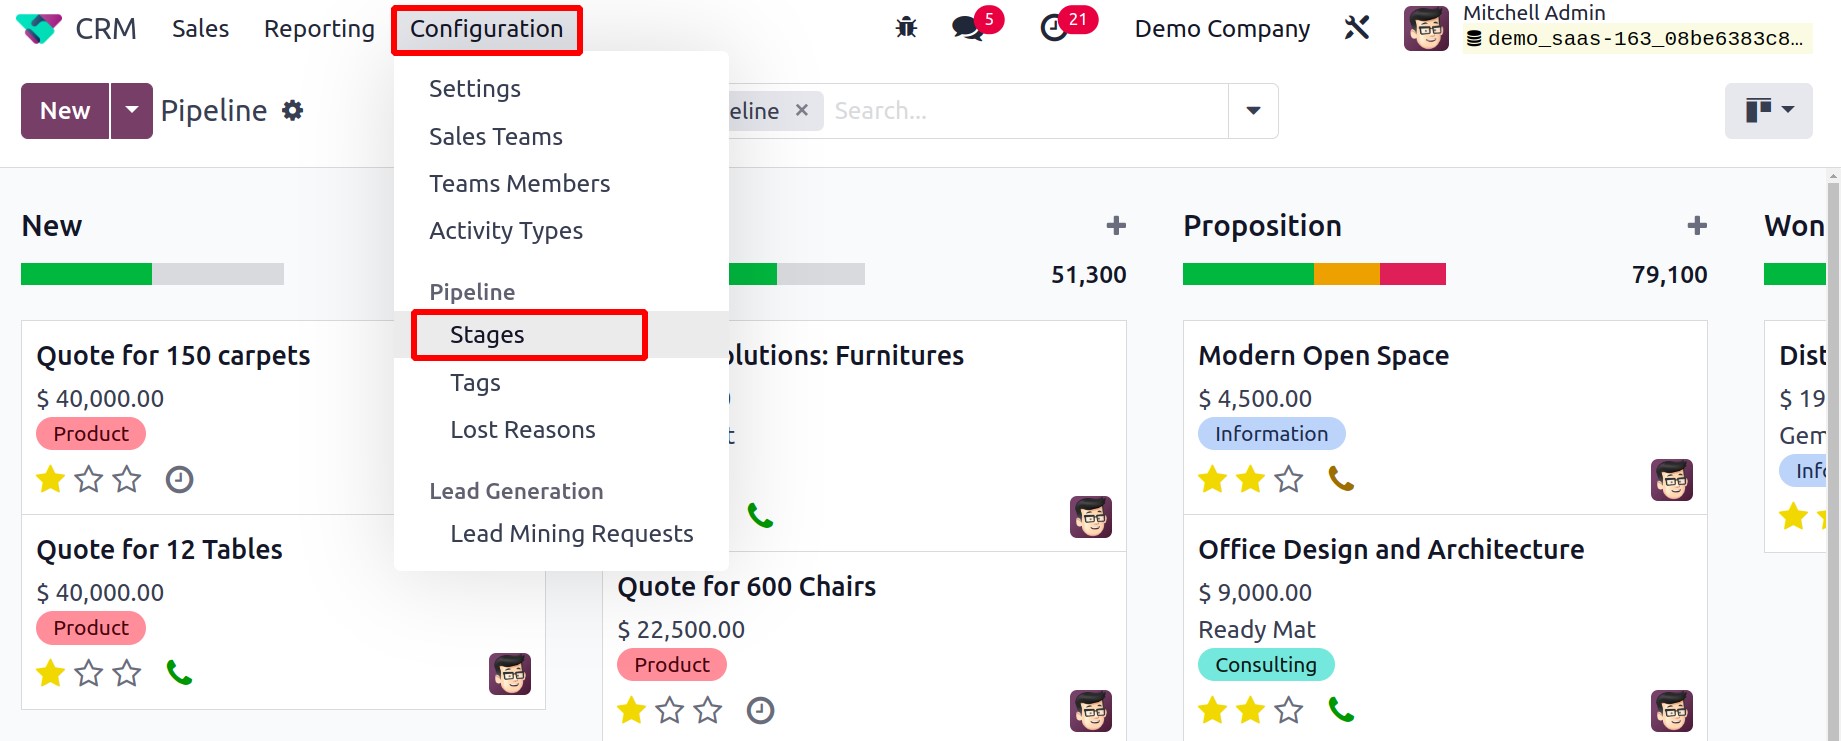
In our discussion of the Odoo 17 CRM module's primary dashboard, we brought up the organization of leads and opportunities at various points in the pipeline. Giving records different stages will always make it easier for you to see how each operation is going. You can group data into different stages based on your needs. You may easily drag and drop the record into the following stage if you fulfill the conditions of a specific level. New stages can be easily created right from the dashboard. This chapter's prior section already describes how to build new stages using the pipeline. Let's now examine the stages creation process utilizing the Stages option found in the Configuration menu.
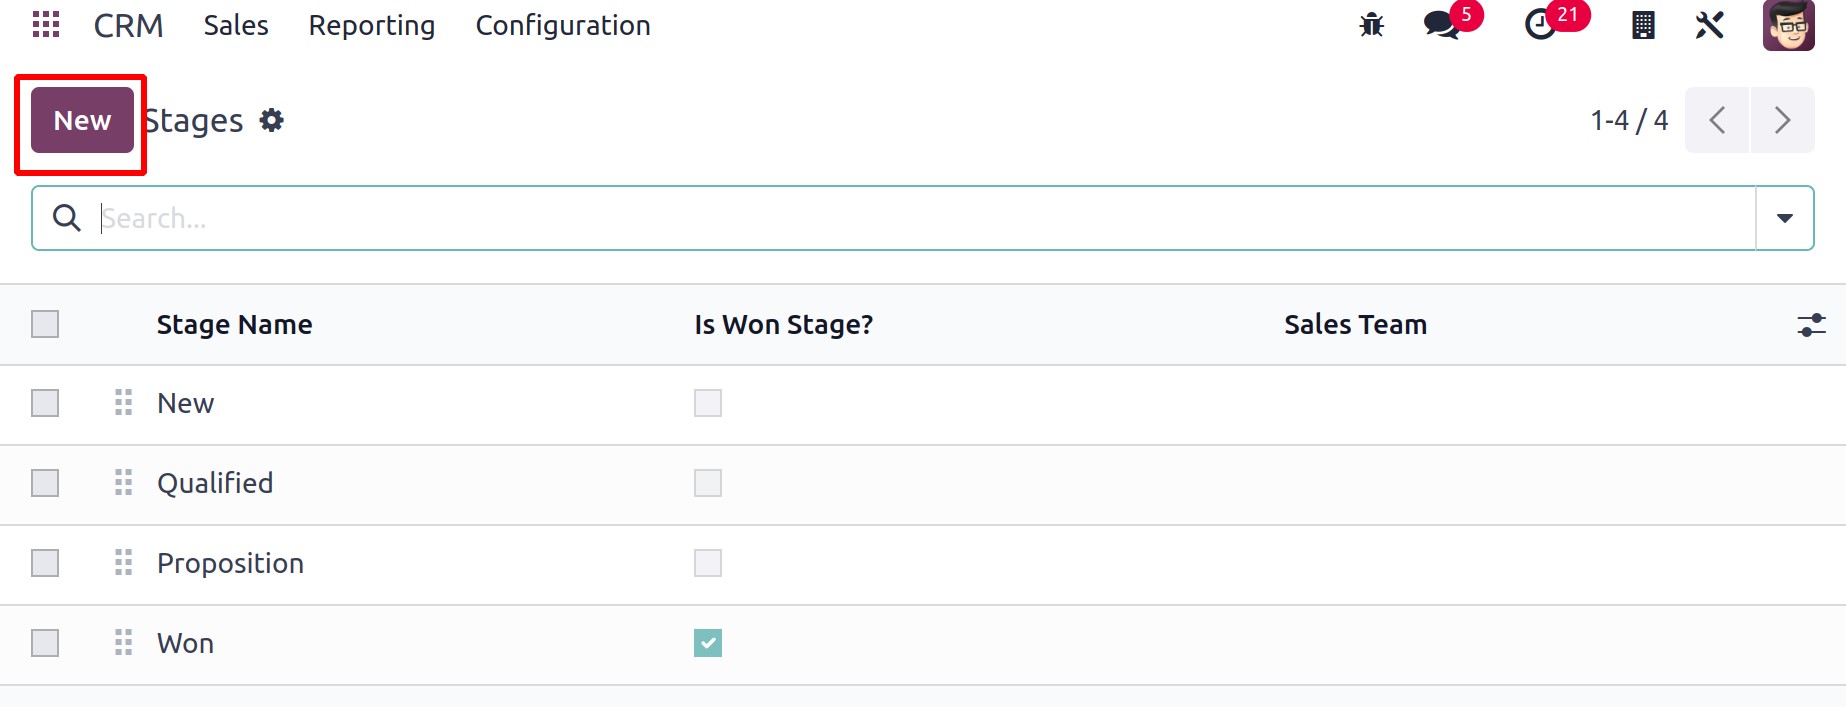
This window, as seen in the image below, contains a list of the stages that have previously been configured. By selecting the necessary stage from the provided list, you can make changes to the current stages. You can click the New button in the top left corner of the screen to add a new stage to your pipeline of leads and prospects.
In the Stage Name section, enter a descriptive name for the stage. If you wish to consider this specific stage as the won stage for the Leads/Opportunities, you can turn on the Is Won Stage setting. By turning on the Folded in Pipeline option, you can fold this stage into the pipeline. In the Sales Team section, you can name specific teams who utilize this stage. By noting this, you will prevent other teams from seeing or using this specific stage.
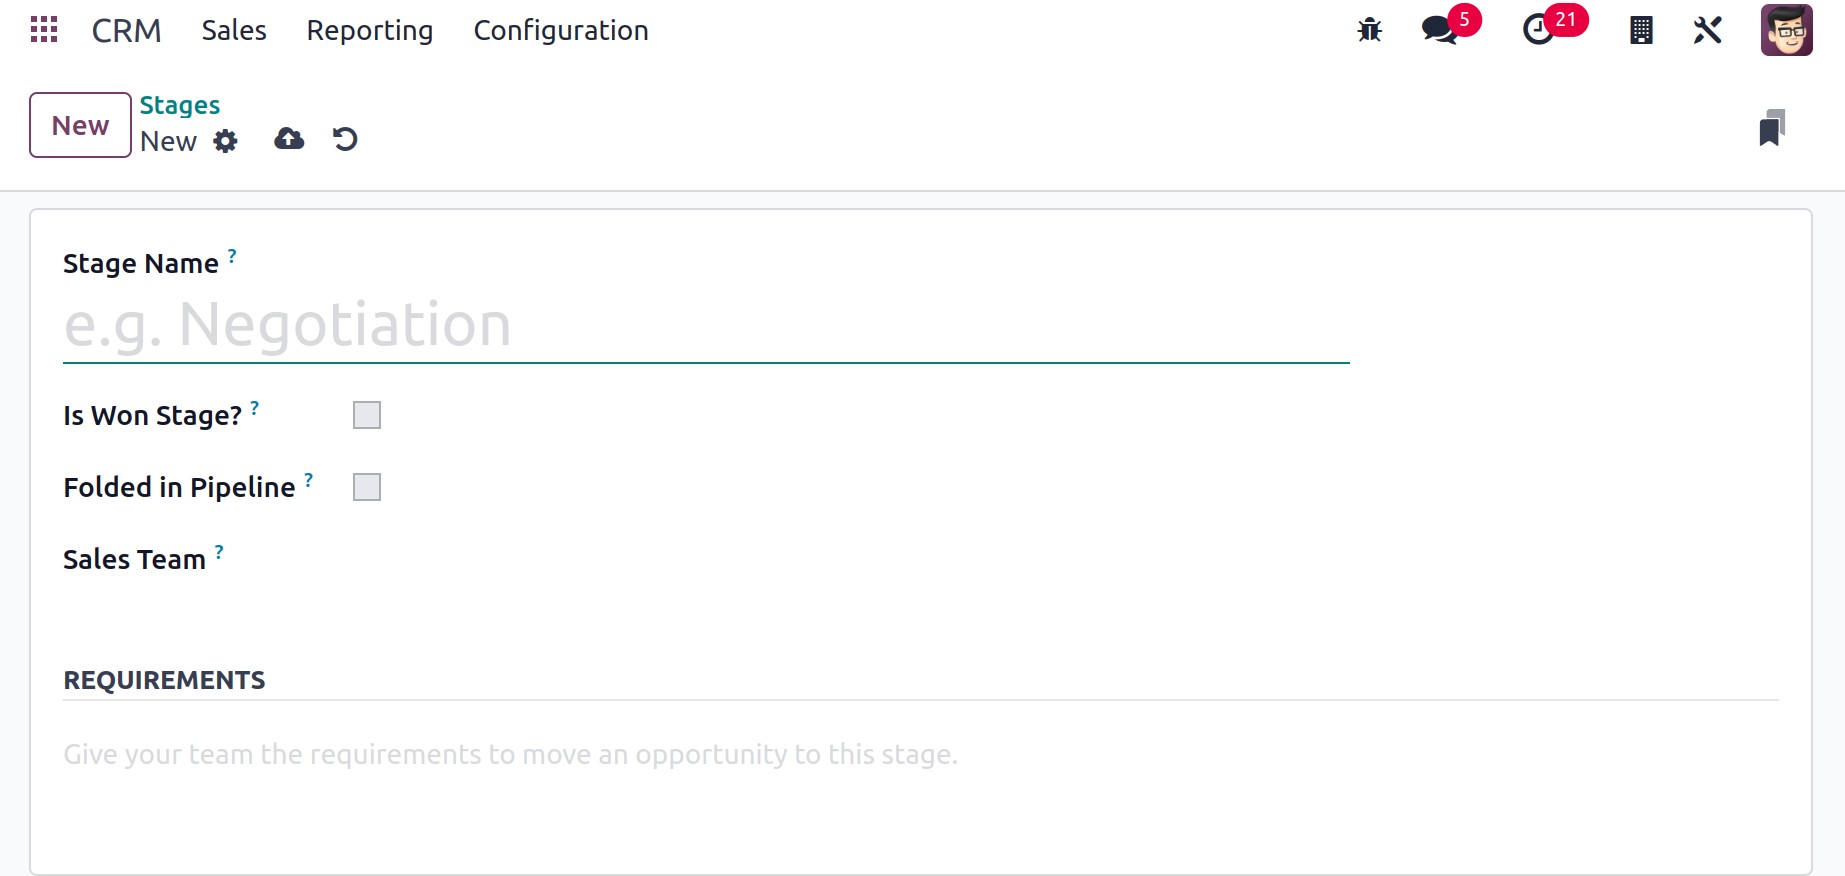
To bring a lead or opportunity to this level, you can specify some requirements in the Requirements section. The new stage will be added to the current list of stages once you have filled out all required fields.
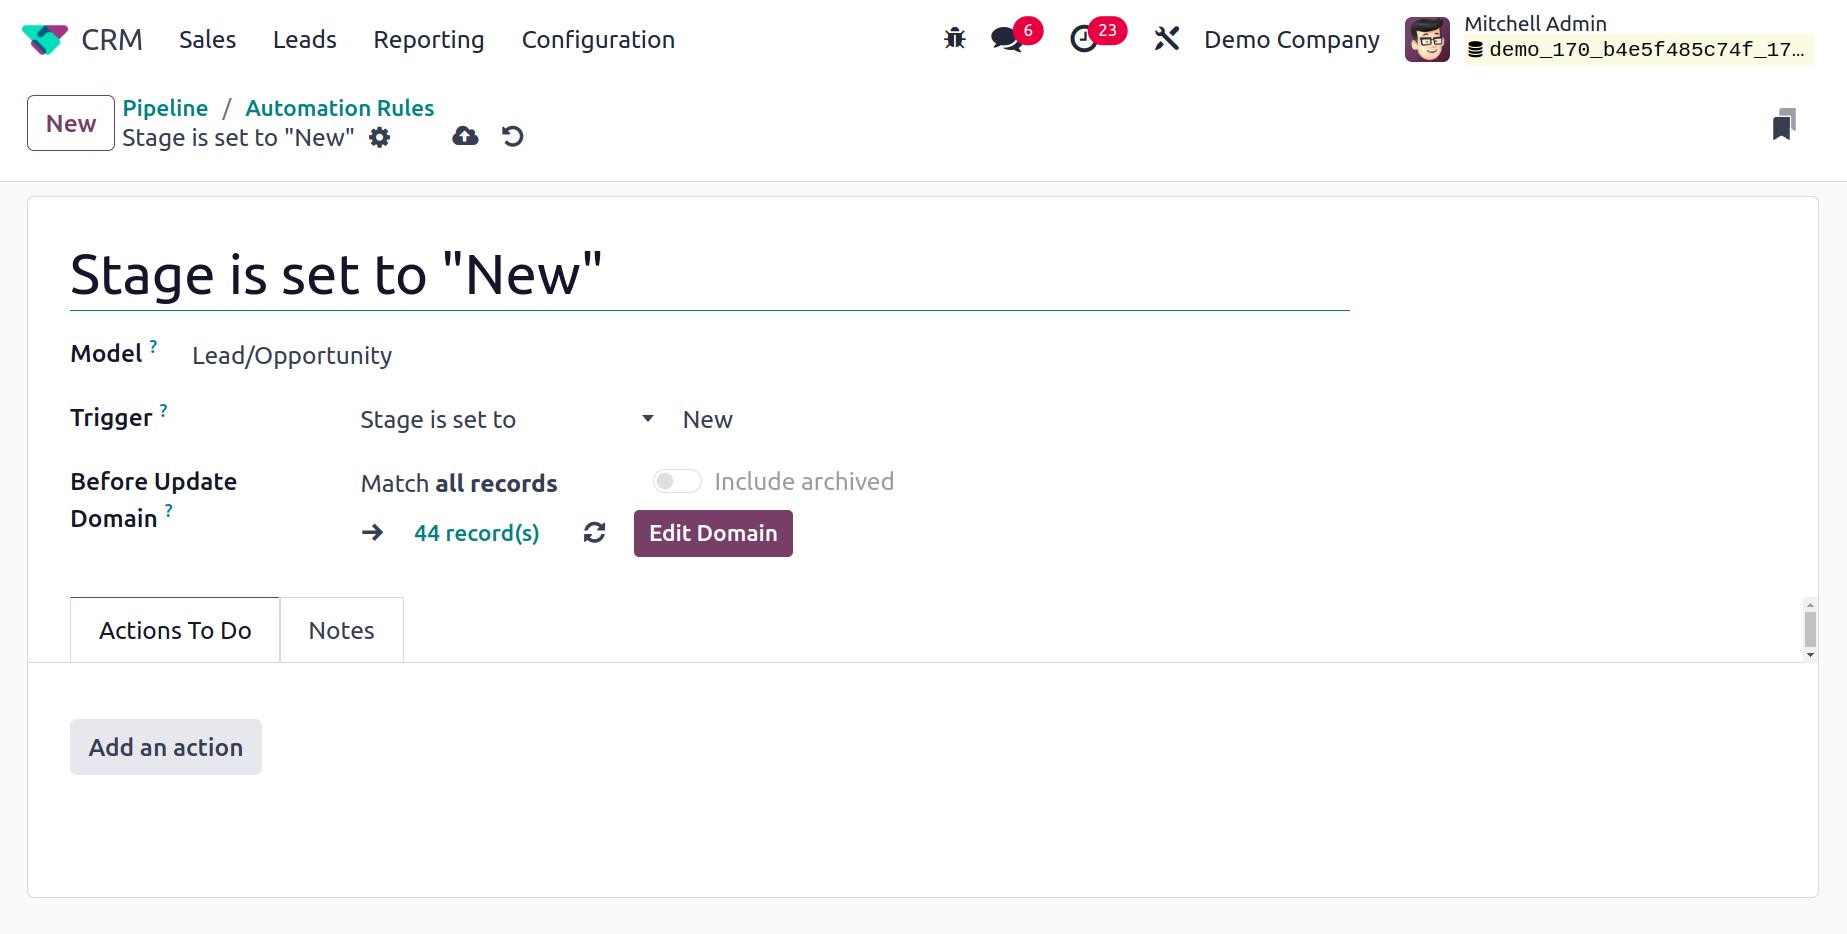
One new feature that Odoo 17 gradually added is the ability to create new automations. The user can also update or modify the steps from the pipeline, as seen in the screenshot below. There will be a new Automation option displayed. With this, users can create automatic rules that will carry out automated tasks.
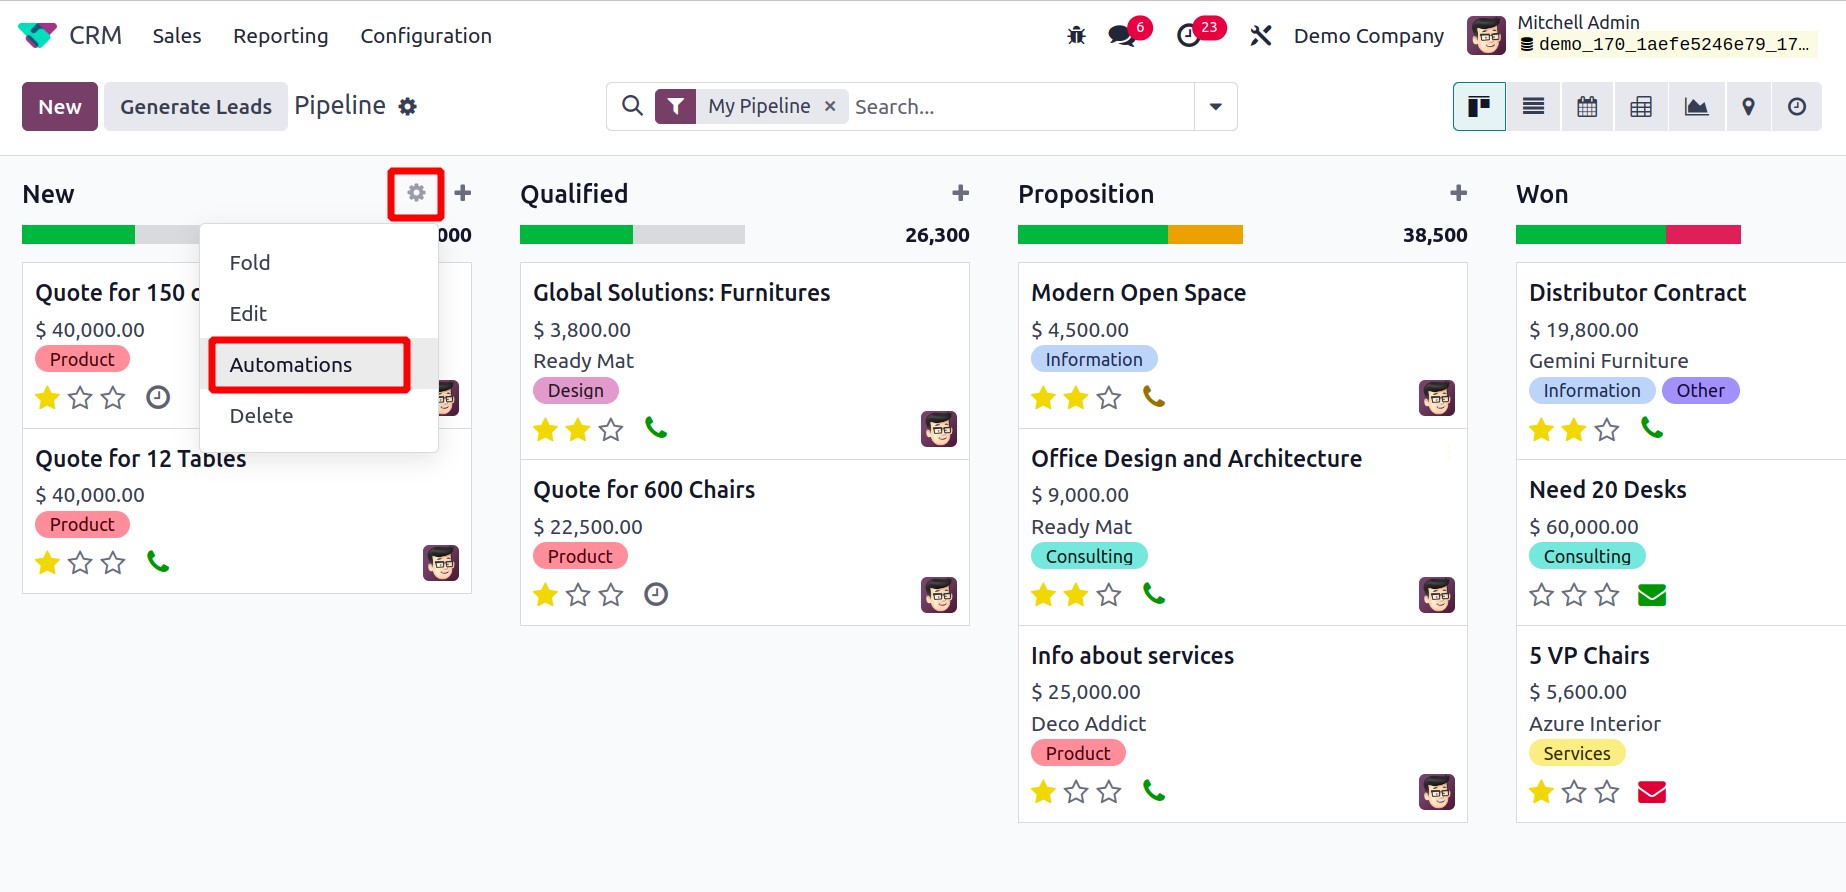
Click the New button to add a new automation rule.
Select the Lead/Opportunity model. Select the Trigger, and then use the Edit Domain option to add other requirements. You can add actions using the Actions To Do tab. When you click on the Add an action button, a new page will open.
Select the kind of action. A number of actions are available as Types, including updating records, creating activities, sending emails and SMS, adding and removing followers, creating records, executing code, sending webhook notifications, and executing already-completed actions.
Adding Allowed Groups is possible in the TECHNICAL SETTINGS section. The groups that are able to carry out the server action are mentioned. To make space for everyone, leave the pitch unoccupied. Next, provide the selected action type's details in the ACTION DETAIL box.
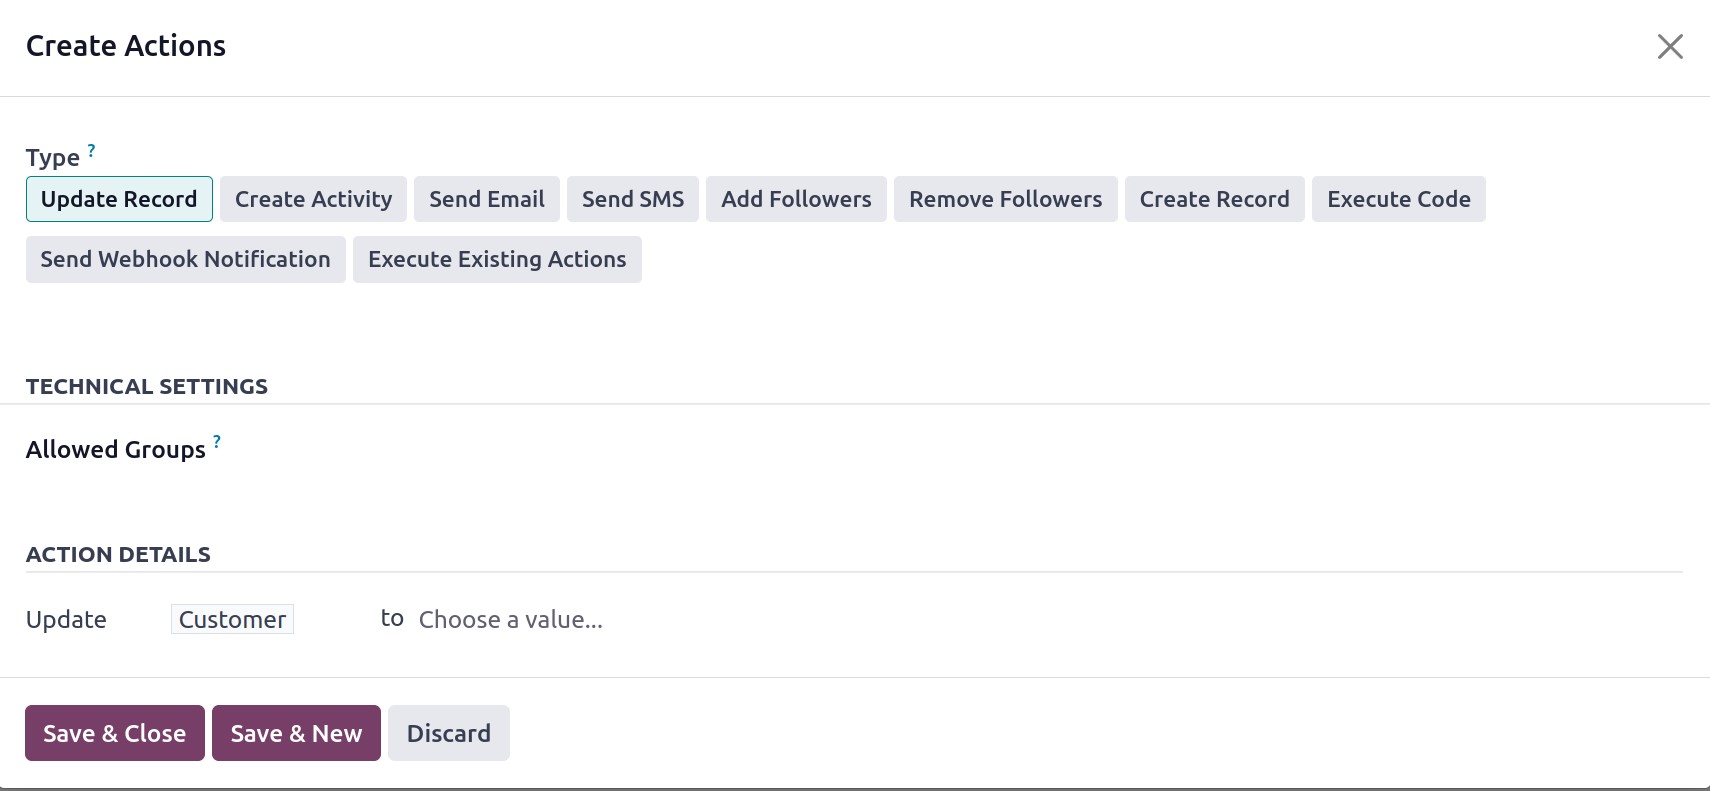
Click Save & Close when you've finished entering all the information. If the specified condition is met, the automation action that was established will then execute.