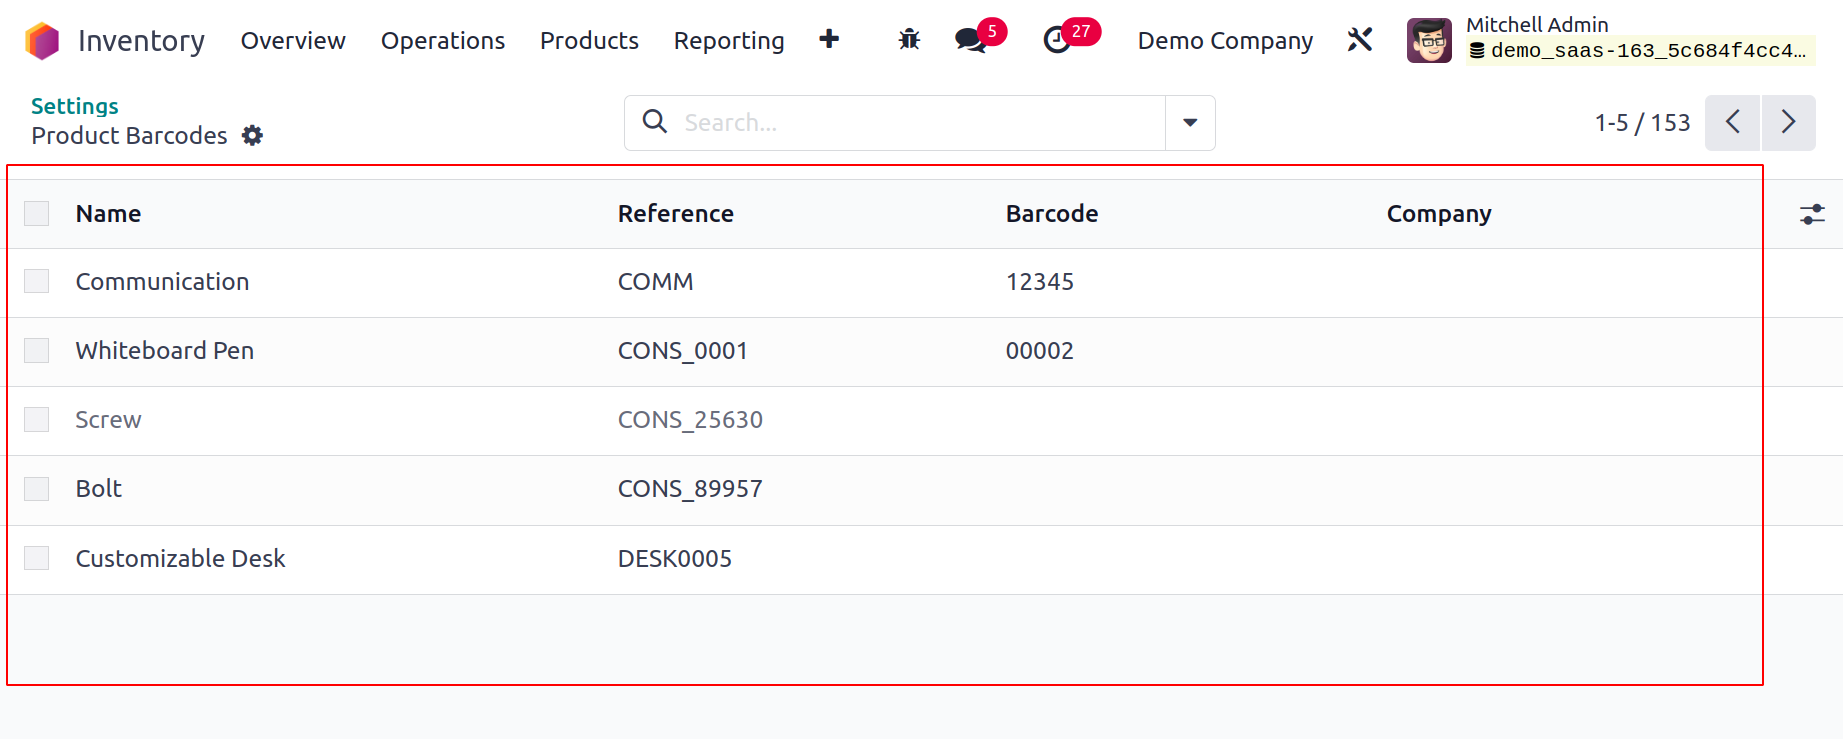
Barcode
Along with the product name, serial or lot number, and price, a barcode is a special characteristic that makes it simple for a user to identify a product. A characteristic that greatly reduces time is barcode scanning. Barcode attribution is a simple way to handle products at the point of sale, throughout manufacturing, during purchasing, and in inventory. The Odoo17 Barcode can be utilized for batch transfers, inventory adjustments, and activities.
Install the Barcode app before using the Odoo17 Barcode.
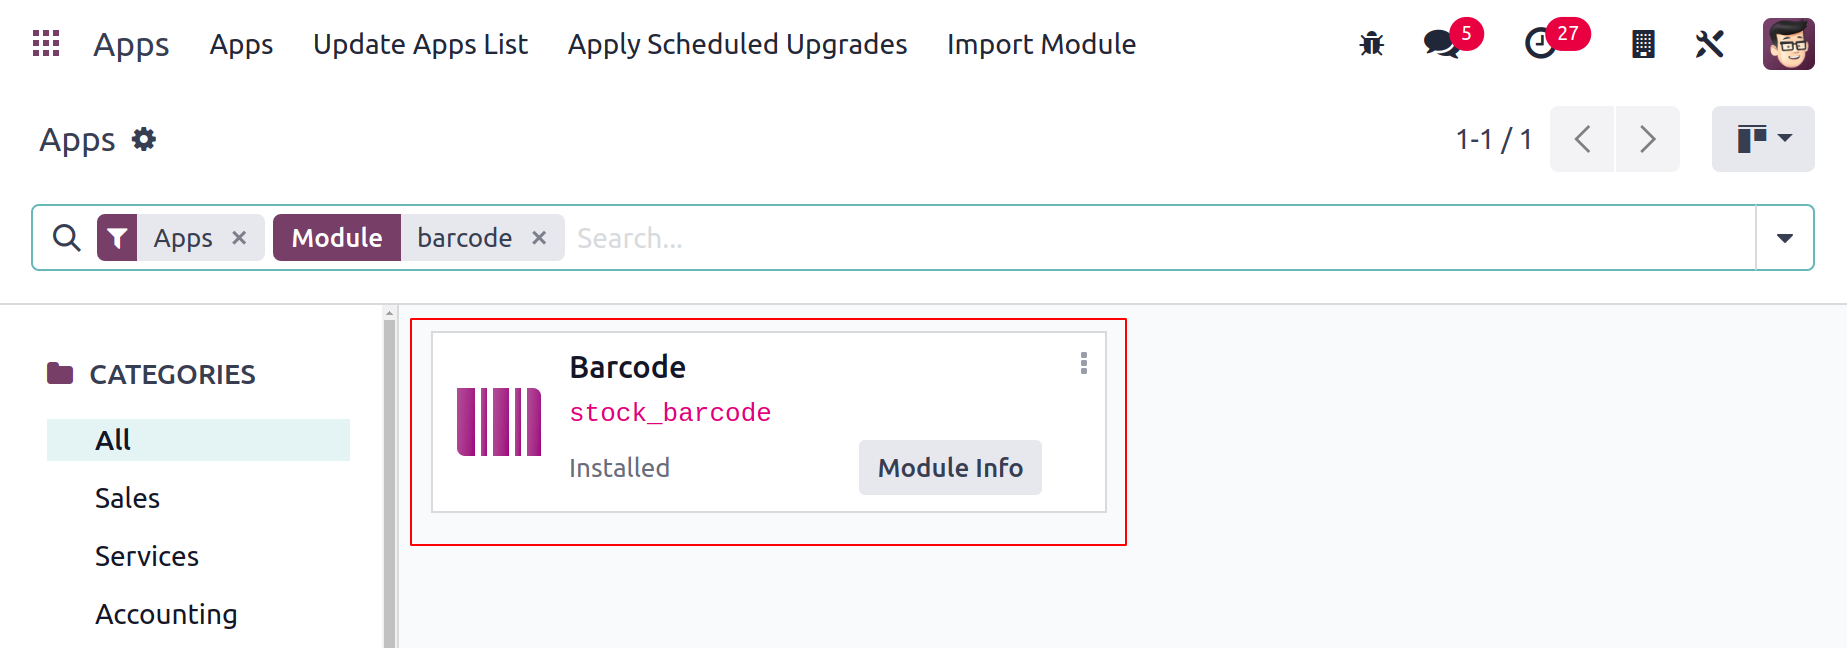
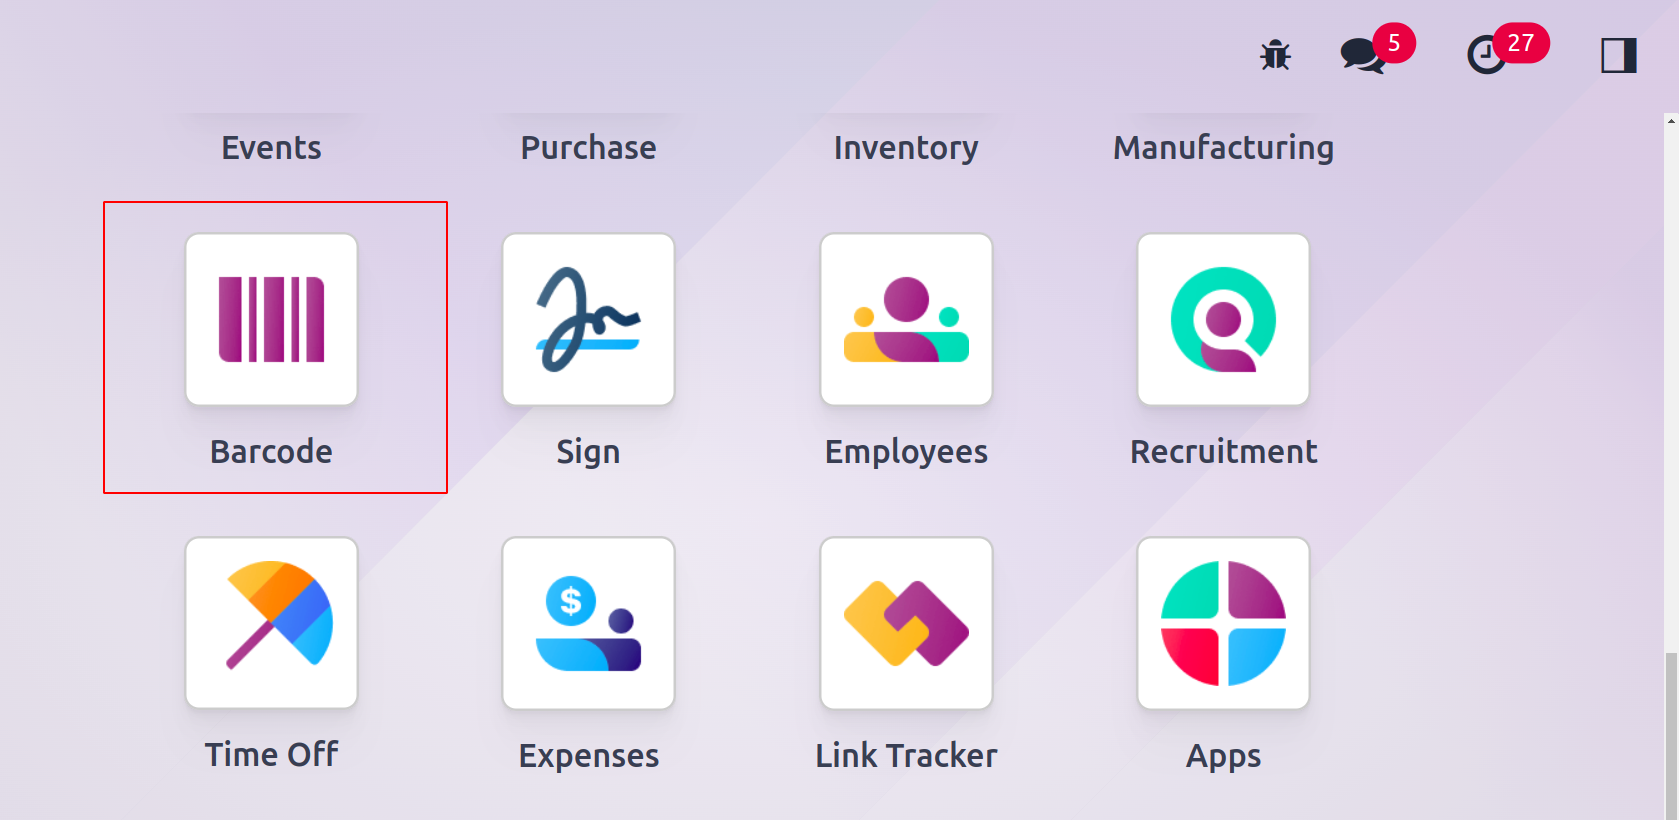
Click the Barcode App to access the module after installation.
Additionally, the user needs an inventory app to allow barcode functionality.
How to validate the barcode for a product
A user of Odoo17 can quickly validate a product's barcode. The user should have access to the Inventory module for this. Go to Inventory> Configuration> Settings> Operation after installing the inventory module.
The user can activate the barcode option here.
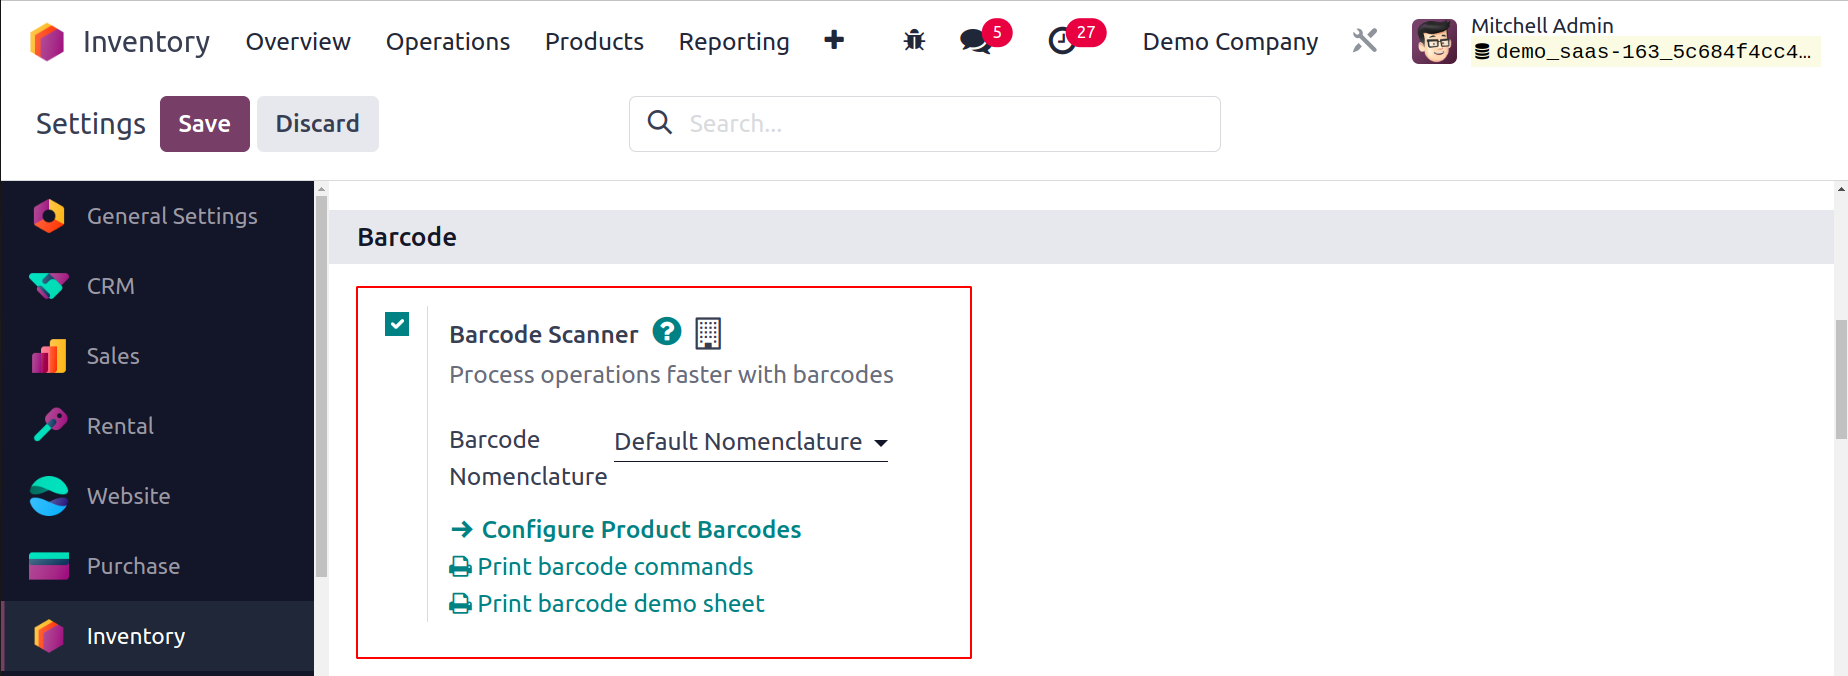
Here, select the Configure Product barcode option.
You will then see a new window.
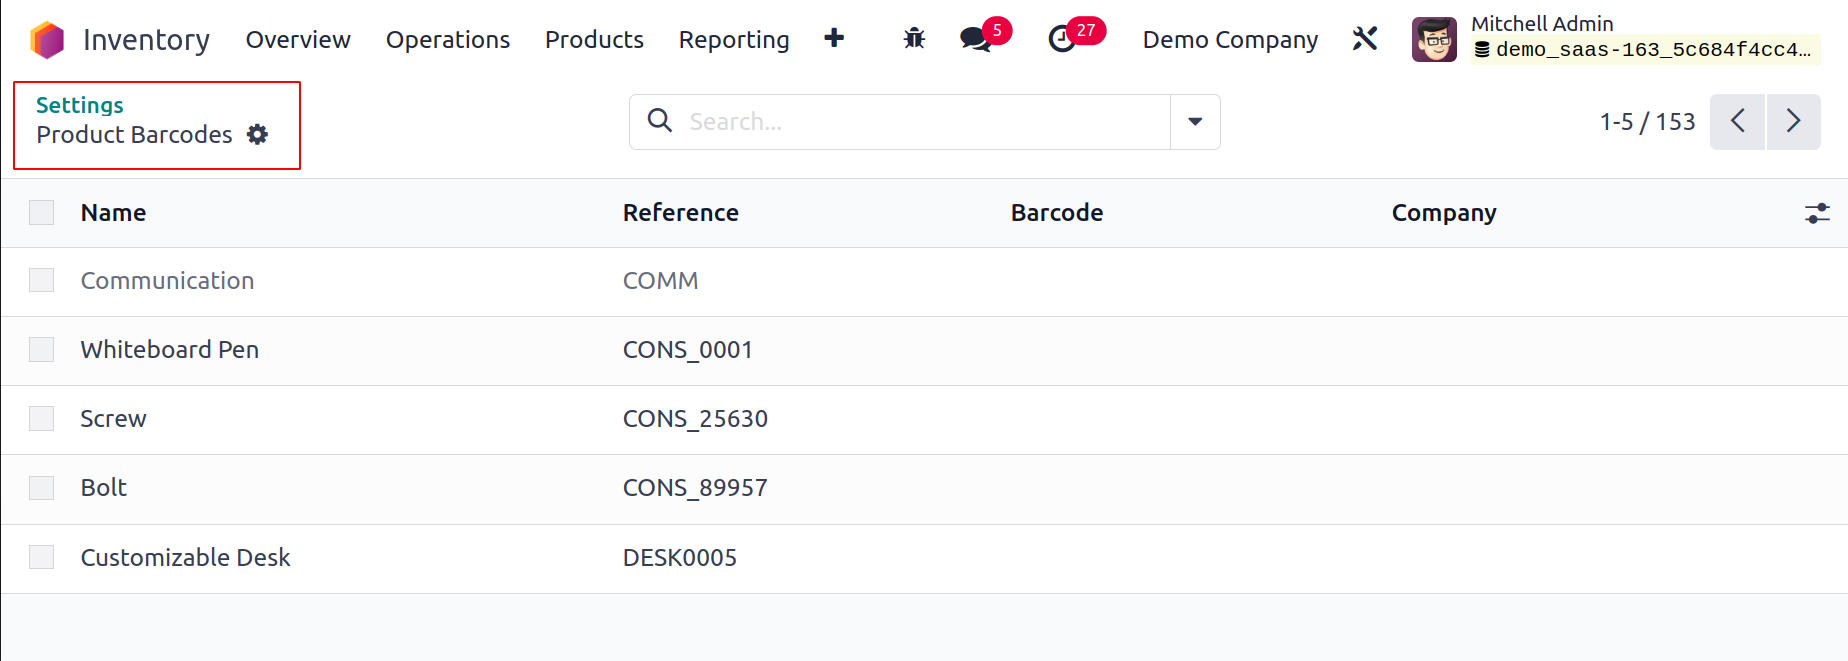
Choose the products that need a barcode here. By clicking on the column, the user can add a barcode to the products.
Next, select Save.
Return to Settings > Barcode Scanner then save the modifications.
Set Location Barcodes
A user must navigate to Inventory> Configuration> Warehouse Management> Locations to set locations in the barcode.
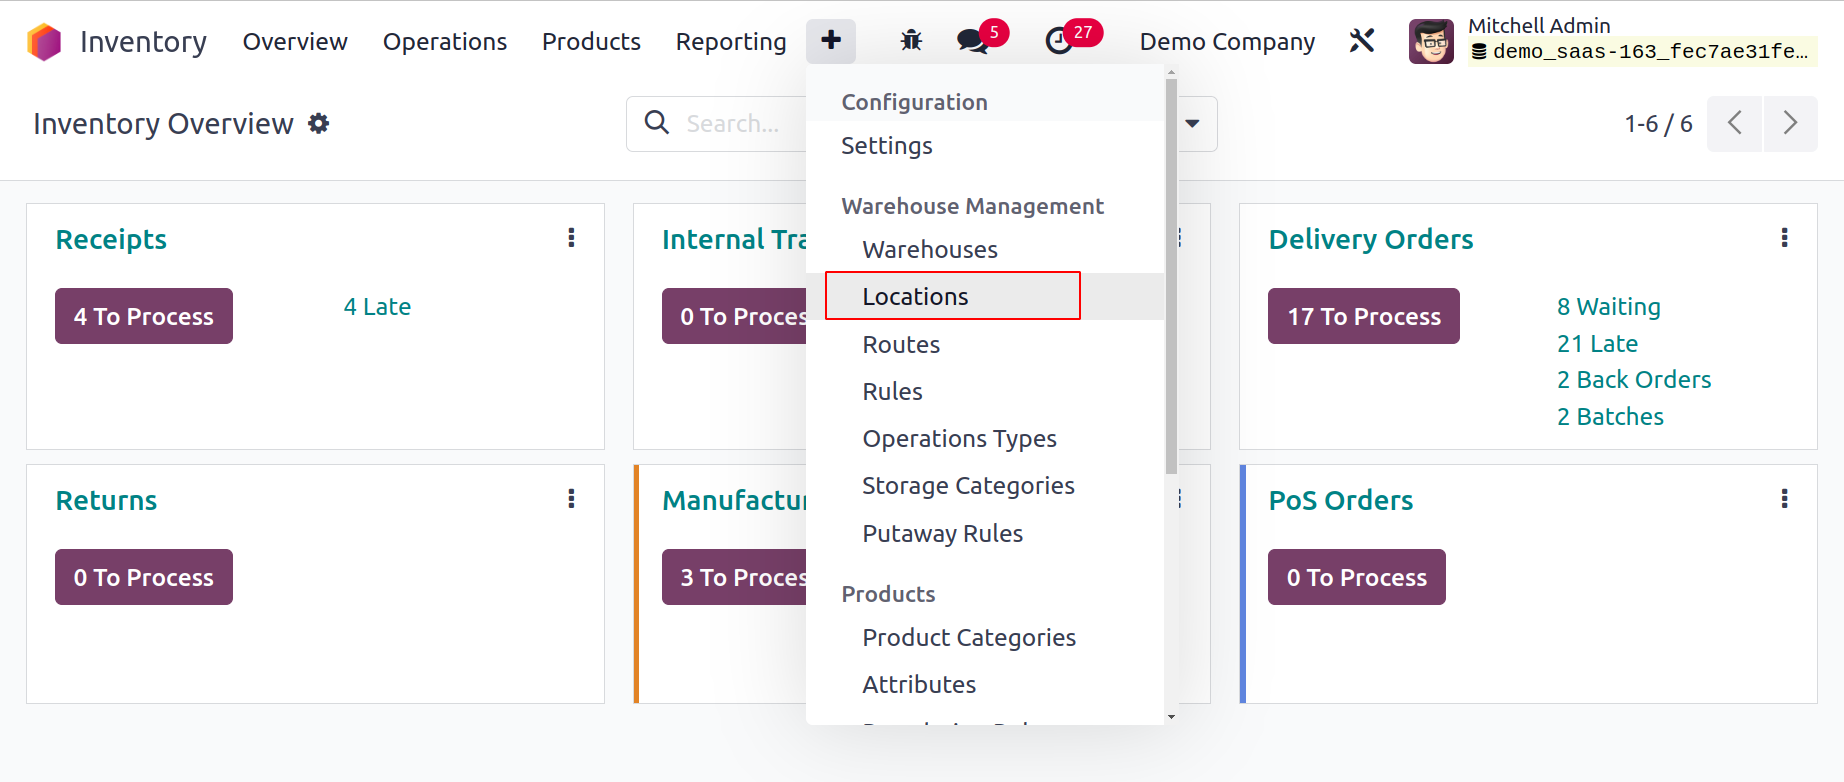
Here, the user can create new places as well as find various kinds of previously existing locations.
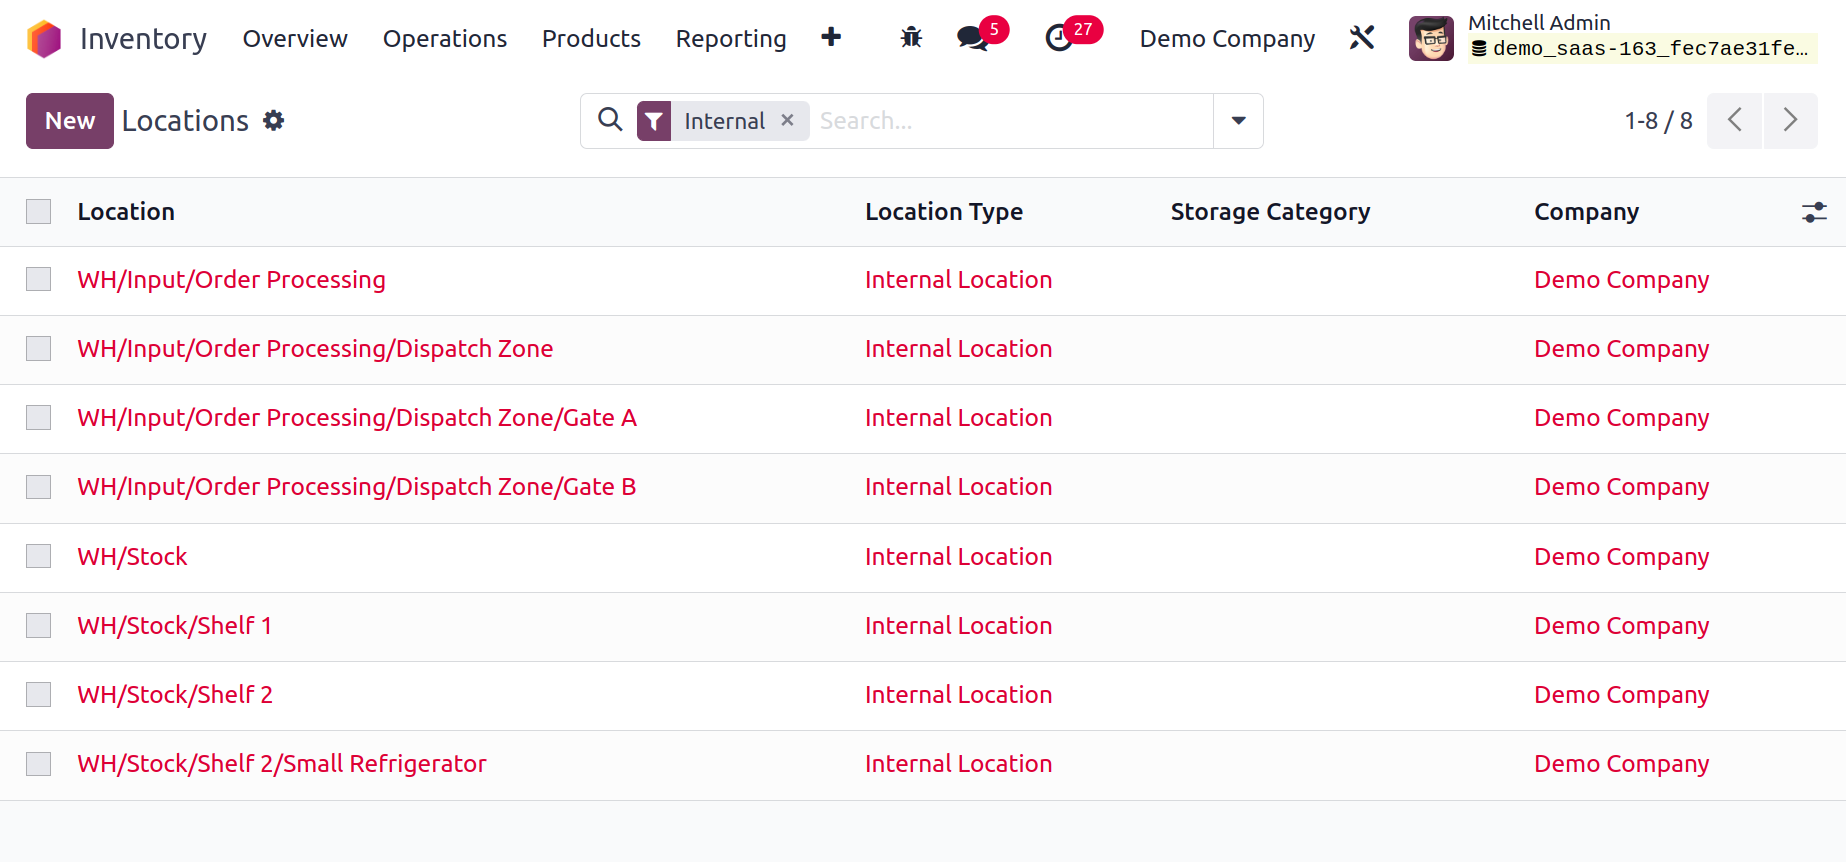
It is simpler to recognize each site with a barcode if you use many locations.
The barcode and location name can also be printed by the user. The print button can be used for this.
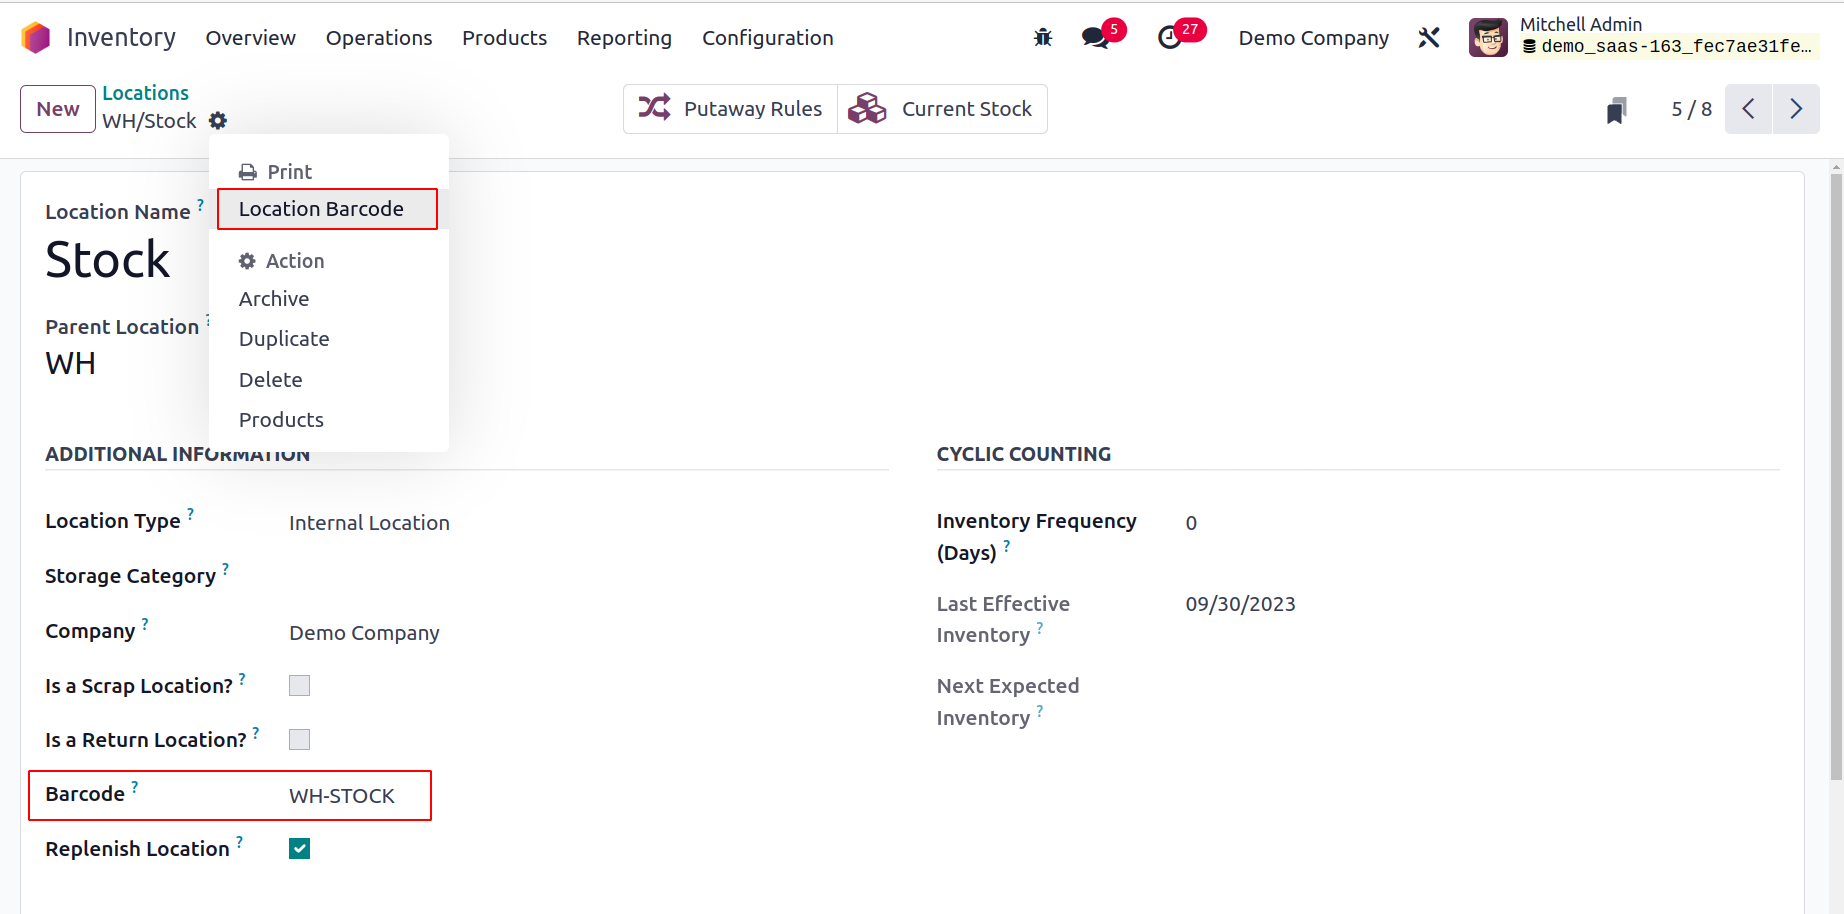
The user then receives a printable version of the location's barcode. This is simple to paste on paper or the product box.

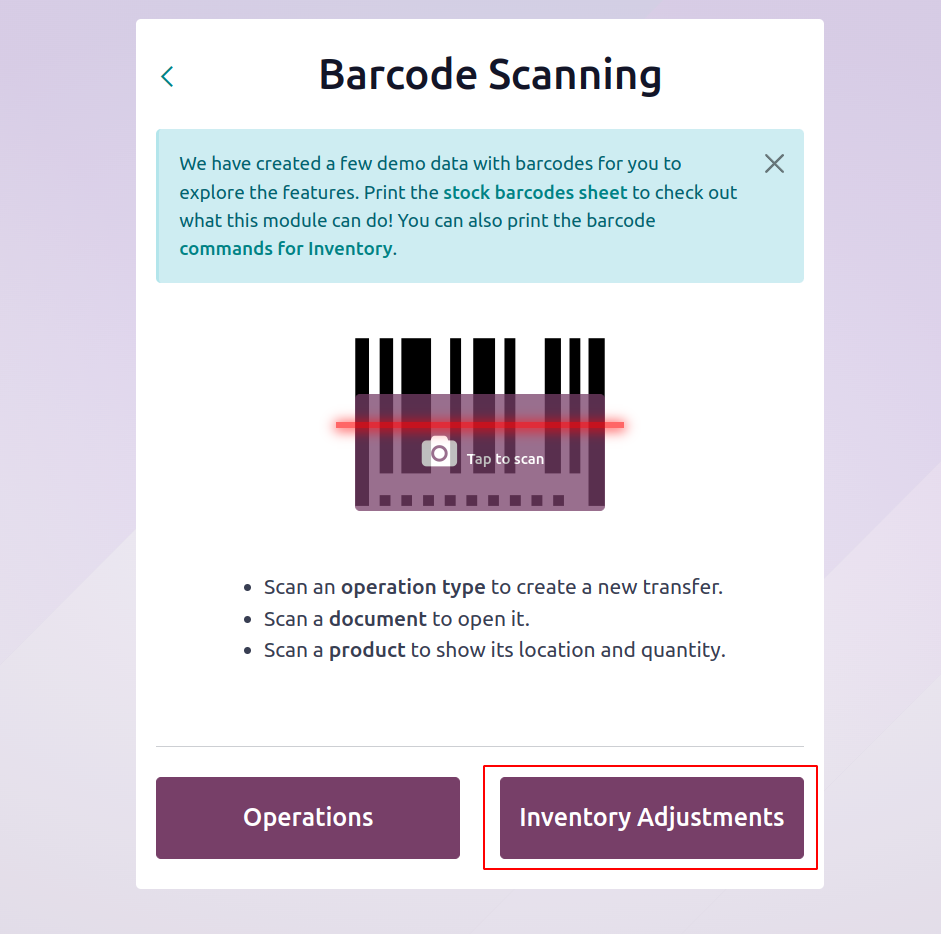
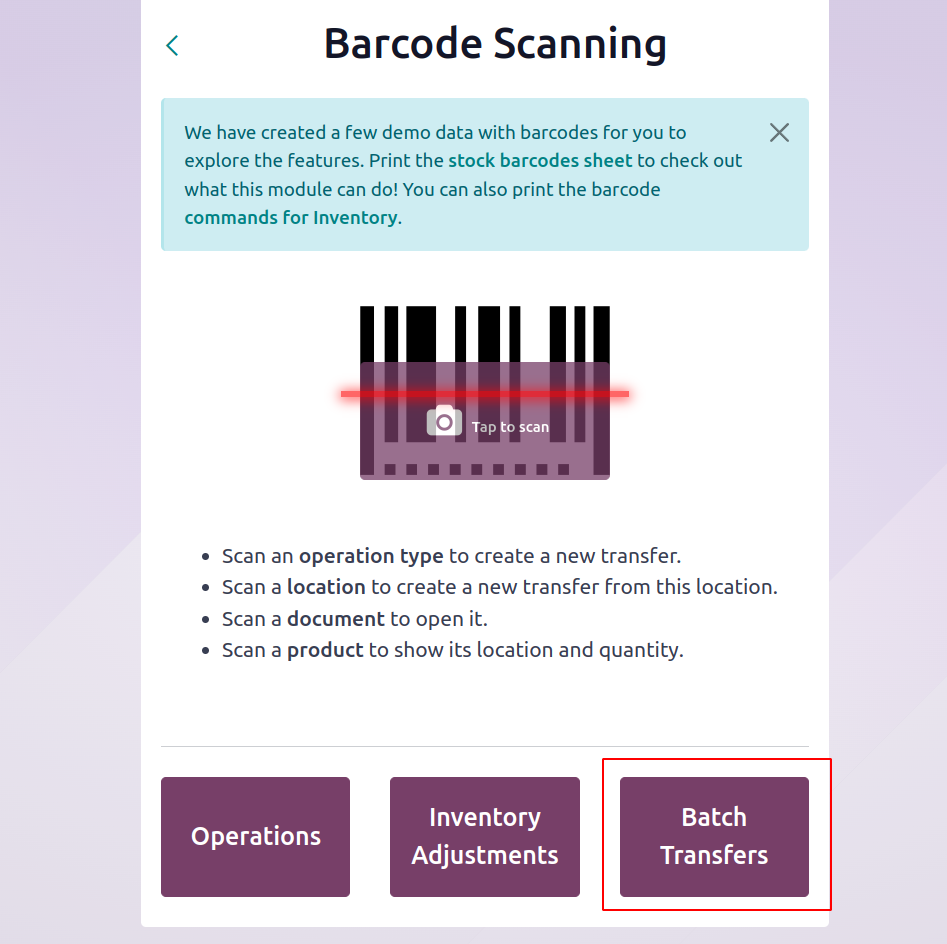
Let's check out what the Barcode App has to offer now.
A new window will open up when the user clicks the Barcode App.
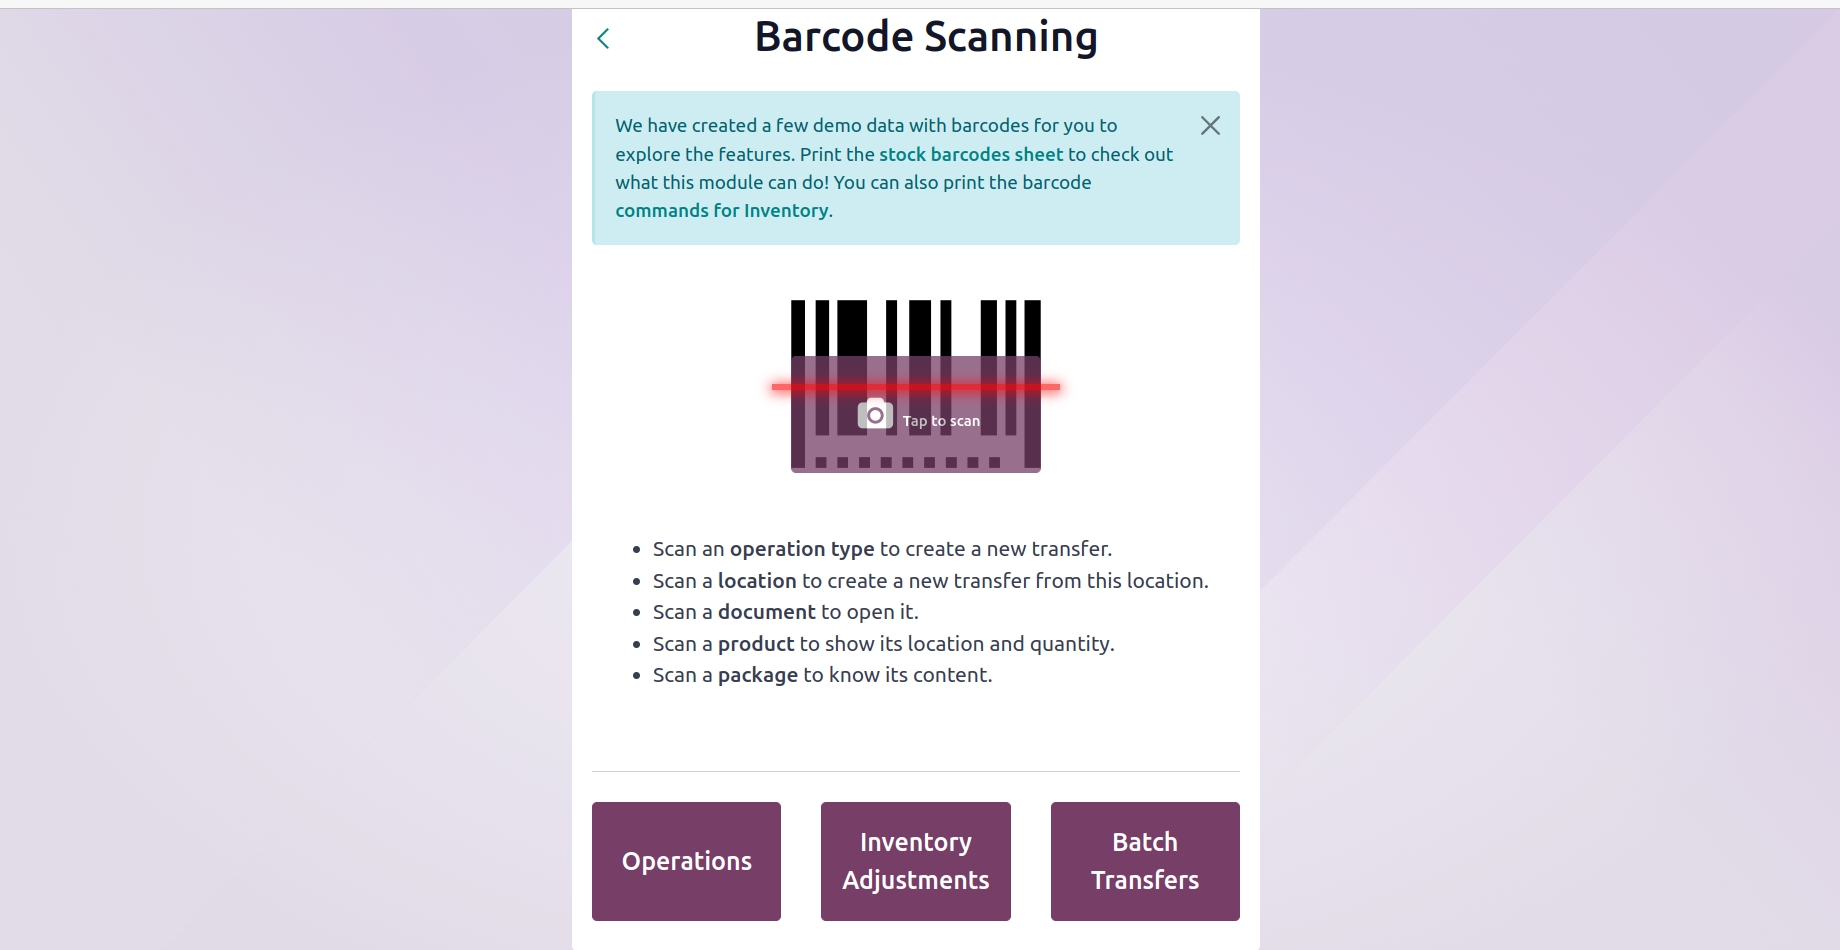
From this page, the user can use the barcode feature for operations, inventory, and batch transfer.
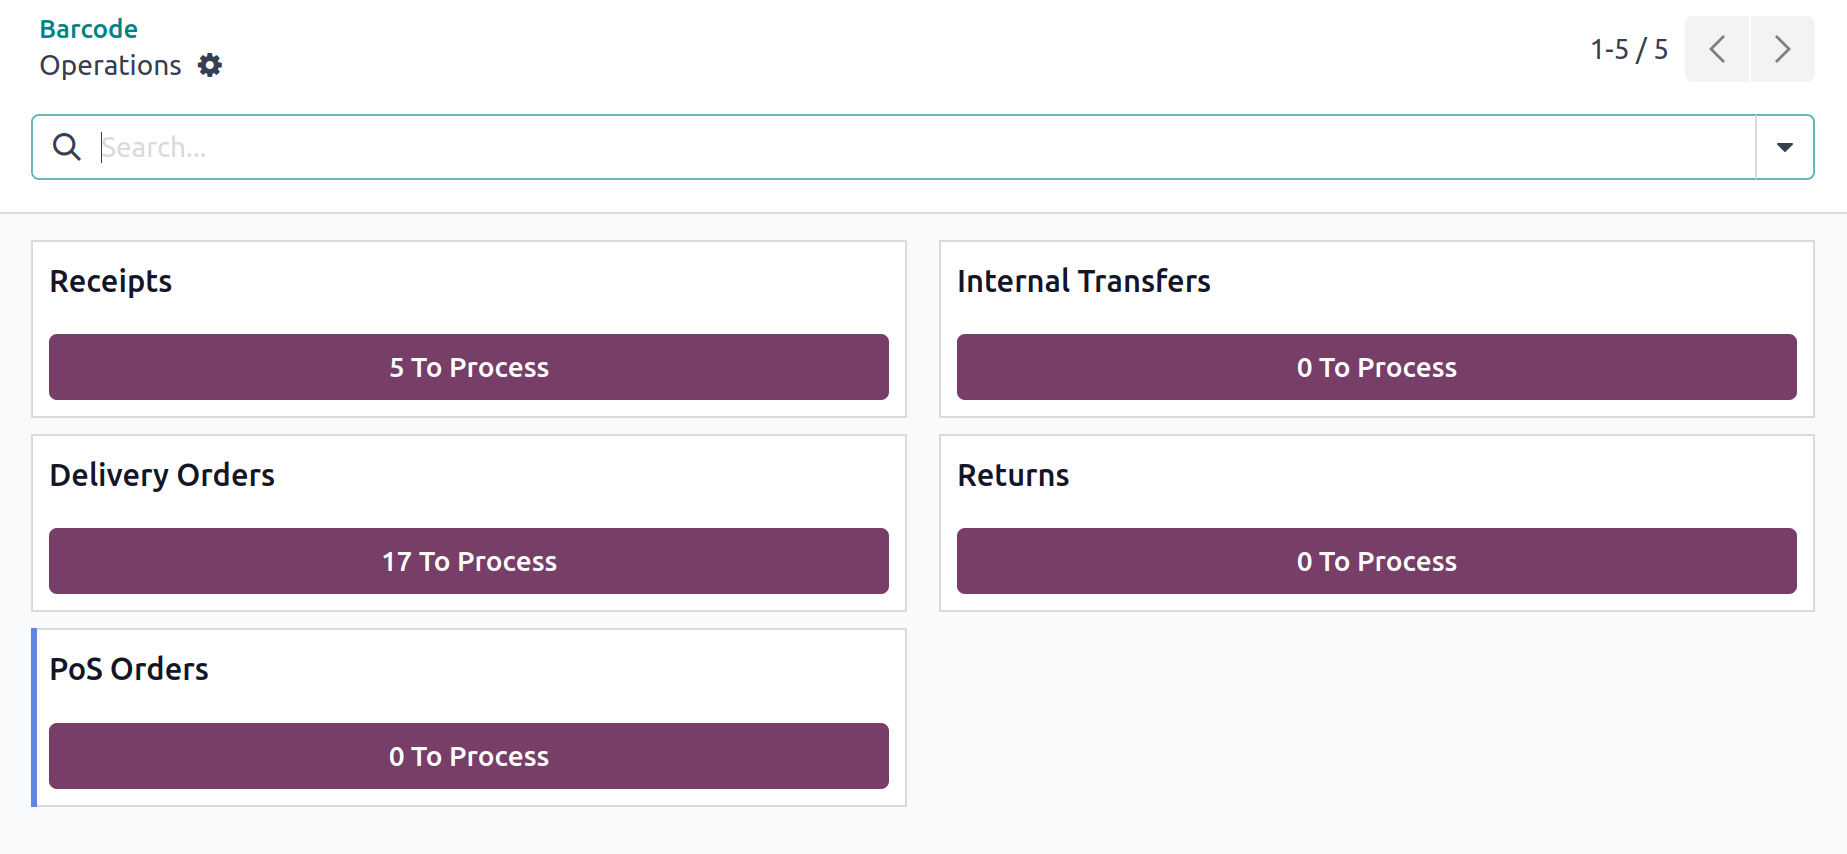
Operations
The user will be directed to the barcode operations page after clicking the operations tab.
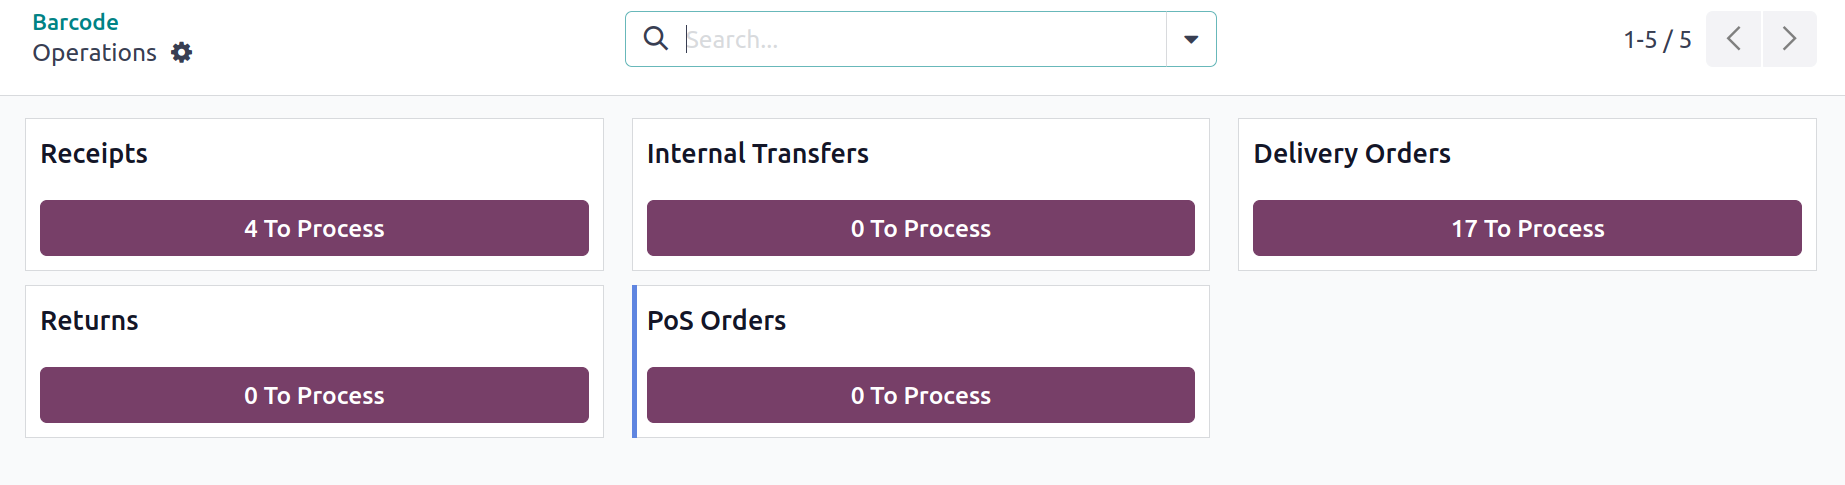
The user can get information about deliveries, internal transfers, POS orders, dropshipping, and receipts here. By selecting the relevant tab, a user can add new delivery orders or receipts.
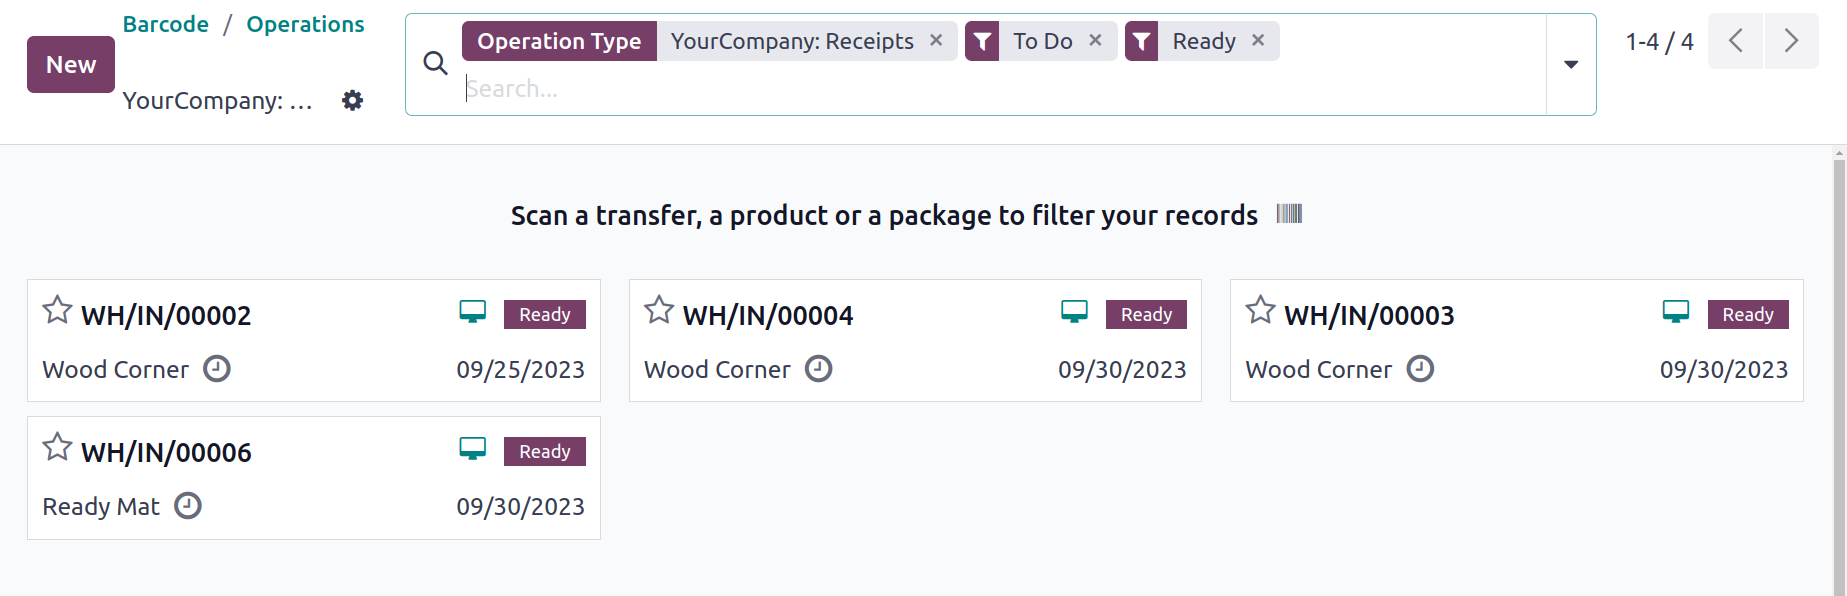
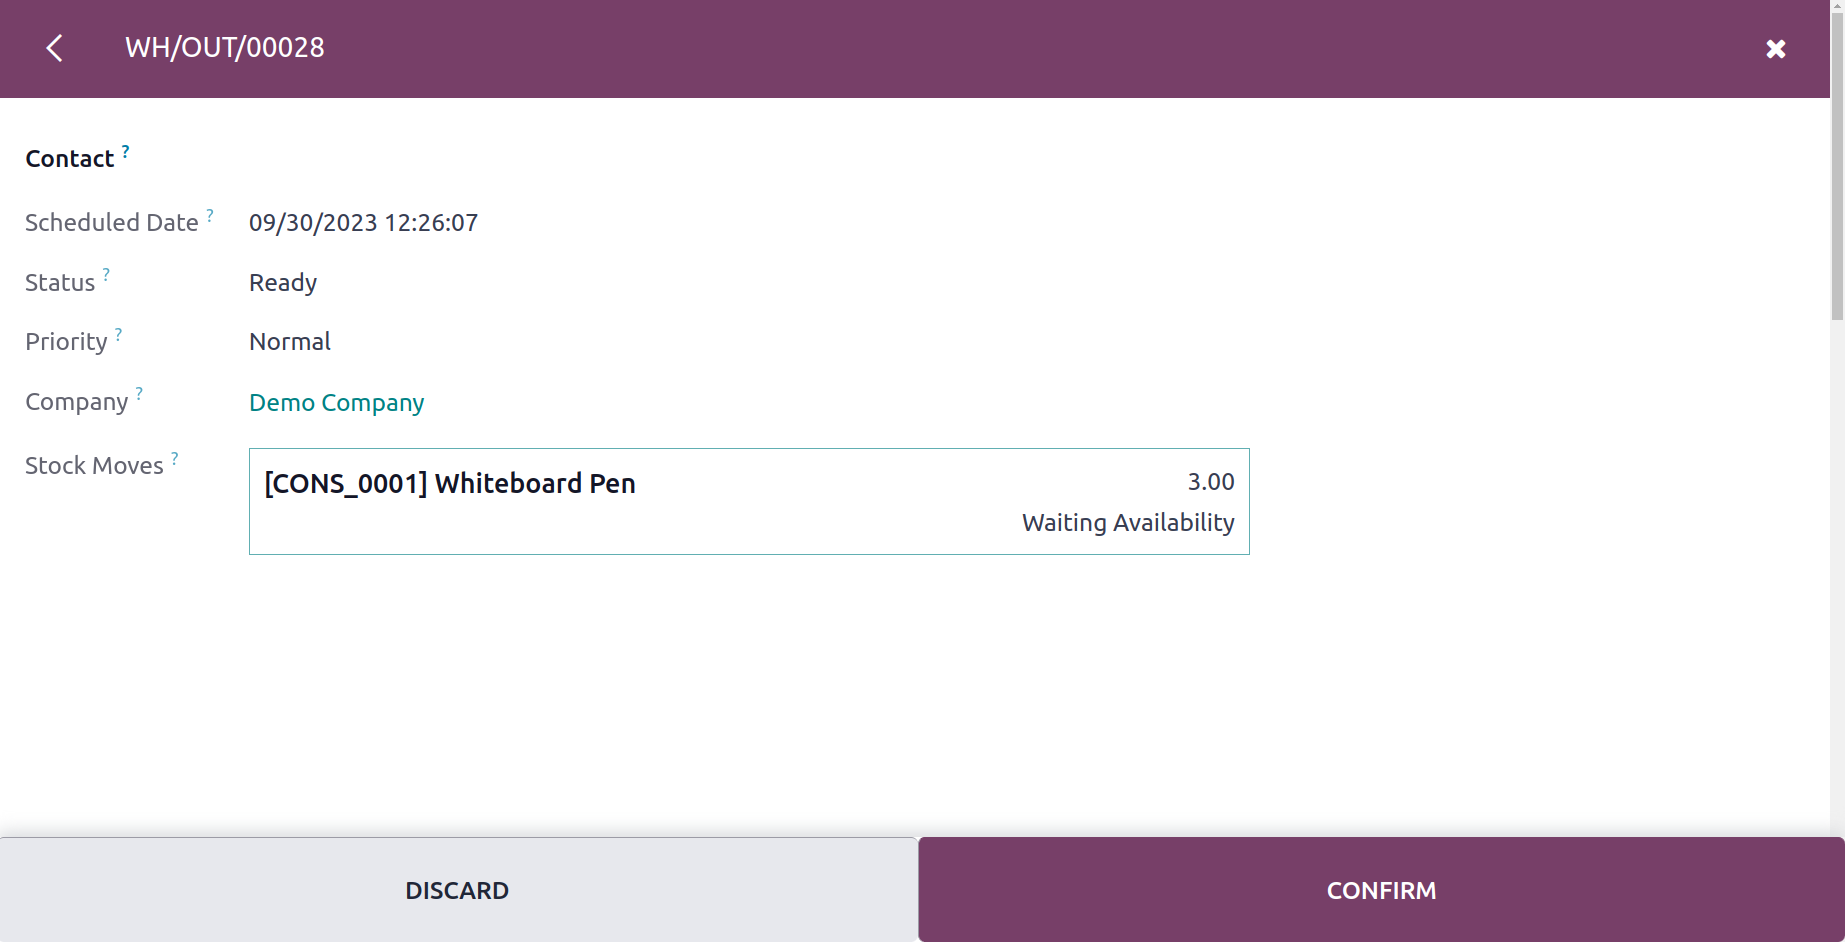
Receipt
When we clicked on the Receipt tab, the image below appeared. The user can create new barcode-enabled receipts here.
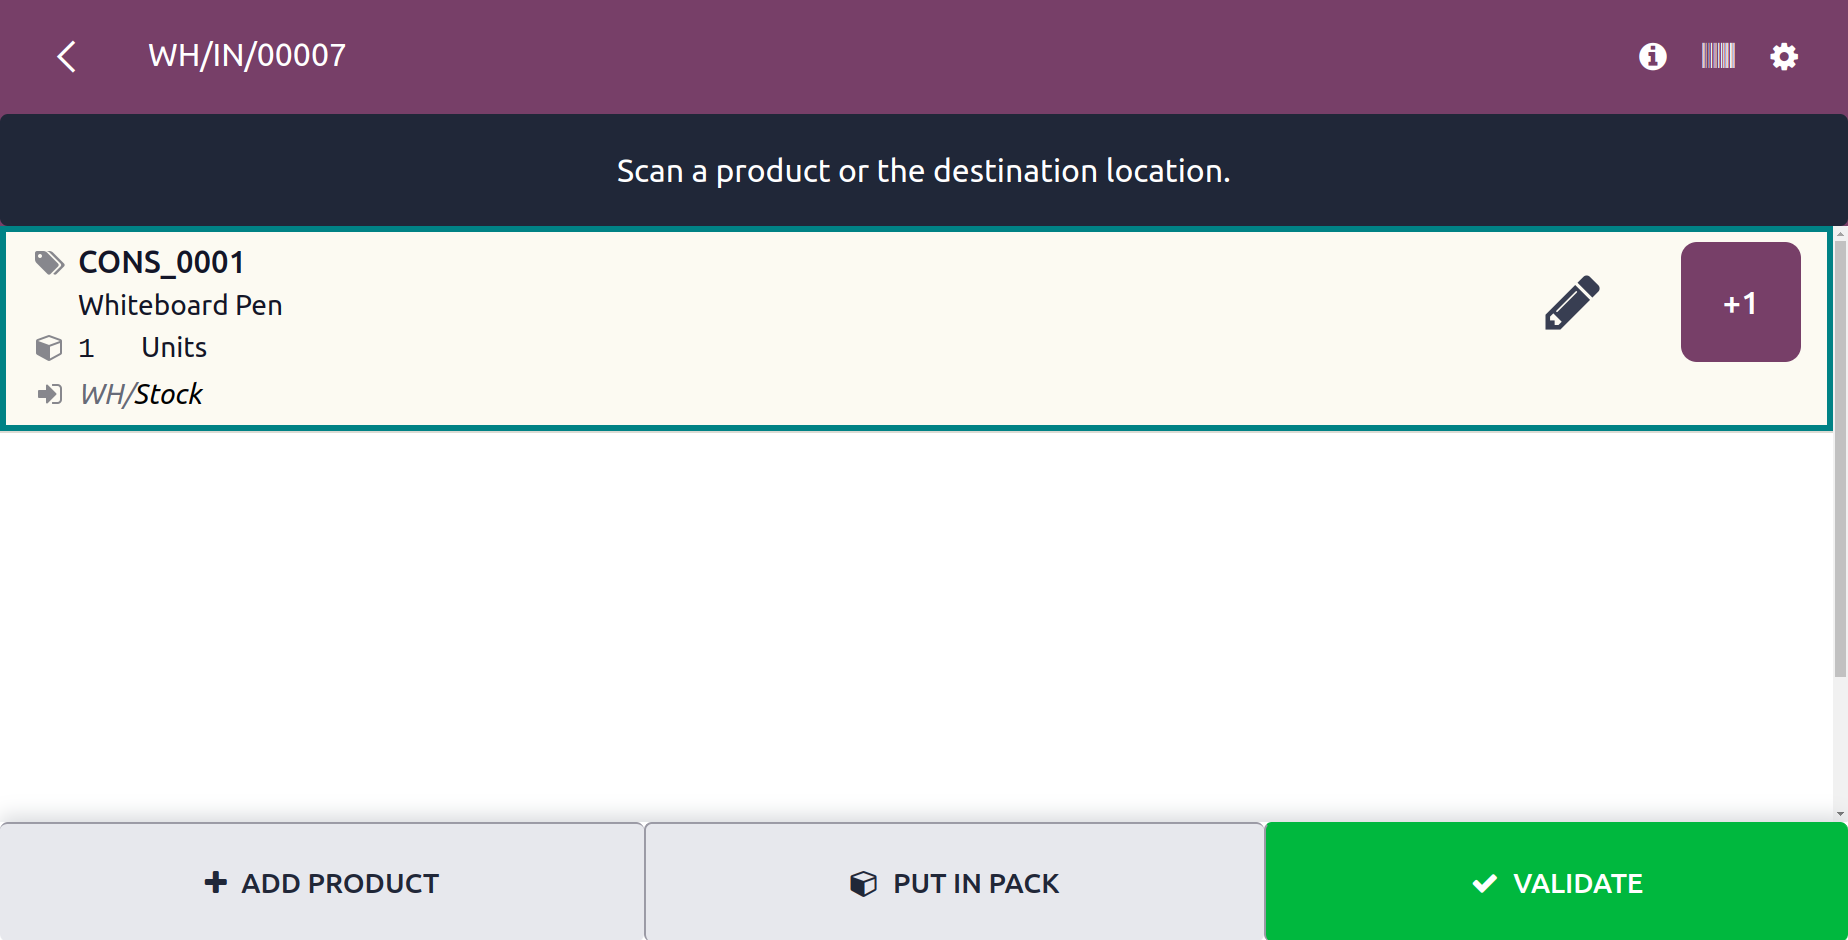
To get the creation form shown below, click the New button found in the barcode tab.

The user can add products here by scanning barcodes. When doing this, the product name and warehouse position are updated. The receipt will already show the appropriate quantity. Then press confirm to use the barcode to add a product to the receipt.

The barcode can be verified using the validate button located here. The user will get a popup similar to the one below if the product number they have added is less than the necessary number.
Click the button to keep adding products until there are enough to meet demand.
The validate button then becomes green on its own. You will receive the message described below if the validation is completed before this button turns on.
The user can also add products under other categories in the same manner.
By selecting the settings icon in the top right corner, the user has access to more choices.
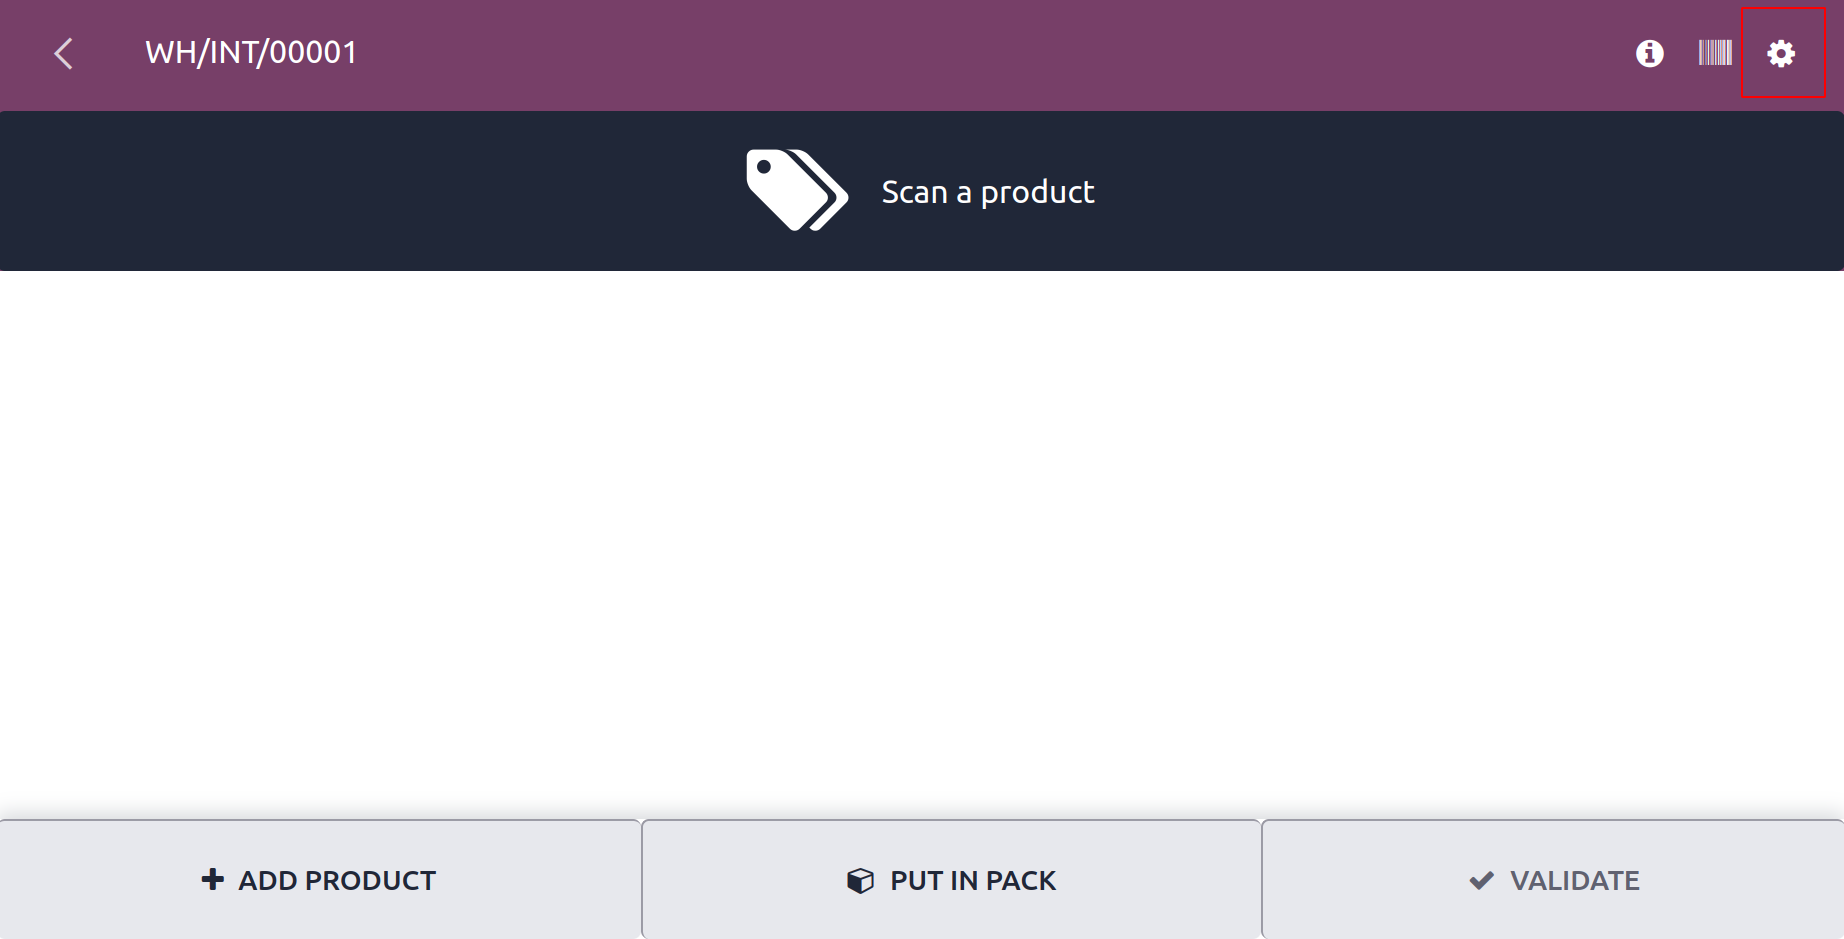
More options are displayed in a different window, including the ability to print picking operations, delivery slips, barcode PDFs, packages, scrap, and cancel transfers.
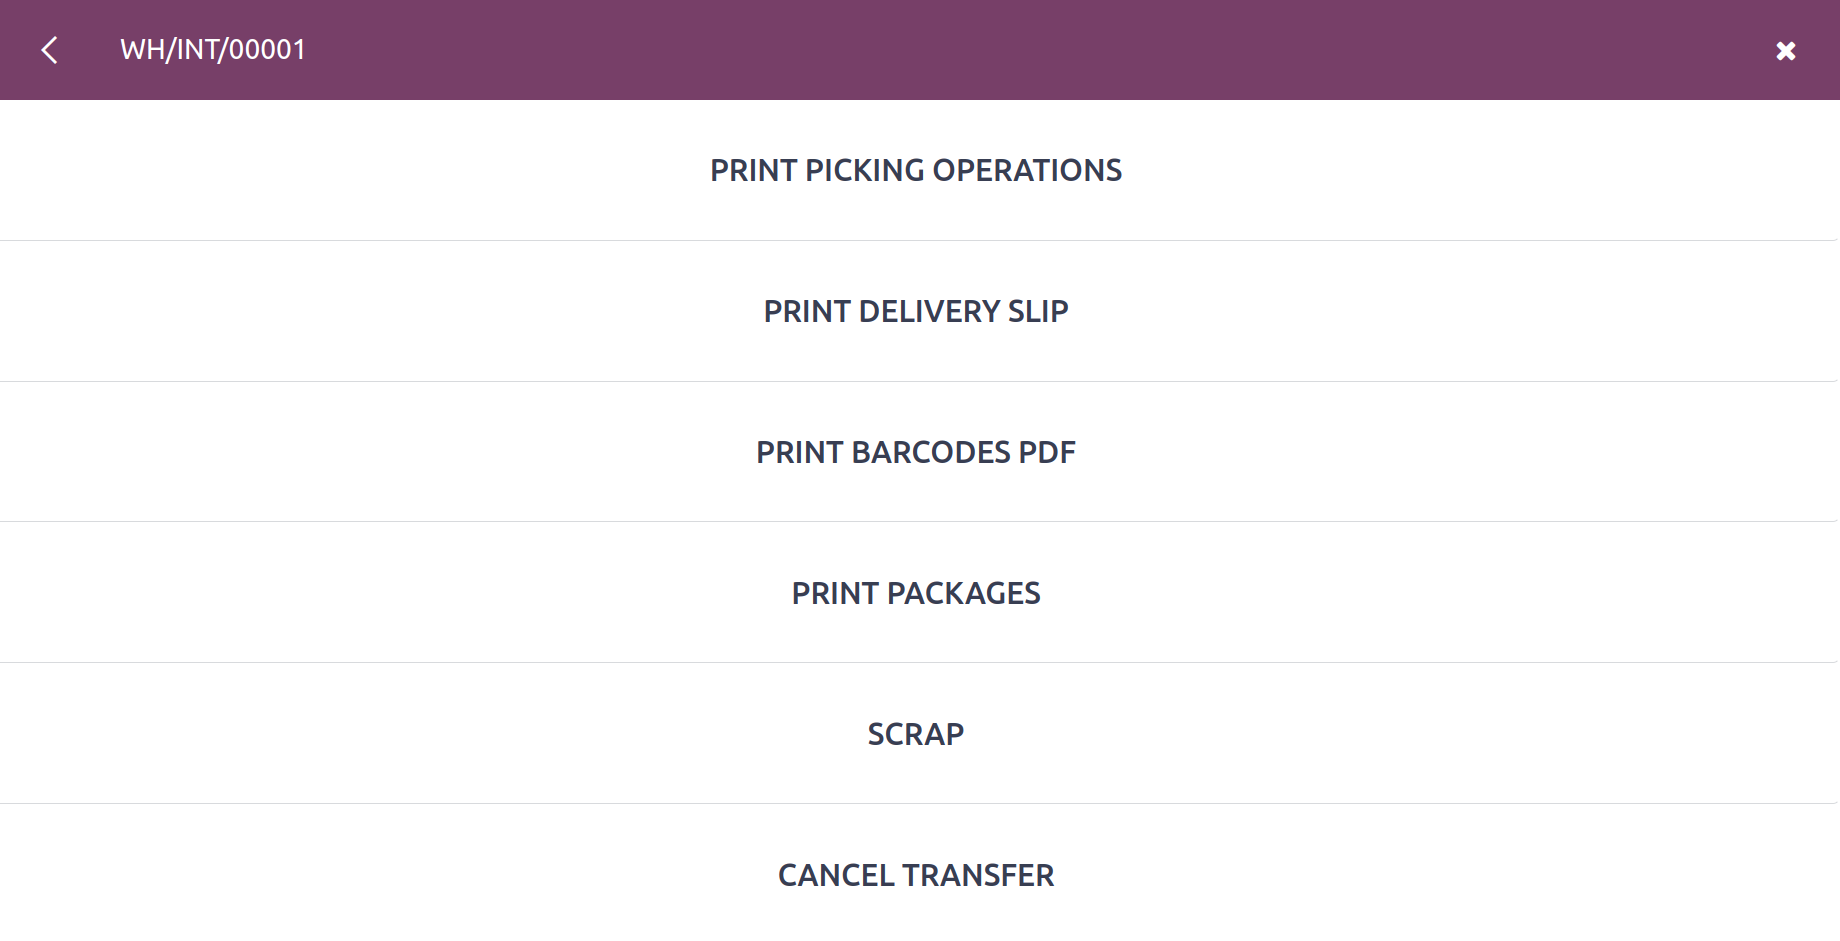
The user is presented with a window that allows them to select the document's layout after selecting PRINT PICKING OPERATIONS.

Using this option, the user can print Delivery slips, Barcodes ZPL, and Barcodes PDF.
The top icon can be used by the user to confirm a dropship or receipt.
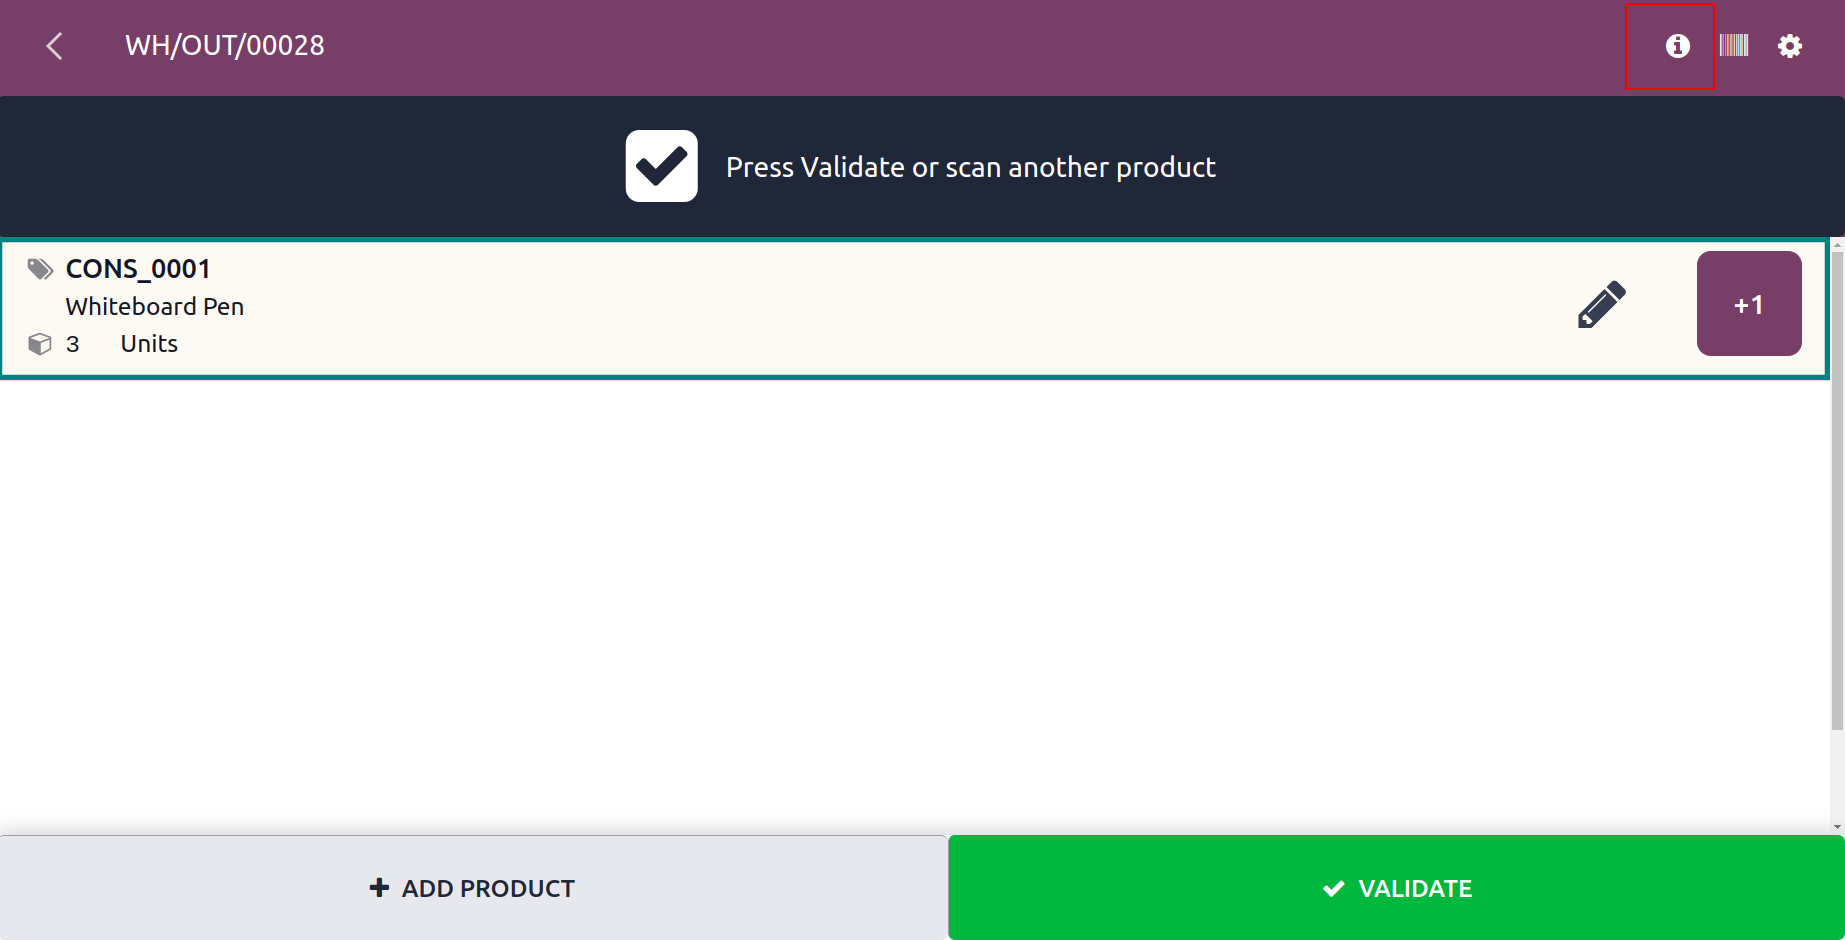
After selecting a previously produced receipt, you get the icon by clicking it.
To validate and complete the transfer, click CONFIRM right now.
Inventory Adjustment
A feature that can be useful to a retailer is inventory adjustment. Changing the number of units in stock is beneficial. The ability to classify stock as sellable or non-sellable also aids a user. You can also include the justification for classifying the product as not marketable.
Odoo17 can be used by a user to modify inventory.
First, select the Inventory Adjustment tab.
The window for inventory adjustments is described below.
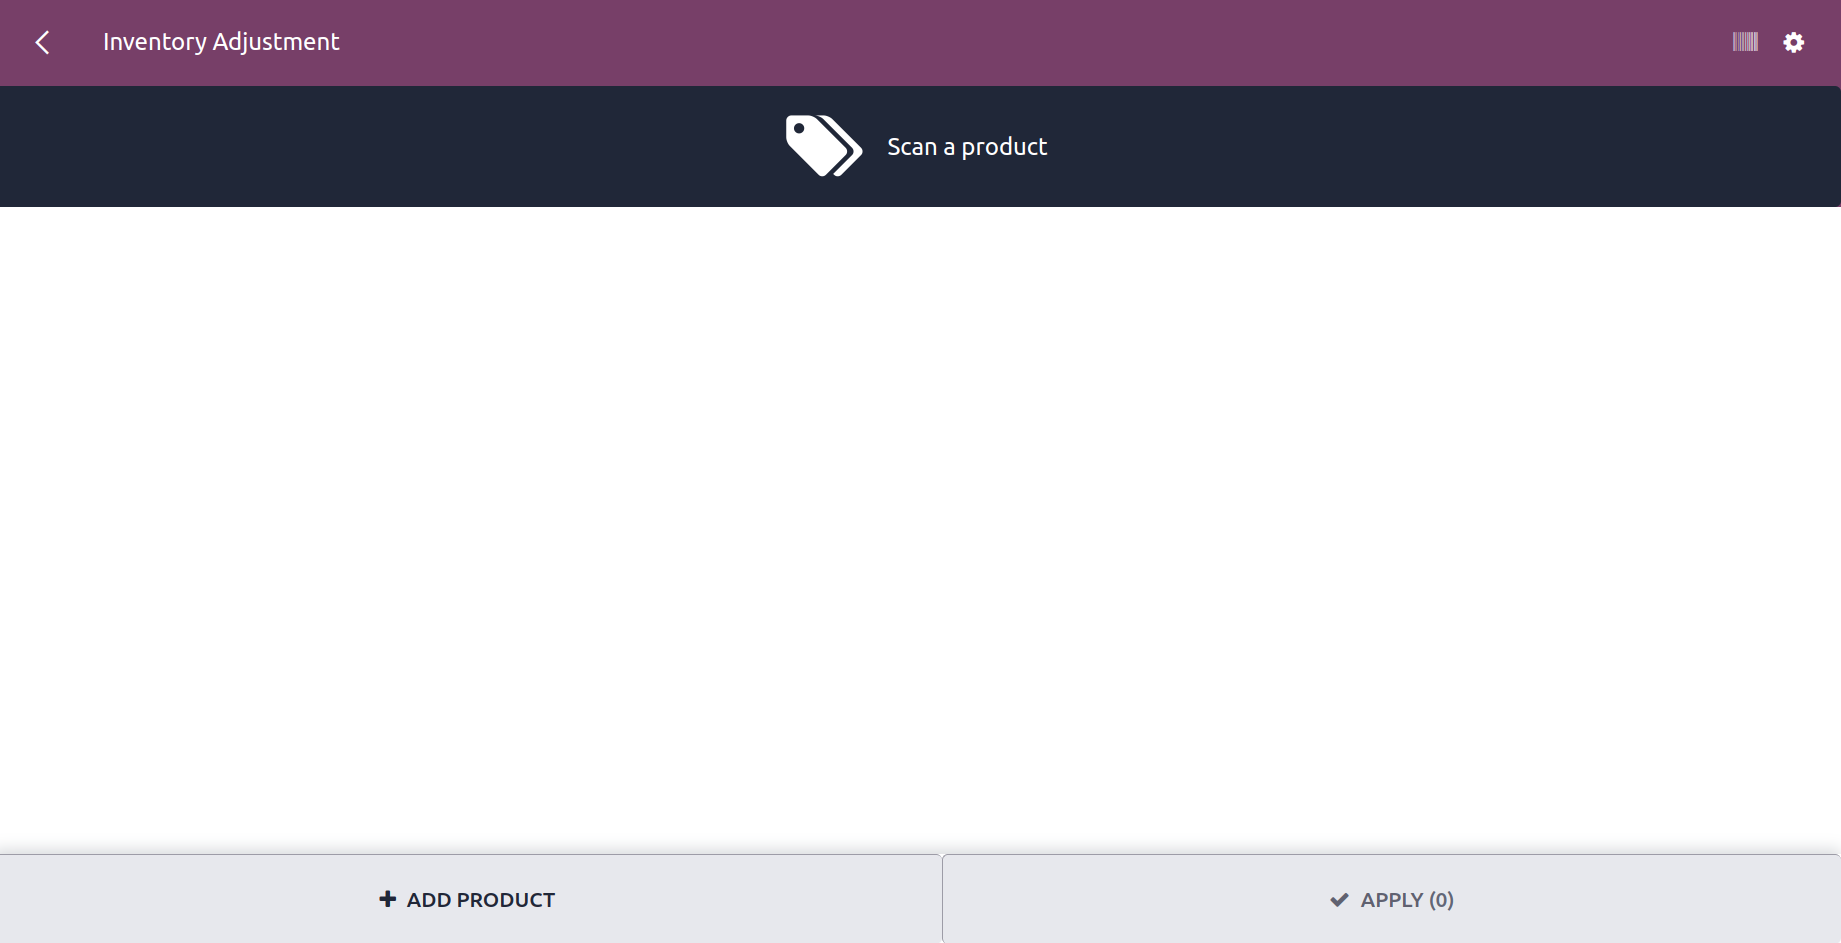
The user can utilize the barcode feature to acquire information about the product's stock quantity and quantity that has to be moved by clicking the add a product button on this page.
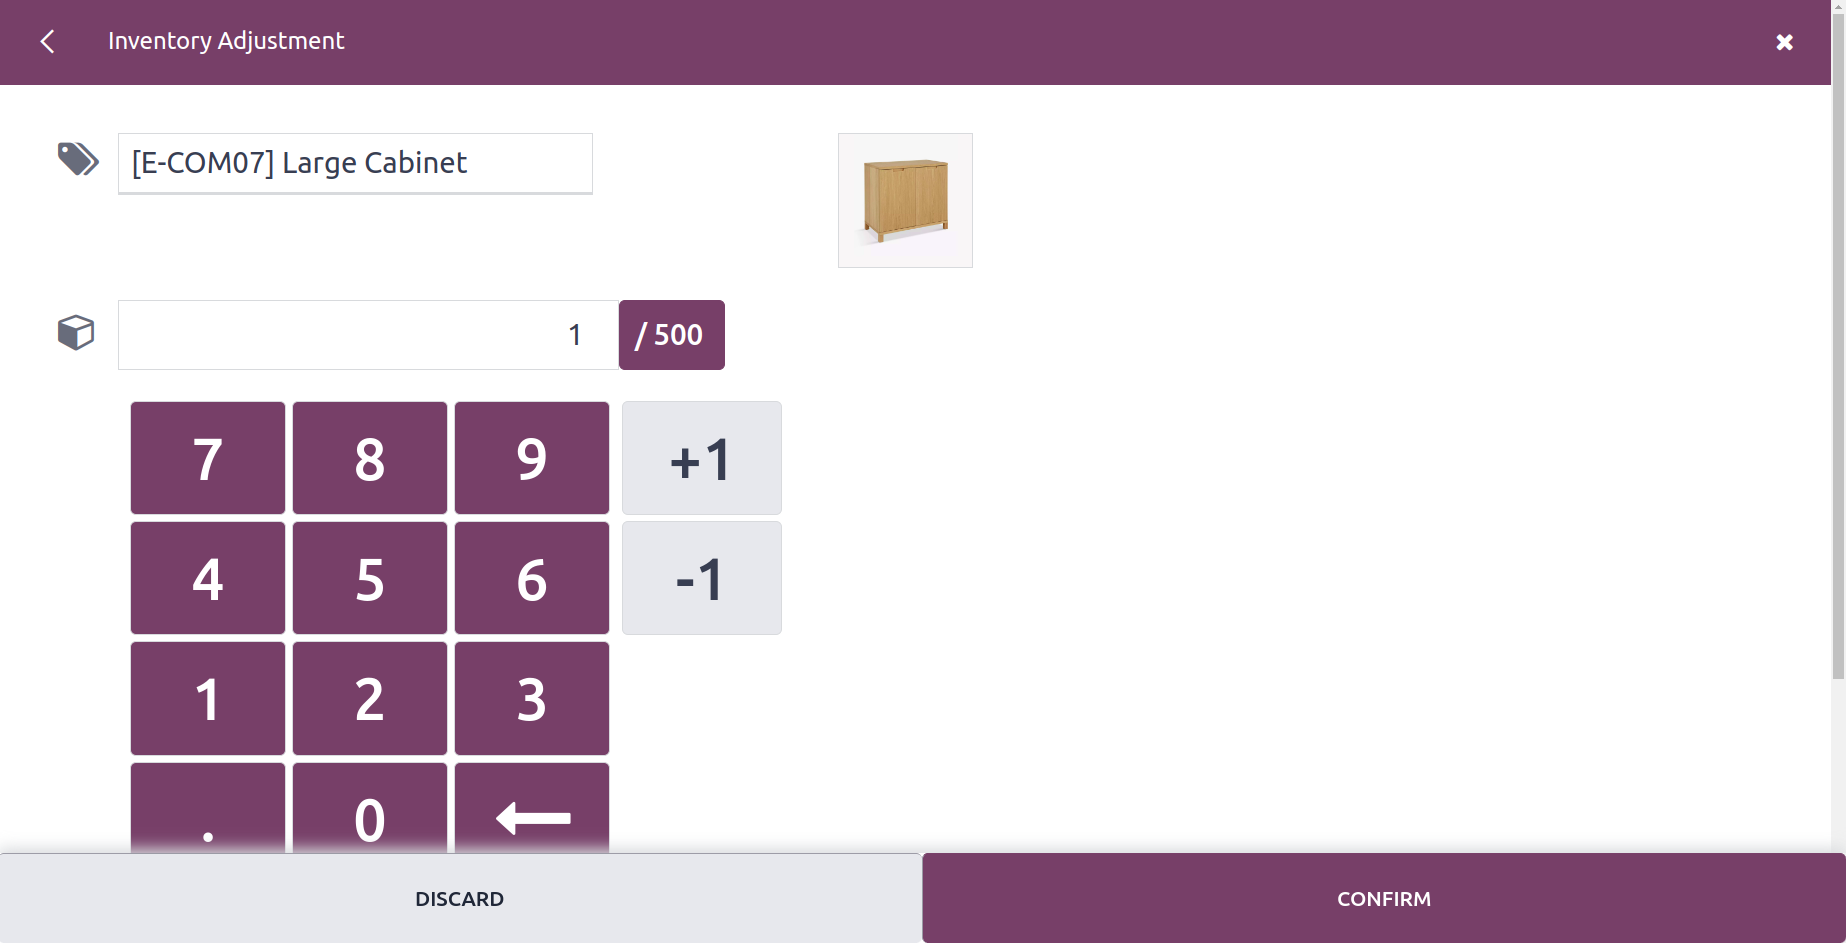
When scroll down the same screen, mention the Location, Package and Owner.
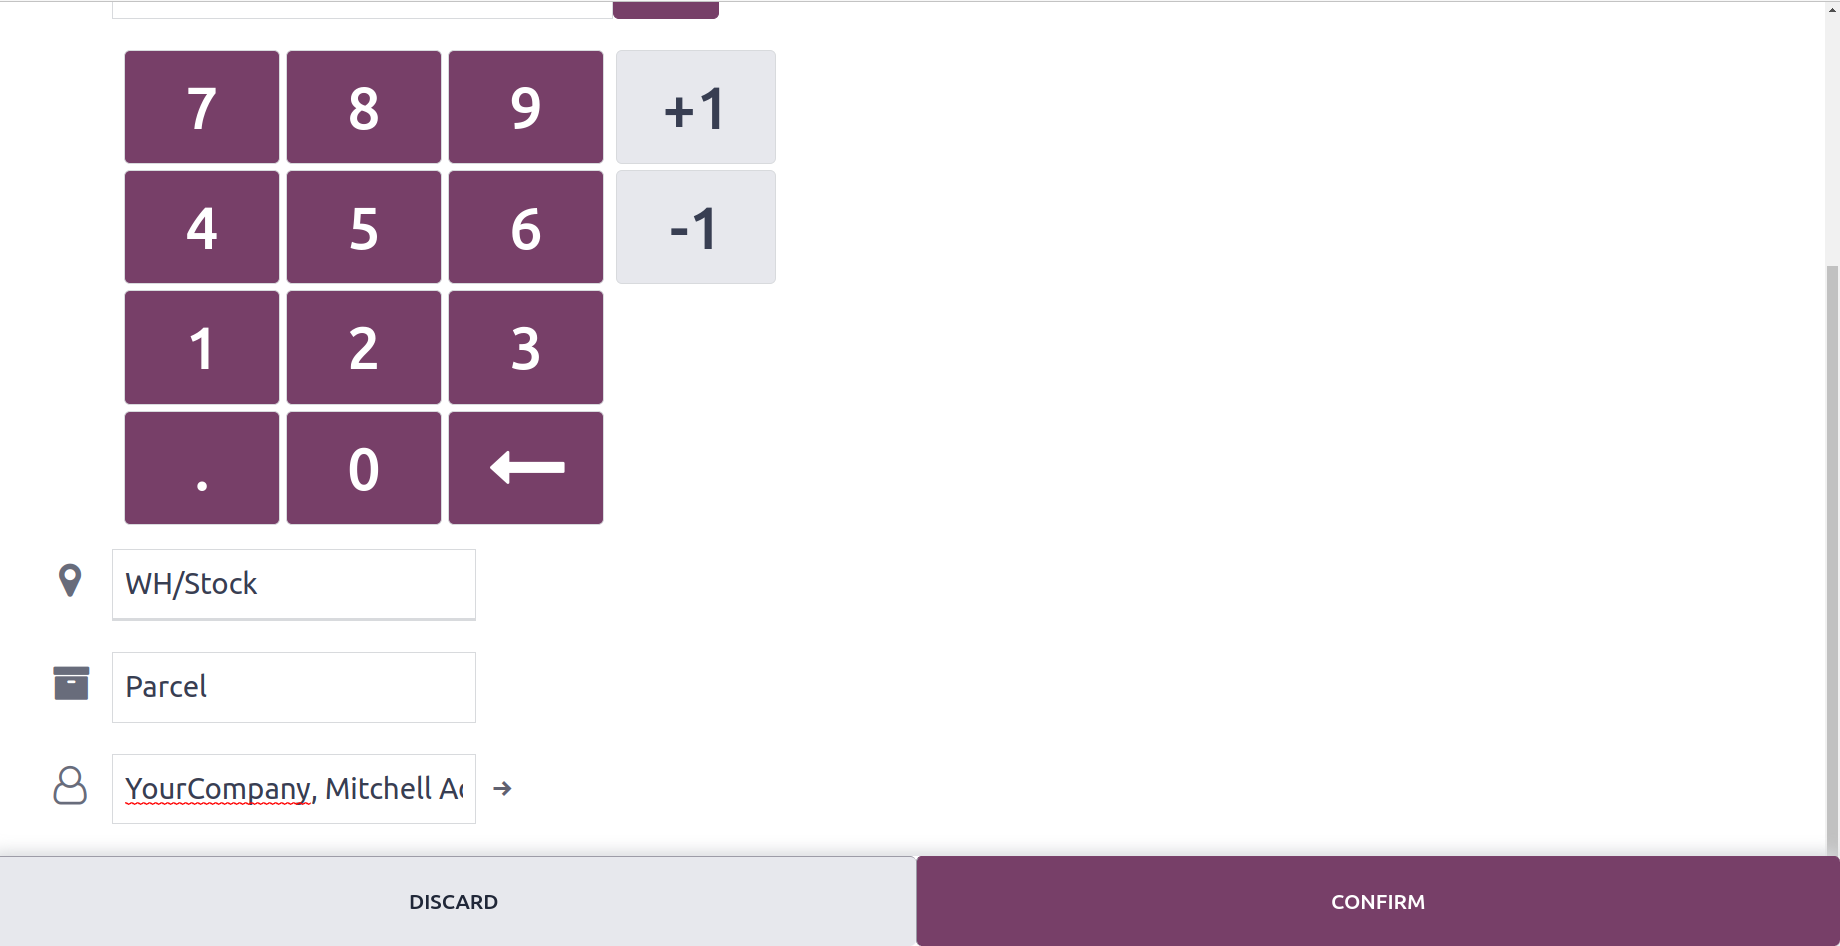
Click APPLY after clicking CONFIRM.

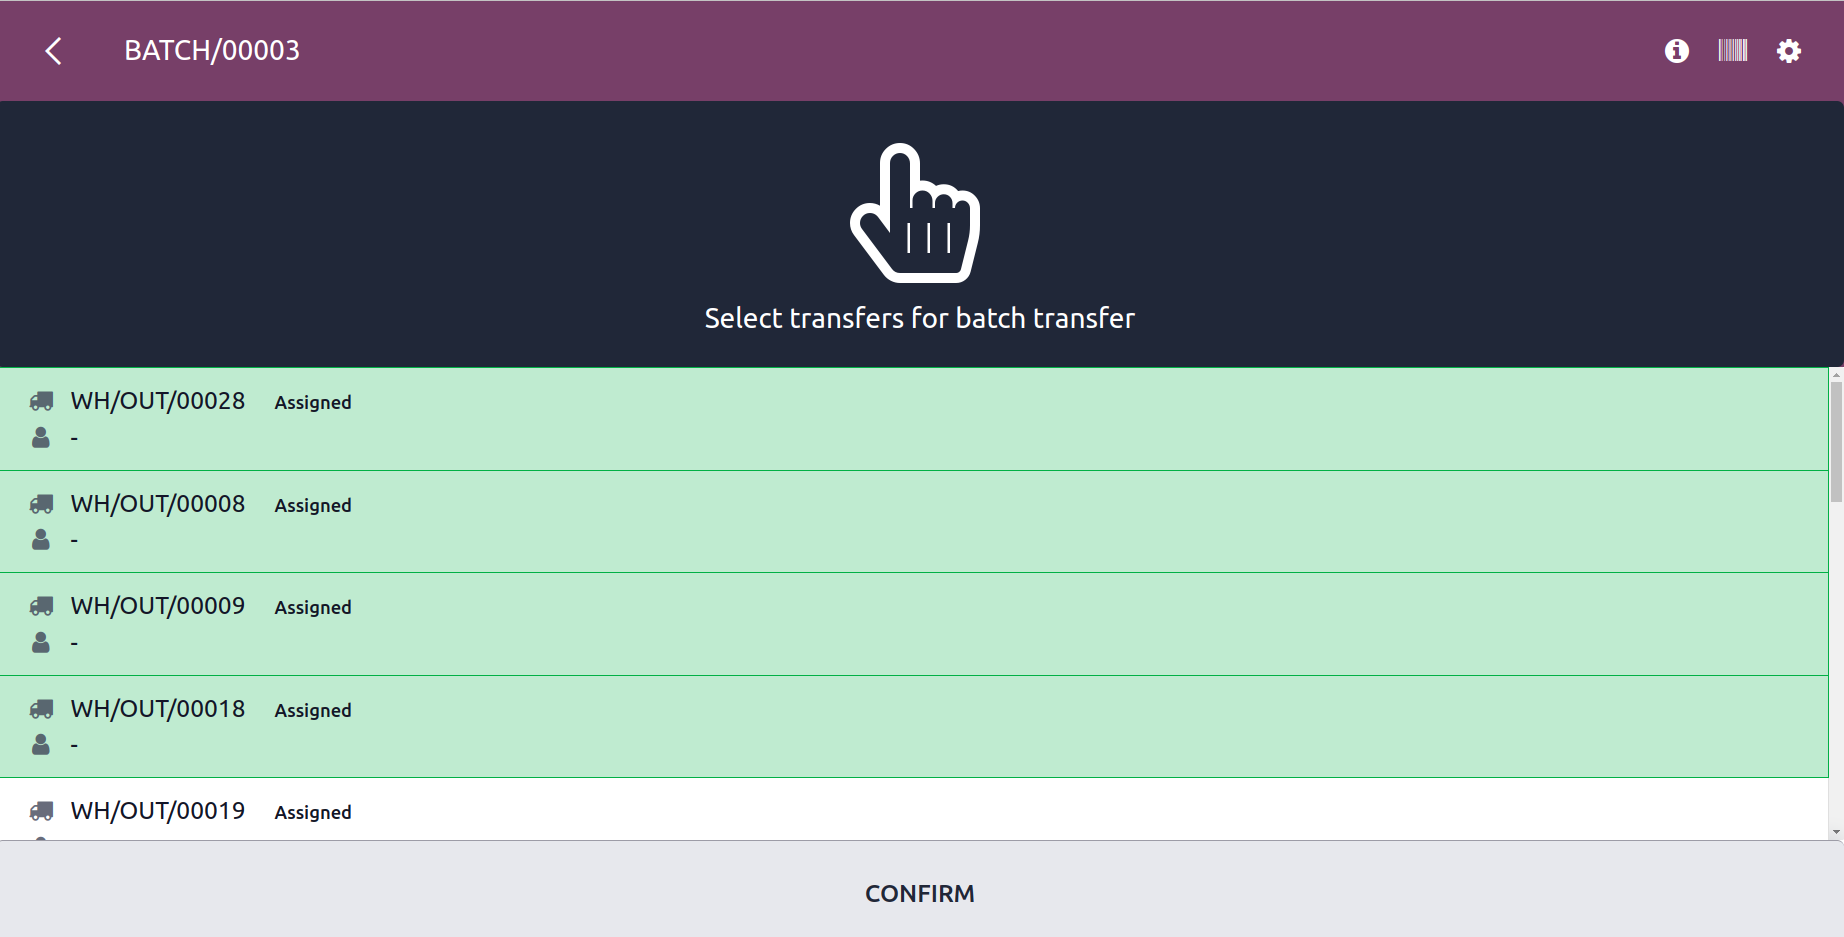
Batch Transfer
This feature makes it easier to move a batch of products or a certain quantity of the designated product. It is possible to shift between work centers.
Click on batch transfers to use the Odoo 17 batch transfer feature.
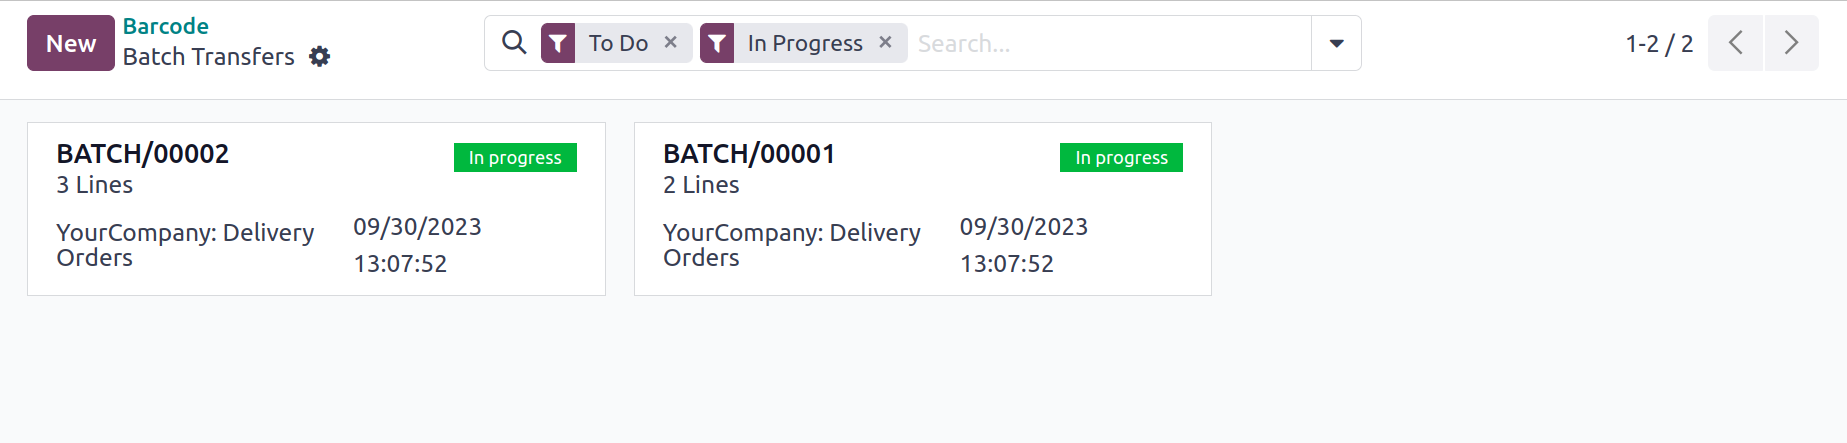
The user can view previously produced batches here. By selecting the New button, the user can also create a new batch.
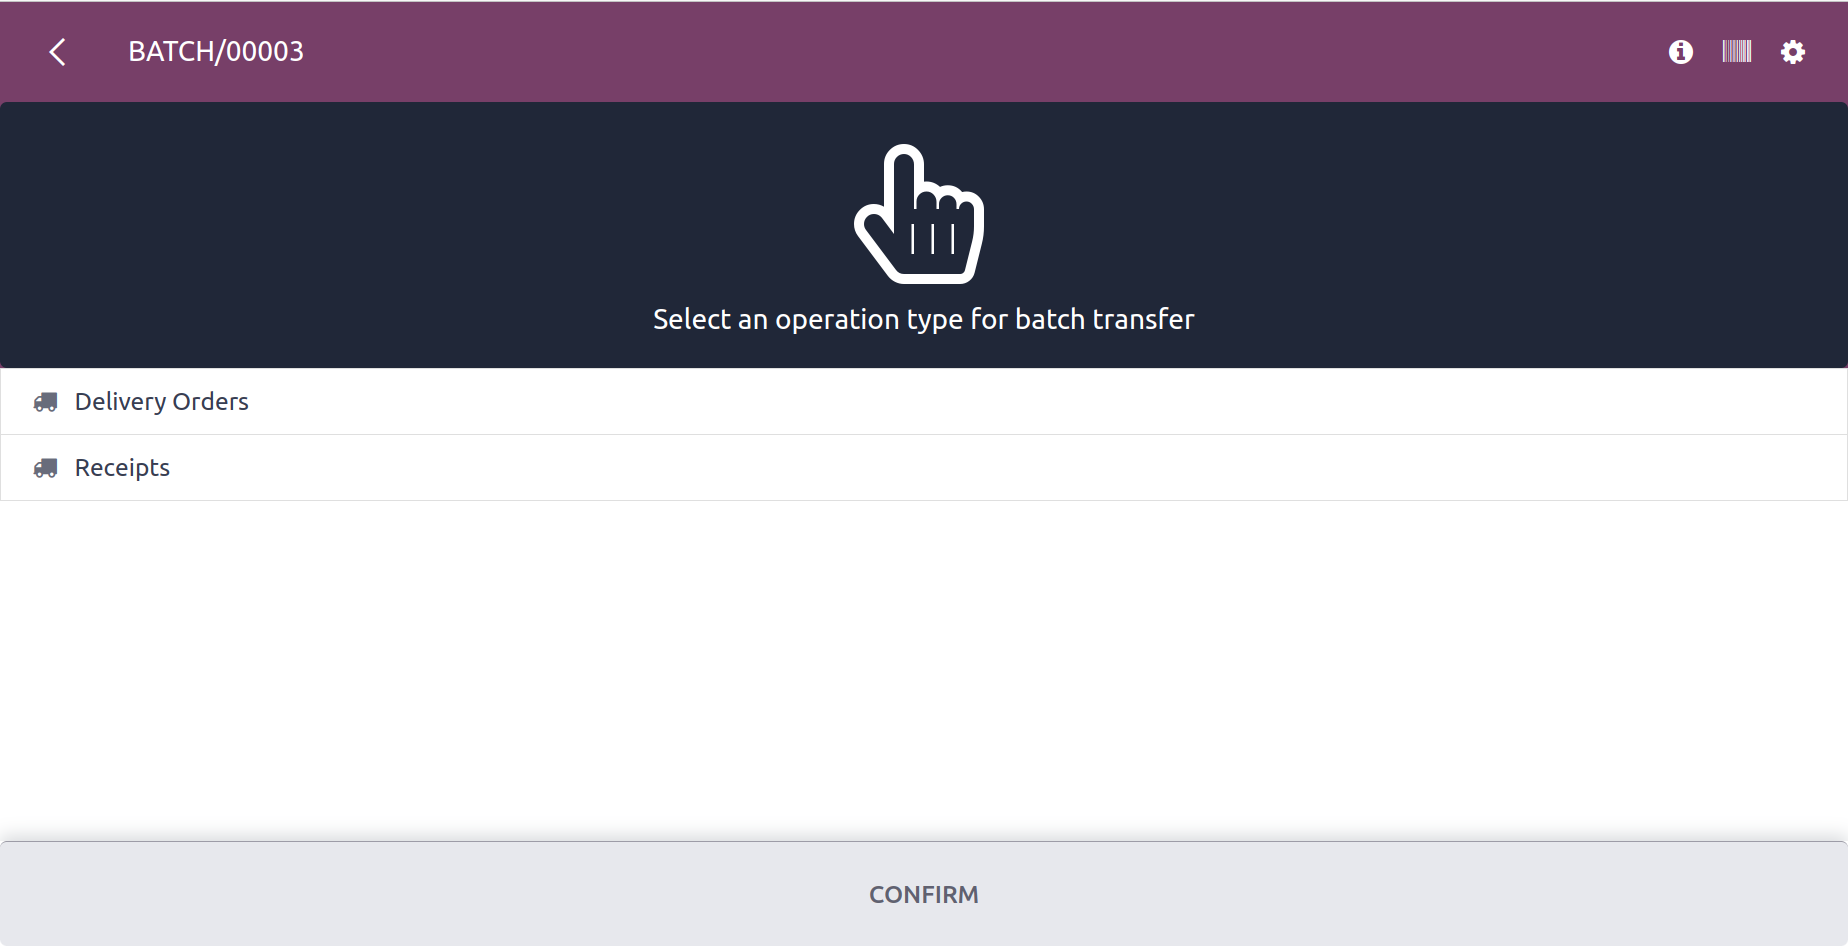
The user will see the window shown above after clicking create. Any of the two operations can be chosen by the user here for batch transfer. Delivery Orders and Receipts are two of the aforementioned procedures. Choose the desired choice, then click "confirm." We have chosen the delivery order option in this case. The user will receive all delivery orders they have ever created upon clicking this.
The user may choose the necessary order.
When you confirm the procedure, a new window will appear.
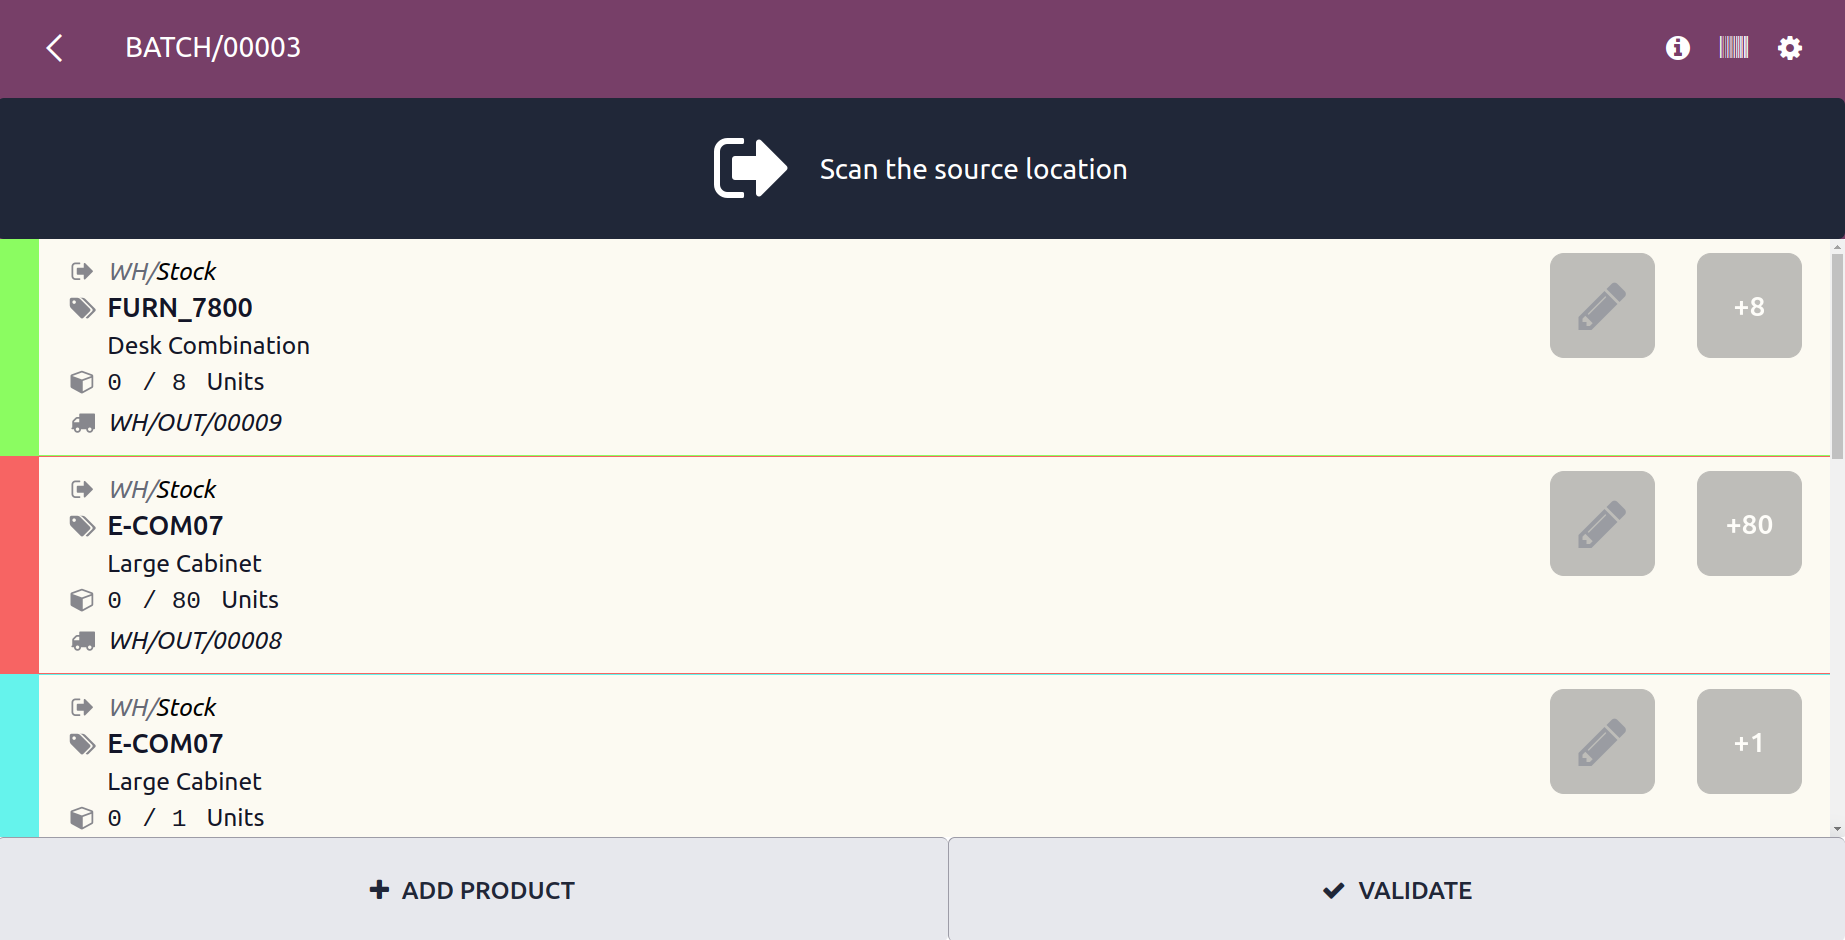
The validate button is not green in this instance because fewer products were selected than was necessary. In order to fulfill the criteria, the user can now click the +1 button located on the right side of every product. The validate button then changes to green.
The user can then click the validate button to finish the procedure.
To sum up, the barcode module in Odoo 17 offers a smooth and precise method of tracking and managing products along the supply chain, which simplifies inventory management and improves operational efficiency. Businesses looking for efficient control and visibility into their inventory processes may be assured of a comprehensive solution thanks to its connectivity with other Odoo 17 modules.