Publish Specific Content for the website
From the front end of the module, Odoo17 website users can quickly generate and publish
custom content for the company website. This may be applied to a wide range of tasks,
including product descriptions, blogs, forums, and many other things. Regarding the blog
post, the platform enables you to complete it from the front end, including the details.
Additionally, you have the option to change the views and attributes. You can then post
them to the website using the system. Likewise,
you can think about the job description, the forum, and a tonne of other items.
Page
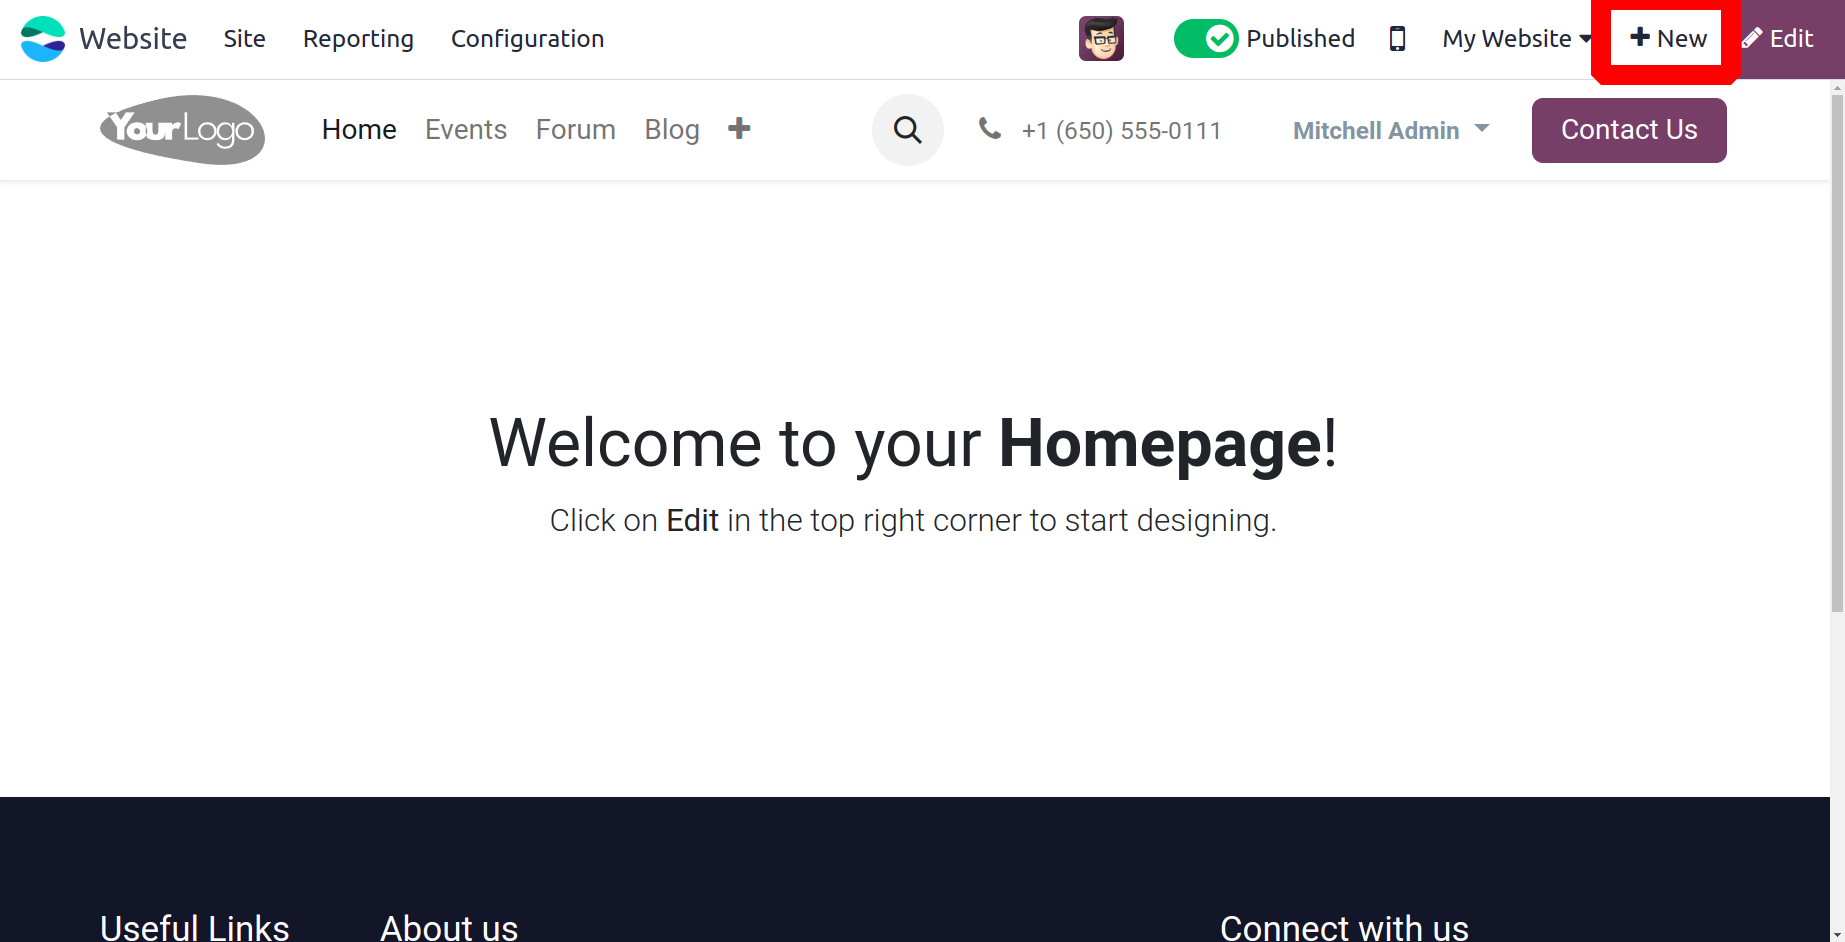
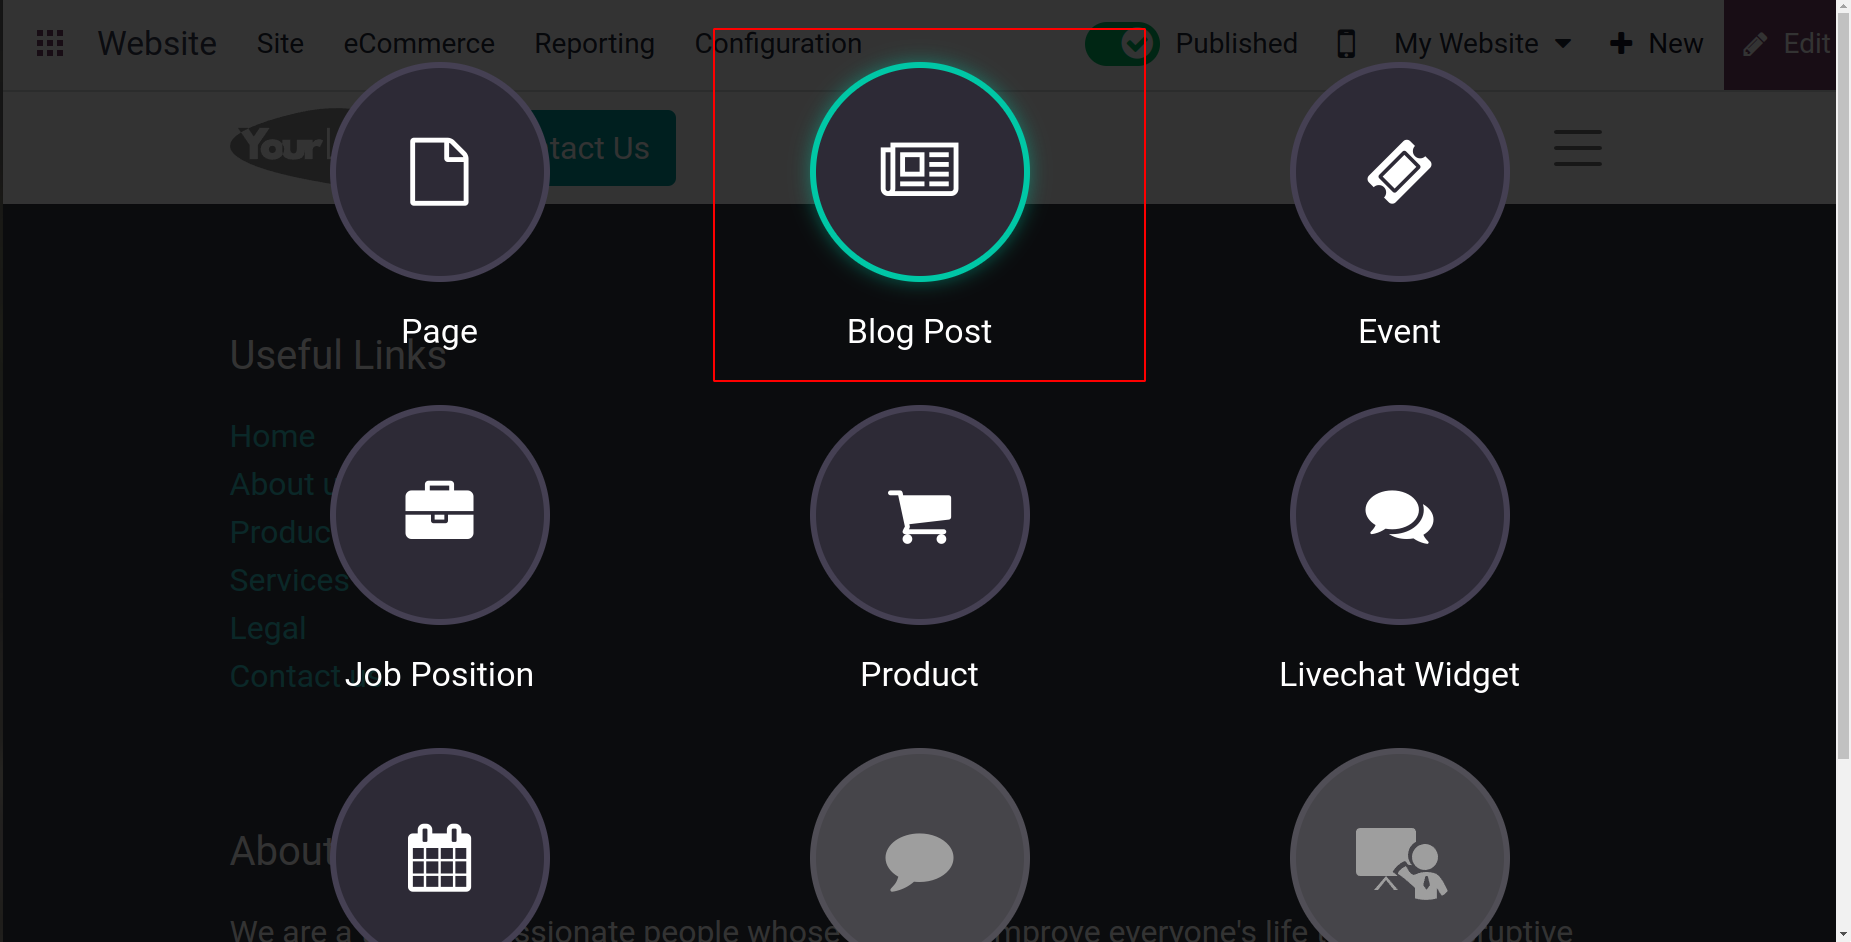
On your website, you can see the +New button next to the edit button, as seen
in the illustration below. The icons for posting particular content on your website will
appear when you click on this button.
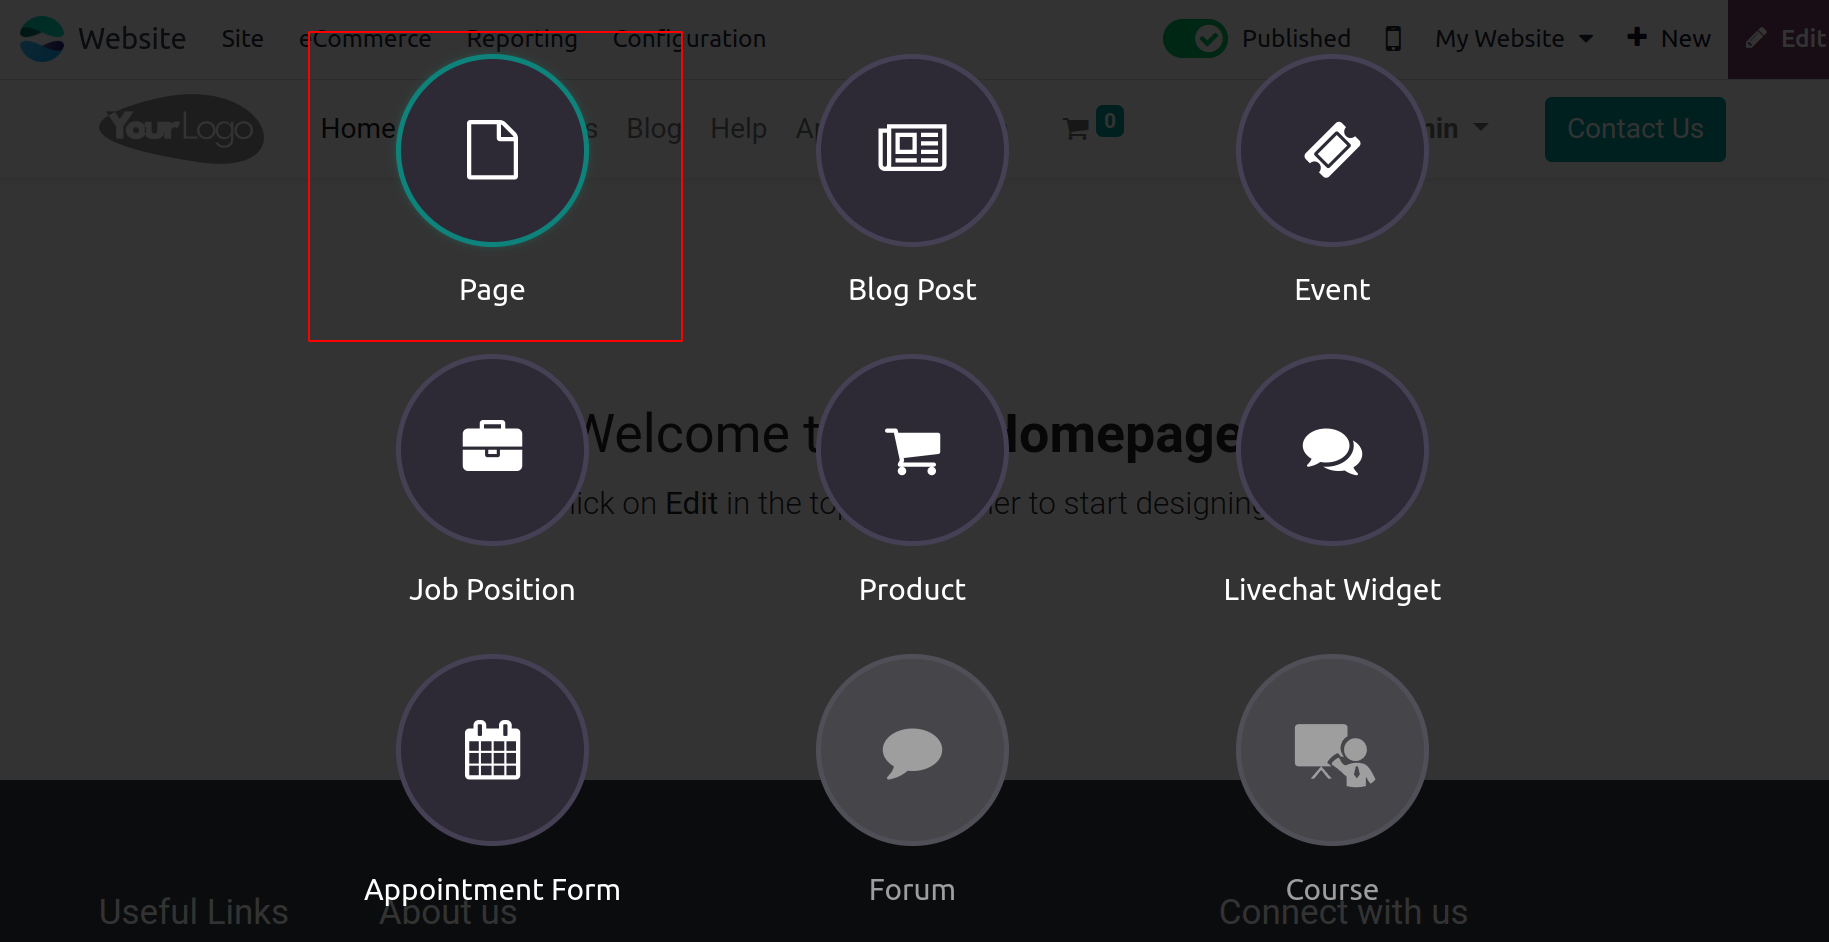
You can use the Page menu to create a new Page for your website. When you click on this
symbol, the pop-up window pictured in the image below will appear.
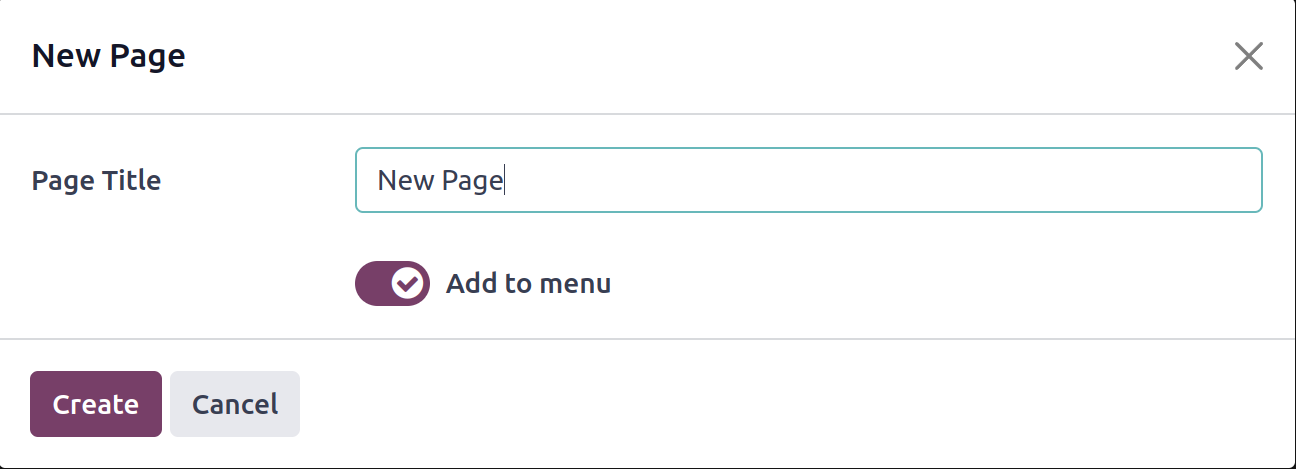
You can enter the Page Title and activate the Add to menu area in this pop-up window. You
can later select the Create button from within the same window. This will cause the
newly created page to appear on the website module's main taskbar.
You may also use the Odoo17 system to construct and manage web pages from the back end.
You can accomplish this by choosing the Manage Pages option, which is available in the
Site tab.
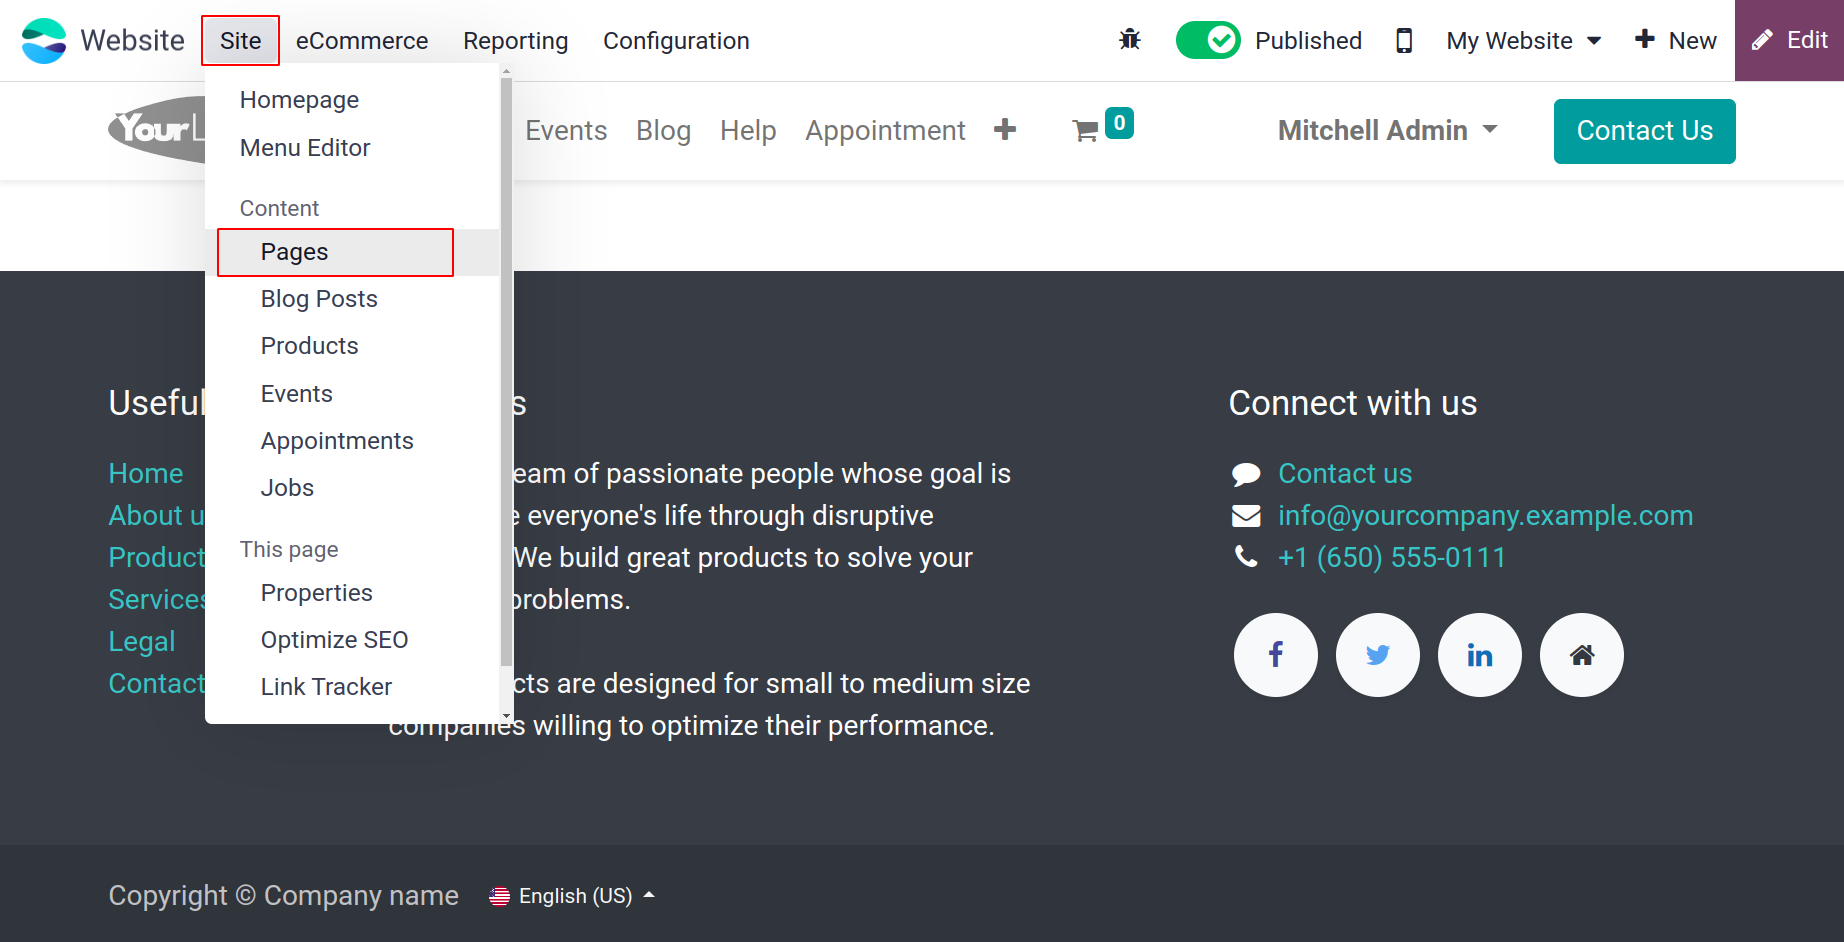
This menu will open a Manage Your Pages window, as seen in the illustration below, when
you click on it. This window offers many management tools, including the ability to Is
Indexed , Is Published , and optimize SEO operations. This window allows you to manage
each page of your website independently. The details of each internet page can be
visited to access these alternatives. You may also see the options in this box that
describe the page's
inclusion in the main menu, publication status, search engine indexing status, and SEO
optimization status (checked or crossed).
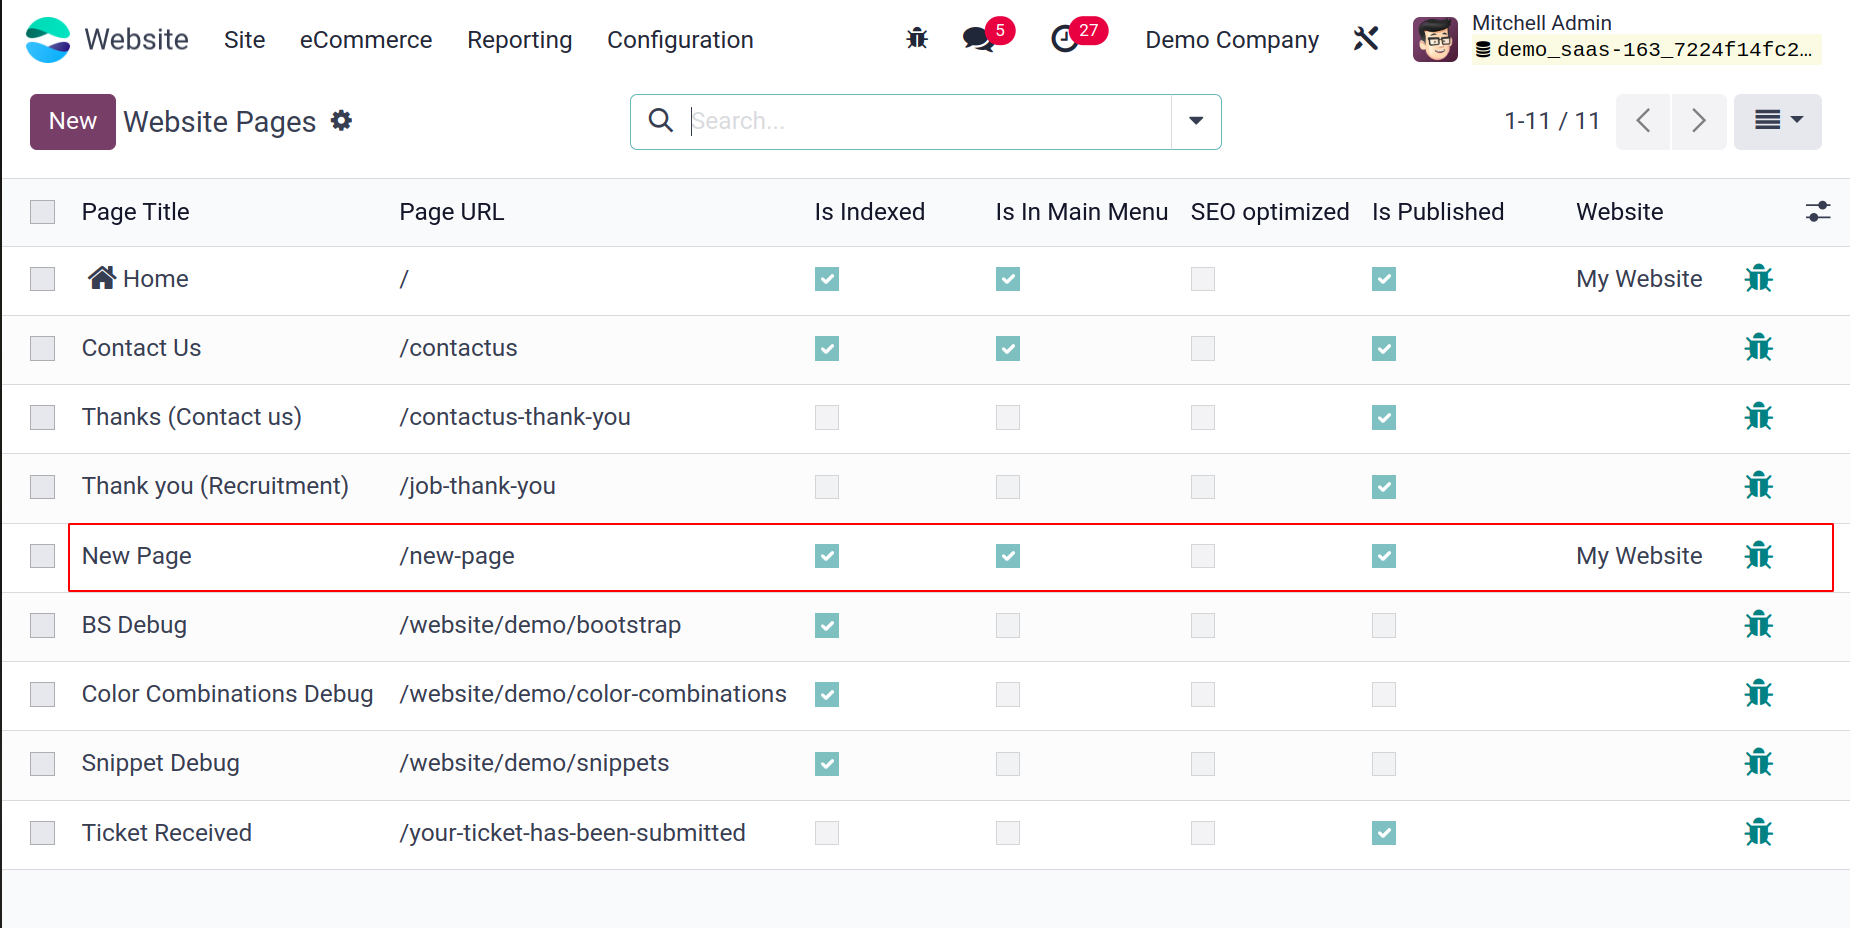
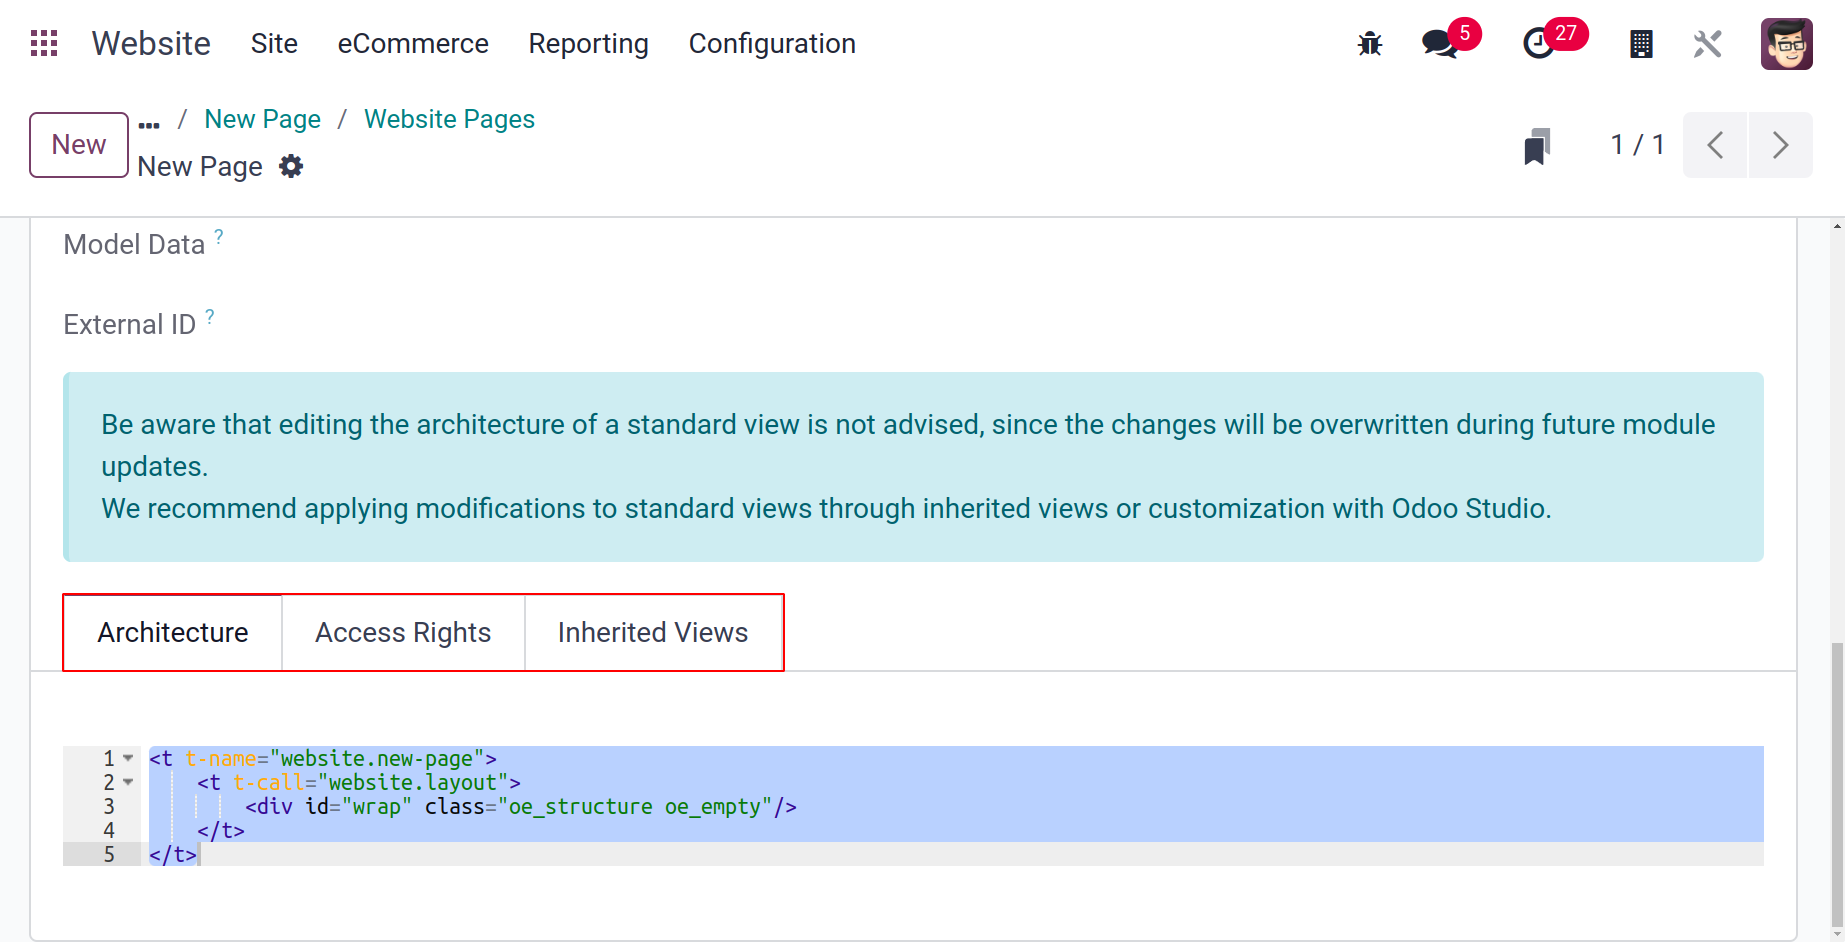
A previously created page is available there. A new page can be created by clicking the
New button. Which is similar as said before. Click on the icon marked on the below
screenshot to edit the created page.
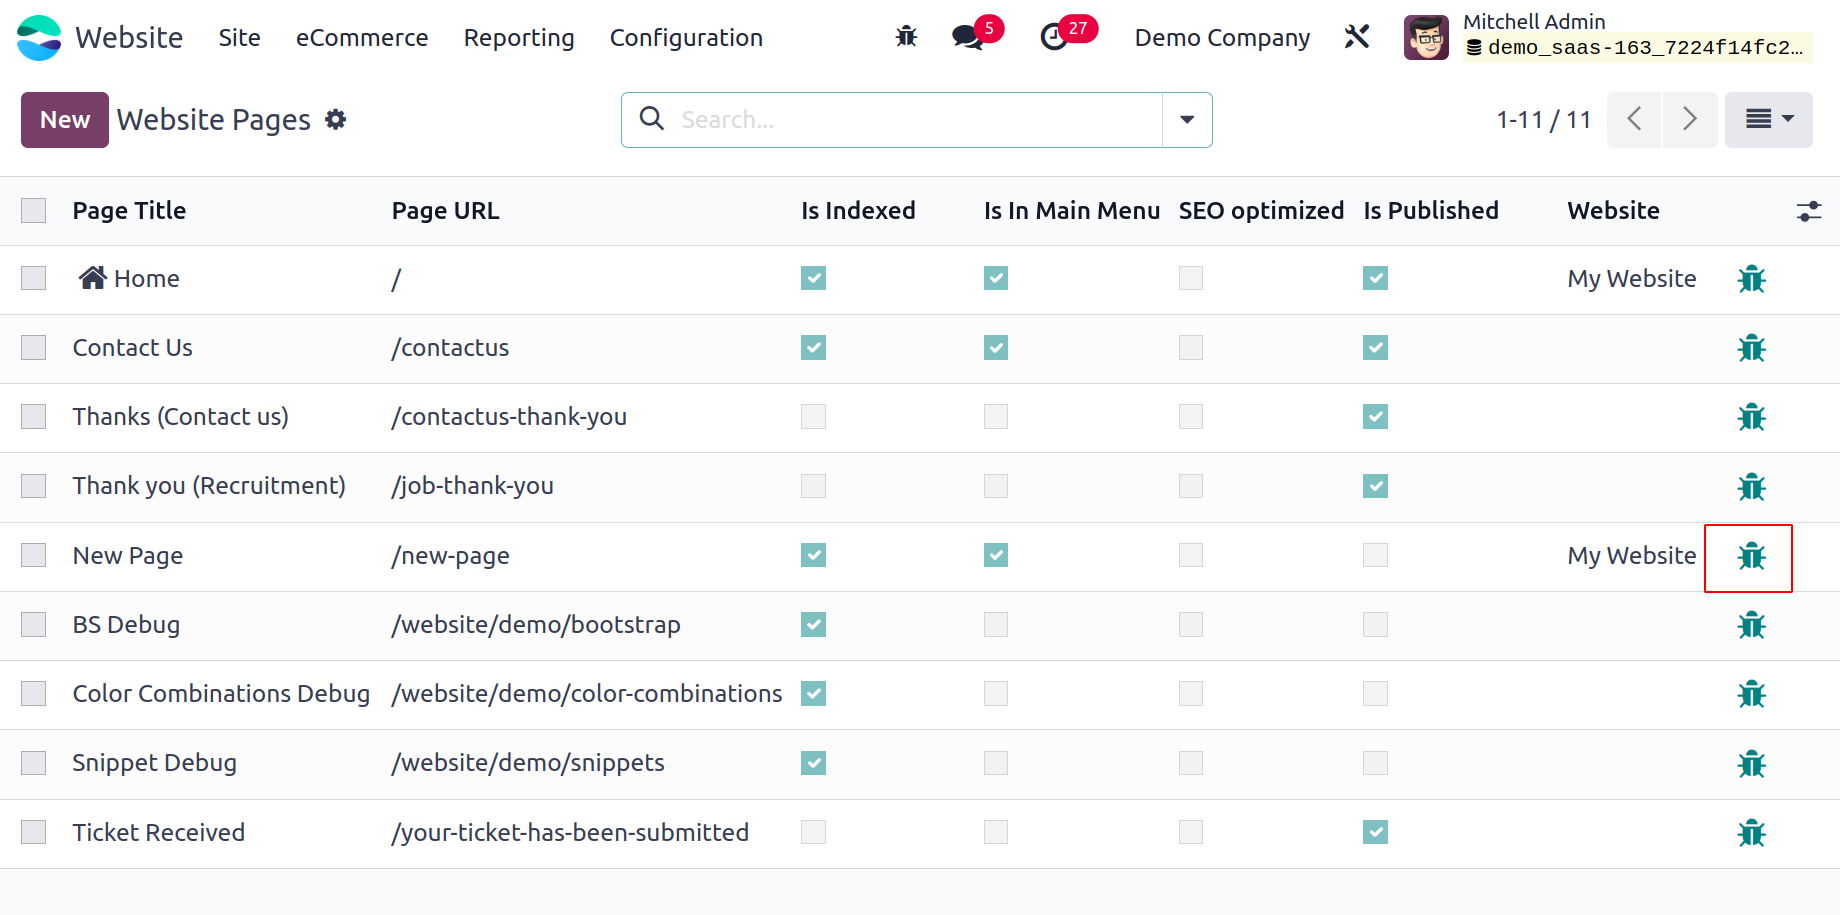
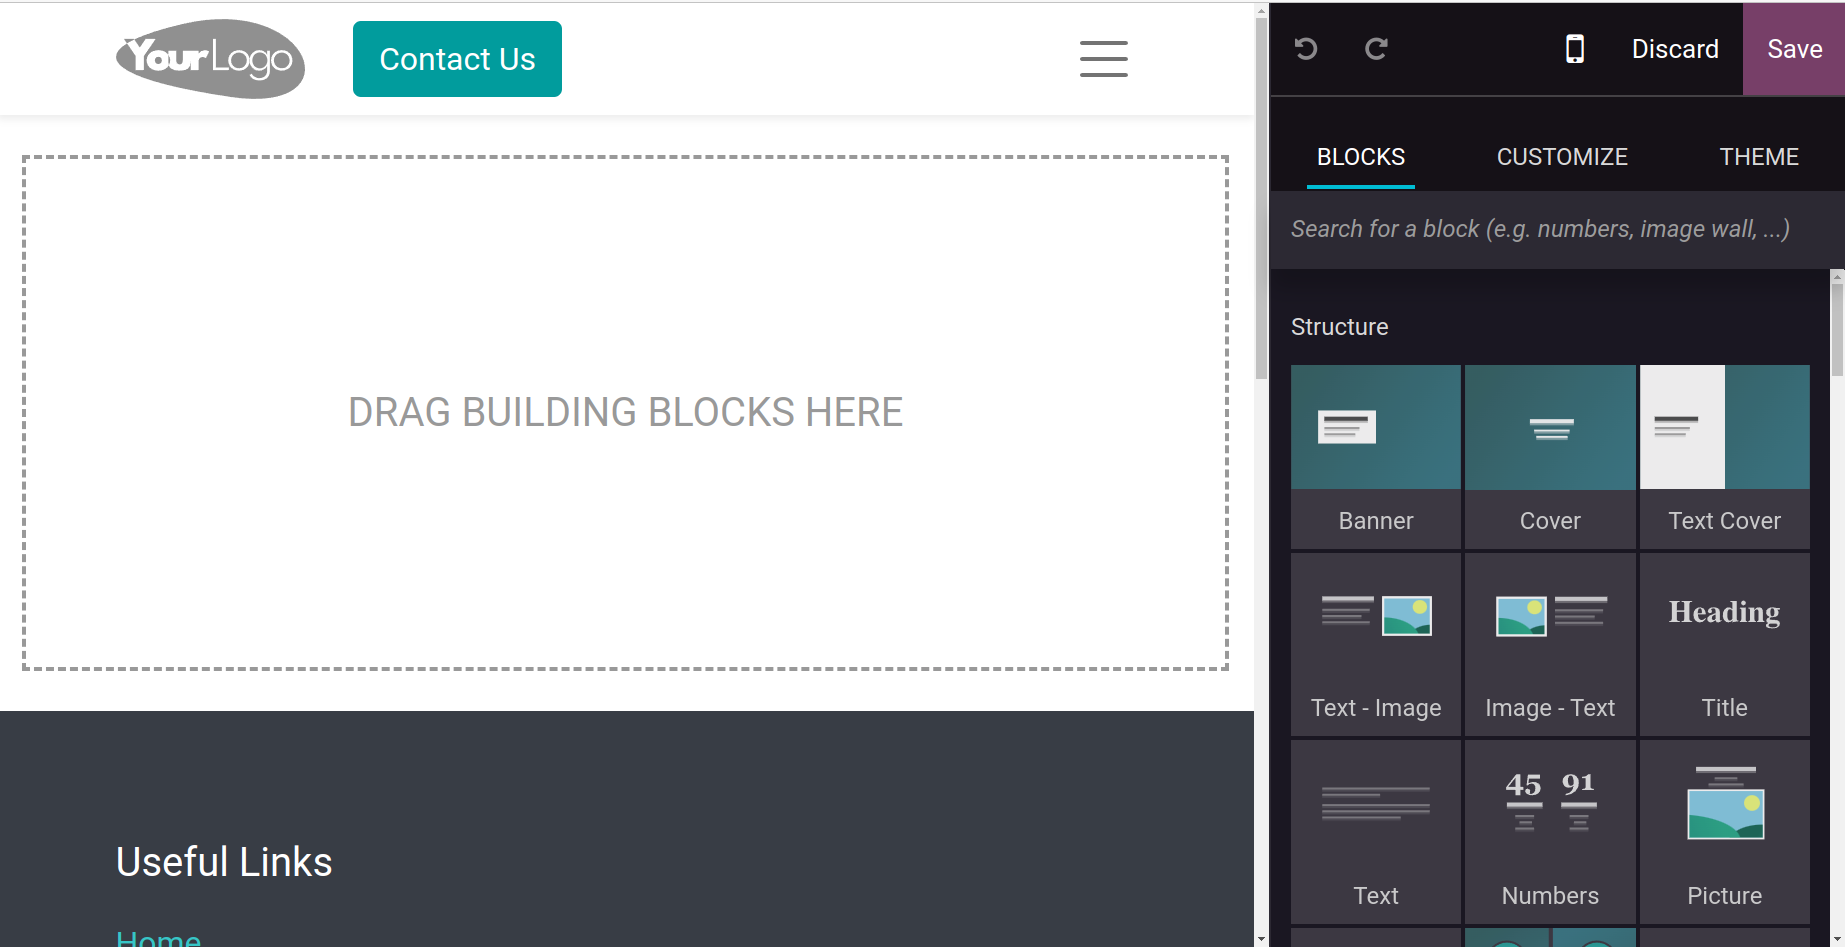
Then the opening page contains the page details.
The Architecture, Access Rights and Inherited Views of the page can be viewed here.
Blog Post
Likewise, you can choose the Blog Post menu item to start a new blog post for your
website.
You can now see the pop-up and choose the type of Blog Post.
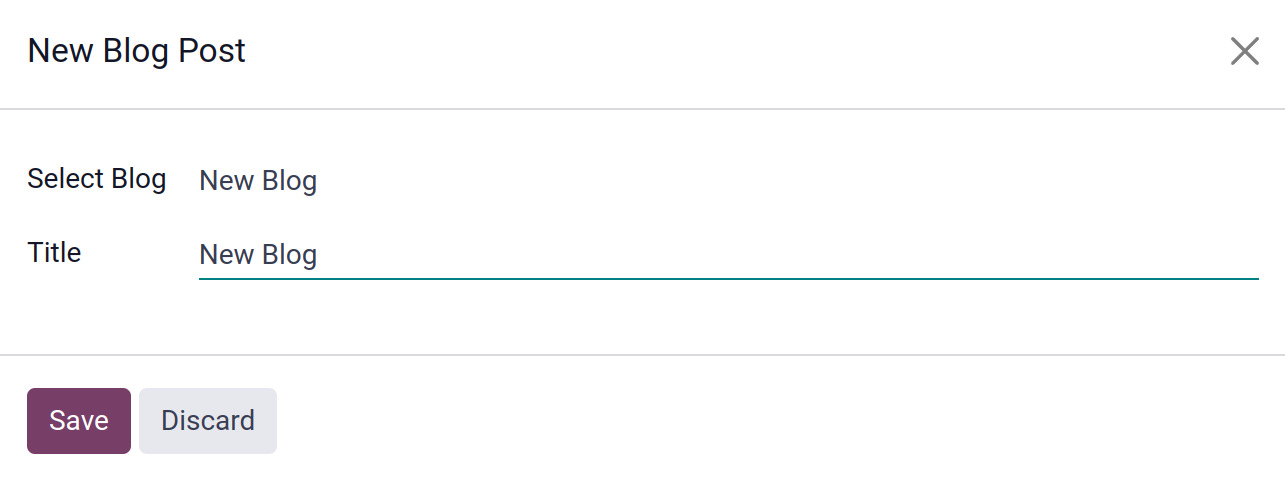
Click the Save button afterwards. You will now be given a fresh page on which to draft a
new blog entry.
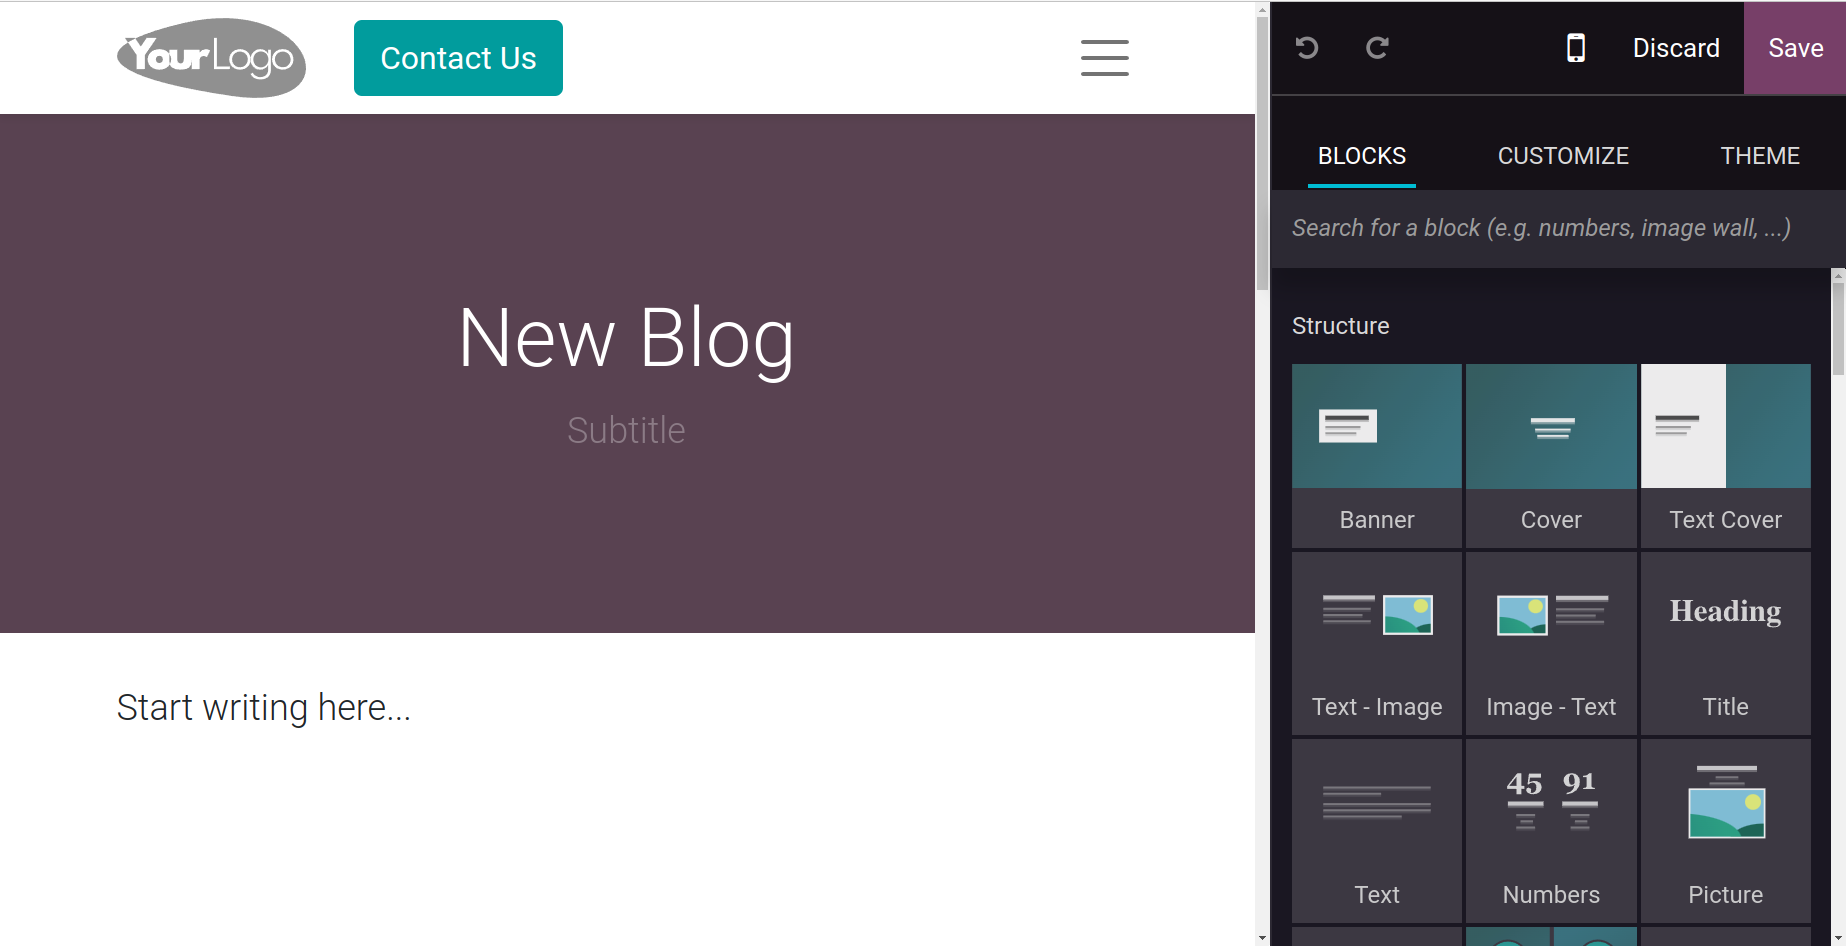
You can write a title and, if necessary, a subtitle here. After that, you may get to work
on creating blog posts. On the right side of the page, you will find the options for
creating your new blog page. These editing tools might help you create a more appealing
blog.
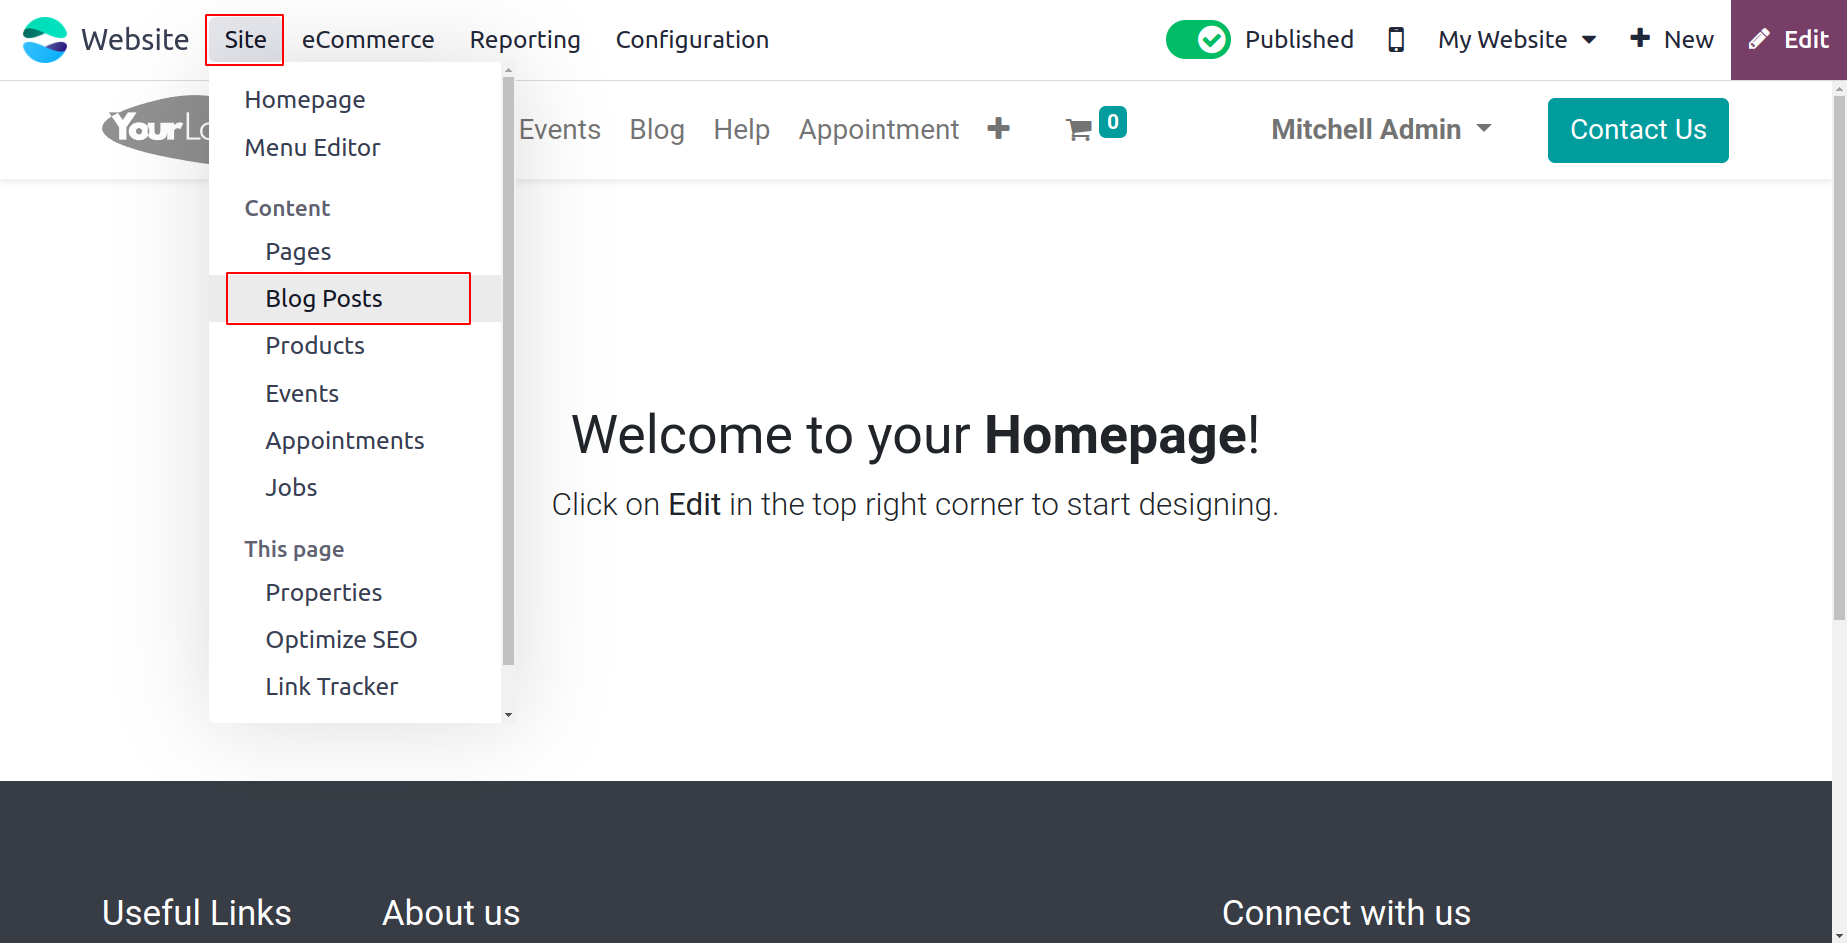
Let's open the Blog Posts pane to view it. To view the Blog Posts pane, click Blog Posts
from the Site menu.
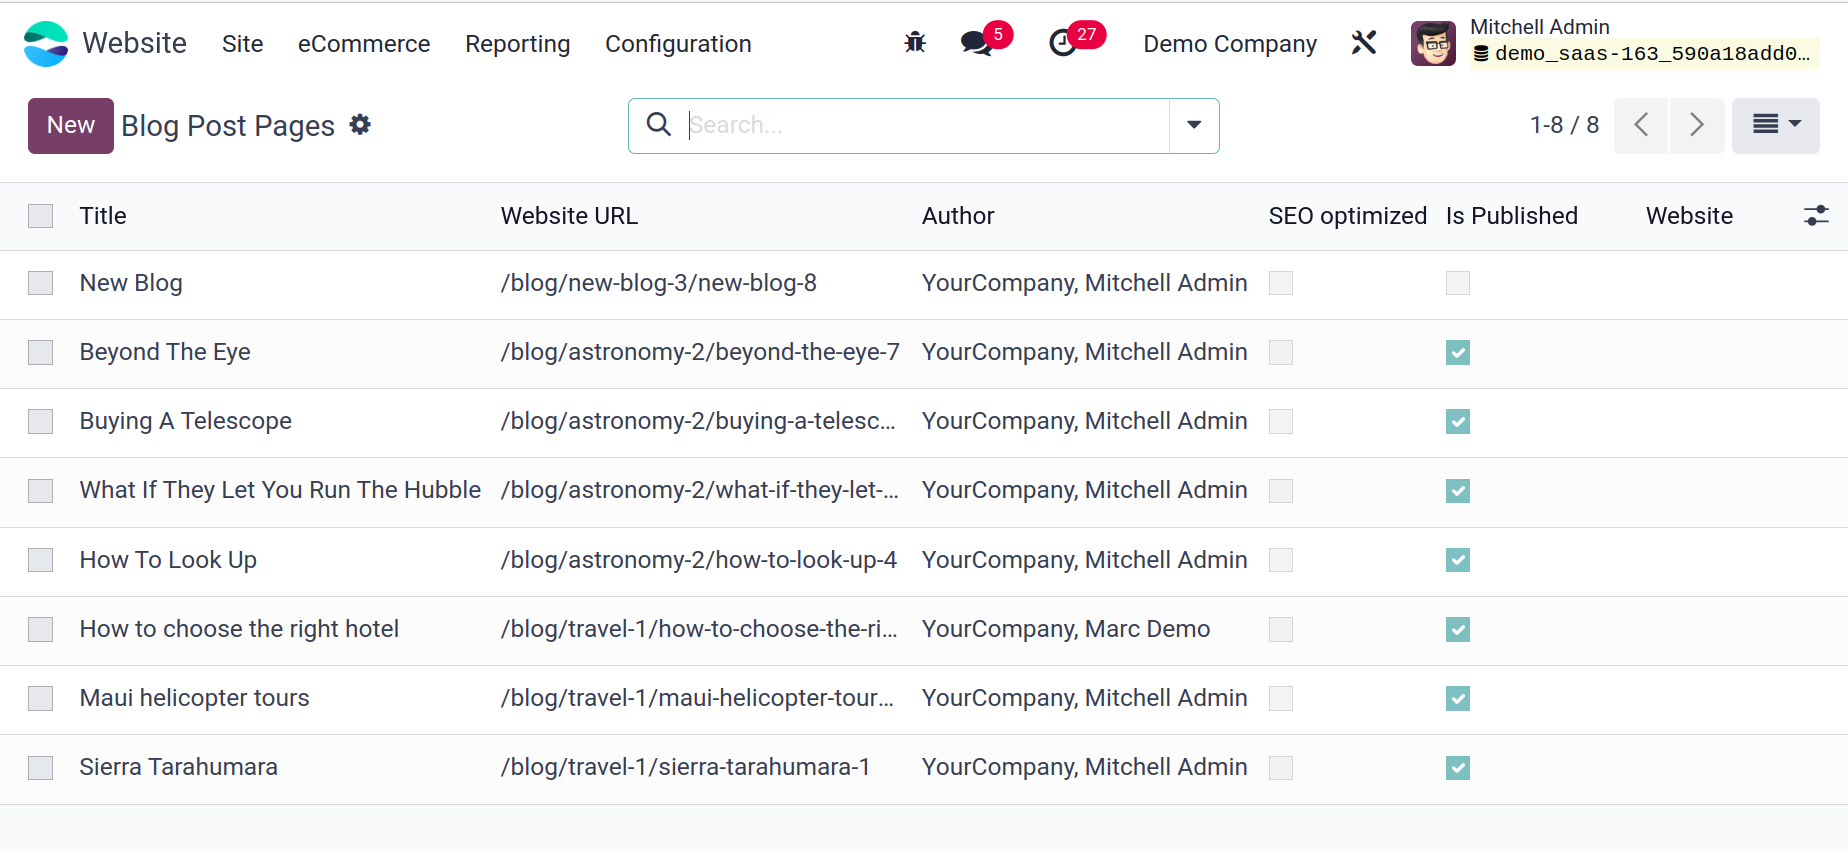
Every blog post that is detailed on the platform will be seen in the Blog Posts window.
All the necessary details, including Title, Author, Blog, Website, Views, Last
Contributor, Last Updated Date, and Time, are provided. Below is a screenshot of the
window's List view.
You may examine the details in Kanban format with Odoo17 as well. To access the Kanban
menu, click on it, which is located in the upper right corner of the window. The pane
also has default and custom Filters, Group By, Favorite, and Search options, which will
help you greatly in easing the process of finding, filtering, and organizing the blog
entries that are listed.
You can click the New button in the upper left corner of the window to start writing new
blog posts. You will now see a window for creating blog posts. This window allows you to
create and edit new blog entries.
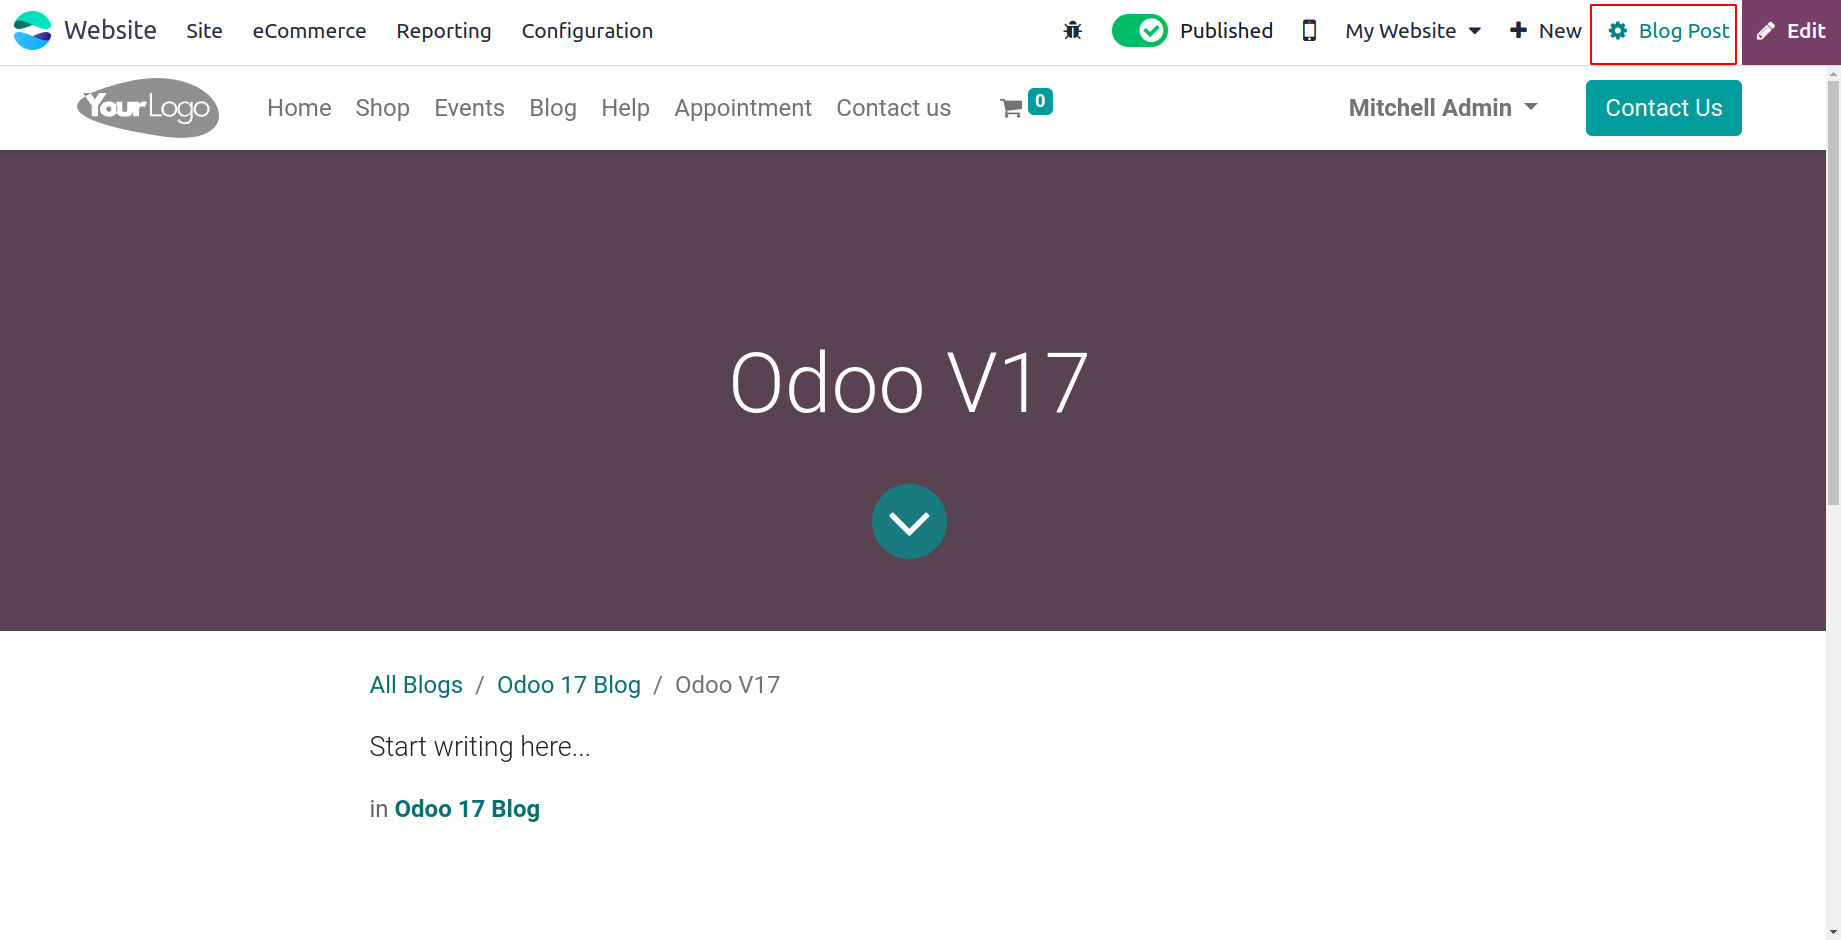
To edit the Blog Post click on the Blog Post button placed on the upper left corner.
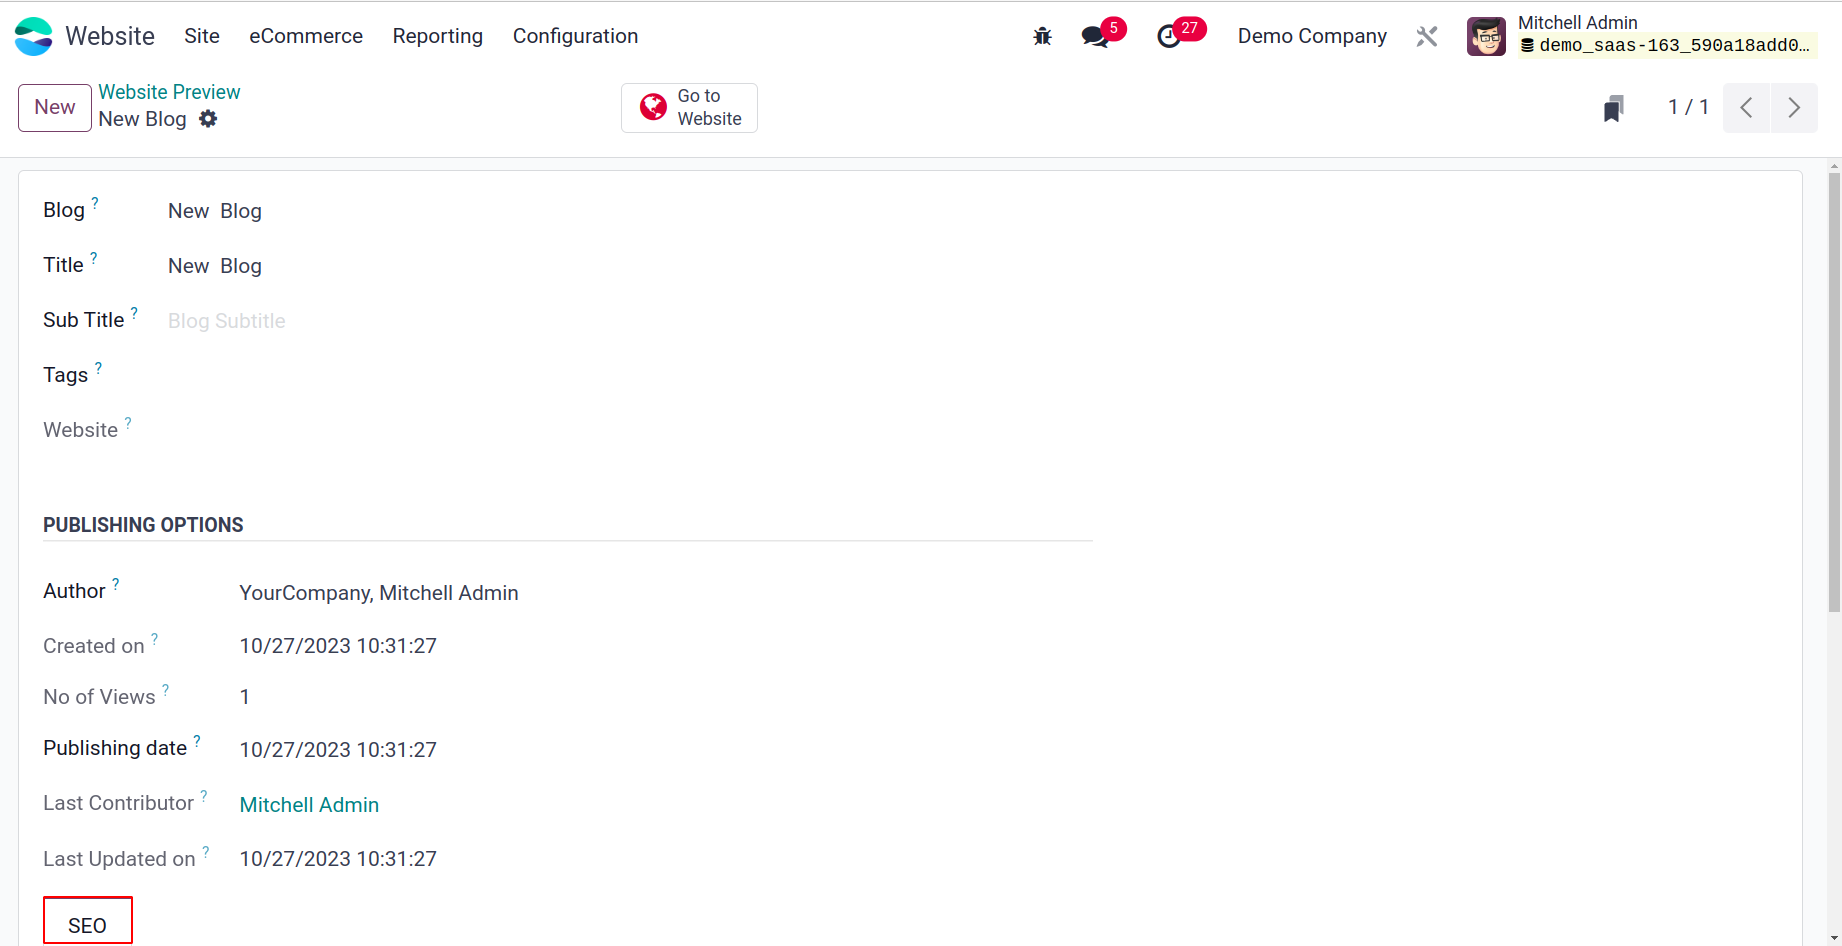
You can fill out this form with all the necessary information. Initially, you can specify
the blog's Name under the Blog option. Using the available dropdown menu, you may define
it. Next, if you are using various website options, you can enter the Website, Tags
associated with this blog post, SubTitle, and Title of the blog post. You can provide
the Author Name and the Publishing Date in the Publishing Options section. If the
platform has already published
one blog post that is currently undergoing revision, you can also assign the Last
Contributor and the Last Updated On.
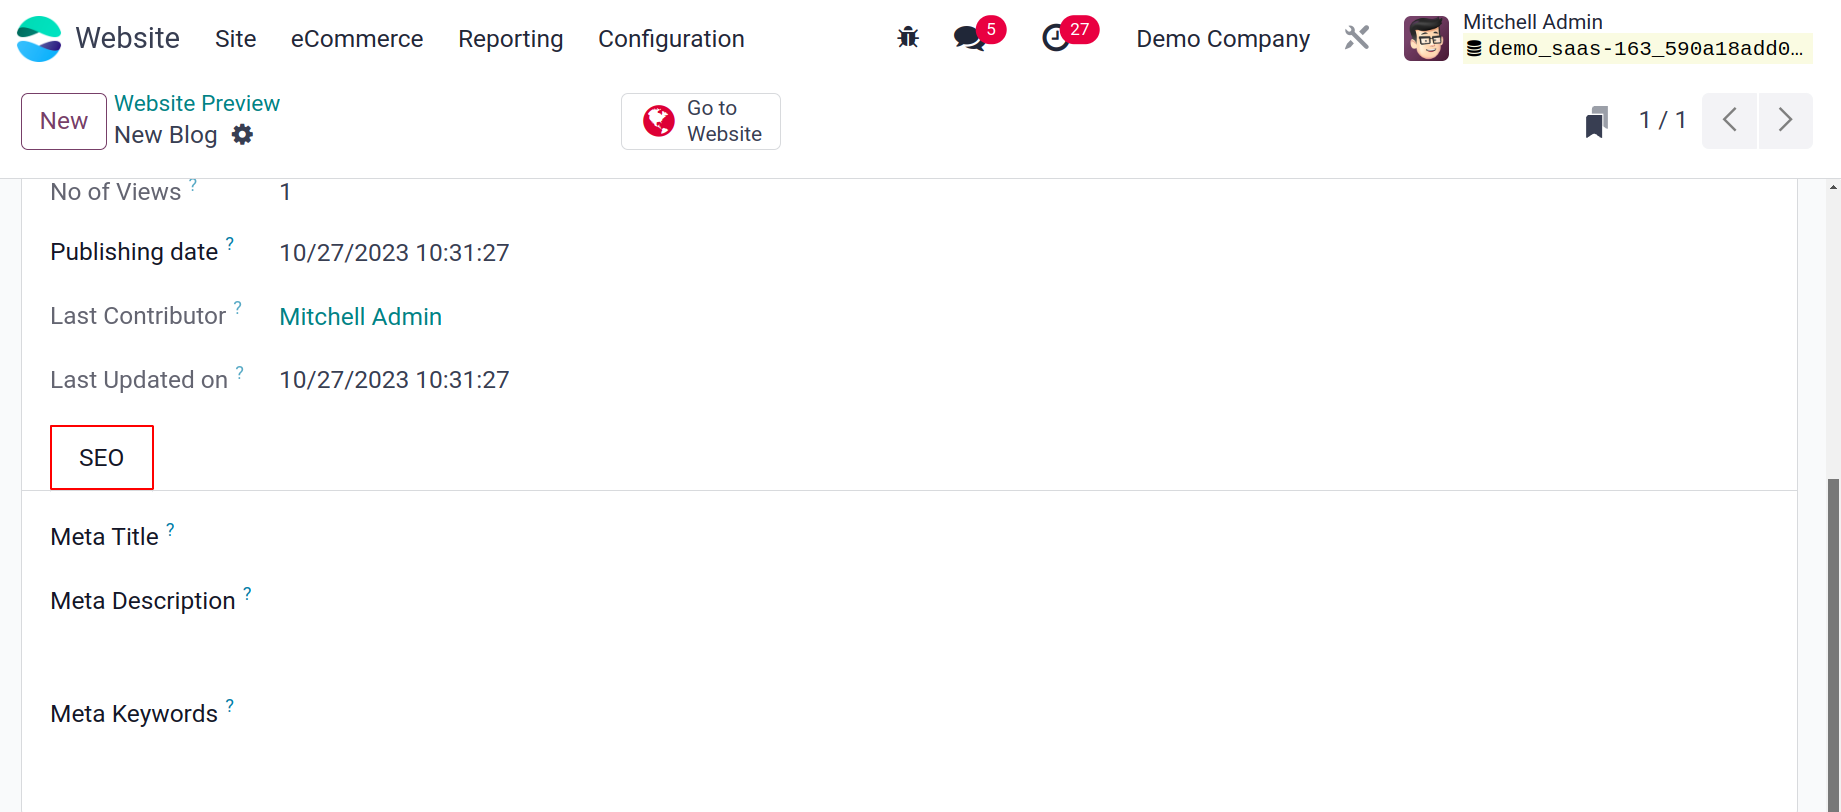
The SEO tab contains Meta Title, Meta Description and Meta Keywords.
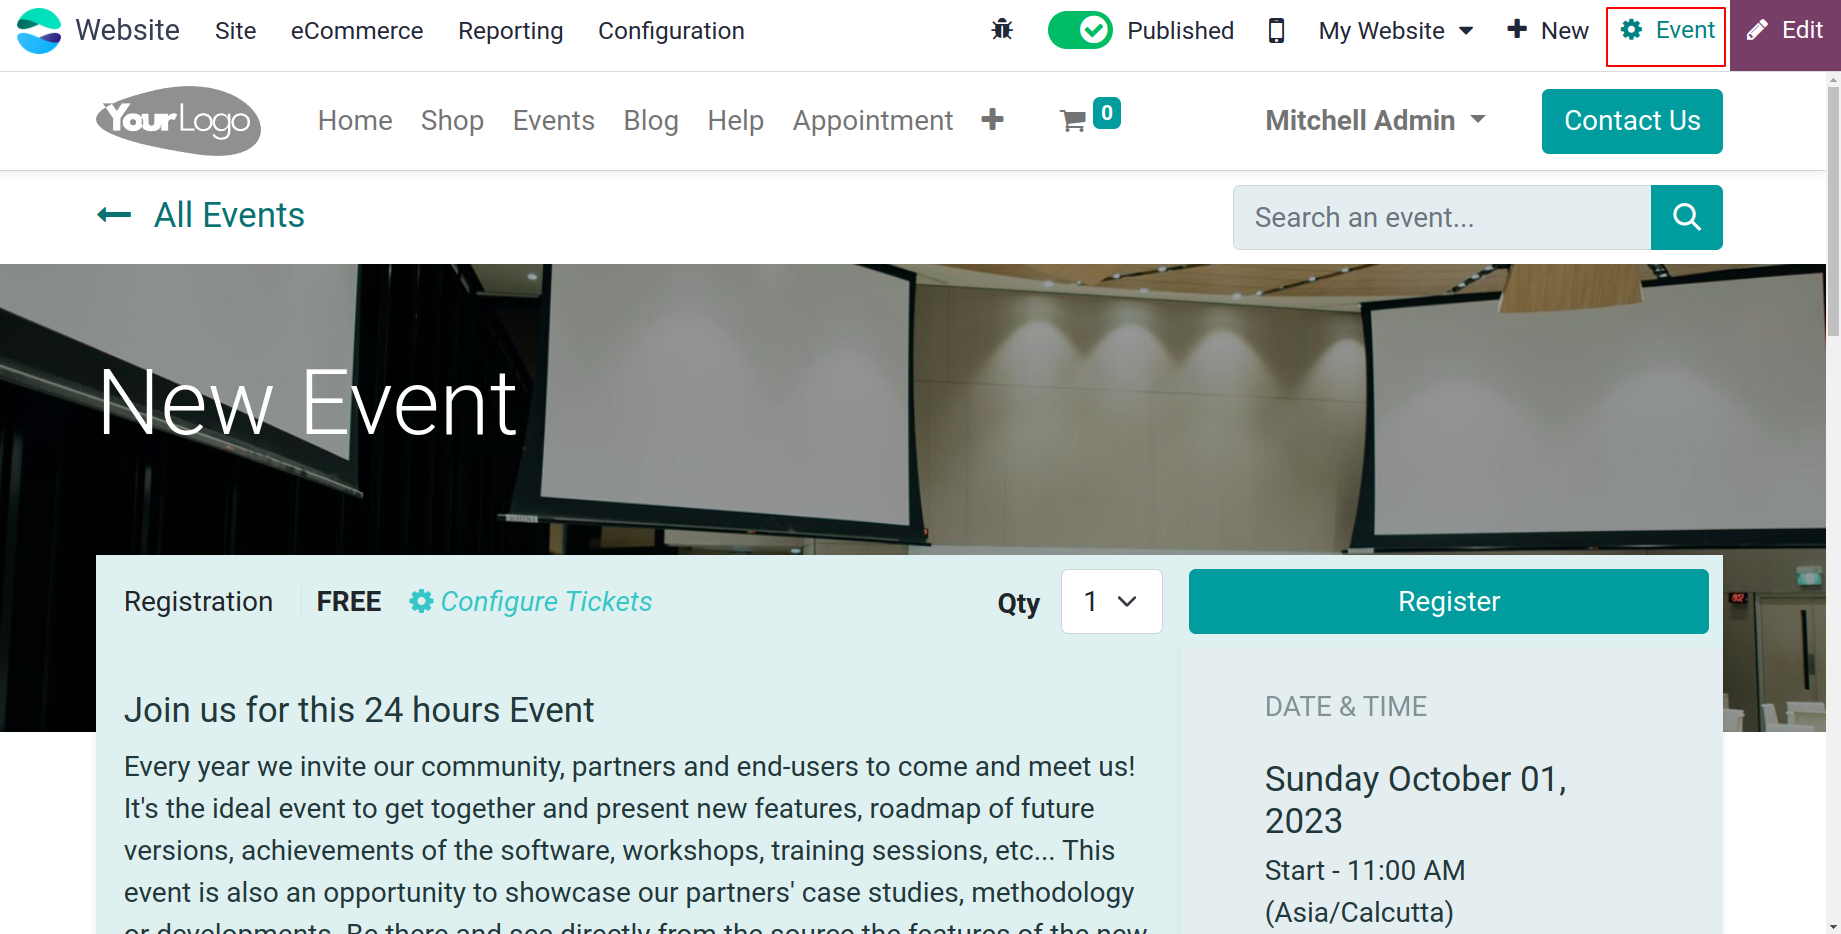
Events
You can use the Event menu to add new events to your website.
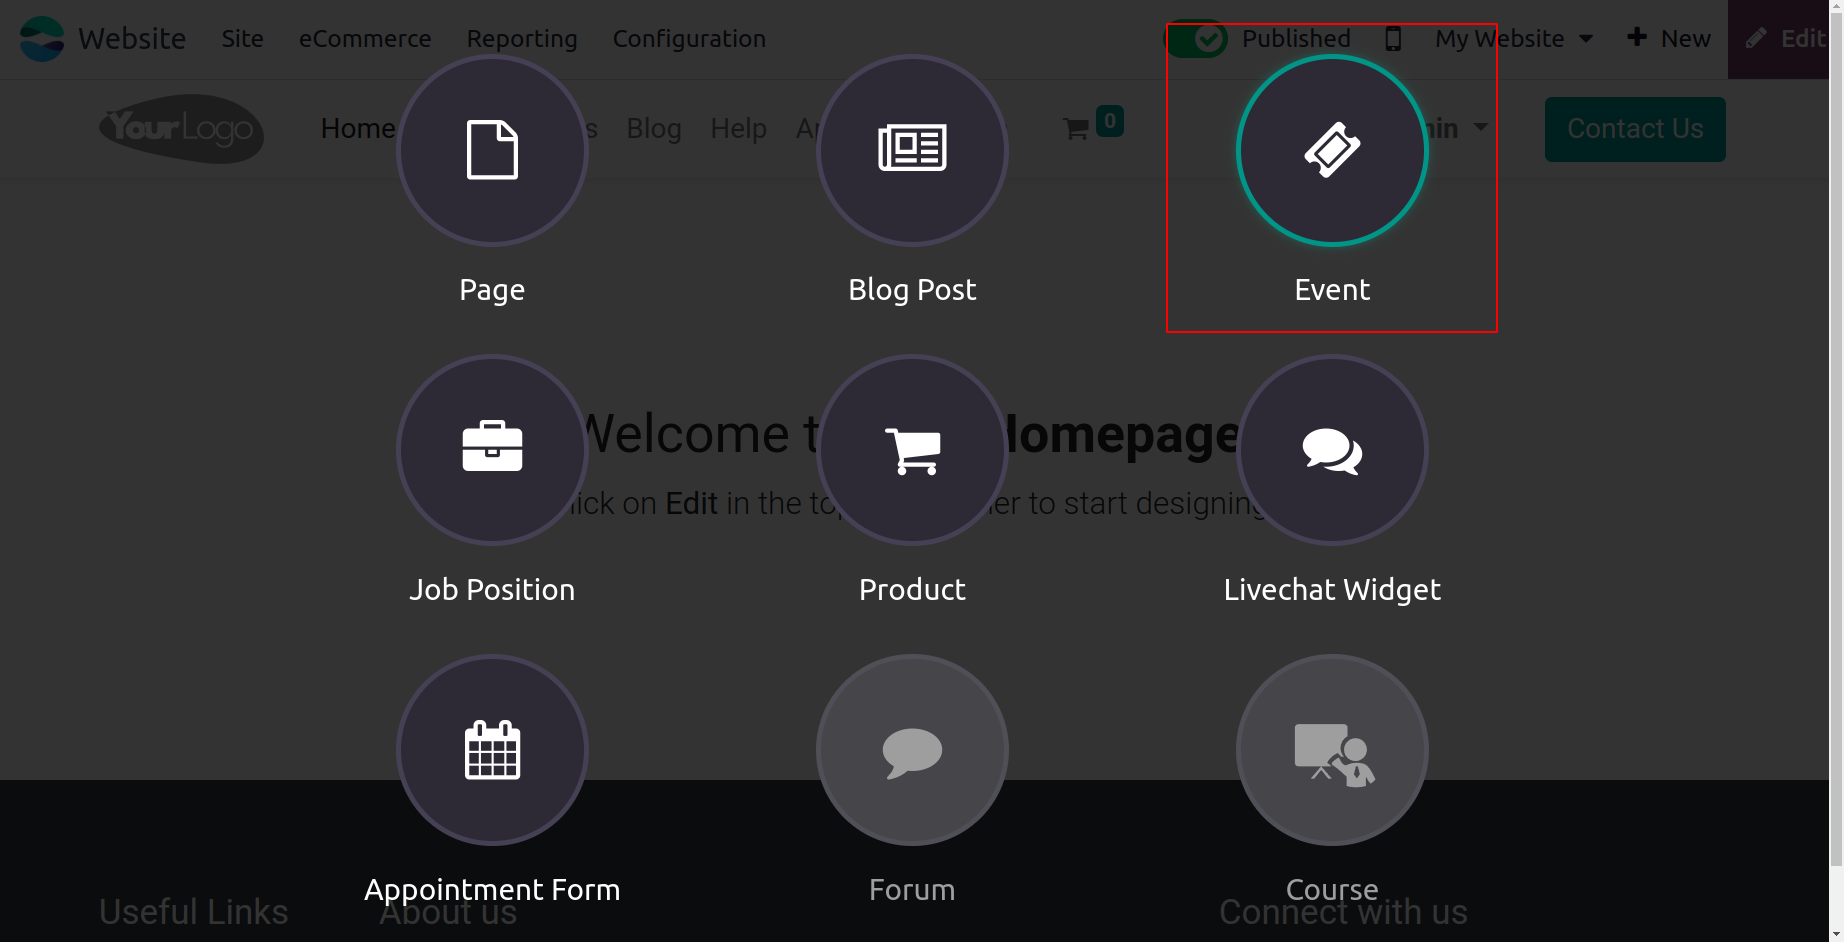
You can use the Event menu found under the +New tab to
post new event details on your website. A pop-up window will appear if you select the
Event menu.
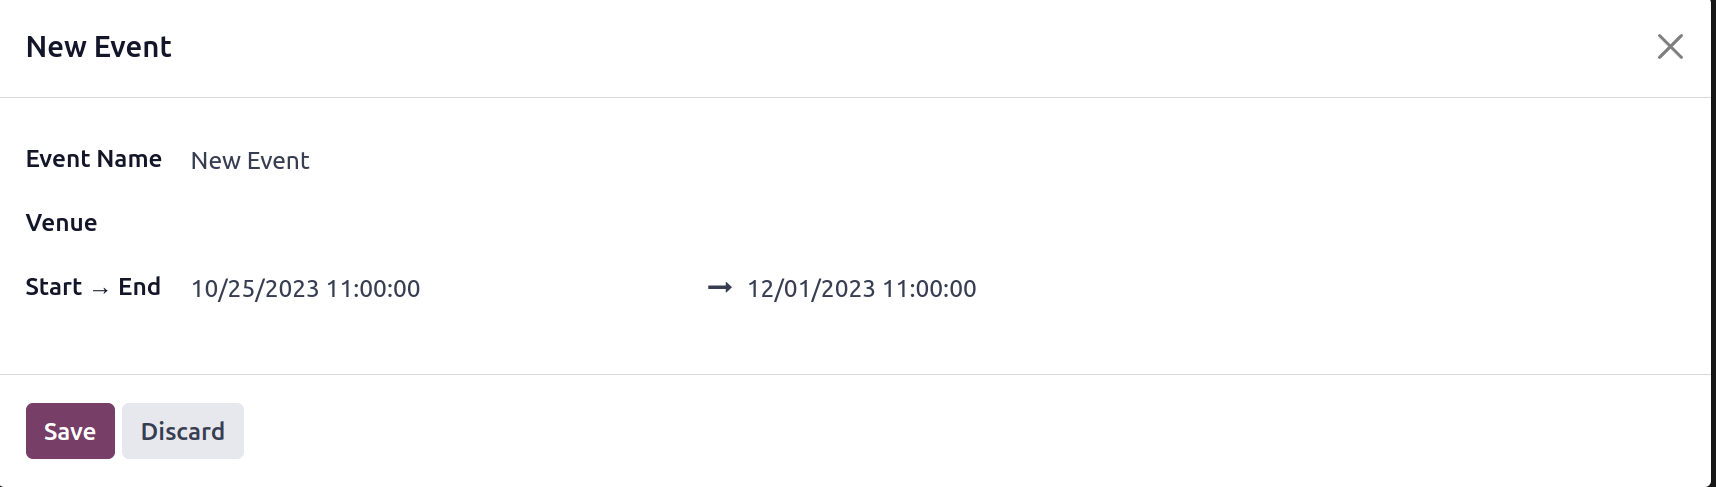
You can provide the Event Name and Venue in the pop-up window, including whether it is
online or on-site. In the event that the programme is on-site, you must supply the
venue. It is necessary
to specify the Start and End dates. You can click the Save button when you have entered
all the necessary information.
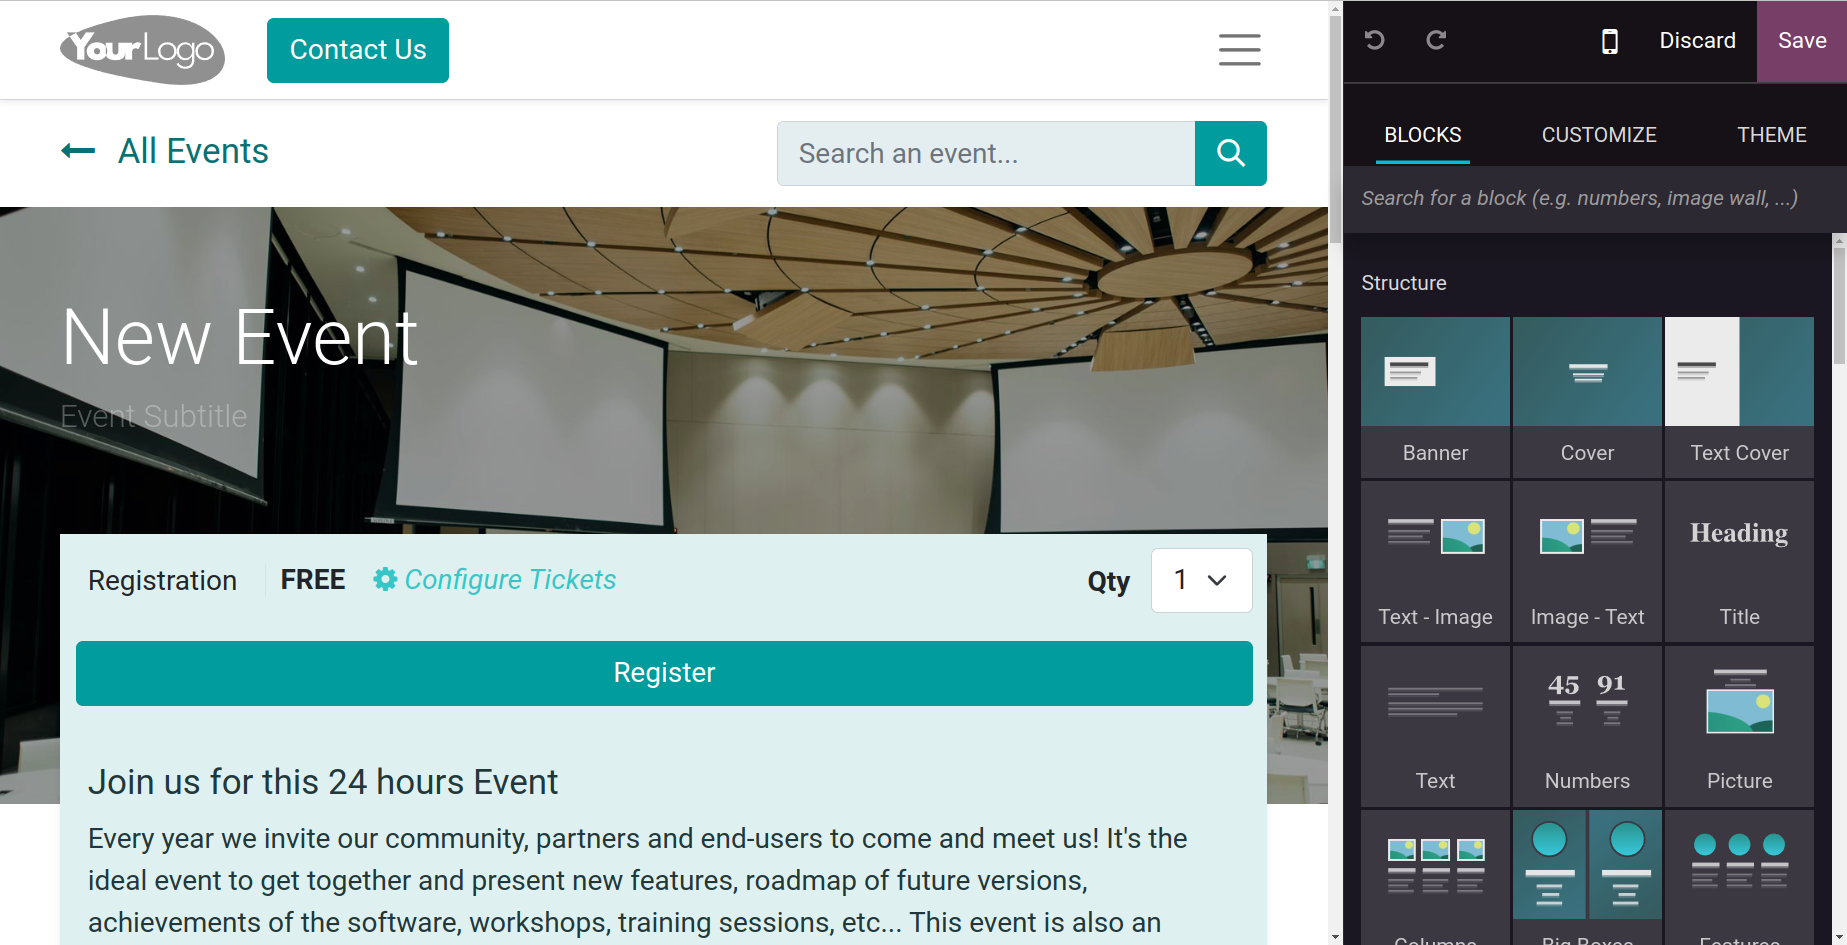
The event's name, default information, registration, quantity, configure tickets, and
other significant icons will all
be explained. The editing tools located on the left side of the webpage allow you to
alter and personalize your material.
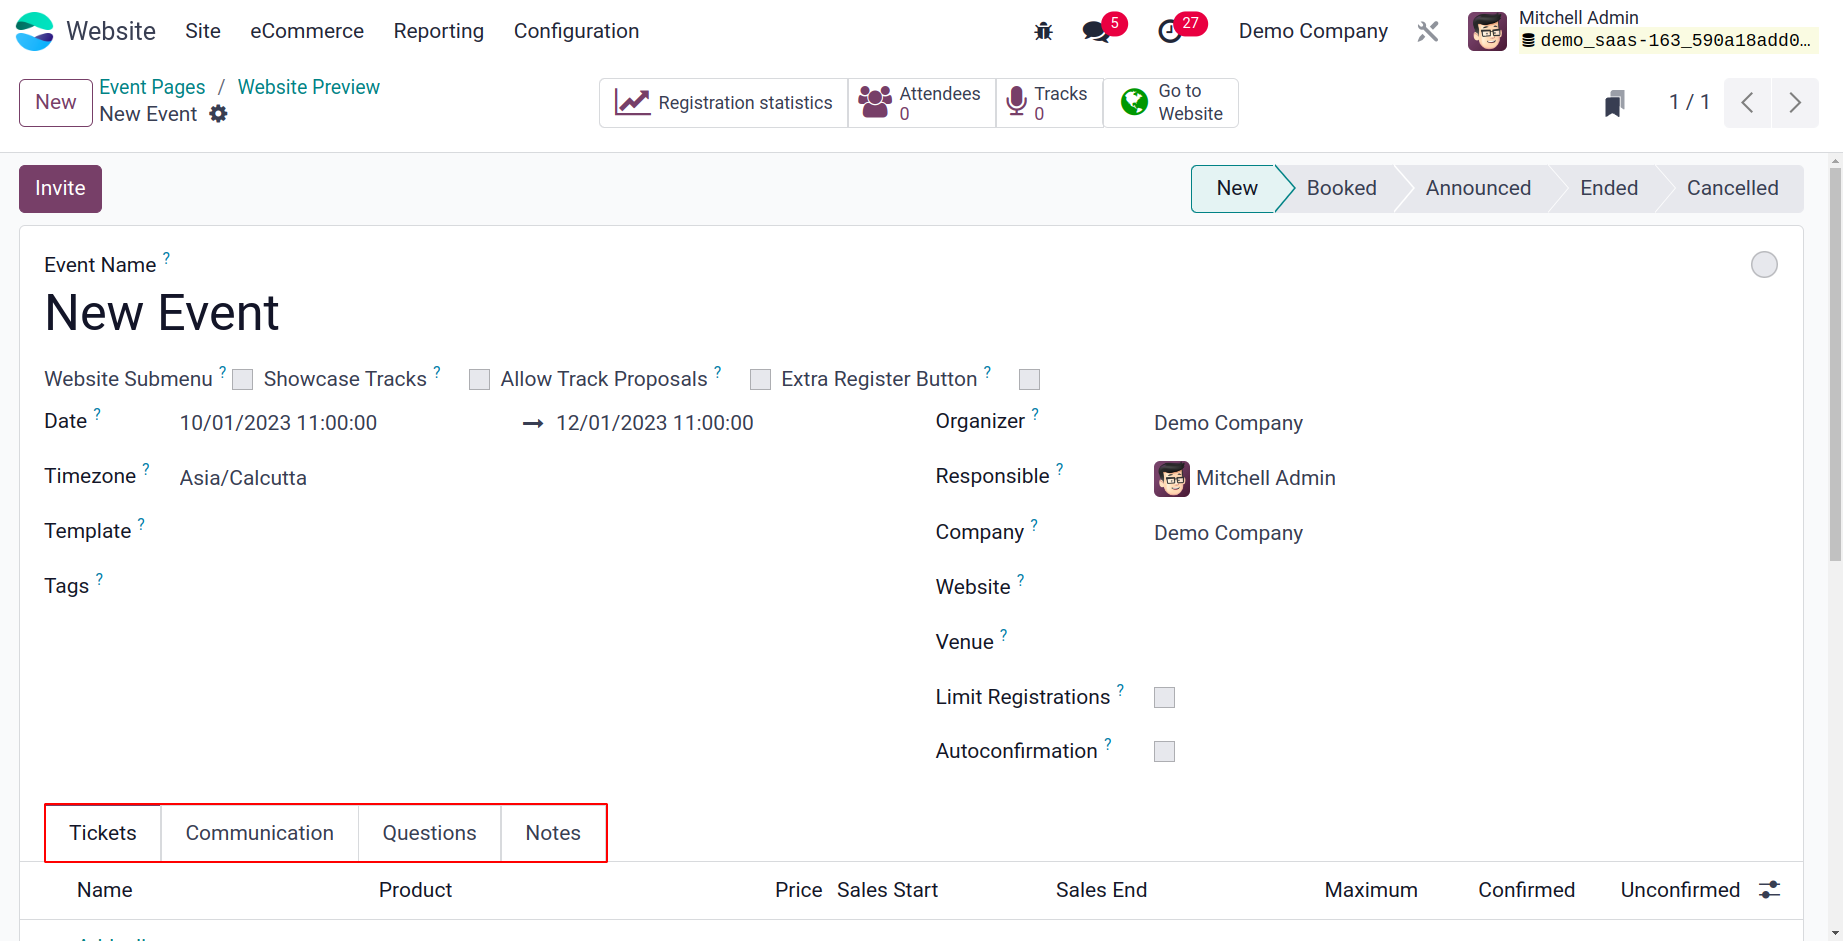
To edit the Event click on the Event button placed on the upper right corner of the
website.
The created event can be edited from the opened window.
The events date, Timezone, Template, Organizer, Tags, Responsible person etc can be
added.
To know more about the Event creation, check the Events module.
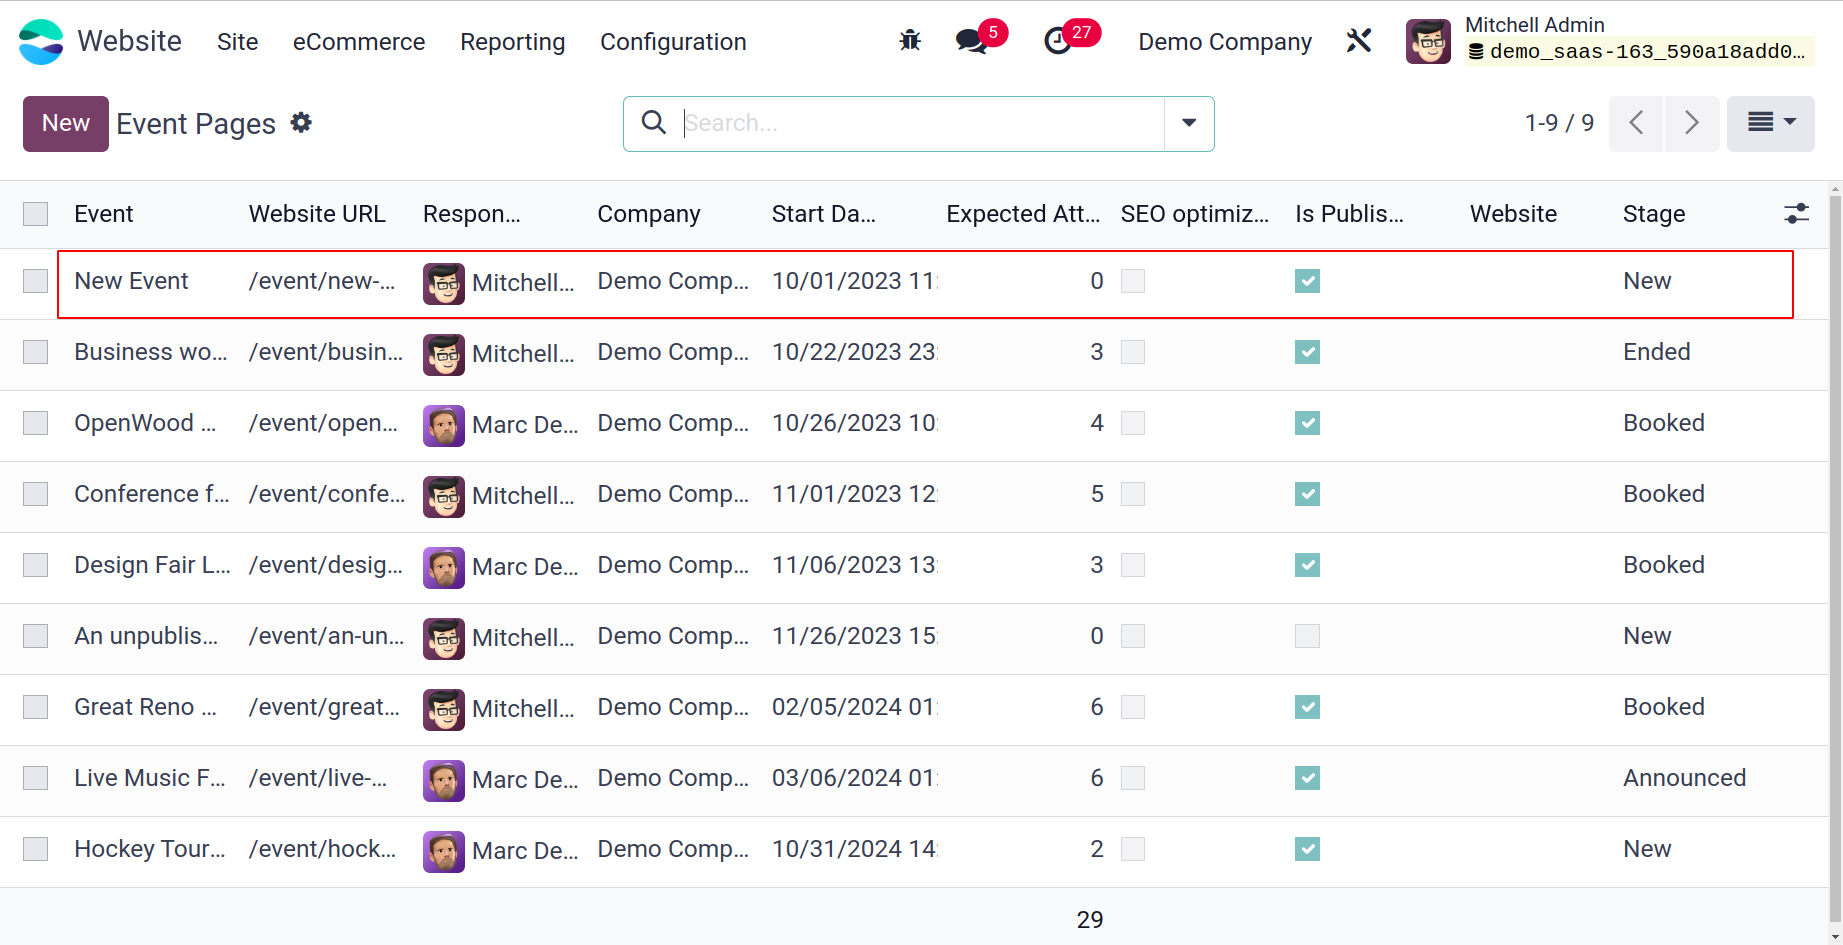
An event can be created from the backend also. The Site tab contains the Events option.
All the created Events can view and new events can created by clicking the New button.
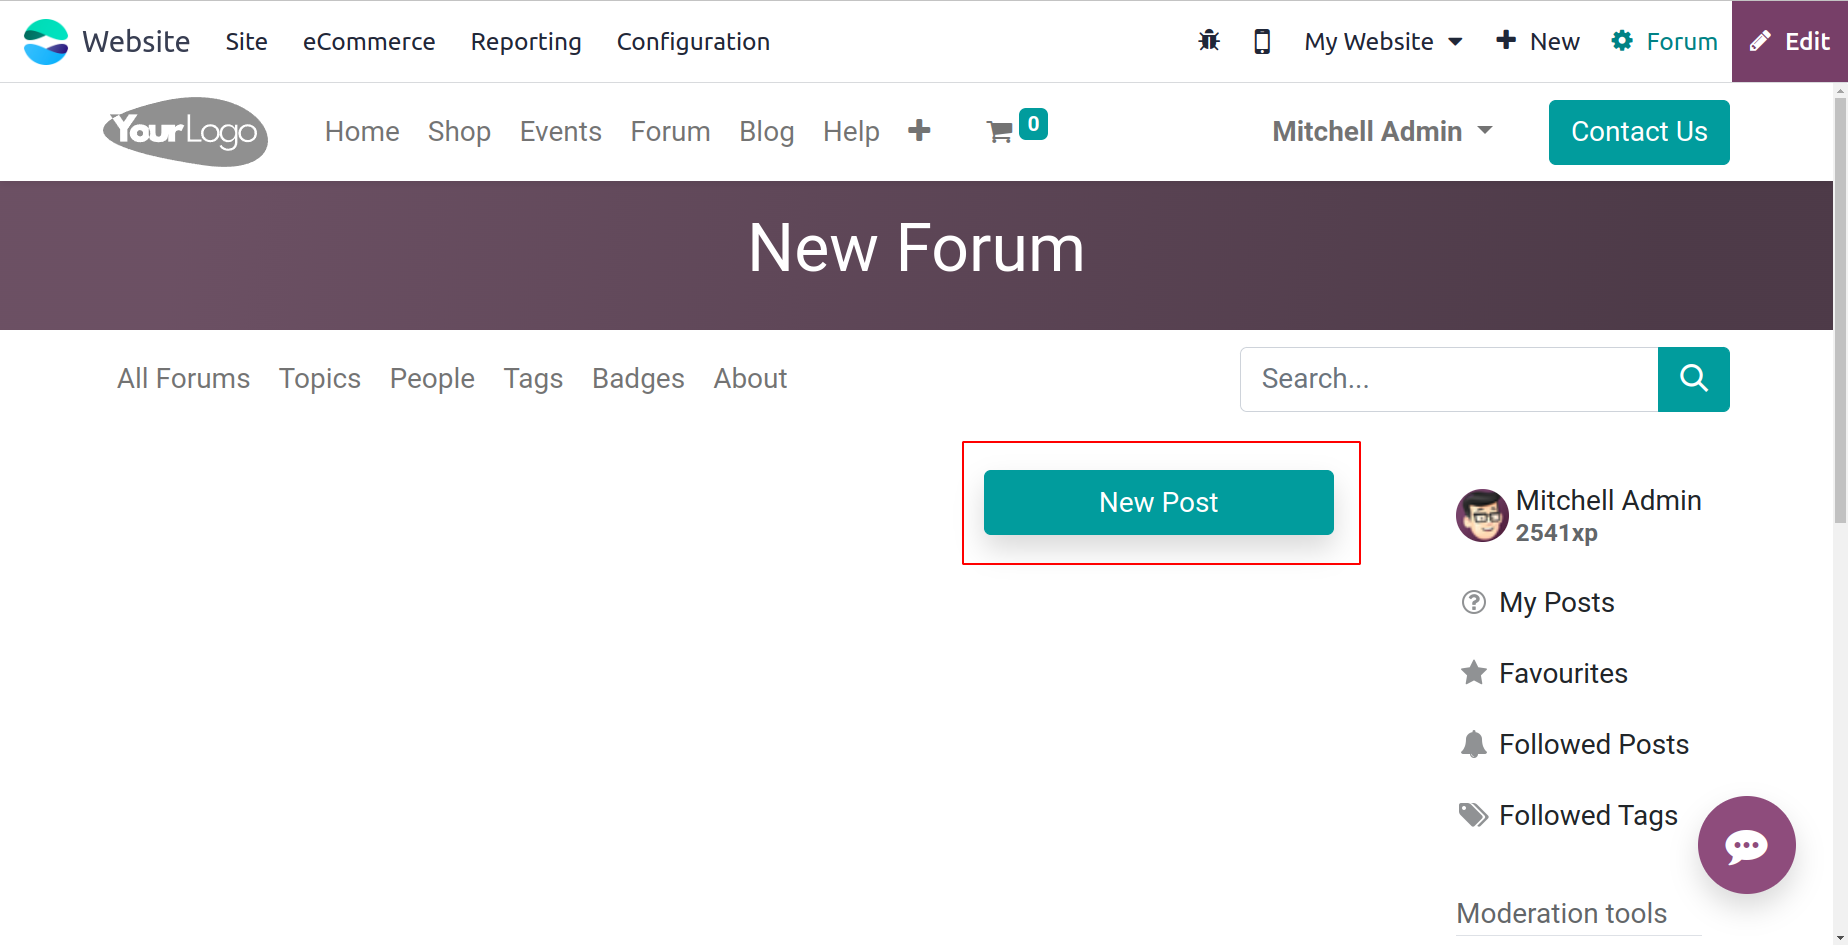
Forum
Adding new forums to your website is possible through the Forums menu. You can click on
the Forum menu to accomplish this. You will now draw a pop-up window like the one in the
picture below.

You can enter the forum name here. Then, the Forum Mode can be characterized as a
Discussions or Question and Answers mode. Additionally, it gives you many options for
setting the privacy policy. One definition of it is Public. Registered, or A Few Users.
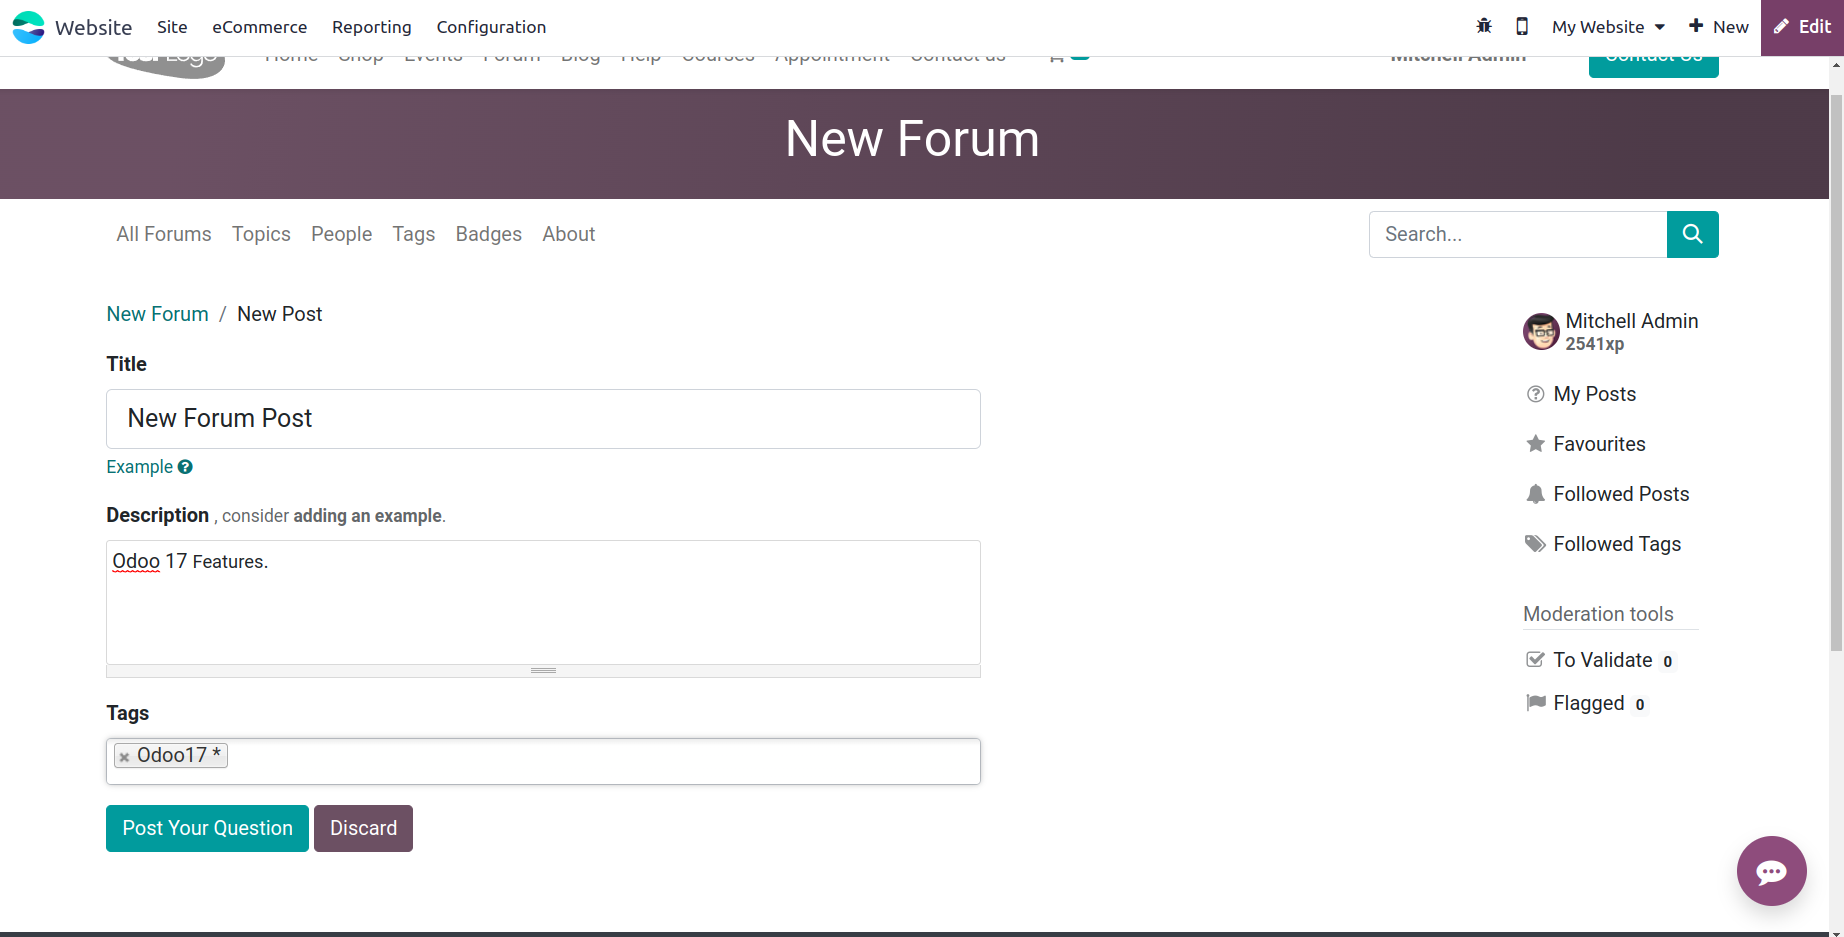
The New Post button allows users to add new posts on the created Forum.
Add the Forum Post Title, Description and Tags. then click on the Post Your Question
button.
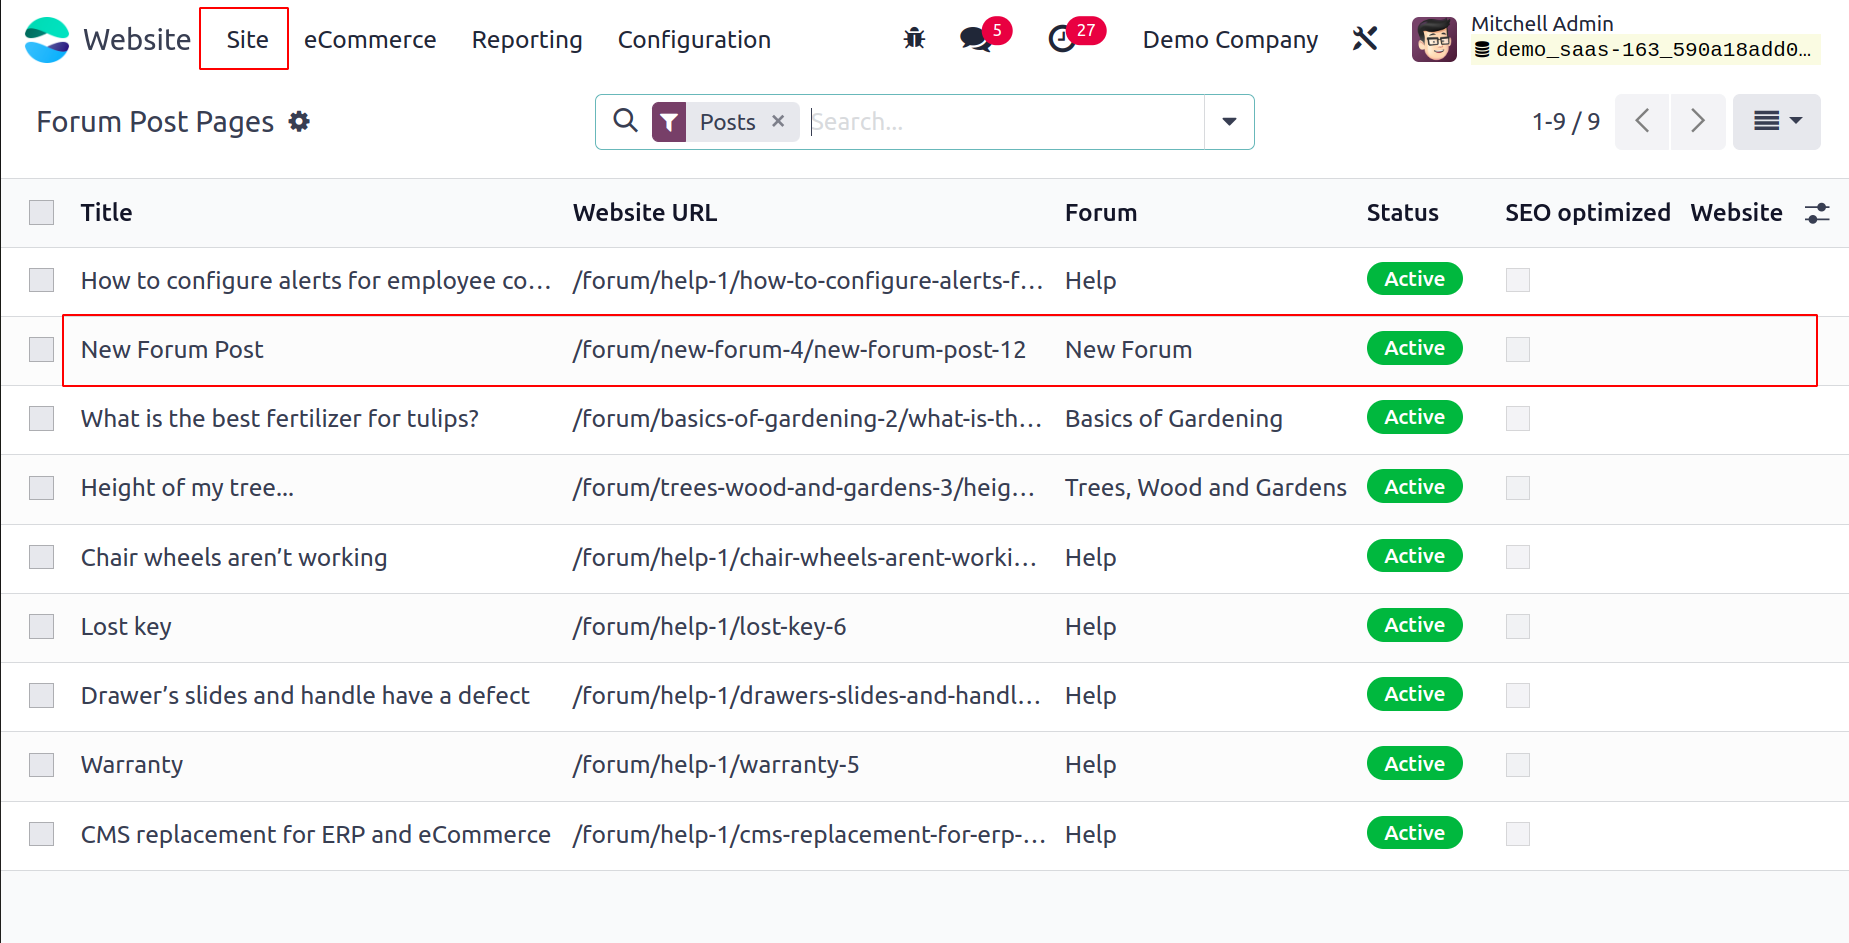
The created Forum Post can be viewed from the back end of the Odoo 17 Website.
The Site tab contains the Forum Post.

Which leads to the view of all created Forum Post Pages.
The page contains Title, Website URL, Forum name and Website. The SEO Optimized checkbox
can be viewed from the page.
Appointment Form
The Odoo17 Website module's home page has a +New icon that you can click to create and
publish new appointment forms.

Among the choices that are shown, you can choose the Appointment Form menu to generate
different types of website content. When you choose this menu, like in the picture
below, you will be taken to a new window where you can access a pop-up.
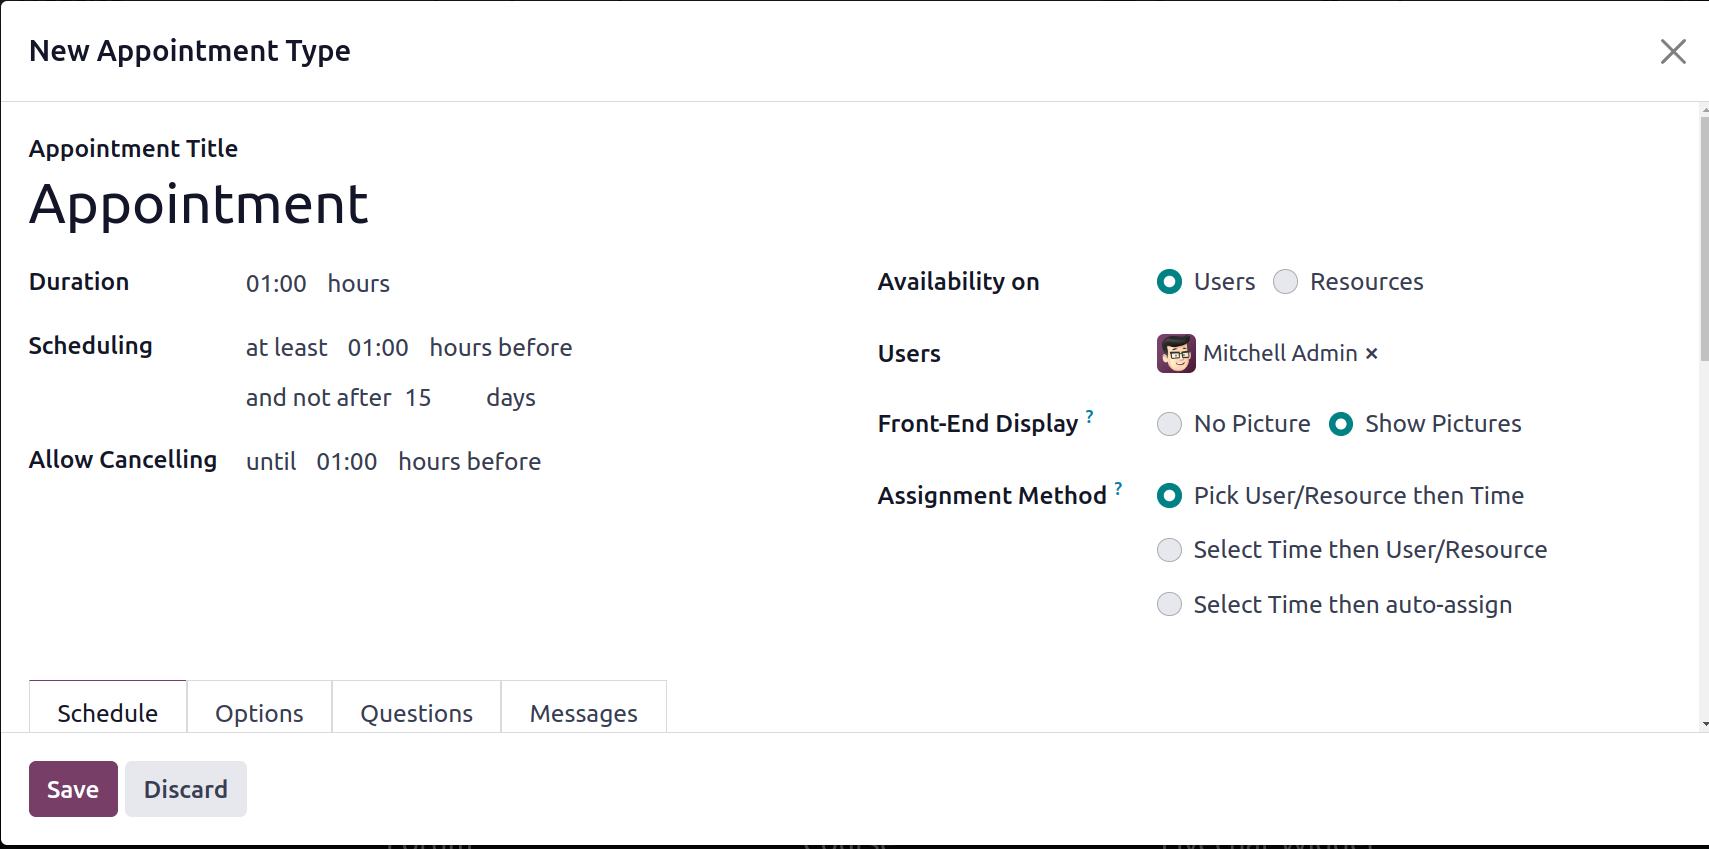
You can provide a description of the new appointment type's name in this pop-up option.
You can add the appointment details like Duration, Schedule, Allow canceling time,
Available users, Resources, etc.
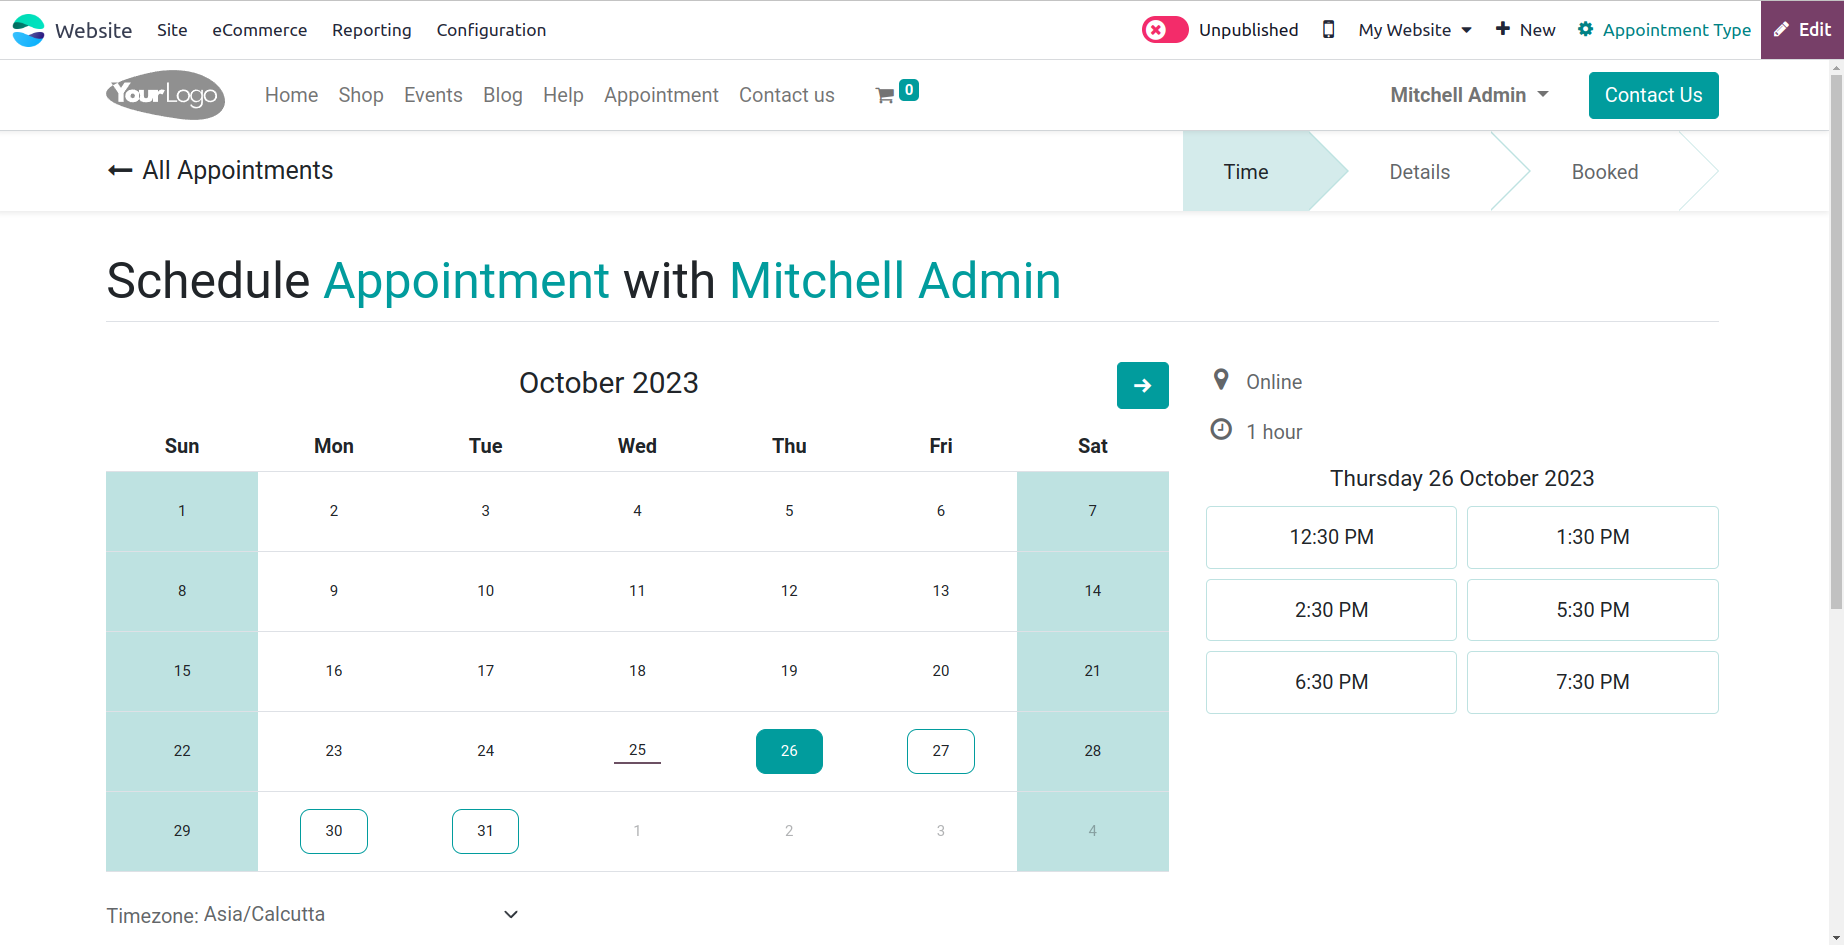
You will see the name of the appointment you already made when you do this and navigate
into an appointment page.
You can change the status of the new appointment
from Unpublished to Published, as seen in the image below, to publish it on your
website.
Now that we have covered every option for publishing website material from the front end,
let's consider how the website module's back end was accomplished.