Blog operations
An effective platform for overseeing all corporate operations is the
Odoo17 ERP. Additionally,
it makes it possible for a unique platform to manage the website
module's blog posting pages. With this platform,
you may quickly build a blog posting page. It will only require a
few easy clicks.
Returning to the eCommerce Dashboard is where you should do the
back-end blog posting procedures.
The Blogs, Tags, and Tags Categories menus are visible in the Blogs
section when you open the Configuration tab of
the Website module. With the help of these settings, you may set up
several blogs, tags, and tag categories that are appropriate for the
blog entries you are making in the website module. You may quickly
apply all of these customized Blogs, Tags, and Tag Categories for
your new blog entries by displaying them in the dropdown menu.
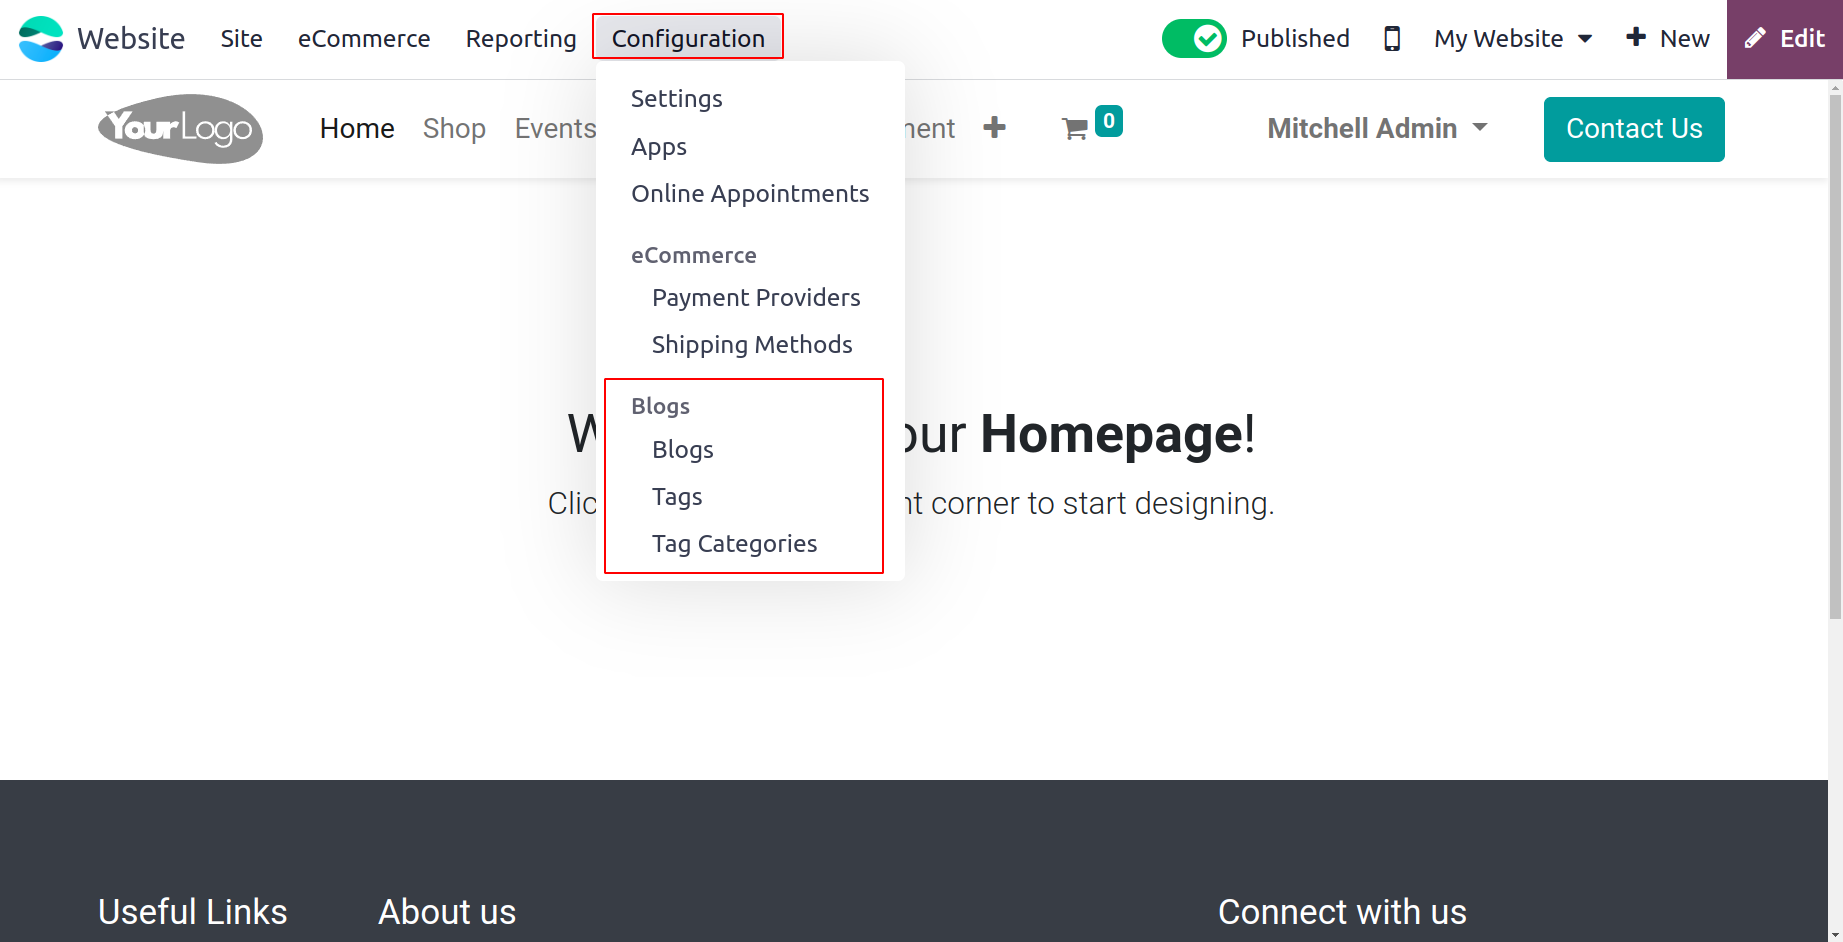
Below, let's talk about each of them.
Blog
You can create distinct categories for your blogs using the Blogs
menu found on the Configuration tab of the Odoo17 Website module.
Sorting blogs by topic will be quite useful in order to
make them easily accessible. Check out the pdf link provided below
to learn more about the blogs.
Blogs in Odoo
17
Forum
Using the Forum menu located under the Configuration tab of the
Odoo17 Website module, you can build up Forums
in accordance with our company demands. See the document for
additional information on the Odoo17 Forums.
Forum in Odoo 17
Website
All of the website details that you configured in the platform are
listed in the Website window that is accessible under the
Configuration
tab of the Odoo 17 Website module. The window's image is seen below.
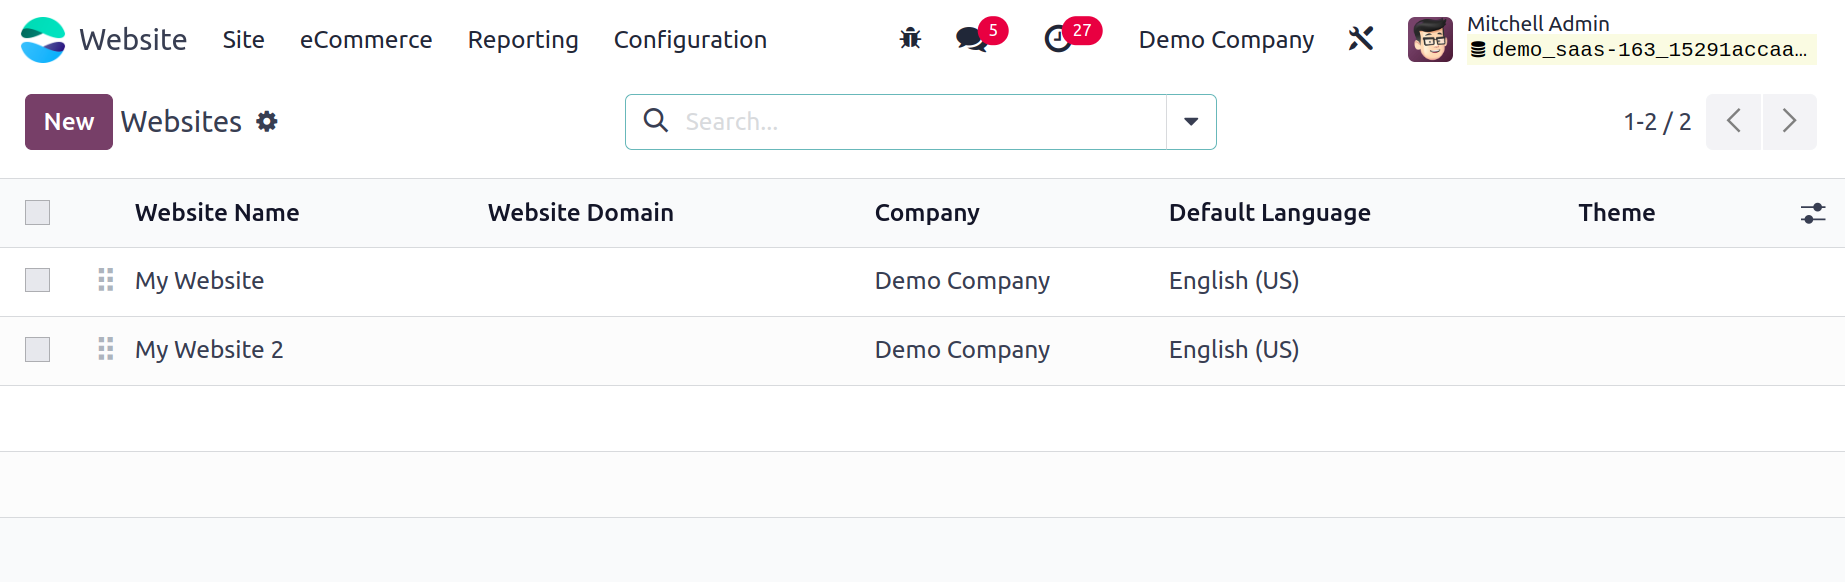
It will list each website's name, domain, company, country group,
default language, and theme, as you can see in the window. To see
them in more depth, click on them.
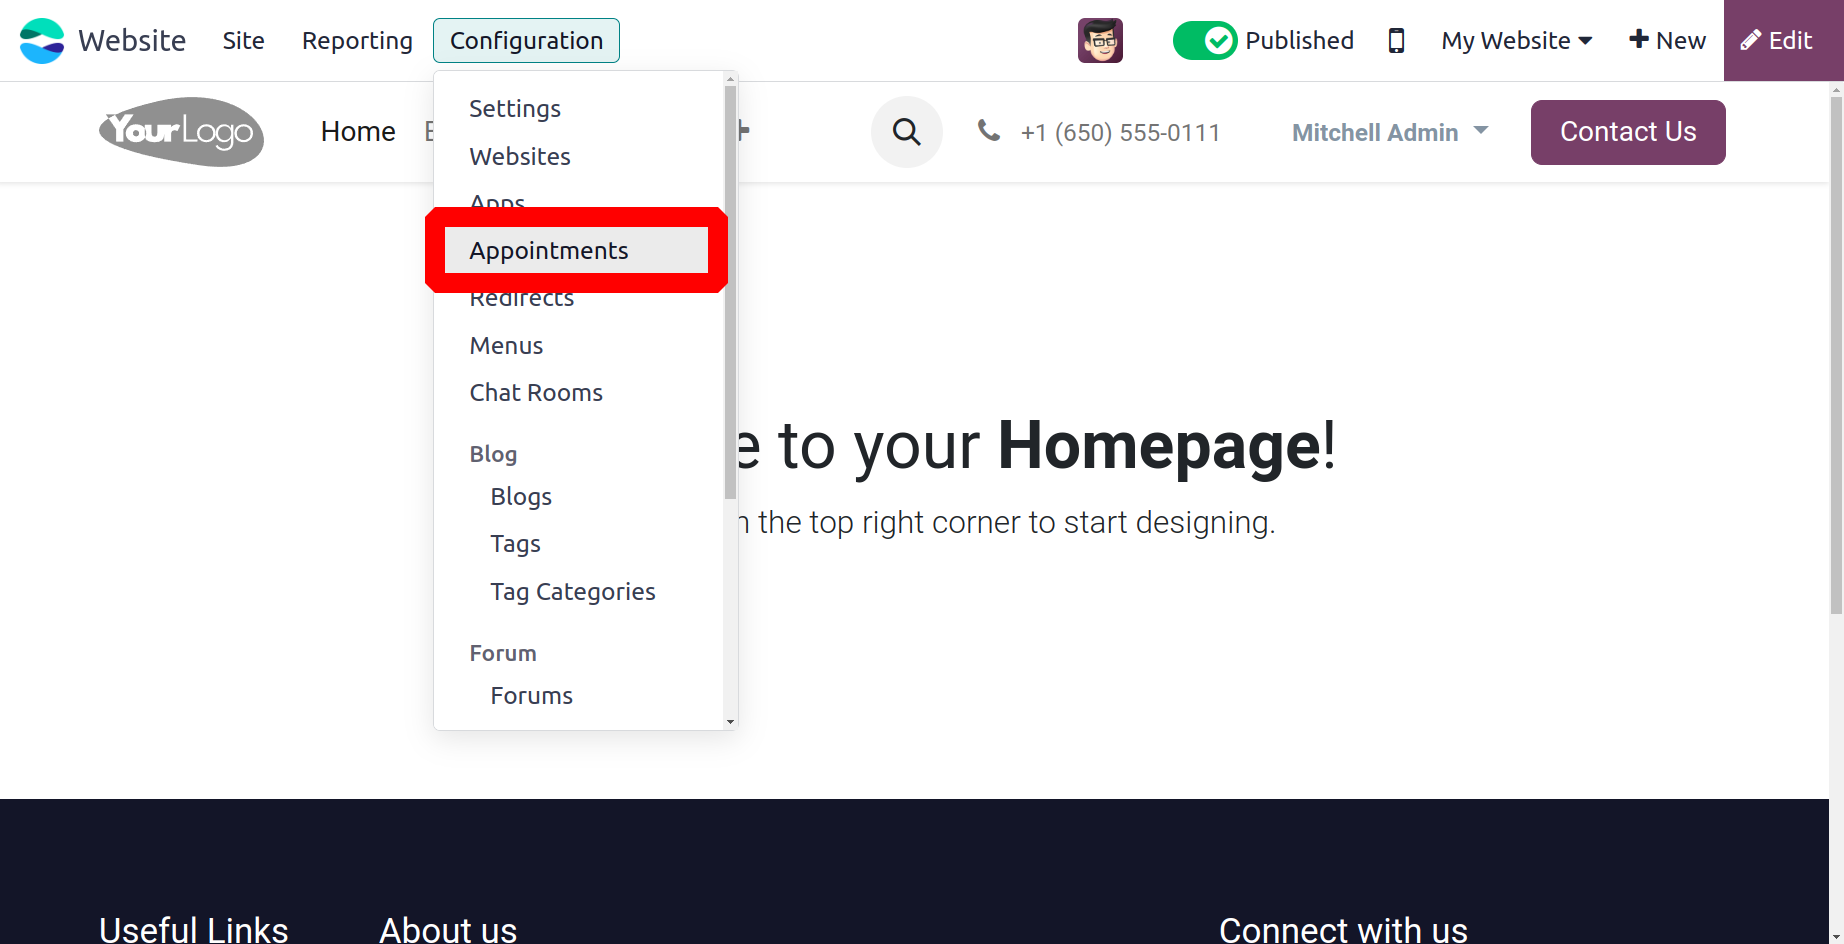
Appointments
You can set up online appointments through the Odoo 17 Website module's Online
Appointments menu. Using this Odoo functionality to manage company meetings and
appointments would be quite beneficial. This tool gives your customers the ability to
schedule appointments with you. Please be aware that in order to benefit from this
functionality, you must install the Odoo applications' Appointment module. This feature
is therefore brought into the Website and Calendar module due to the highly integrated
nature of this module. The Online Appointments window will appear as
shown below when you select the Online Appointments option from the Configuration in the
Website module.
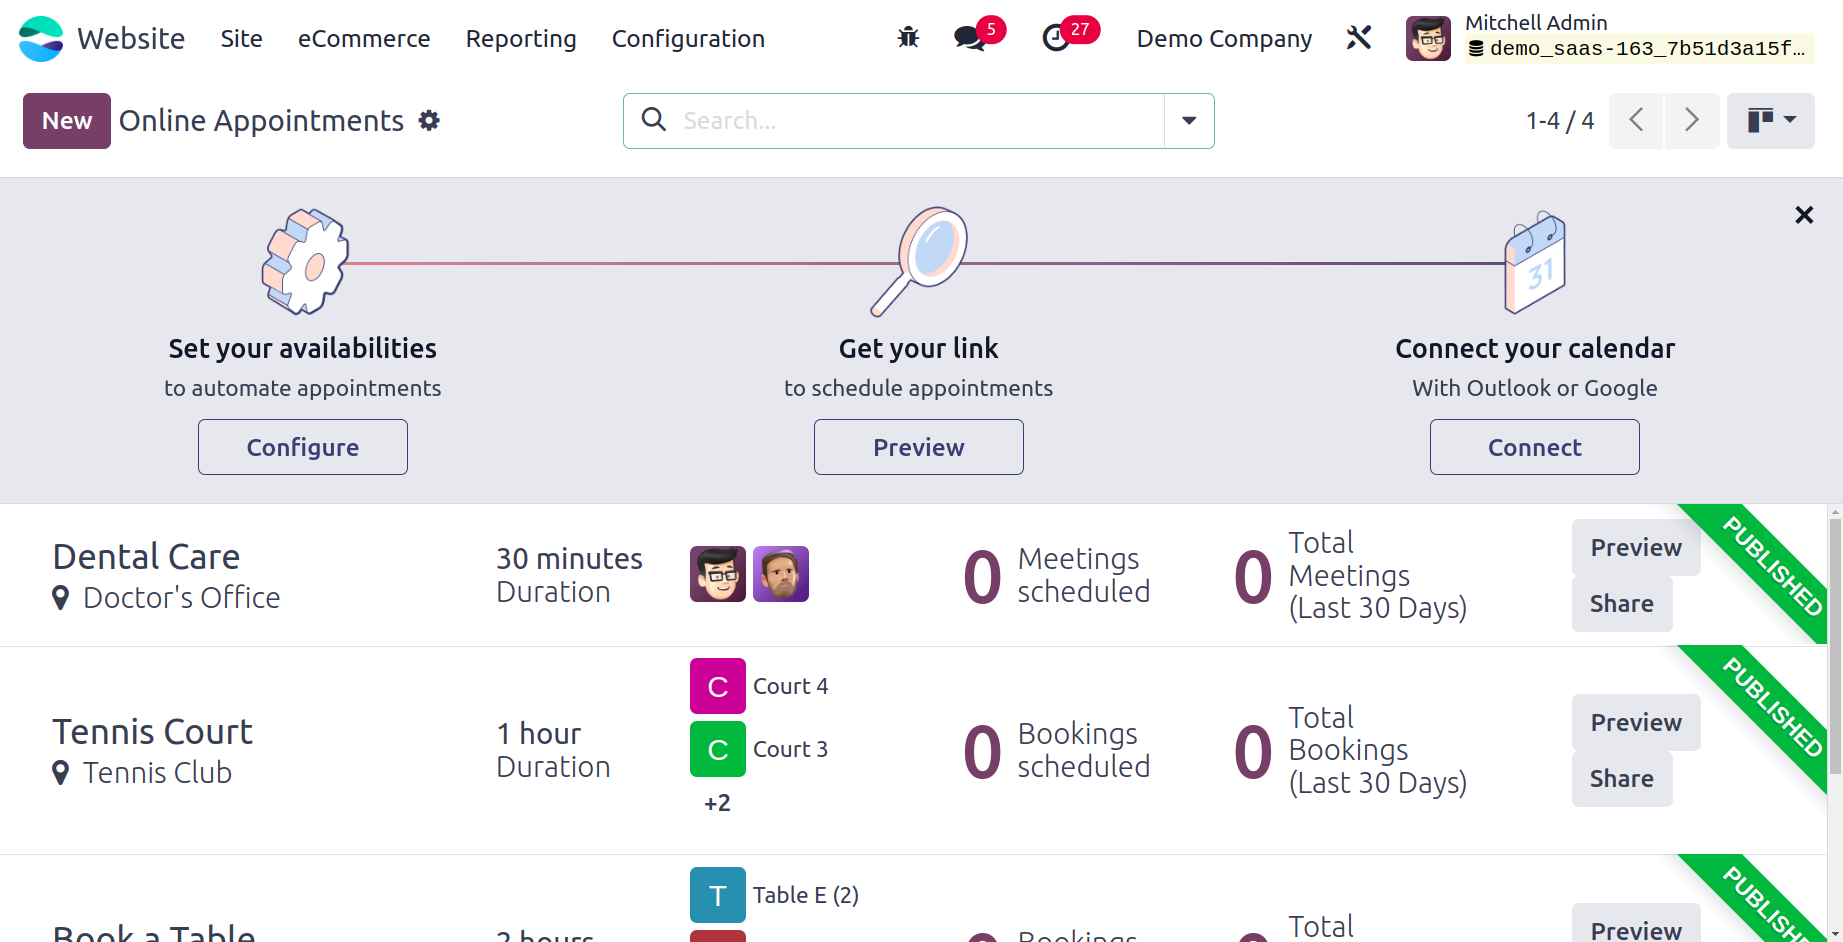
All of the previously made online appointments are intended to be listed and stored in
this window. This window is shown by the system in both List and Kanban view. You can
click on the New button to begin scheduling new online appointments.
The online appointment creation window will then appear, as seen in the screenshot below.
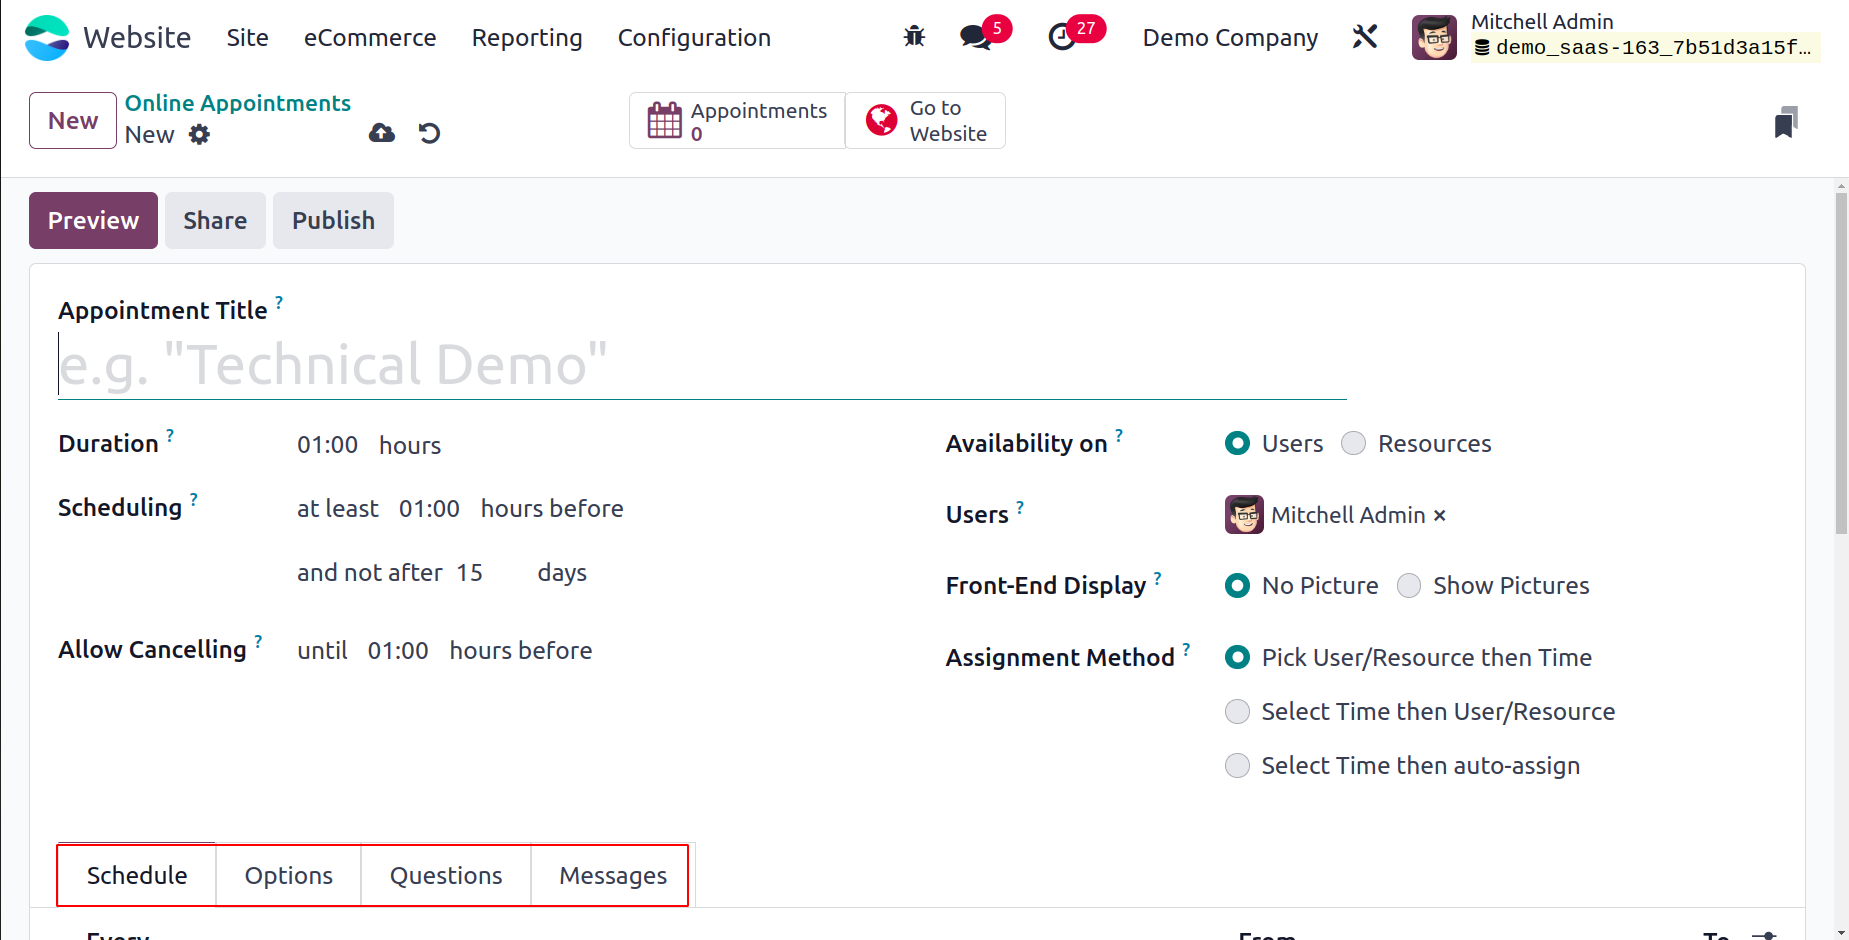
The Appointment Duration in hours can be set. The details can be mentioned in the
Scheduling area. You can choose the number of hours you would like to have an
appointment before. additionally have the choice to postpone appointments. Thus, you can
enter the duration in hours in the field labeled "Allow Canceling." You can specify how
staff members will be assigned to meetings that customers book on your website by
filling out the Assignment Method form. The consumer has the option to set this to
either Random or Choose.
By selecting the Add a line option under the Available Employees section, you can add
staff members or their details.
You may also fill out the fields on the Schedule tab. The day and hour of the
appointments are enterable.
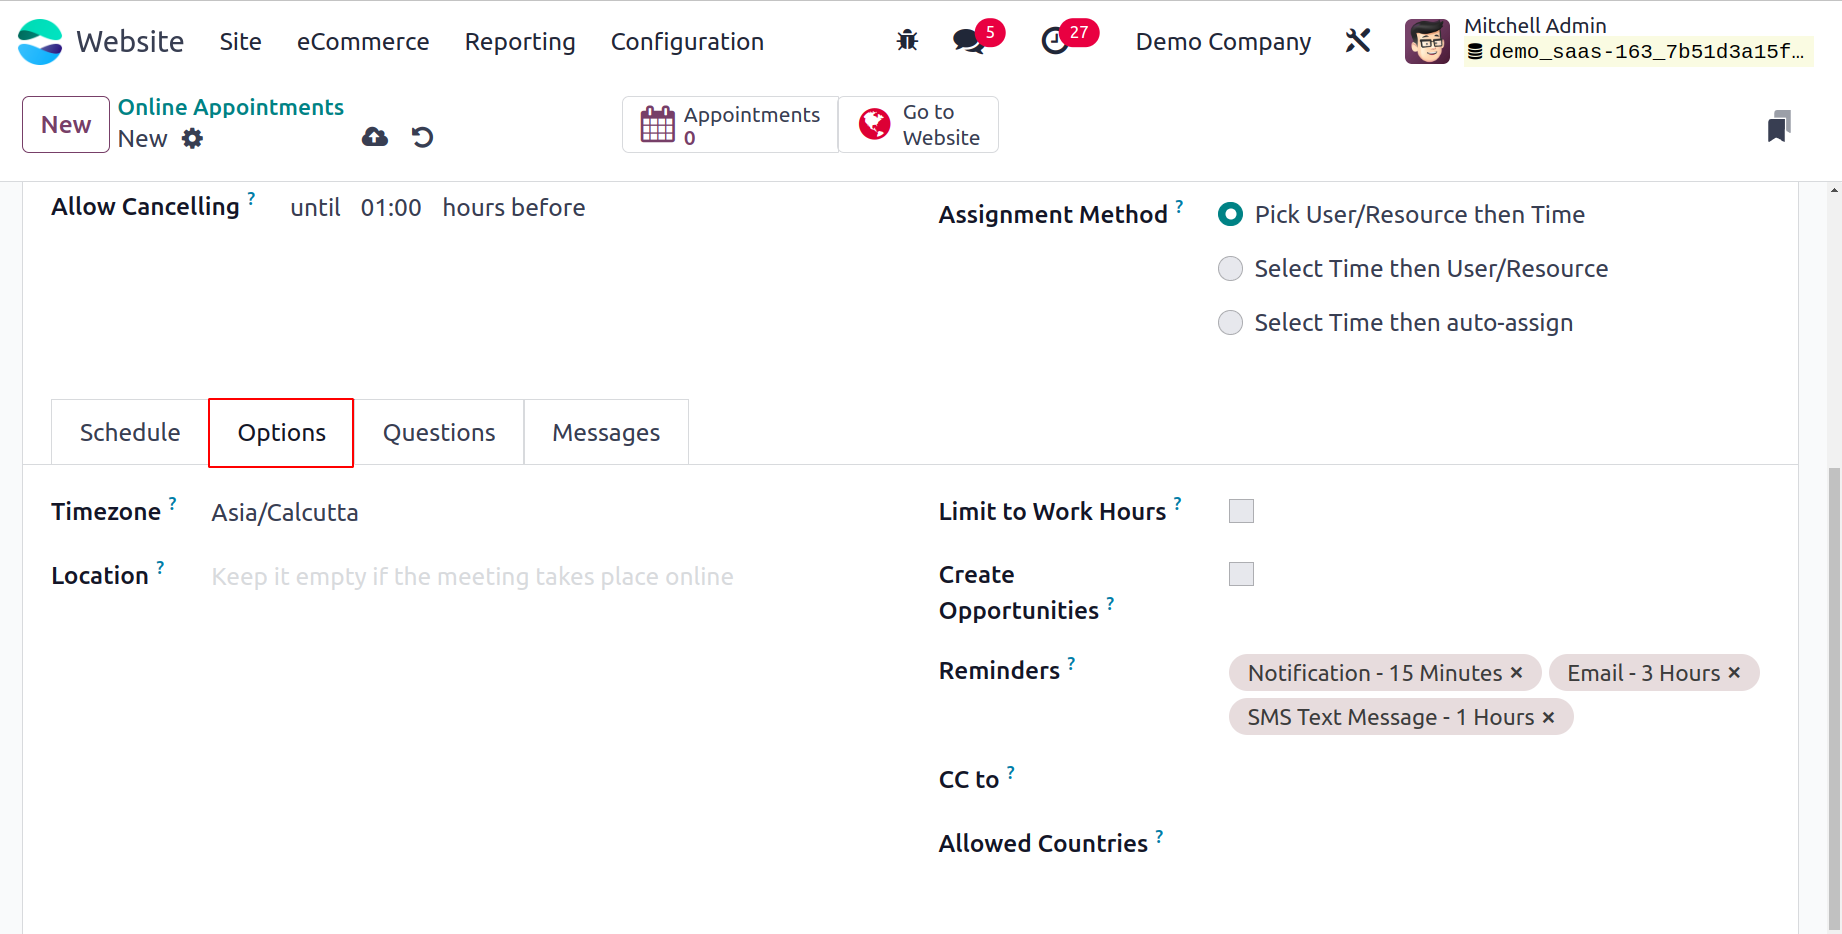
Next is the Options tab. You can indicate the type of appointment in the designated field
of this form. Then, in accordance with your business needs, you can activate or
deactivate the Create Opportunities option. It will be useful to create new
opportunities and designate them to the responsible employee for each planned
appointment if you enable this option. Together with the appointment's location, it is
possible to provide the time zone in which it will occur. Additionally, you can set the
Reminders in the designated field.
You can specify it under the Questions tab if you would like to pose questions to the
participant during the appointment creation process.
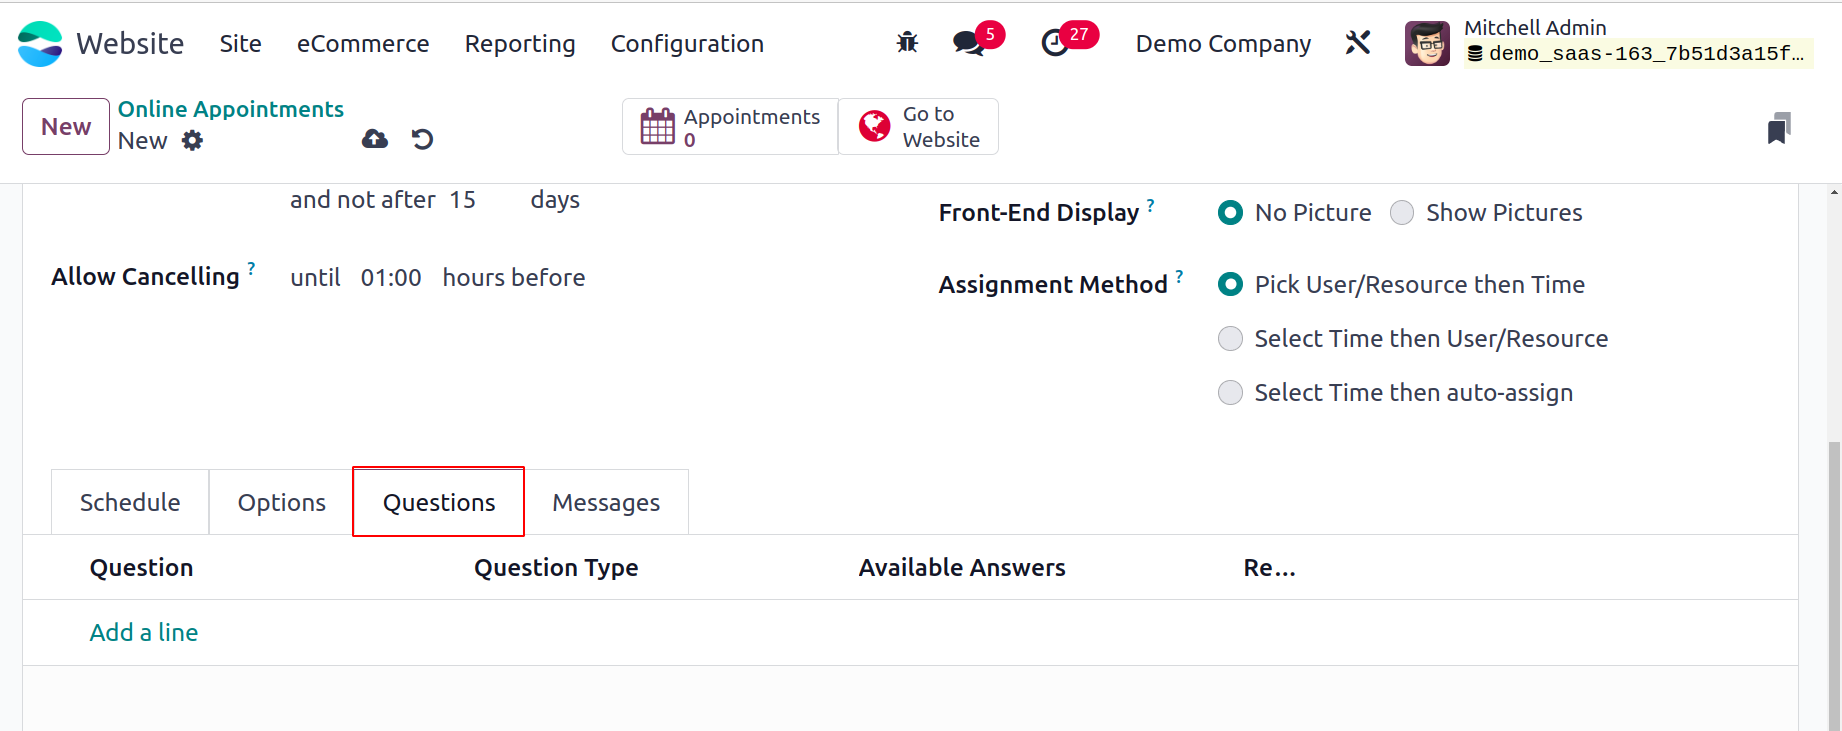
You can click the Add a line button to add questions. After that, a pop-up window for
composing questions will appear.
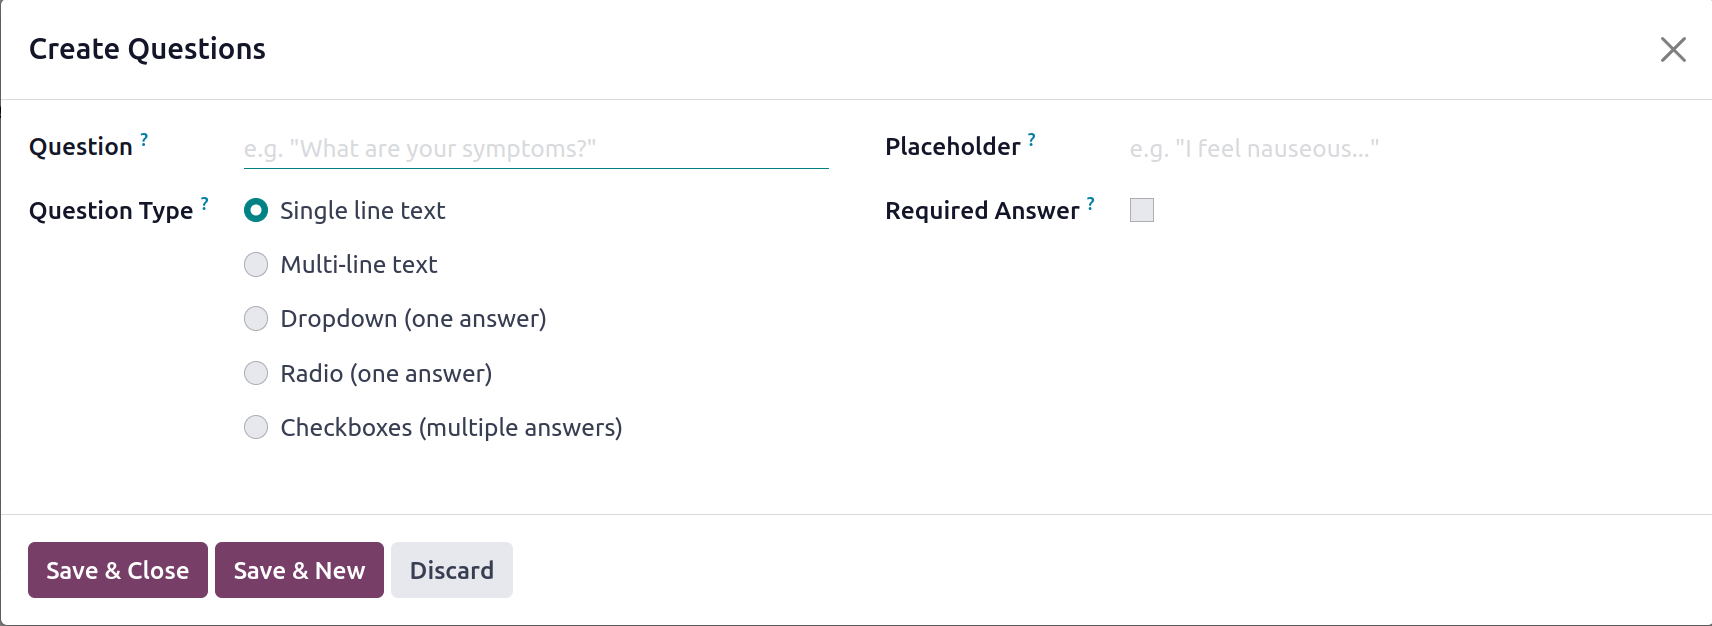
Here, you can state the question as well as its type. You can create the Question Type
in the system in a number of ways, including Checkboxes (many replies), Dropdown (one
answer), Radio (one answer), and Single-line text. Lastly, you can fill in the provided
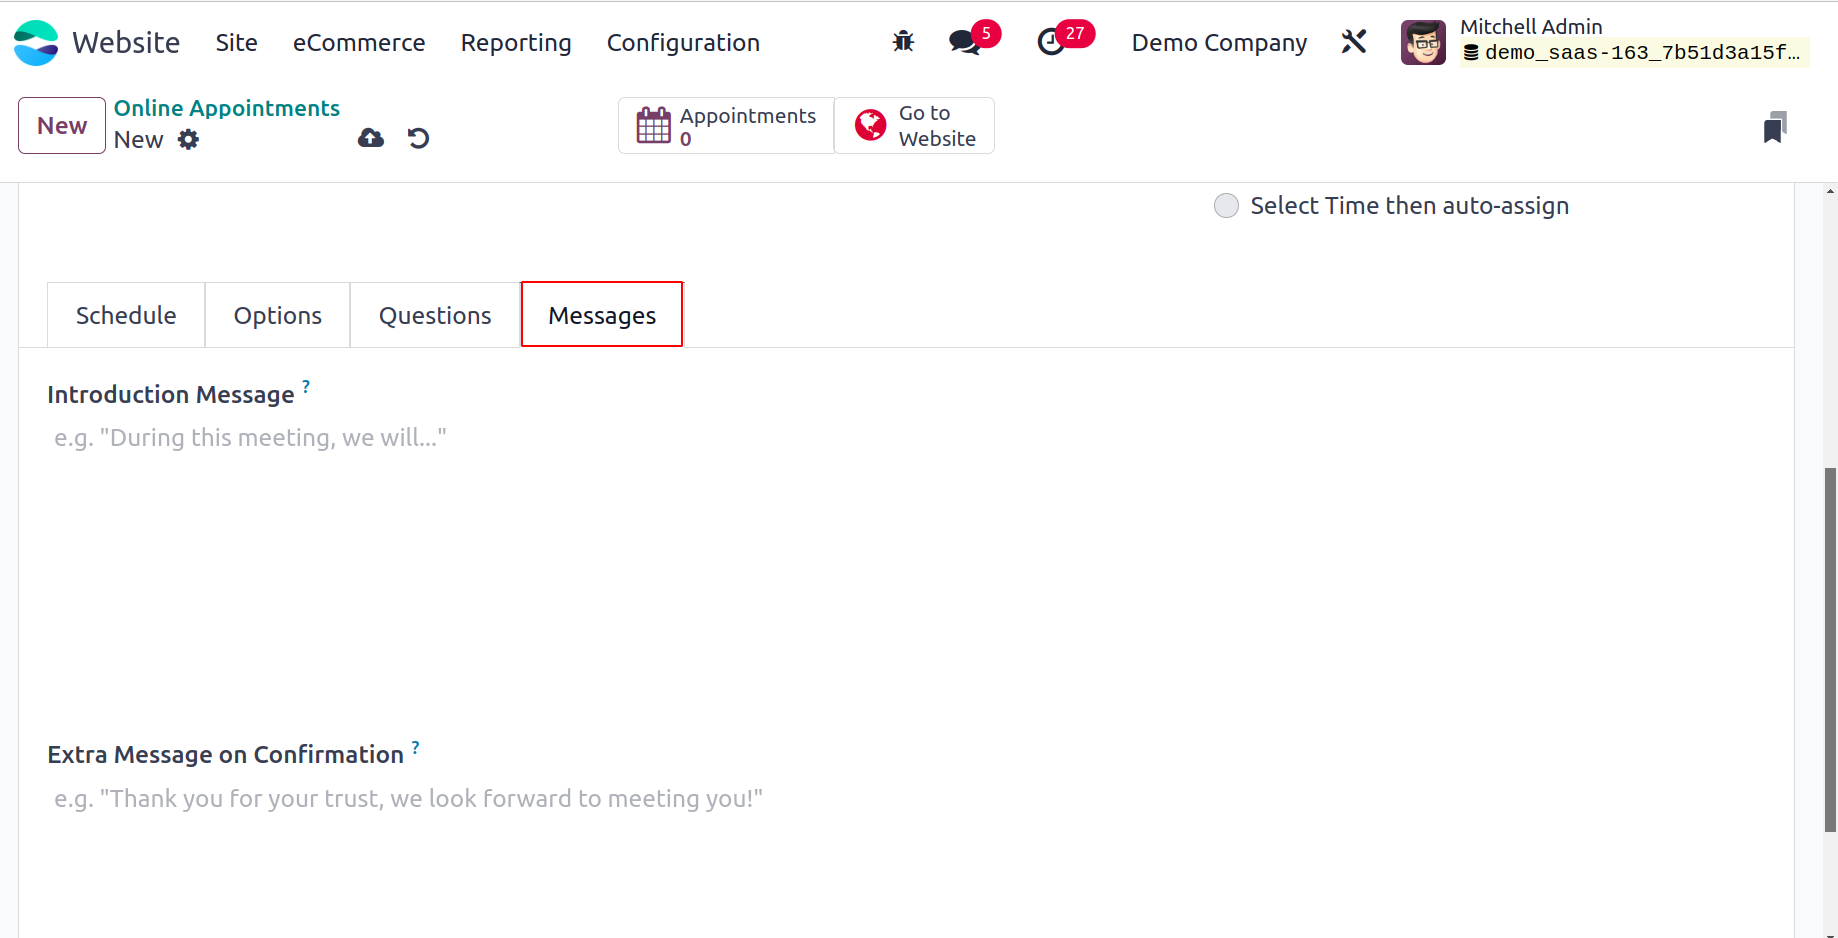
area
in the Messages tab by describing the Appointment Introduction and the Appointment
Confirmation.
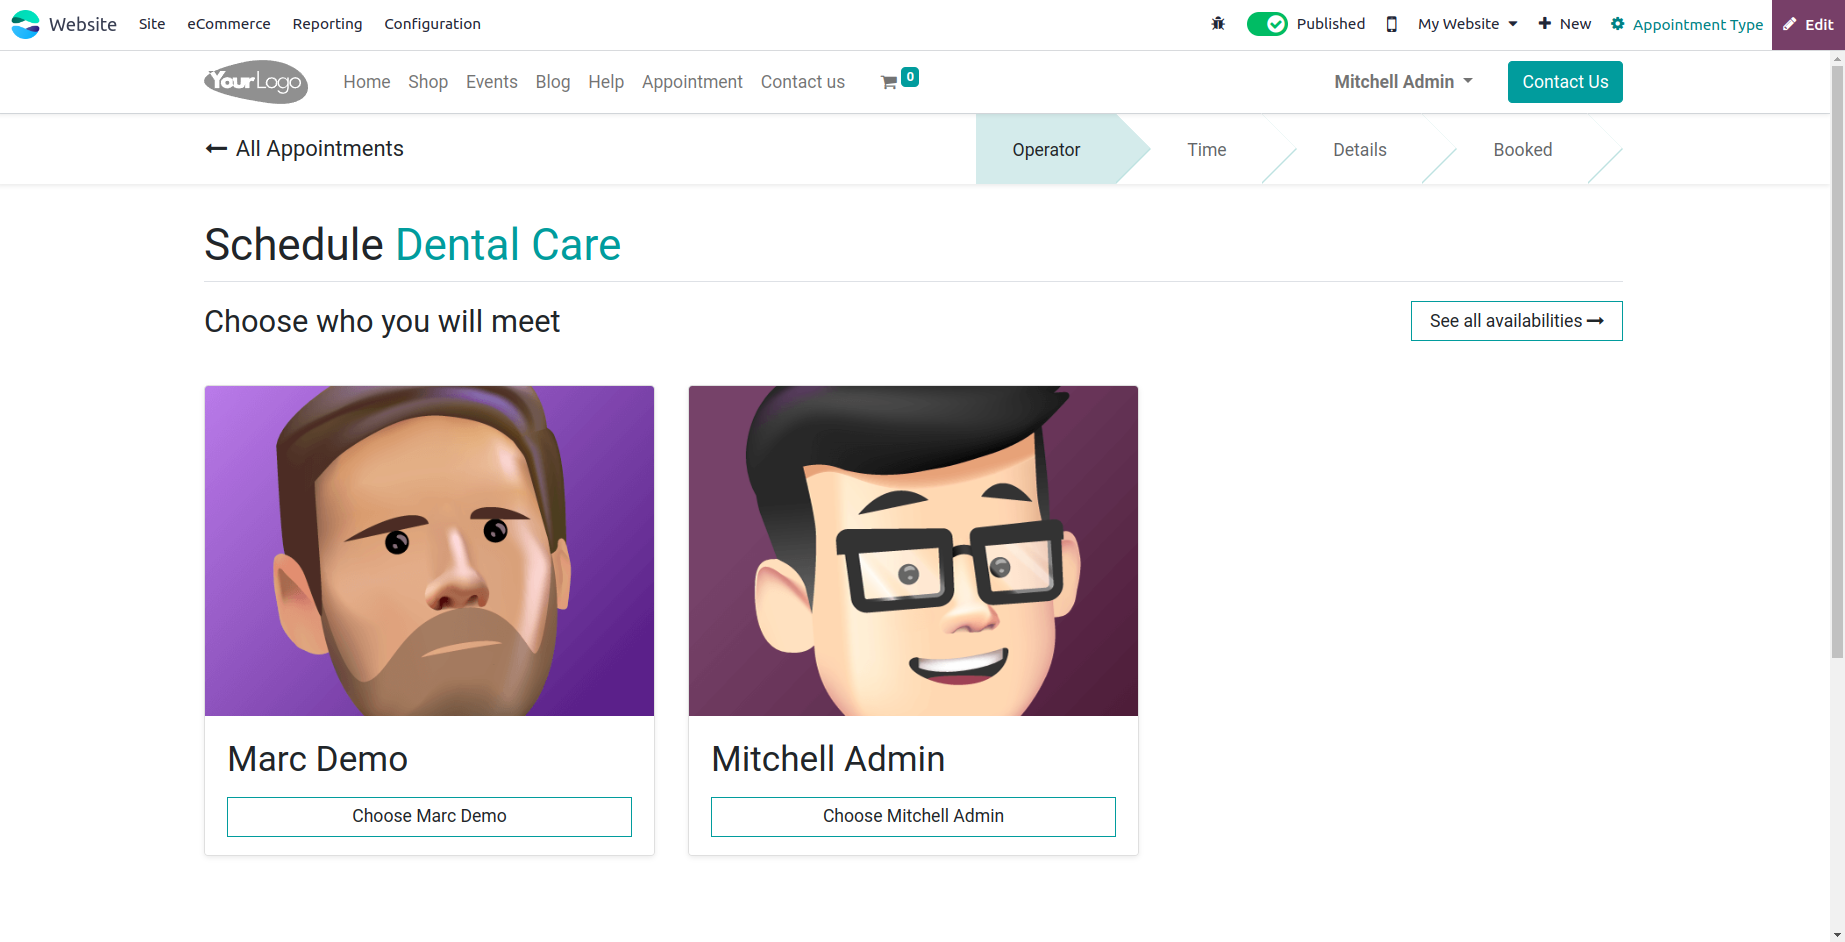
You can save the details when you've finished all of these steps. The smart buttons on
the upper side of the window are displayed based on the Odoo17 modules that you have
installed on your system. The Appointments and Go to Website buttons are visible here.
You can navigate the website page as indicated in the image below by clicking the Go to
Website button.
We have been talking about the Online Appointment function thus far, and the Odoo17
platform allows
users to use it as a distinct module. Later on, we may go into more detail about this
module independently.
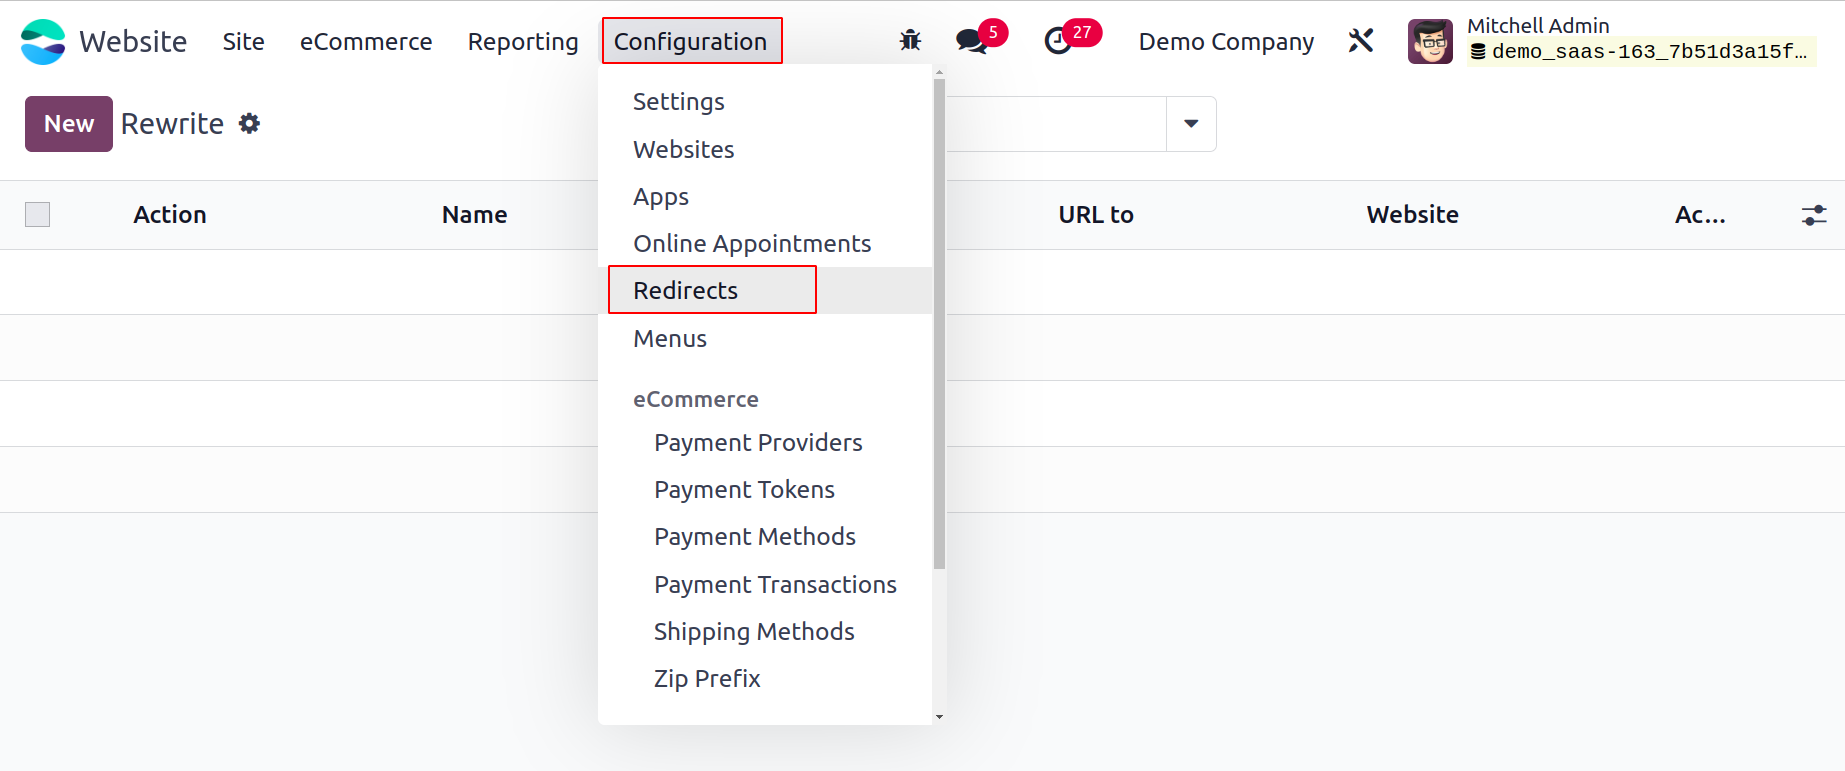
Redirects
The Configuration tab of the Odoo17 Website module is where you can find the Redirects
feature. You can use this capability to set redirects that will send users to a
different domain. You can navigate to Website -> Configuration ->
Redirects to utilize this feature. You can now access the Redirects/Rewrite pane, as
seen in the picture below.
You may see a preview of every redirection that is mentioned in the platform, along with
information about it, including Action, Name, URL from, URL to, Website, and Active, in
the Rewrite or Redirect window. You can click the New button to create a new Redirect.
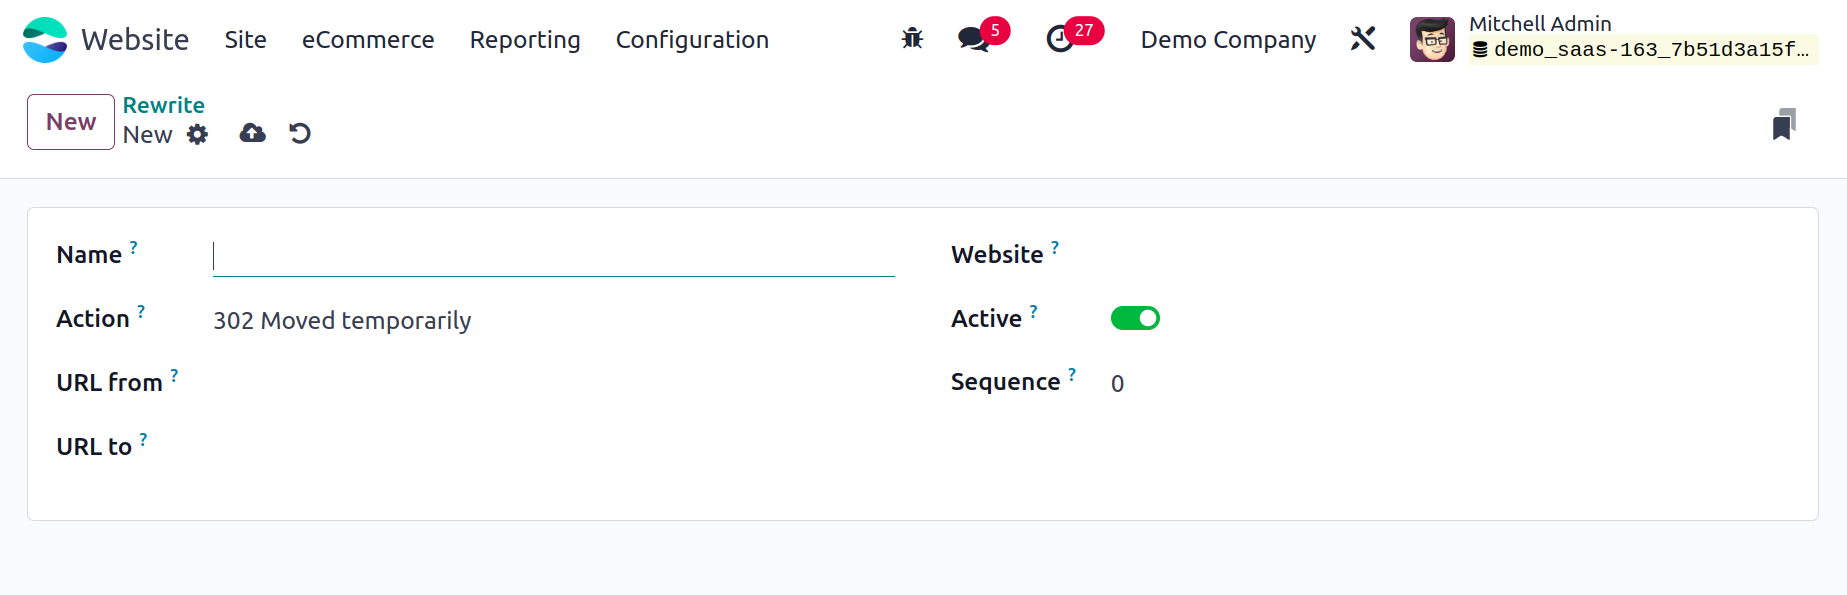
You can assign the Name of the Redirect to the designated place in the Rewrite/Redirect
construction box. The type of redirection can then be selected in the Action area.
From the provided dropdown menu, you may choose it. The types that are included in the
dropdown menu are
-
301 Moved permanently: The new URL will remain in the browser's cache.
-
302 Moved temporarily: The browser will not save the updated URL in its cache and
will re-ask for it when it becomes available.
-
404 Not Found: If a certain page or controller needs to be deleted. For instance,
you wish to avoid shopping on a particular website even though eCommerce is
installed.
-
308 Redirect/Rewrite: If you wish to rename a controller with a new URL, use the 308
Redirect/Rewrite method.
The URL from and URL to fields can be provided after the Action has been specified. If
the platform offers more than one website option, you can then choose the relevant
website. Next, you may specify the Sequence and activate the new redirect by turning
on the Active field. You can save the information by clicking the SAVE button once all
of the fields have been filled out.
Now that we have a thorough understanding of the module's Redirects menu, we can talk
about the Reporting Feature.