Tickets
In Odoo, you can convert tickets from email, live chat, and website forms easily. The Tickets menu in the Odoo Help Desk module can be used to manage all tickets from different sources to provide customer support. It is also possible to create tickets manually on this platform by following simple steps. The Tickets menu contains two options, My Tickets and All Tickets. The My Tickets platform will show all tickets assigned for the user of the particular system. The management of all tickets submitted and created in the Help Desk module can be done in the All Tickets window.

The List view of this platform will show the details about the Name, Helpdesk Team, Assigned to, Customer, Company, Next Activity, Priority, SLA Deadline, and Stage of each ticket. Apart from the List view, you will get Kanban as well as Activity views on this platform. The default and customizable Filters and Group By options can be used as sorting options for the tickets configured on this platform. To create a new ticket, you can click on the Create button.
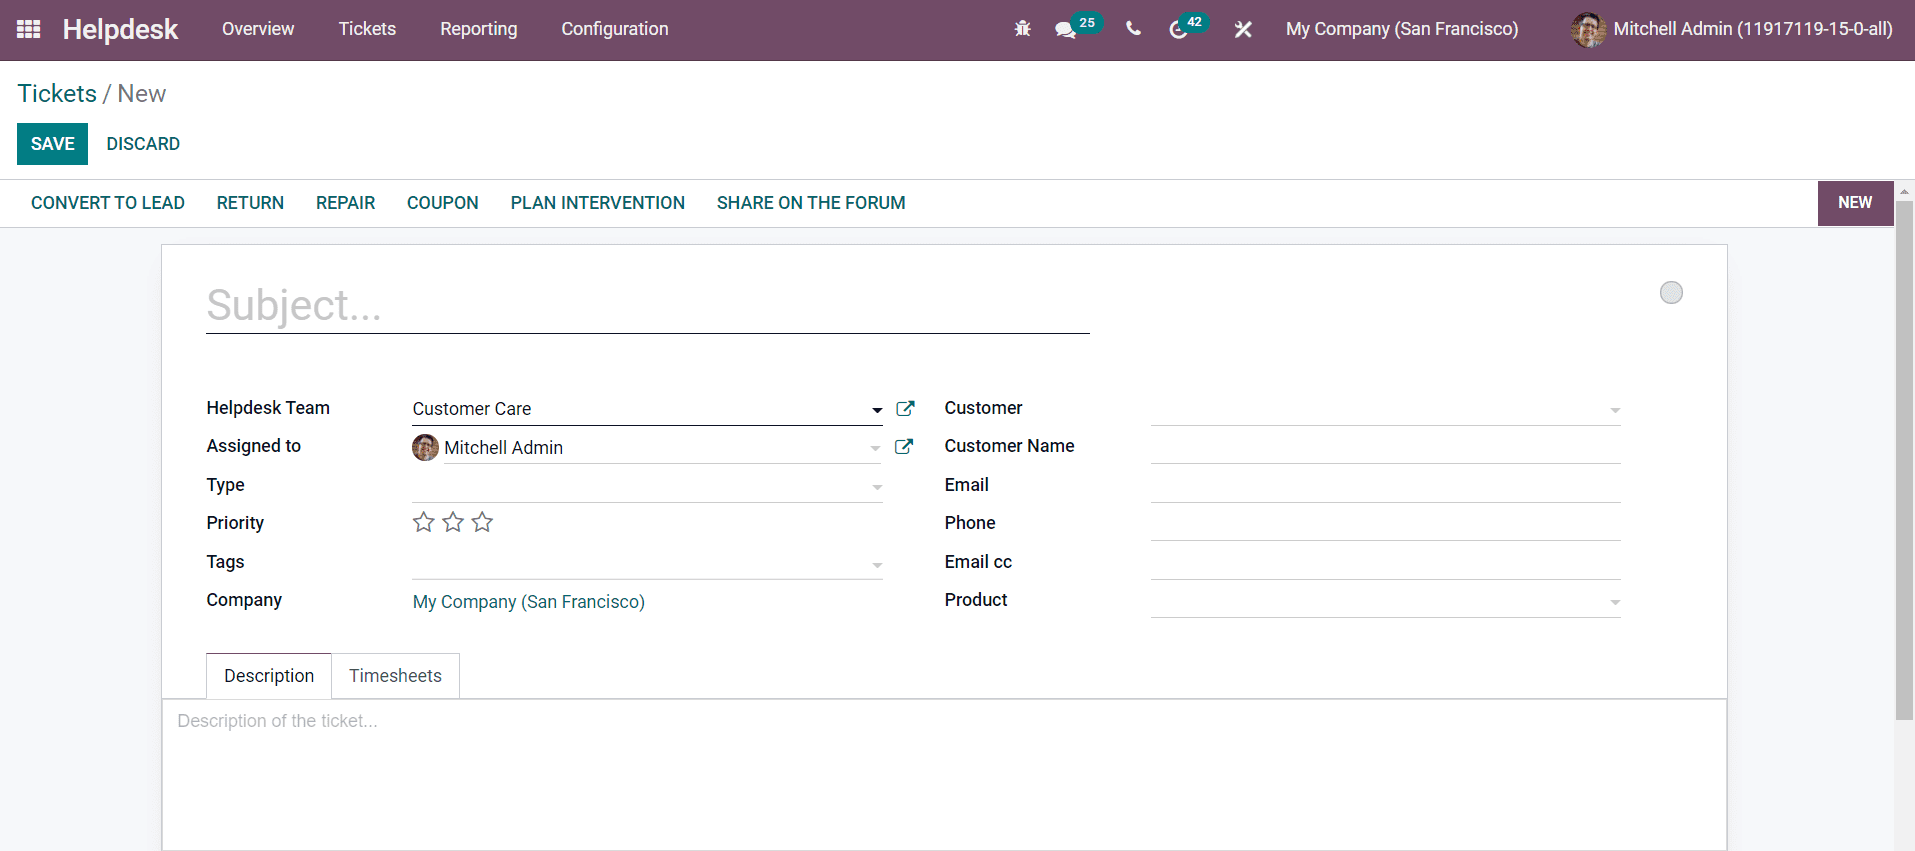
The subject of the ticket can be mentioned in the given field. You can select a Helpdesk Team and a member from the team in the corresponding fields to assign this ticket. Specify the Type of ticket, Priority, Tags, and Company in the given fields. Add the Customer, Customer Name, Email, Phone, Email cc (list of cc from incoming emails), and Product (concerned by the ticket). The description of the ticket can be mentioned under the Description tab. The Timesheets tab will record the time spent on solving the issue. After adding details about the ticket, you can click on the Save button.
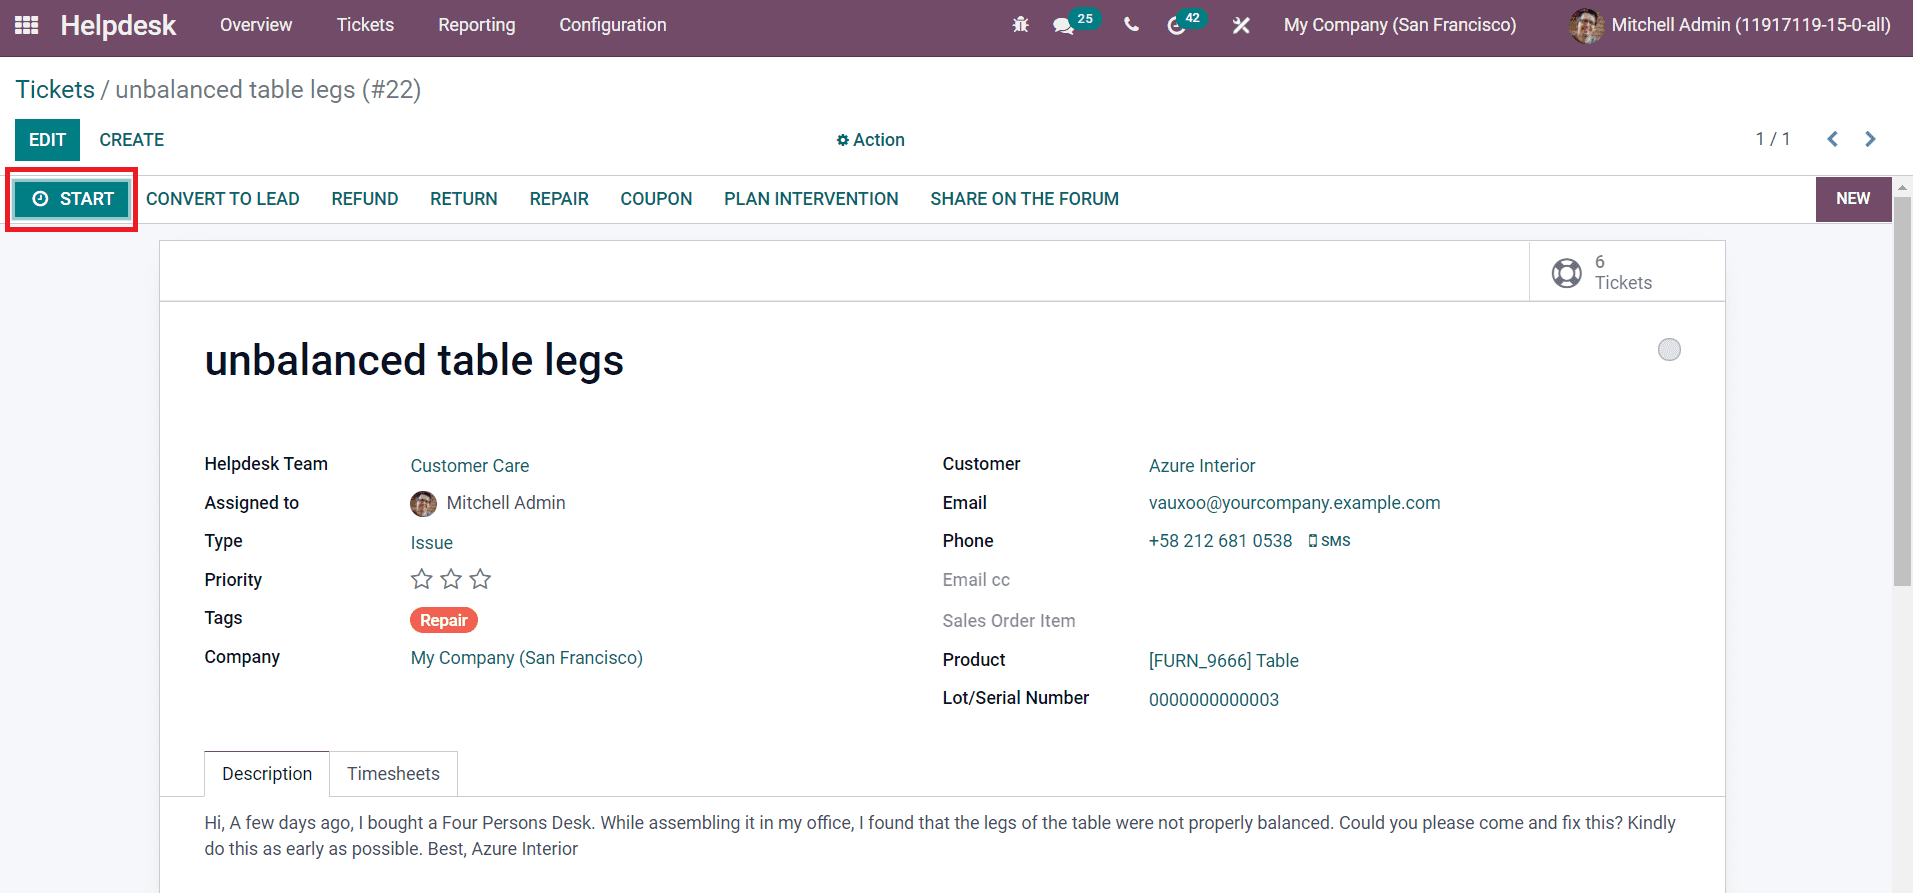
When the assigned help desk team starts to work on the issue registered, the user can click on the Start button. By clicking on the Start button, Odoo will record the working time of the user. You can click on the Stop button to stop recording. A pop-up window will appear to confirm the time spent by the user.
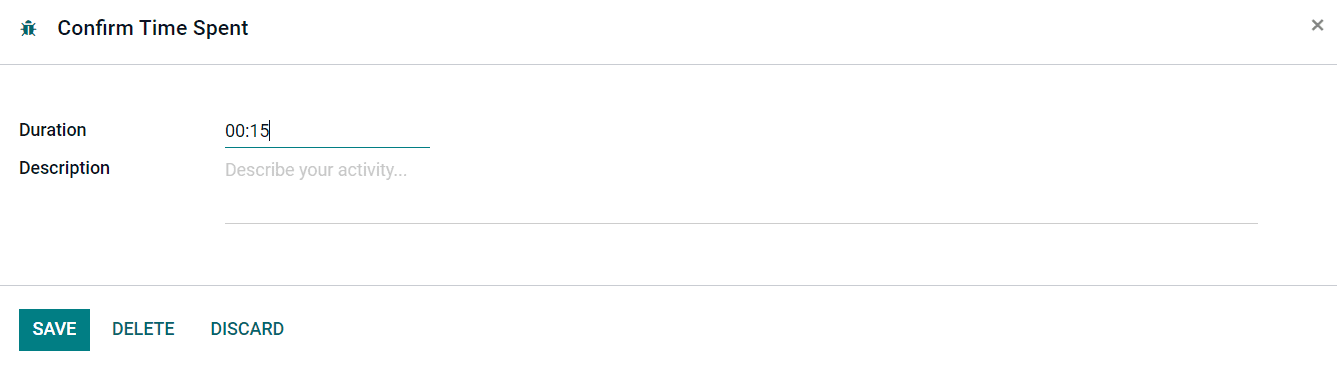
Click the save button, and the recorded time of the user can be seen under the Timesheet tab.
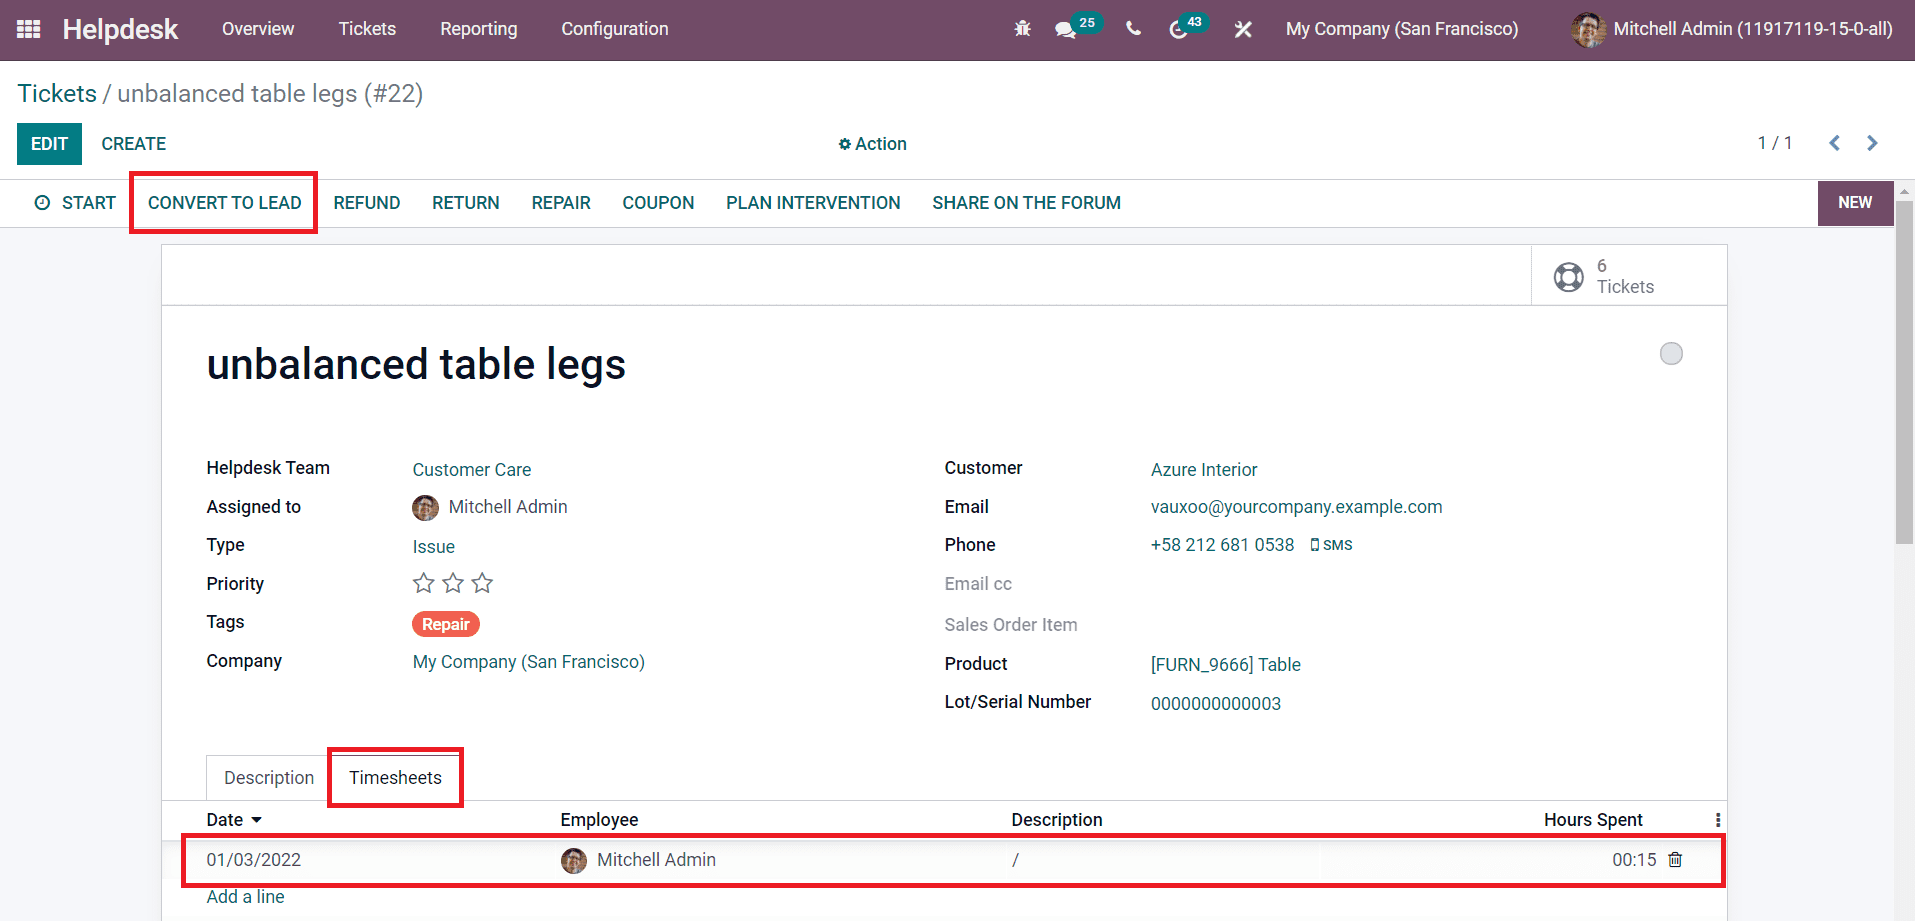
The Concert to Lead option can be used to convert this opportunity to a lead. A pop-up window will appear where you can set the options to create a new customer, link to an existing customer, or do not link to a customer.
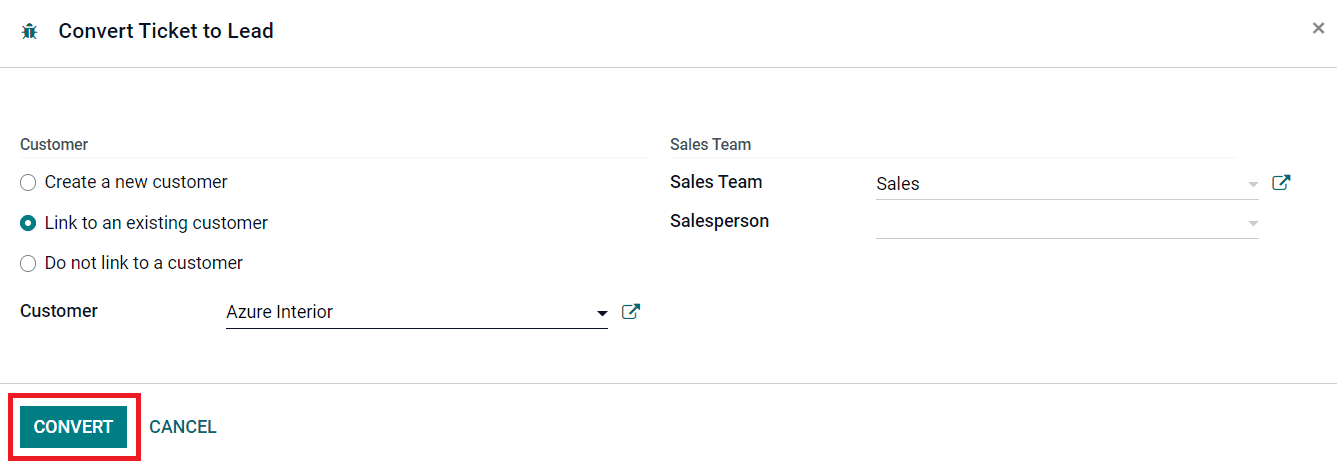
You can assign a Sales Team and Salesperson for this lead in the corresponding fields and click on the Convert button.
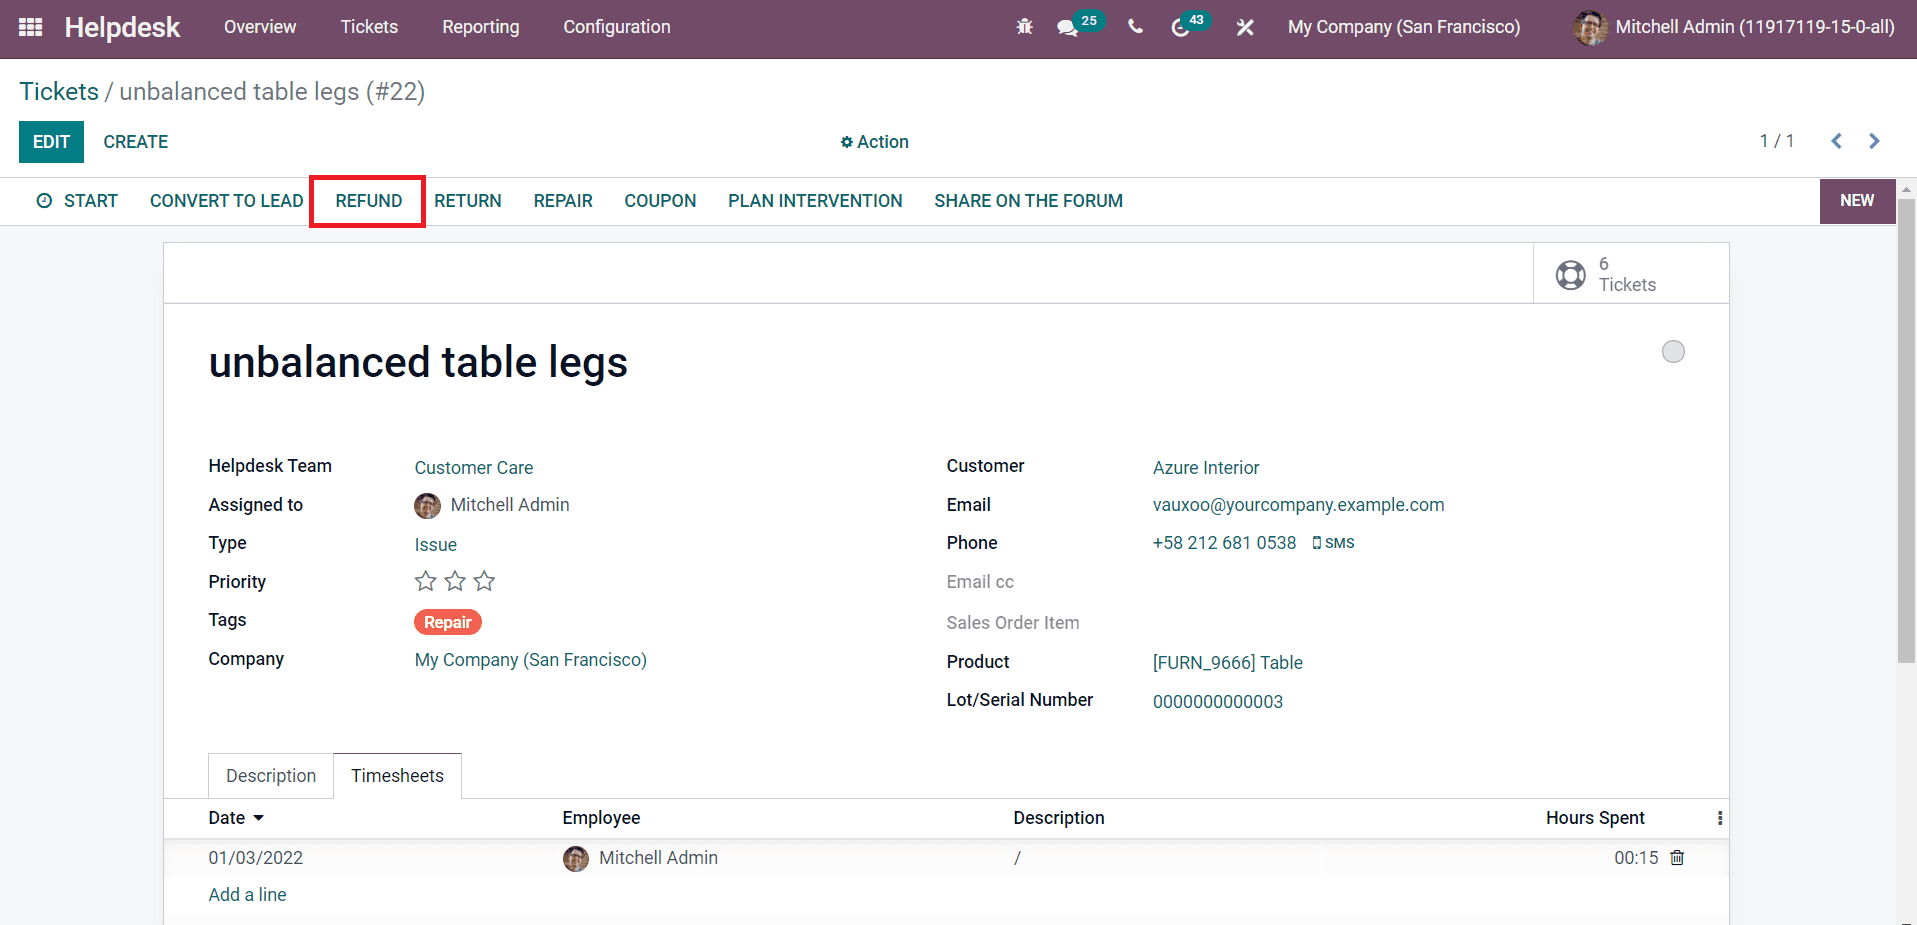
To refund the customer, you can use the Refund button.
By clicking on the Refund option, a pop-up window will appear as shown below.
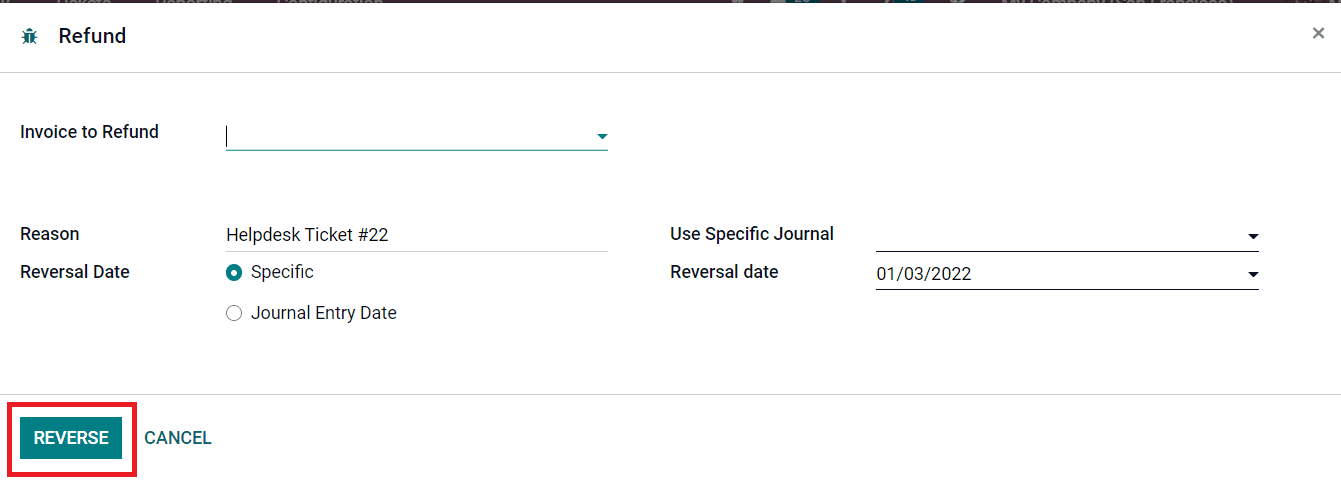
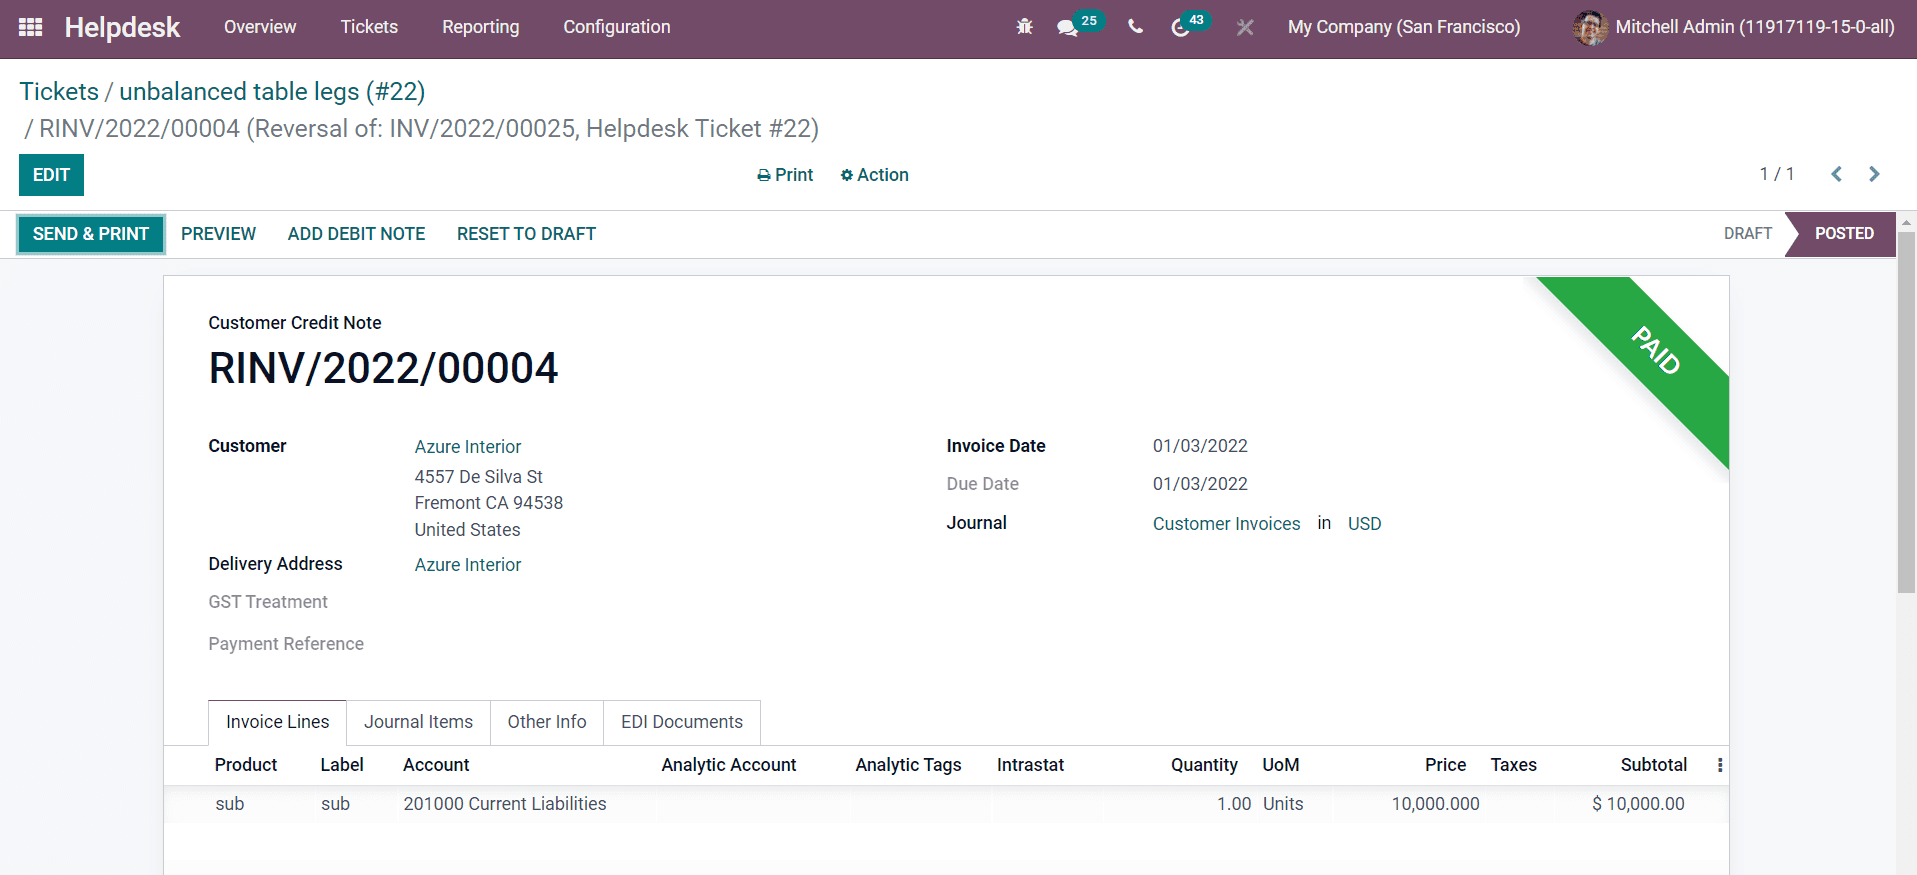
Here, you can configure the invoice to refund in the given field. The Reason for the refund and Reversal Date can be specified in the respective fields. You can also mention the journal to record the invoicing details in the Use Specific Journal field. Click the Reverse button. A customer credit note will be generated.
Now, to return the product to the company, you can click on the Return button.
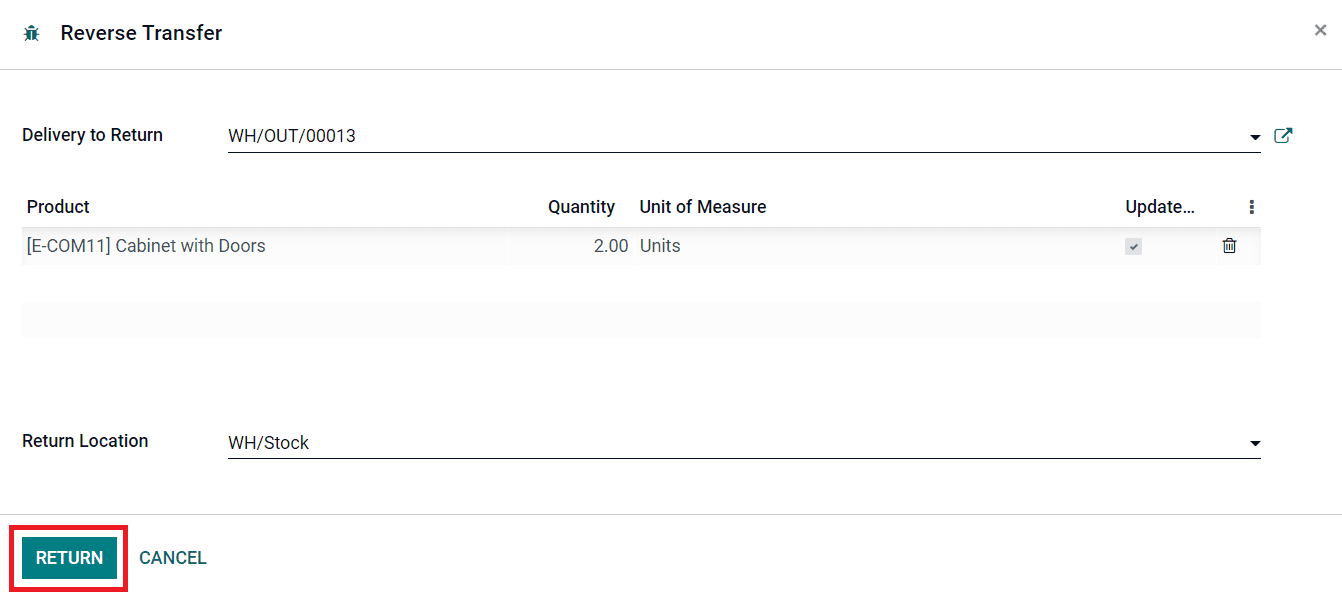
You can mention the Delivery to Return, Product, and Return Location in the pop-up window. Click the Return button to return the product to the company warehouse.
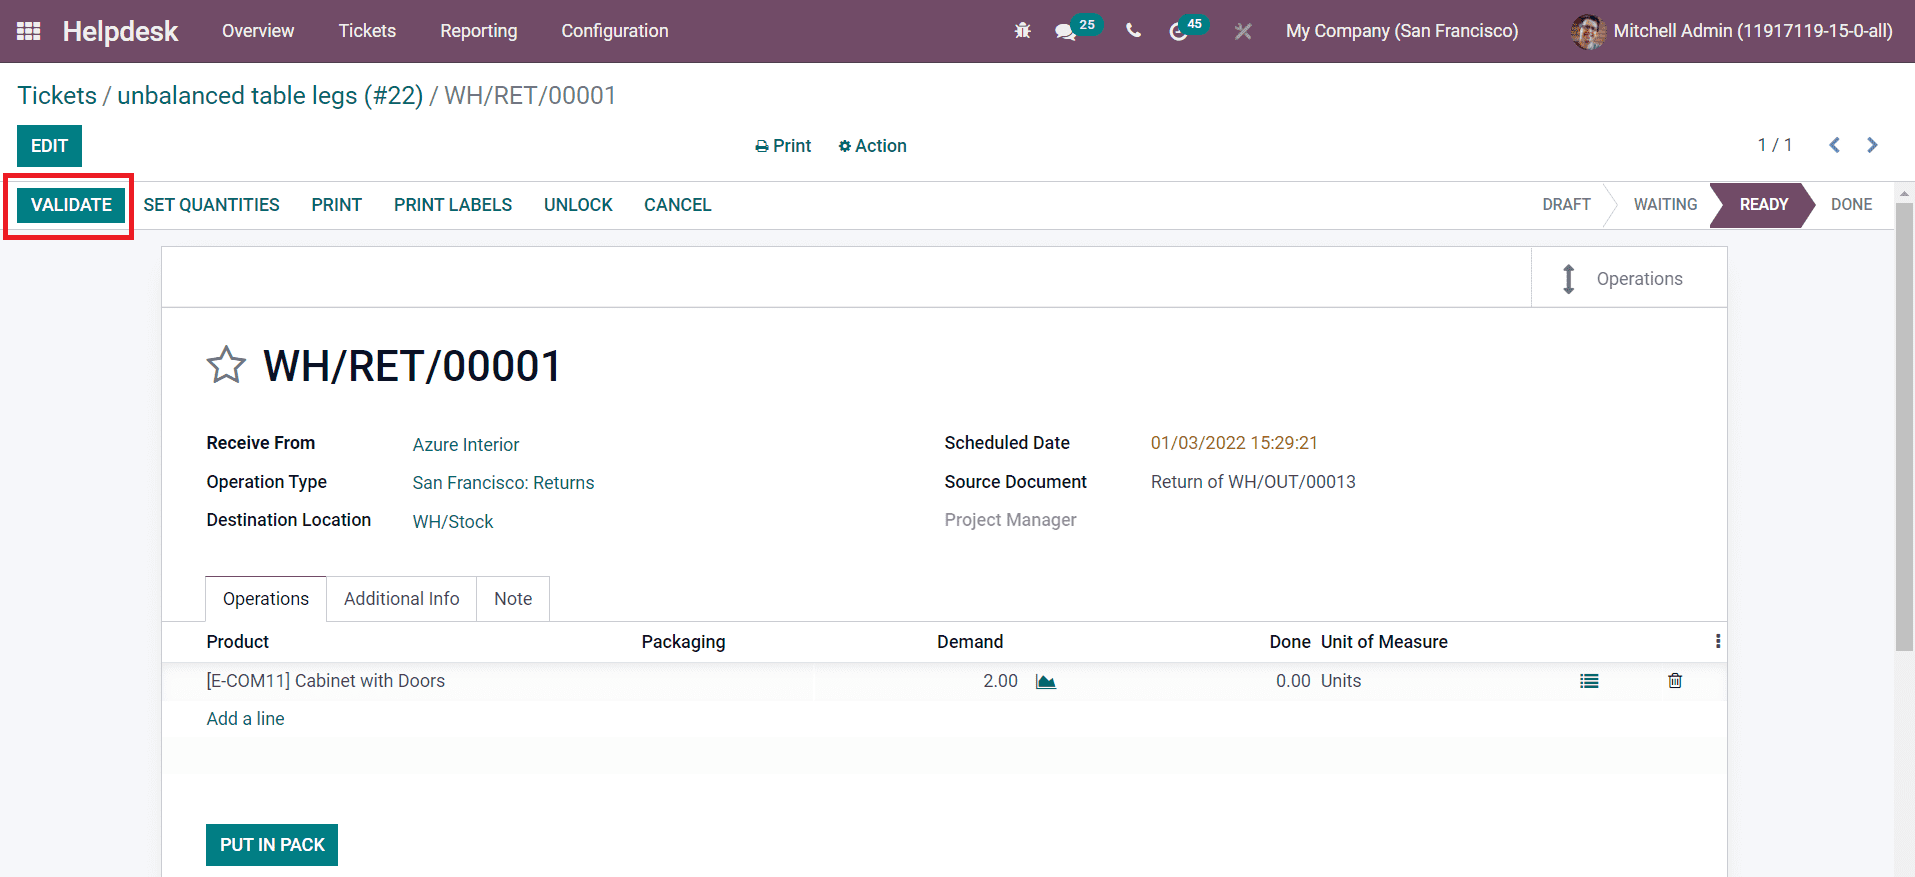
You can validate the return order by clicking on the Validate button and the product will be returned to the specified destination.
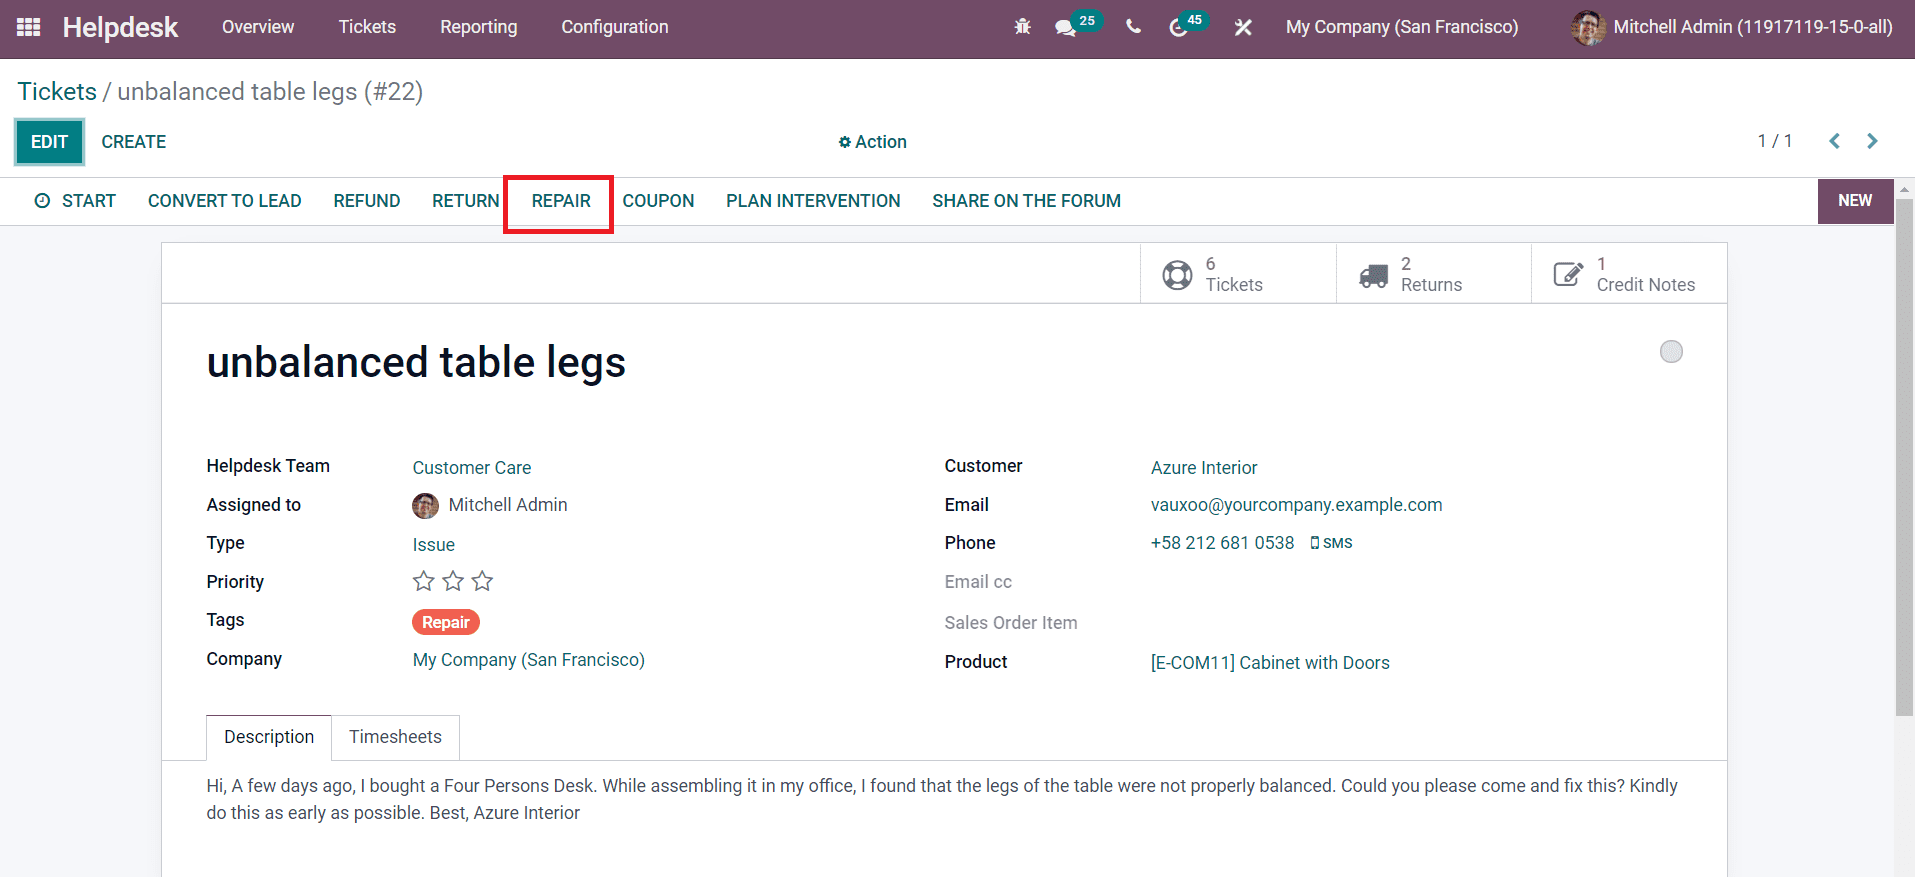
If you want to send the product to repair, you can click on the Repair button. You will be directed to a new window where you can create a repair order for the damaged product.

You can create and manage repair orders on this platform.
You can generate a reward coupon for the customer by using the Coupon button.
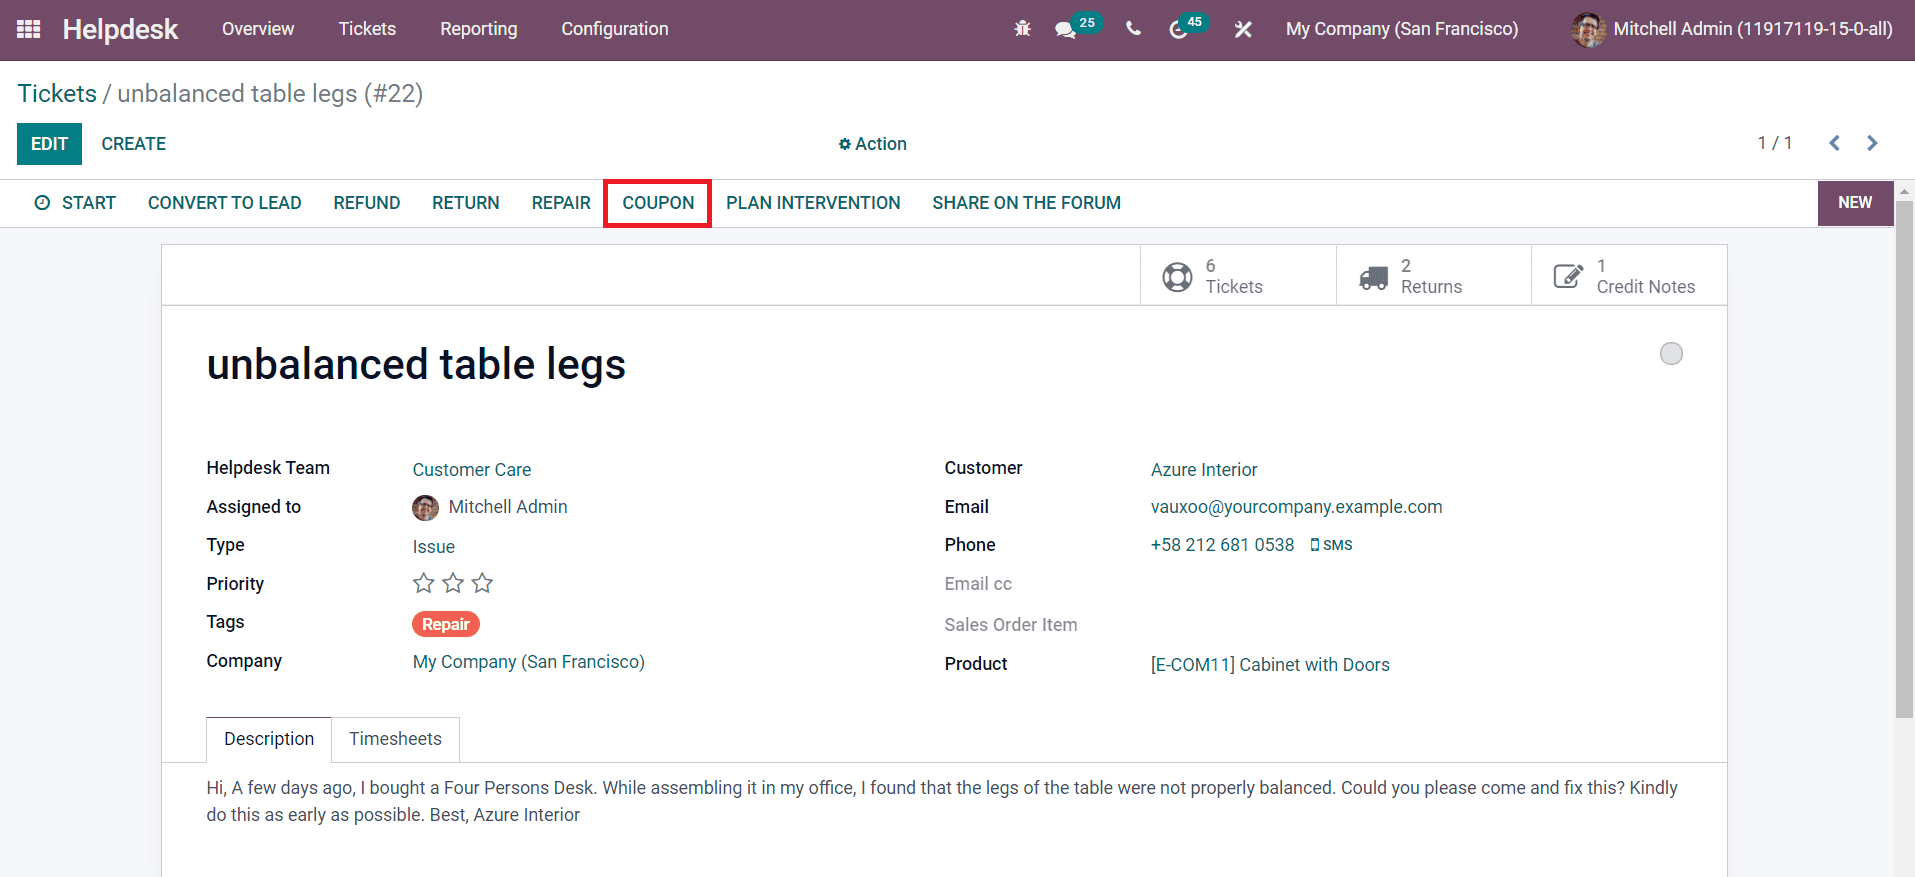
In the pop-up window, you can mention the coupon program.
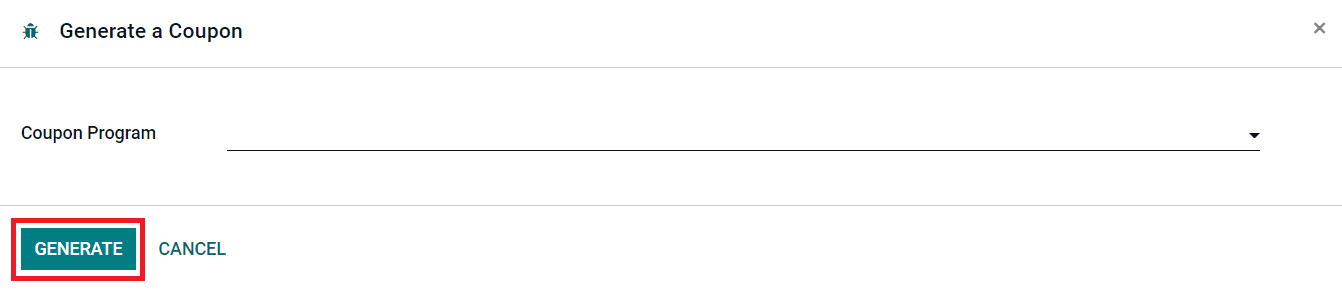
Click the Generate button to generate a coupon. You will be directed to a new window where you will get the option to send the reward coupon to the customer via mail.
If you want to create a field service task for this ticket, you can click on the Plan Intervention option.

A pop-up window will be depicted with the details about the Title, Project, Worksheet Template, and Customer of the task.
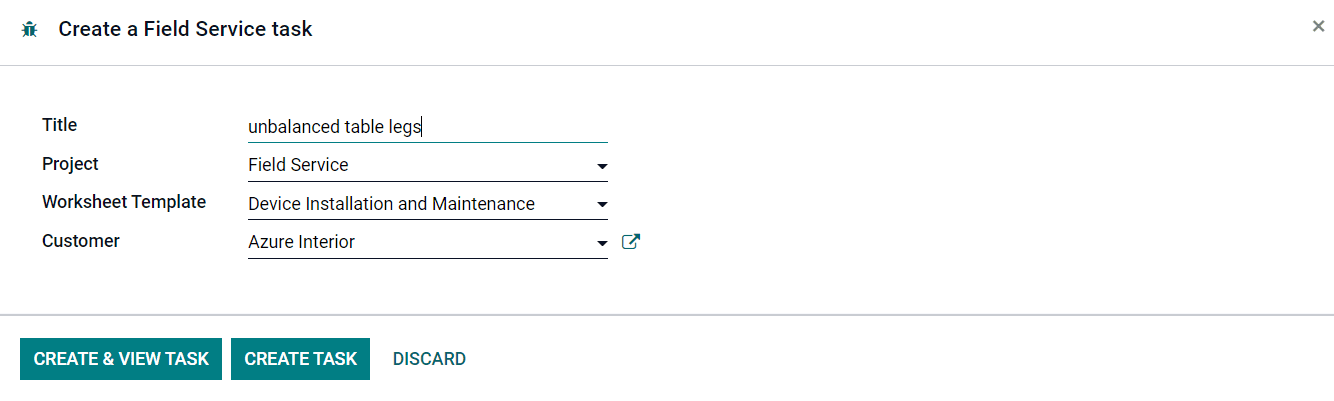
The Create Task button can be used to create the task and manage the field service.
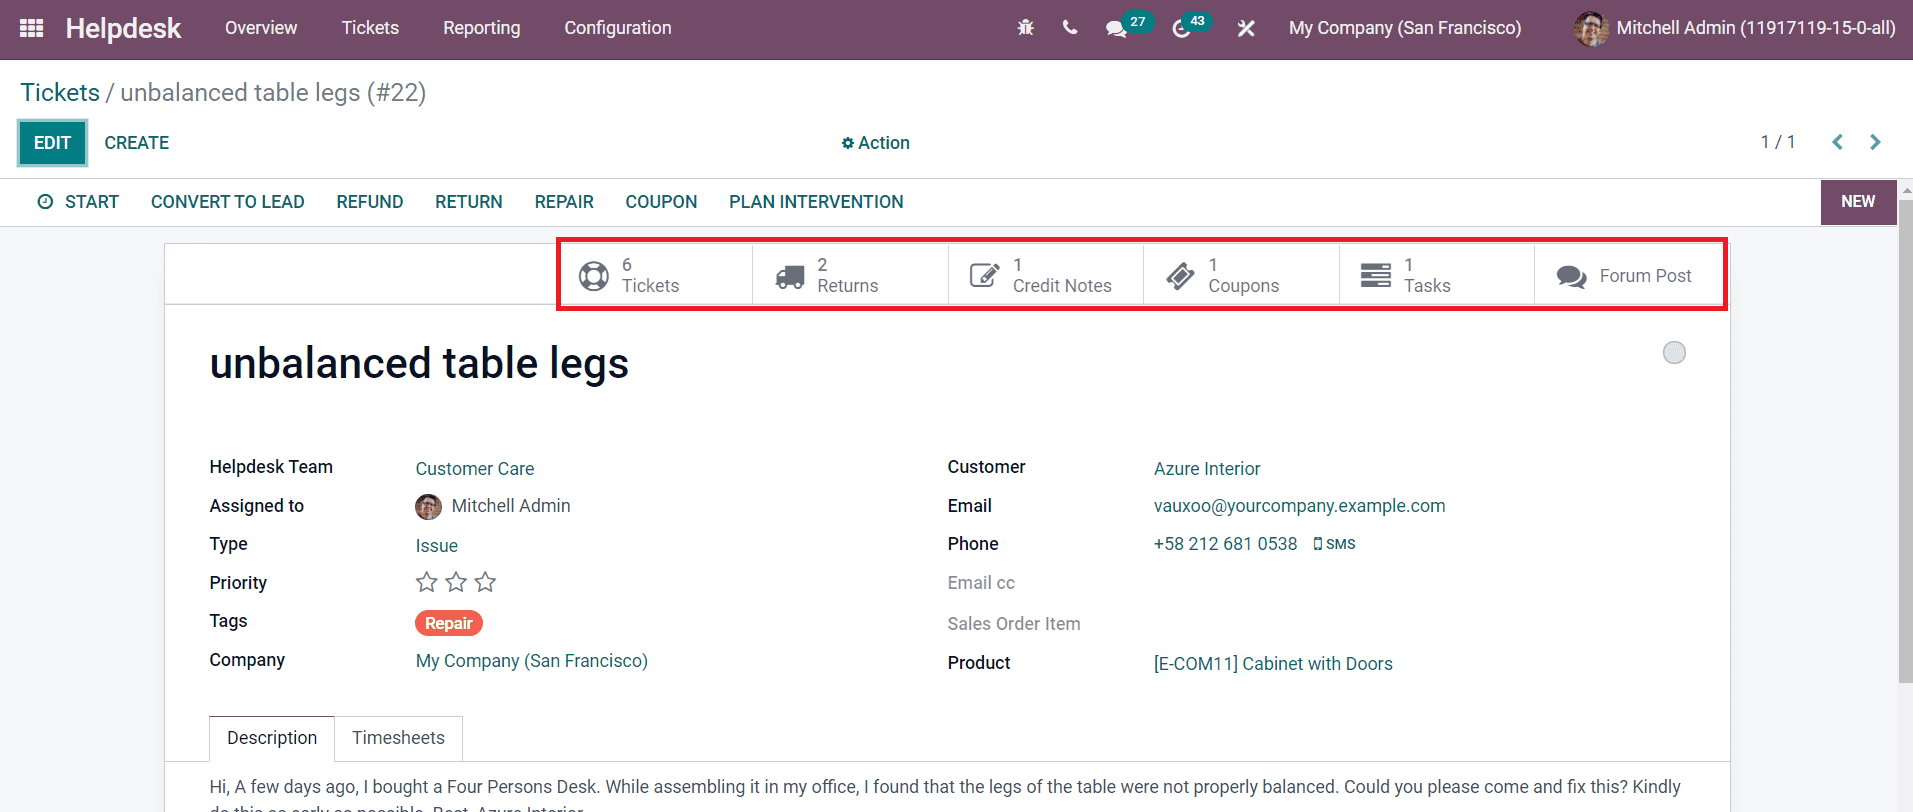
You can share the tickets on the forum to let the customers answer each other’s questions on the forum.
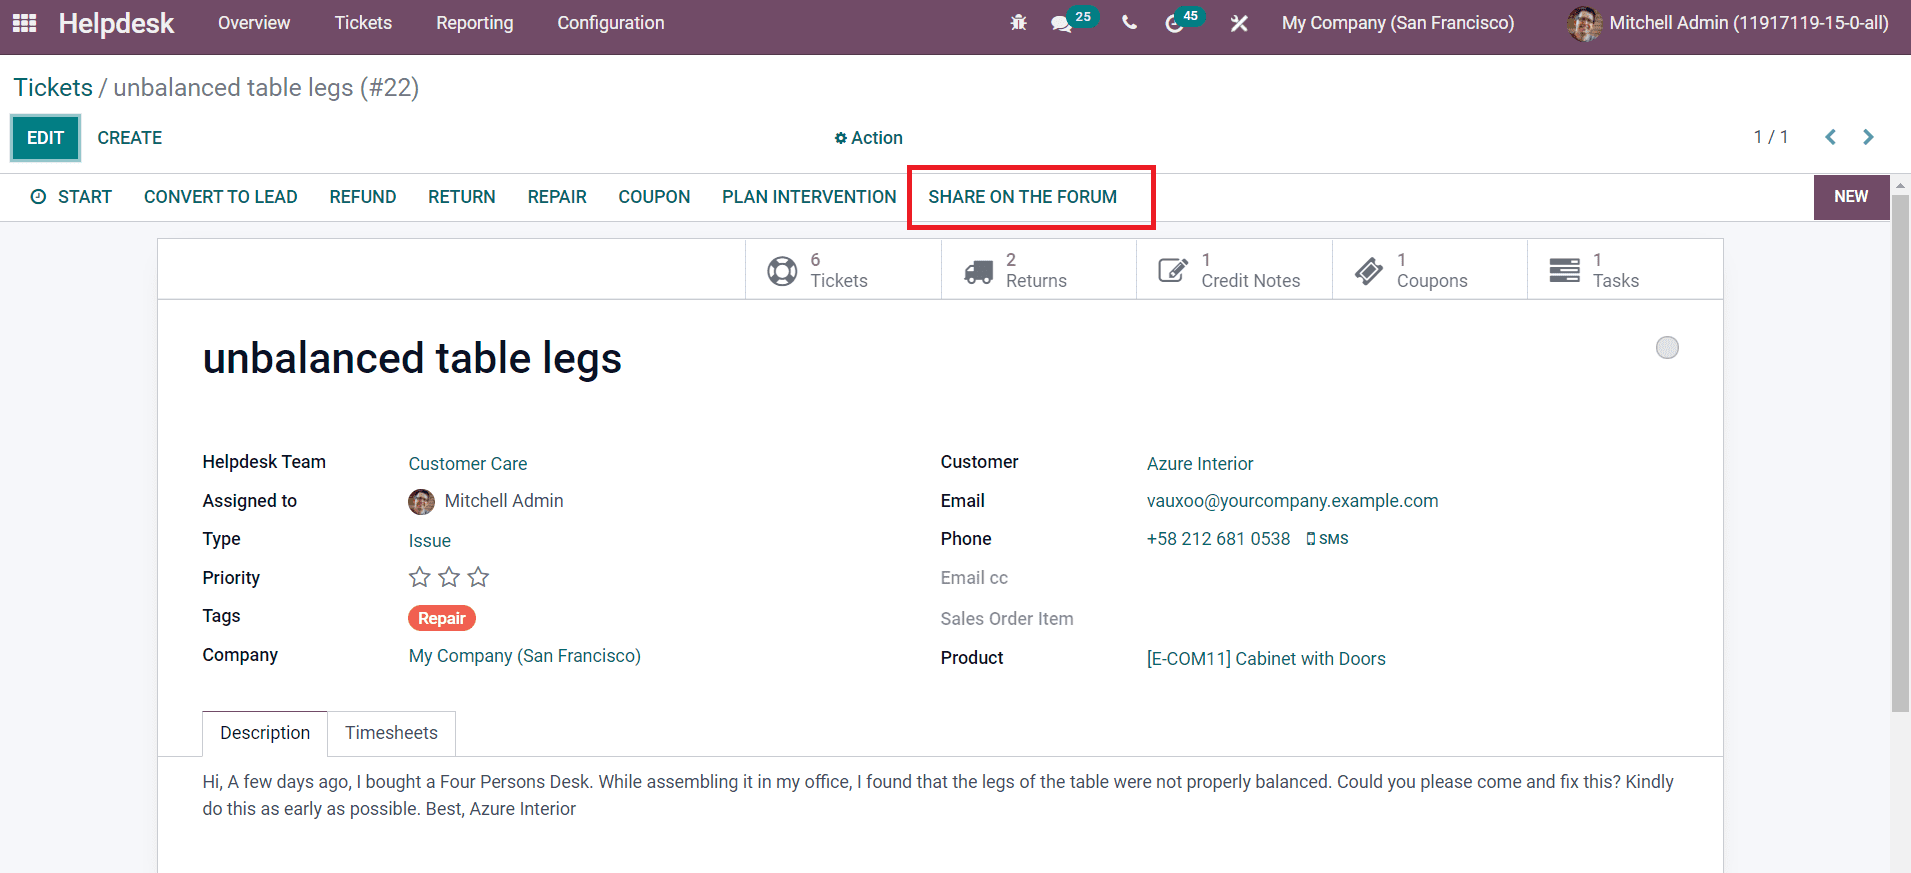
For this, click on the Share On the Forum button. This will help you to publish the description of the ticket on the forum.
While doing each of these operations on the ticket, concerning smart buttons will appear in the window as shown below.
It is easy to create different types of tickets in the Odoo Help Desk module. In the Configuration menu of the module, you will get the Types option which can be used to configure the type of tickets.
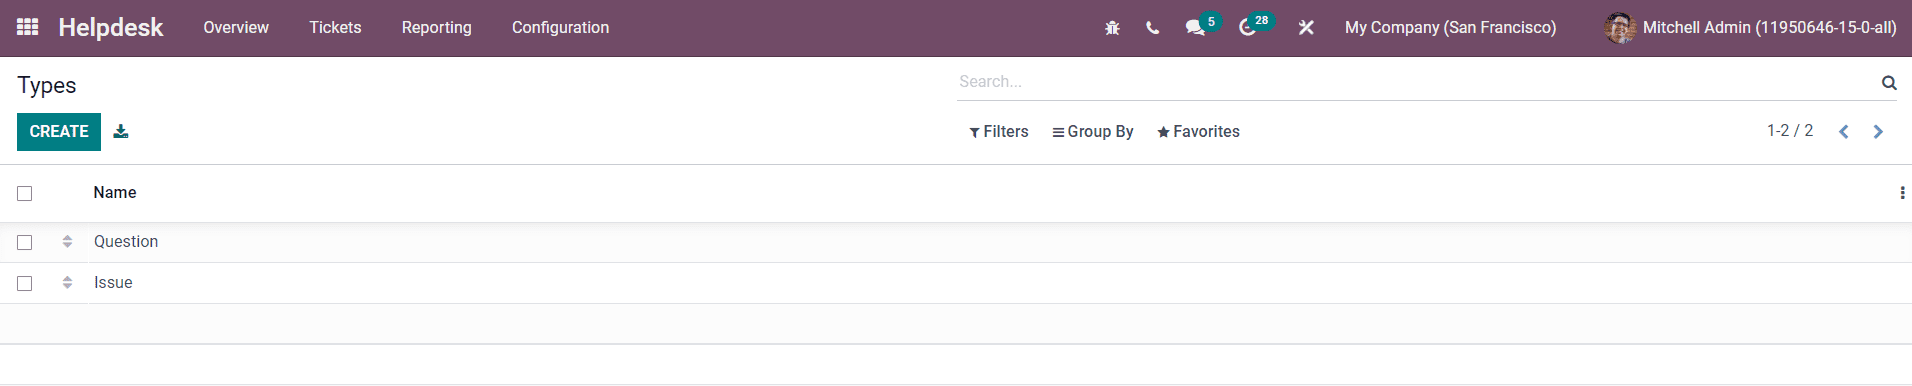
Already configured list of types can be seen on this platform. You can mention the name of the ticket type in the line that appears on the top of the existing list after clicking on the Create button. Similarly, you can create different types of tickets in this window.