Field Service
Maintaining a healthy relationship with customers is really important for the growth of an organization. The Field Service Management module in Odoo 15 assists you in serving customers without any difficulties by improving the productivity of field workers. You can completely rely on this module to manage on-site work. This module will help you in assigning tasks to employees, scheduling appointments, planning routes, creating worksheets, generating invoices, and selling products.
In this chapter, we will take a look at the Field Service module in Odoo 15.
The home dashboard of the Field Service module displays all created field tasks in Kanban view. Along with the Kanban view, you will get Map, Calendar, List, Gantt, and Activity views on this platform.
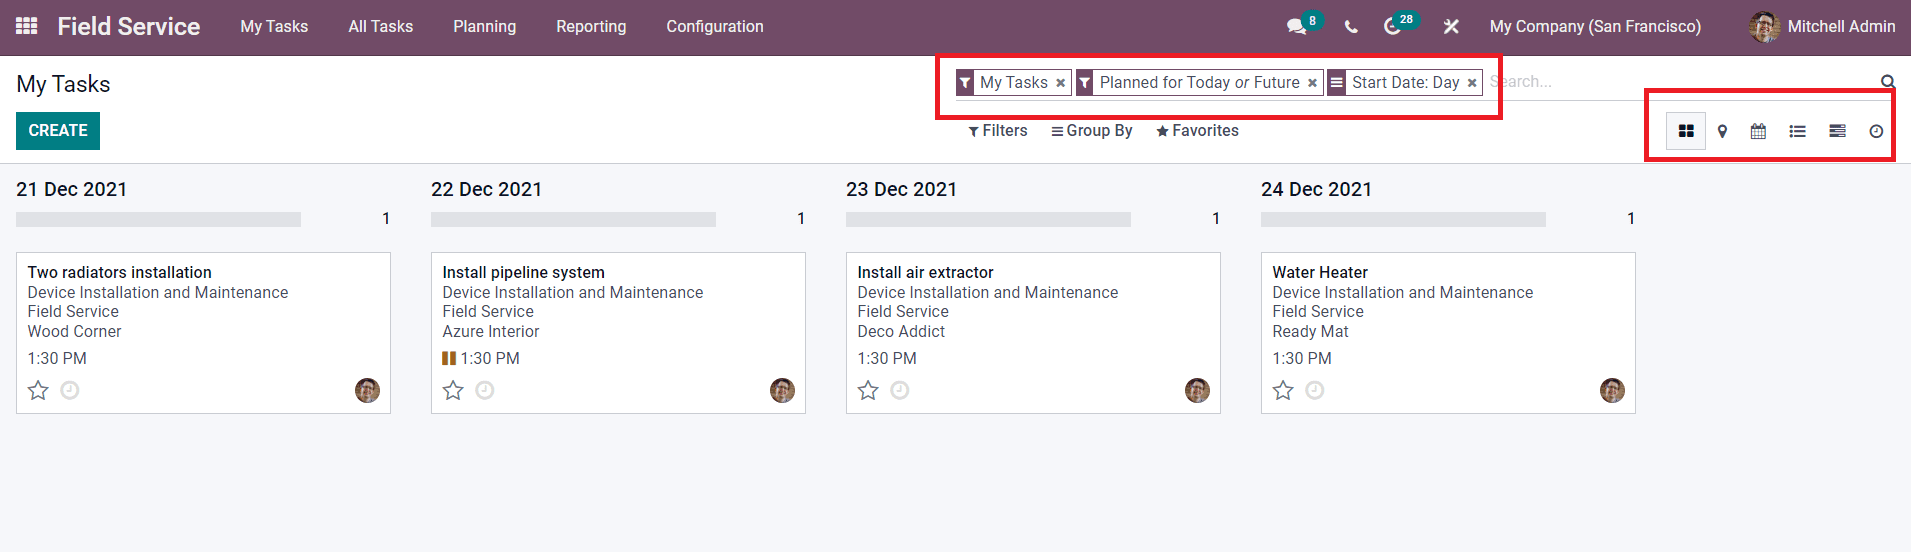
You can use the default as well as customizable Filters and Group By options as sorting tools to get the exact data according to your requirements. To create a new task on this platform, use the Create button given on the top left side of the window.
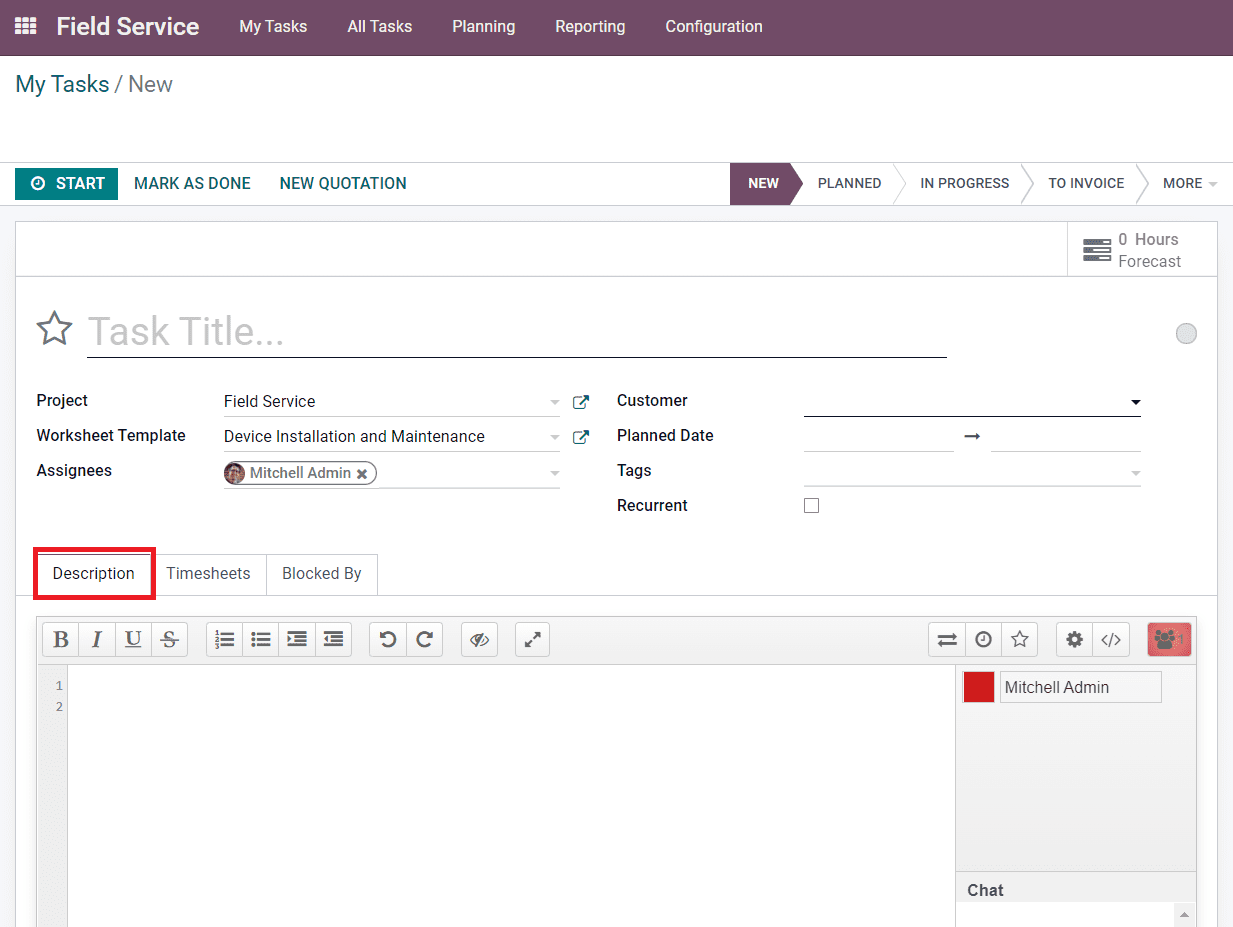
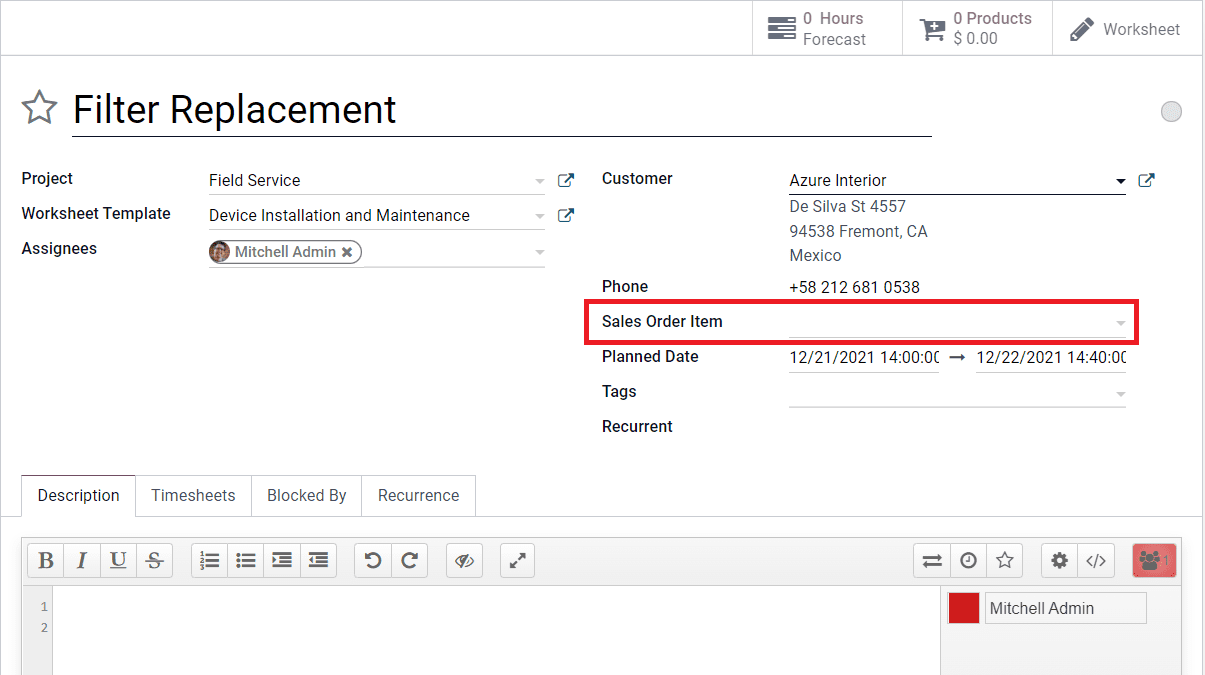
Now, mention the title of the task in the specified field. You can specify the project to which this task belongs in the Project field. You can add a suitable Worksheet Template for this particular task in the given space. From the Configuration menu of the module, you can easily configure new projects and worksheet templates for tasks in the Field Service module. You can mention the responsible employees for this task in the Assignees field. Specify the name of the Customer, Planned Date to start and complete the task, and Tags in the corresponding fields. By specifying the customer details, you will be able to get an additional field to mention Sales Order Item to which the time spent on this task will be added, in order to be invoiced to your customer.
To repeat the task at a regular interval, you can activate the Recurrent field.
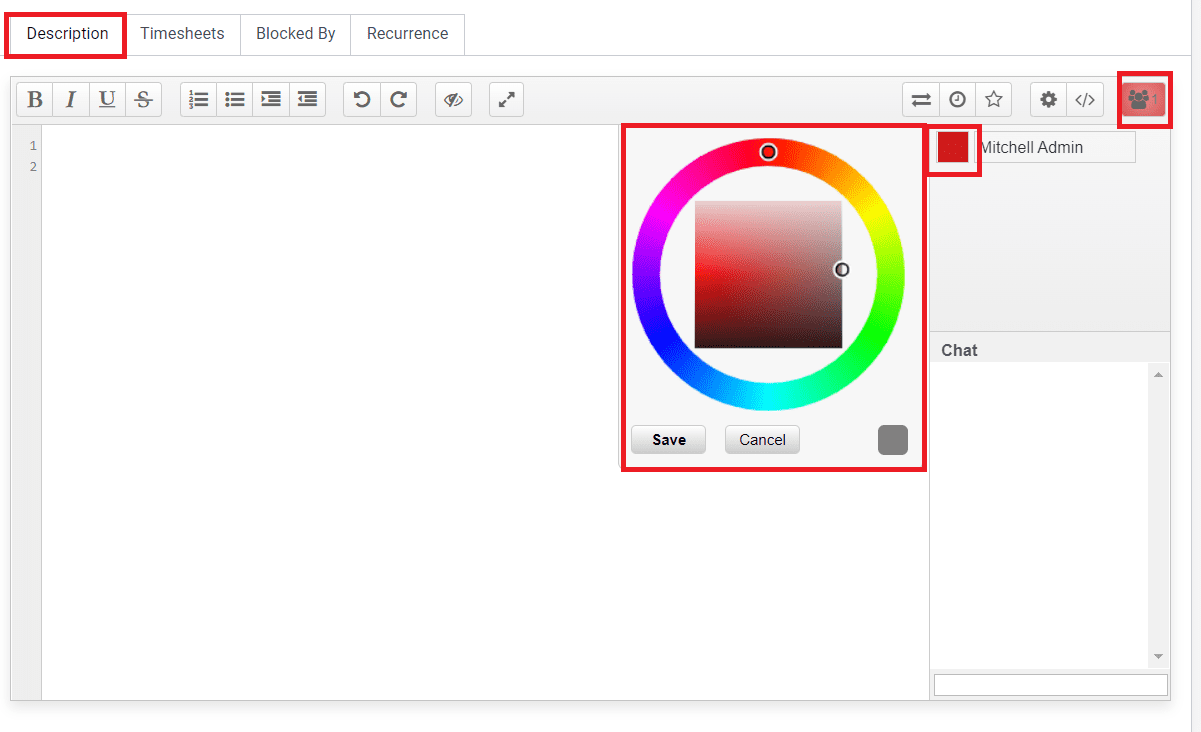
Under the Description field, you will get a Collaborative Pad which can be used as a communication tool between the team members of a common task. You will get the number of users in this pad on the top right corner of the pad. You can assign different colors for team members to identify them.
You can share this pad with your teammates by using the Share and Embed option.
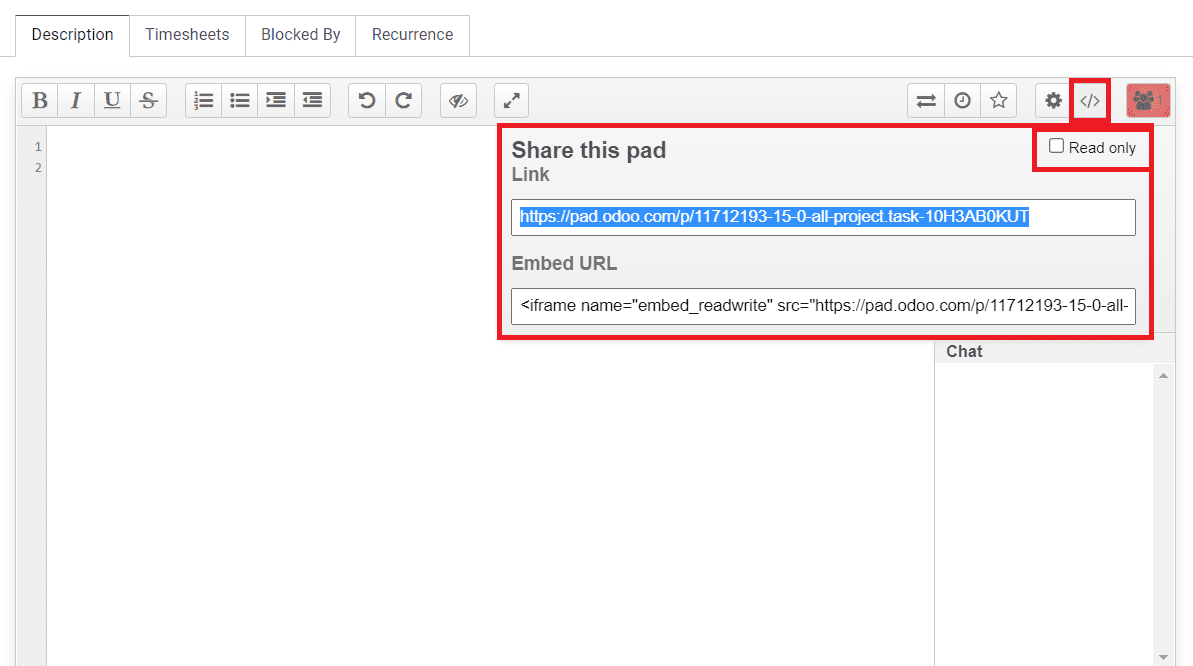
By activating the Read Only button, you can restrict the pad from any editing from outsiders. The Settings option in the collaborative pad includes various options to activate such as Chat always on screen, Show chat and users, Authorship colors, Line numbers, and Read content from right to left.
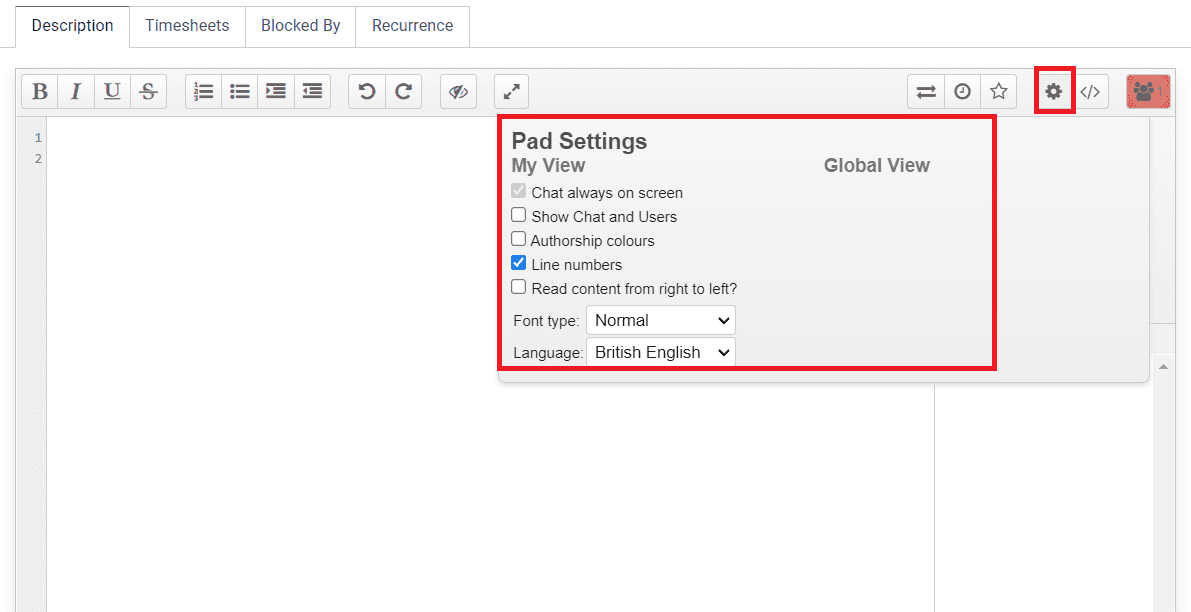
You can set Font Type and Language for communication from the settings option. The star icon can be used to save revision. The Time Slider option will help you to play the chat as a video.

You will get a play and pause button in the window. The Import/Export option can be used to upload any text file or document to/from this chat.

You can also switch the pad into full view which will ease your chat with your teammates.
Under the Timesheets tab, you can configure timesheets of employees who worked on this task. In the Initially Planned Hours, you can specify the time planned to achieve this task.

According to the timesheets recorded on this task, the Progress field will show the percentage of progress of the current task. Using the Add a Line option, you can mention the Date, Employee, Description, and Hours Spent on this timesheet. The total number of hours spent on this task can be also seen in this tab.
The Blocked By tab can be used to mention the tasks that you want to block in order to complete the current task before the blocked tasks.

By doing so, you can complete the tasks according to the order you prefer. Clicking on the Add a Line button will give you a pop-up window where you can select tasks that you want to the block list.
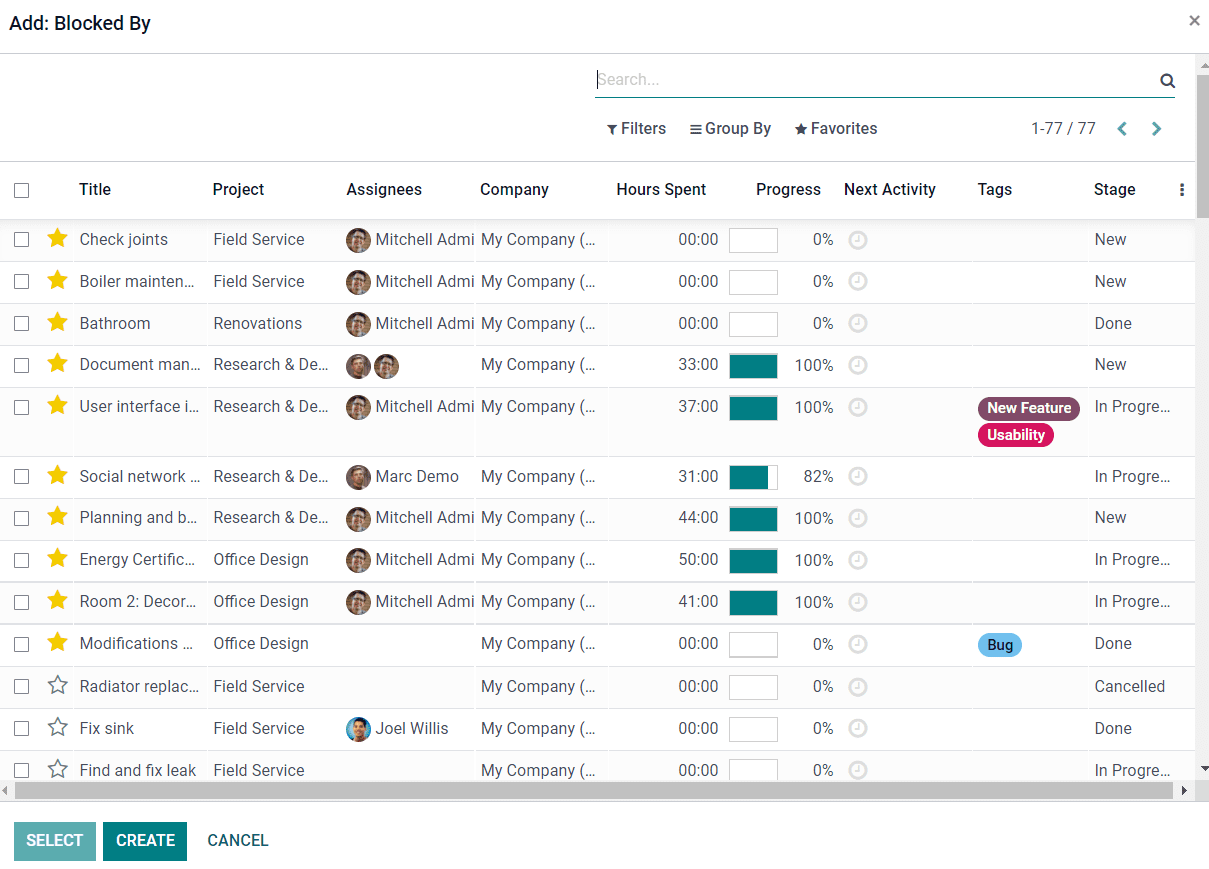
You can select tasks from the given list or else you can use the Create icon to create a new task.
By activating the Recurrent option in the new task creation window, you will get an additional tab called Recurrence as shown in the image below.

You can define the repetition period of the task in this tab. You can set the repetition as Forever, until the End Date, or limited to a specified number. After completing all fields, you can click on the Save button to save the new task.

When you are about to start the task, you can click on the Start button and Odoo will record the working hours on this task. After completing the task or to stop recording, you can click on the Stop button. A pop-up window will appear as shown below to confirm the time spent by the user.

You can click on the Save icon and this time will be added to the timesheet of this task. After completing the task, you can click on the Mark as Done button.
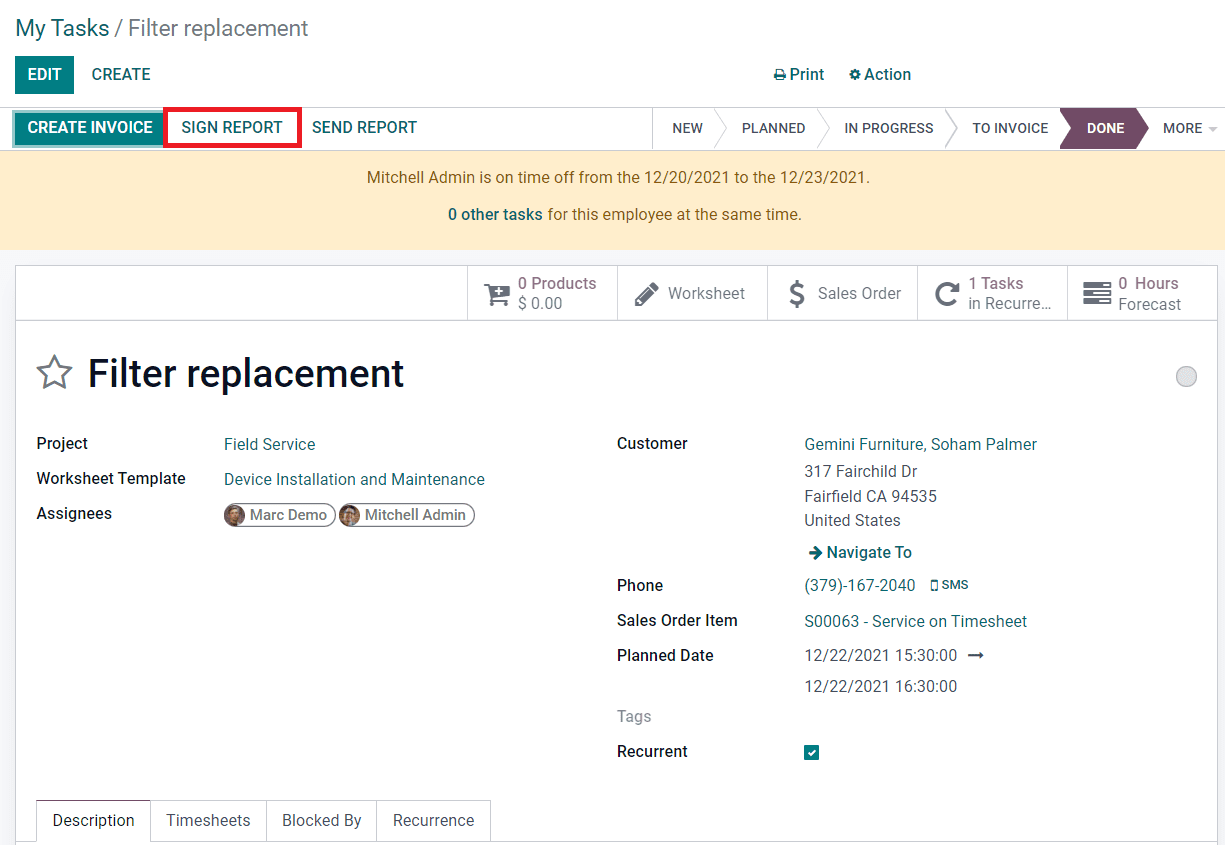
By clicking on the Sign Report button, Odoo will direct you to the website view of the respective task report. The concerning customer can sign the report from this page.
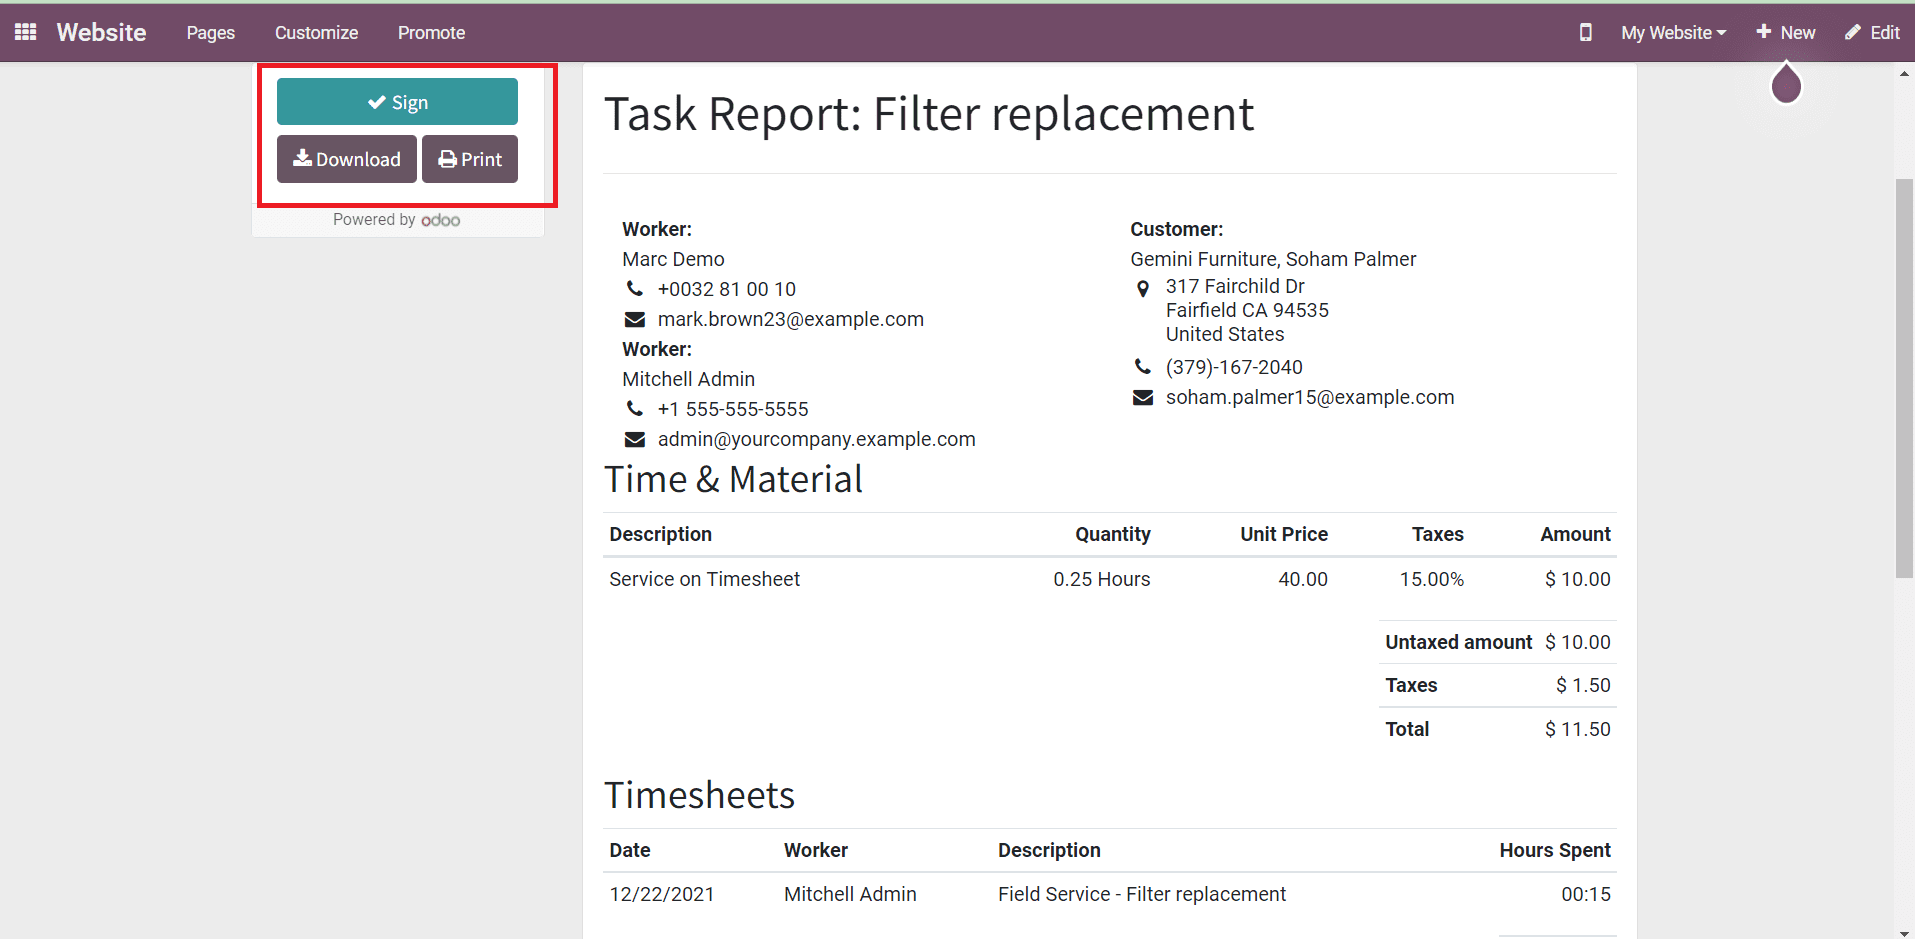
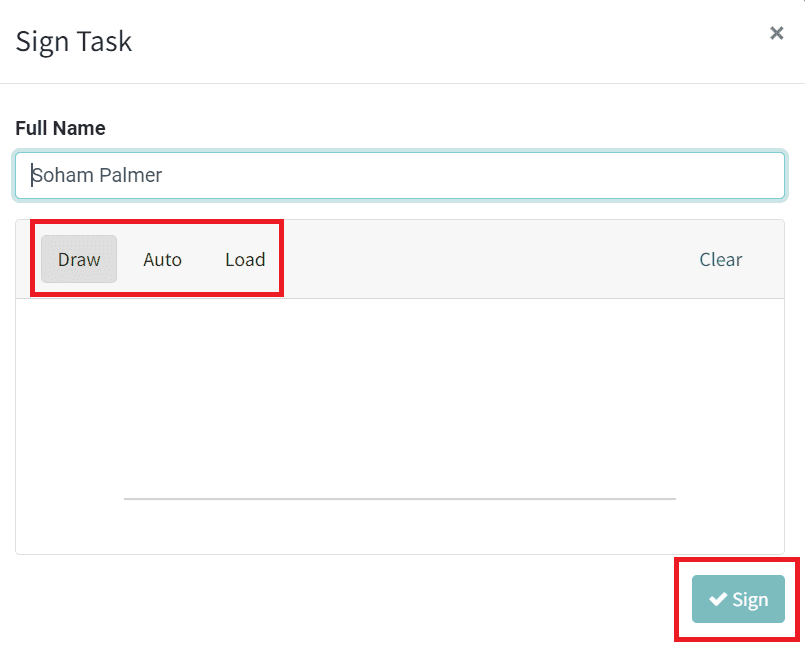
The customer can Sign, Download, or take a printout of the report from this page. By clicking on the Sign button, a pop-up window will appear where the customer can upload his/her sign.
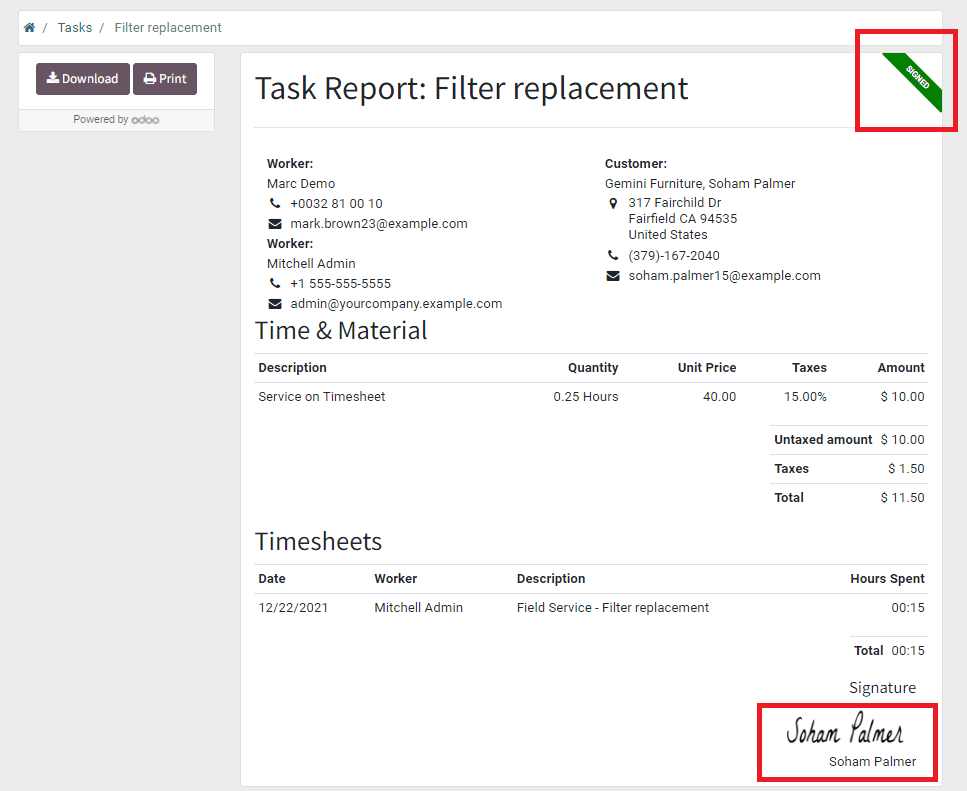
After uploading the sign, you will get the signed report of the particular task.
If you want to send the report to the specified customer, you can click on the Send Report button.
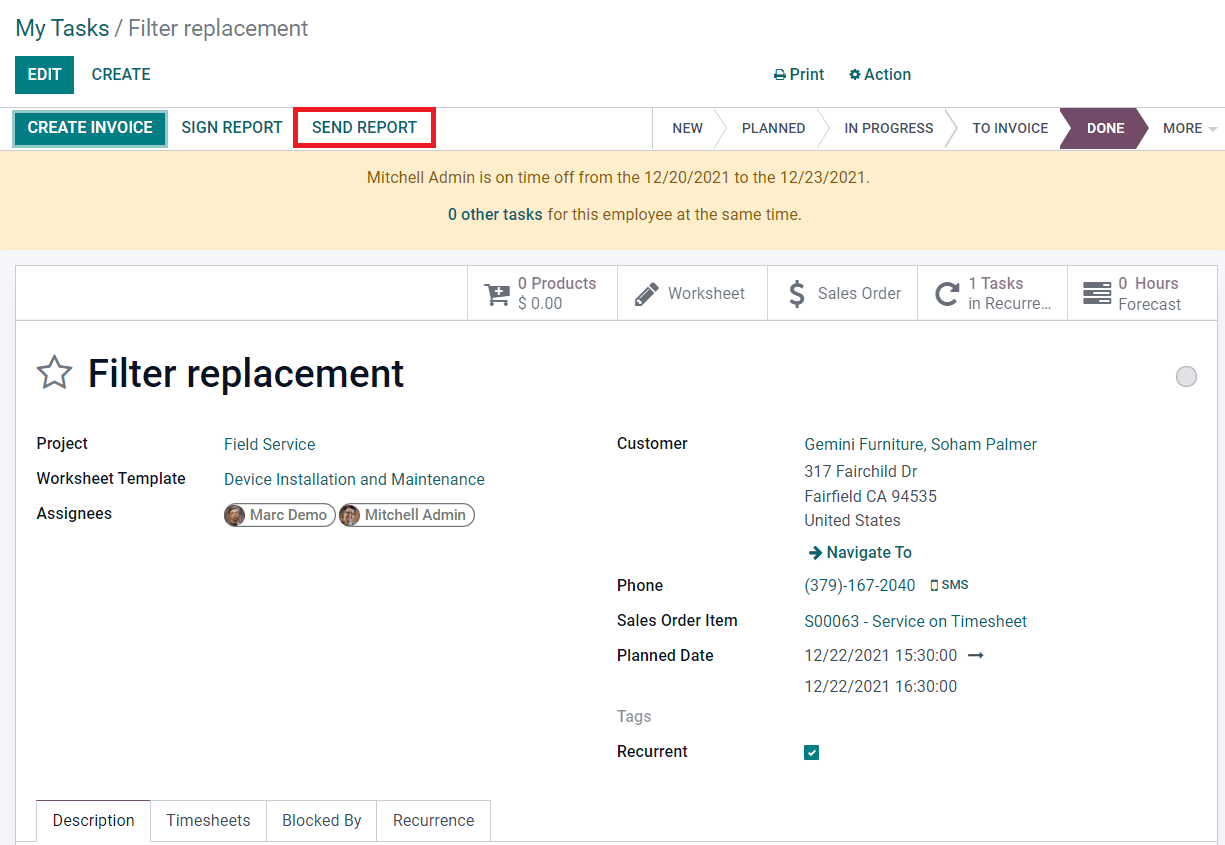
By clicking on the Send Report button, you will get an auto-generated mail with an attachment of the worksheet of this task.
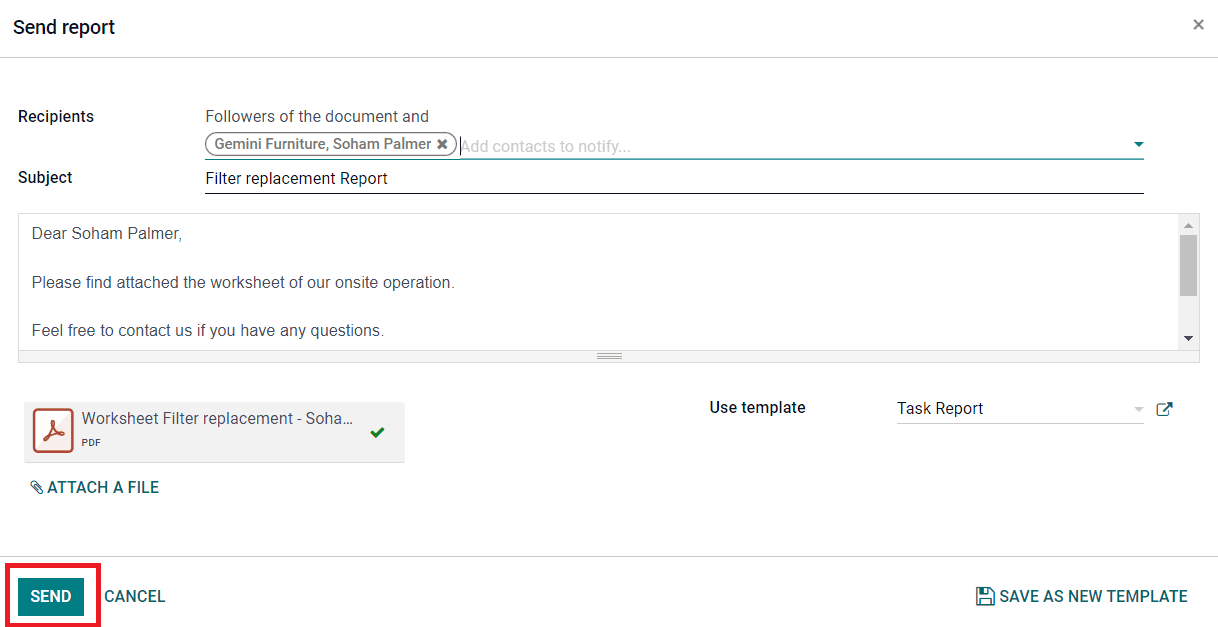
Using the Send button, you can send this report to the mentioned customer. After completing the task, you can easily generate invoices on this task by clicking on the Create Invoice button.
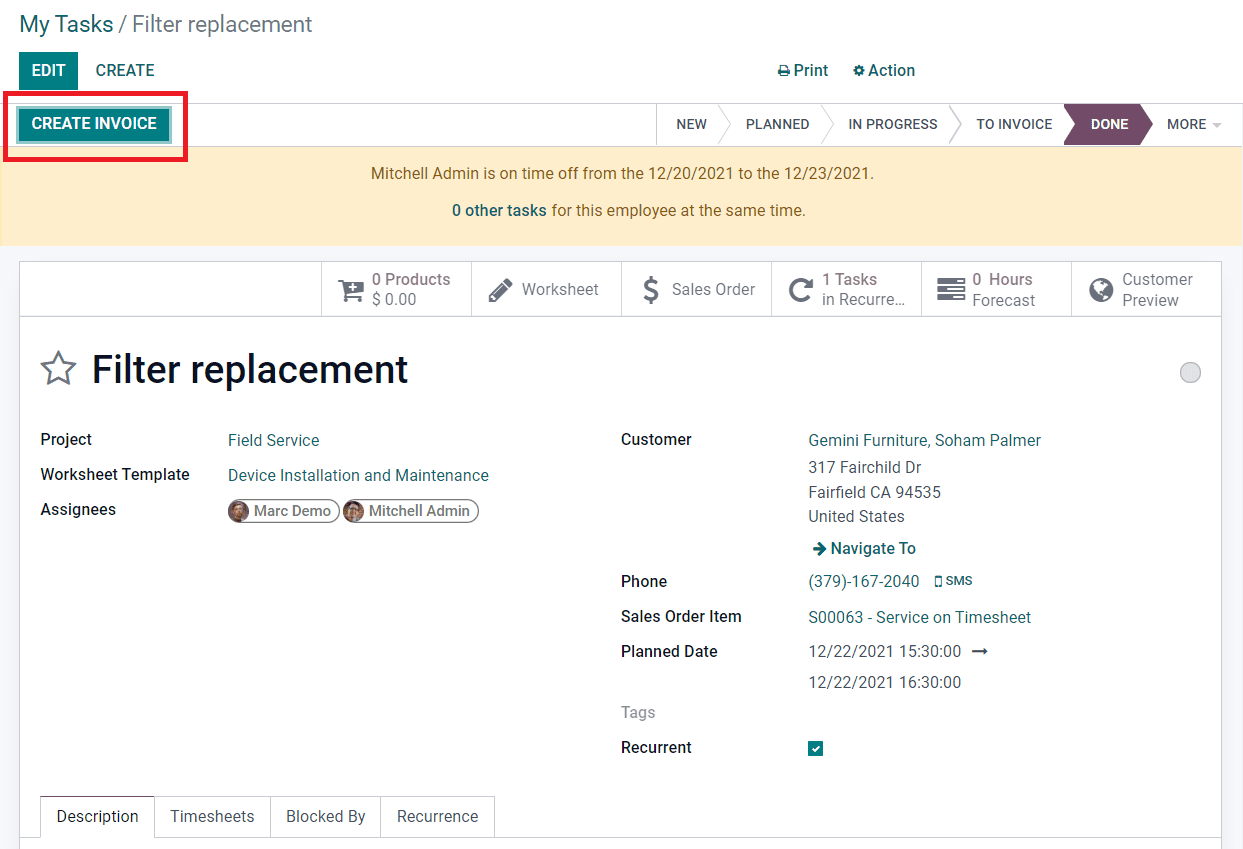
A pop-up window will appear where you can select the type of invoice as Regular Invoice, Down Payment (percentage), or Down Payment (fixed amount).
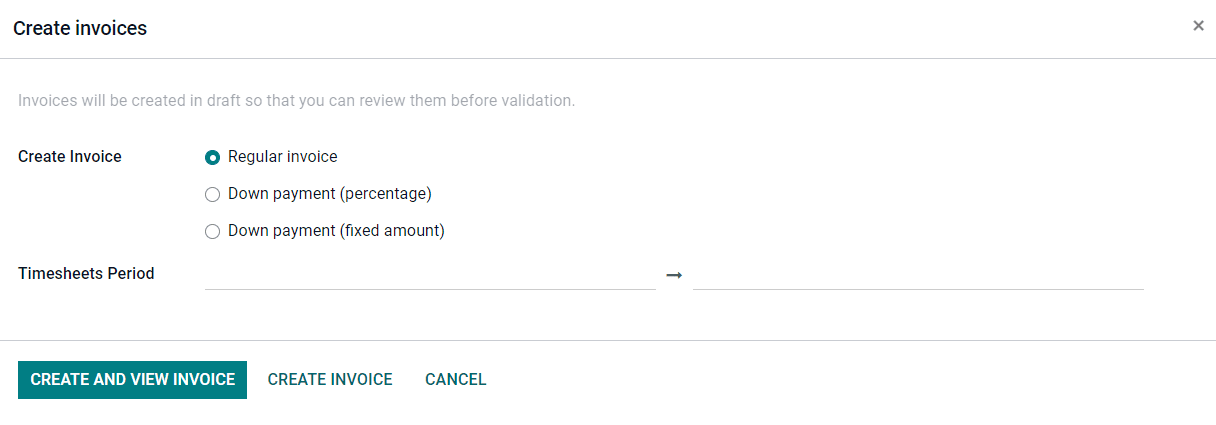
By clicking the Create Invoice button, a standard invoice will be issued with all the order lines ready for invoicing, according to the selected invoicing policy. You will get a draft invoice as shown in the screenshot below.
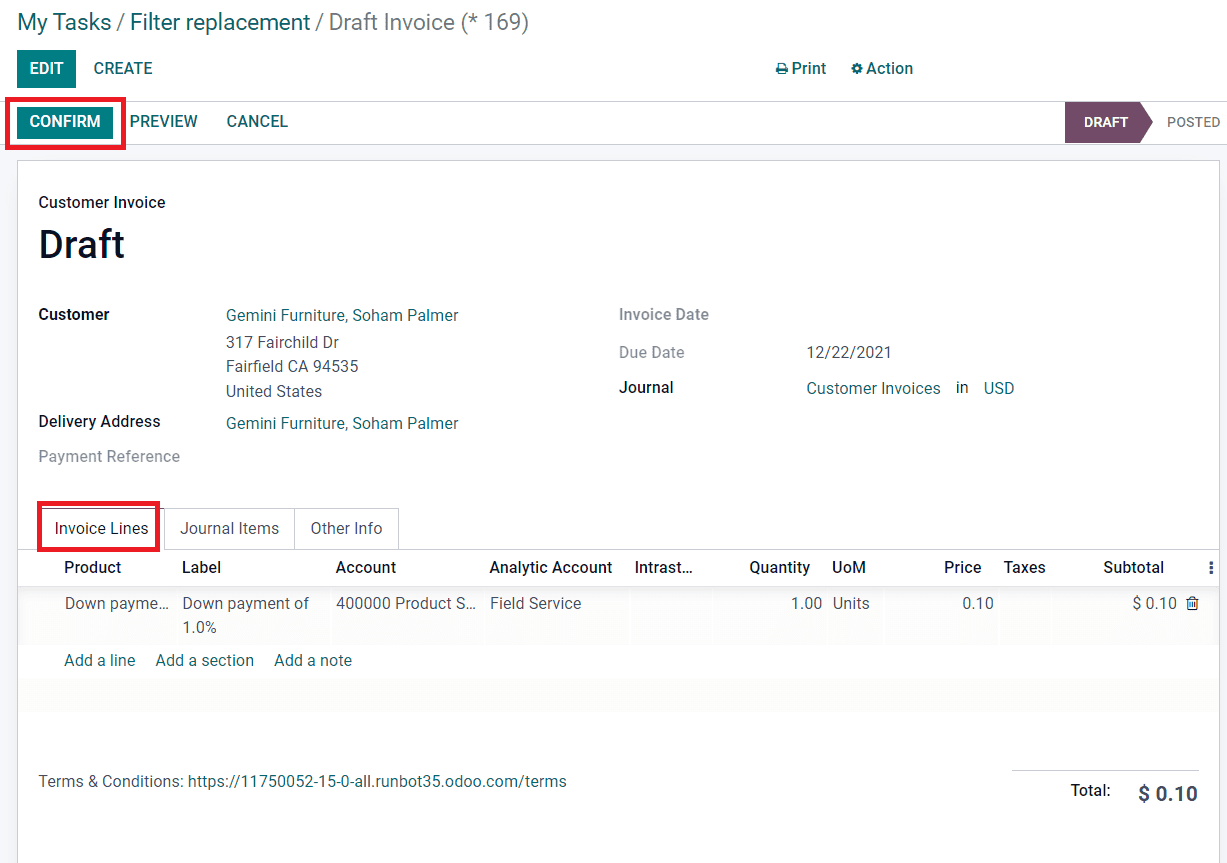
Under the Invoice Lines, you can add all products used in this field task. Click the Confirm button to confirm the invoice and proceed with payment.
After completing all these procedures, you will get many additional smart buttons in the field task window as shown below.

The Products button will show all products added to this field task. You can also add new products while performing the task using this button. All products configured to the Field Service module can be seen under the Products option in the Configuration menu.
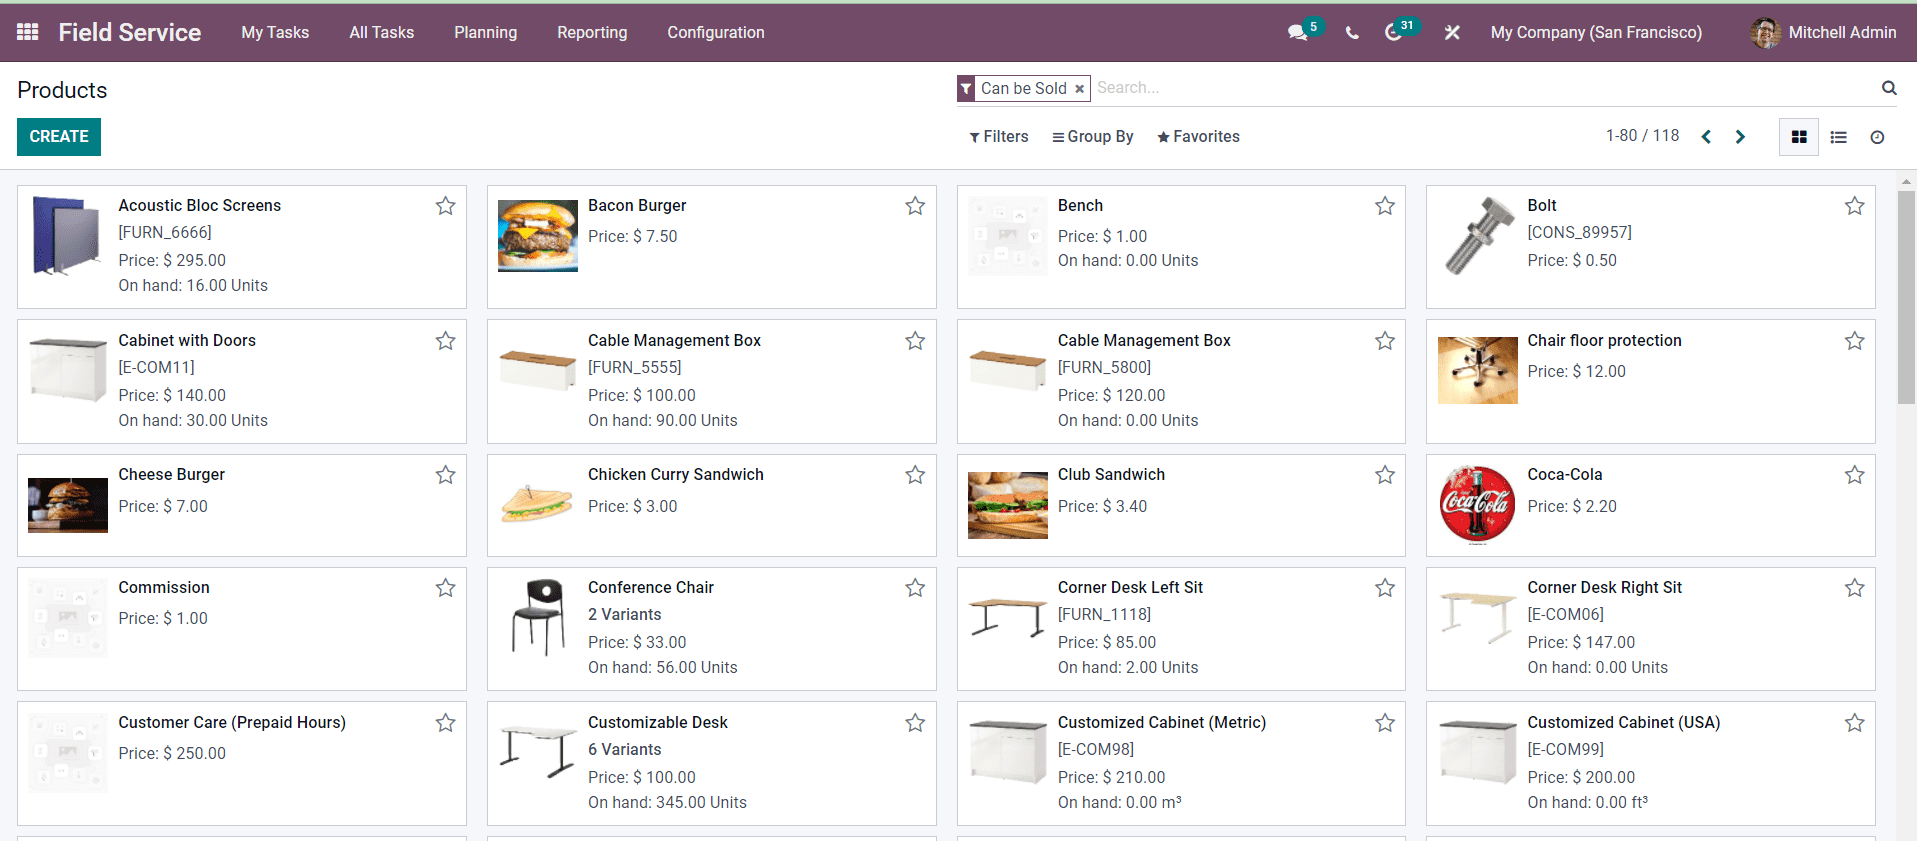
Using the Create button, you can configure new products to this platform.
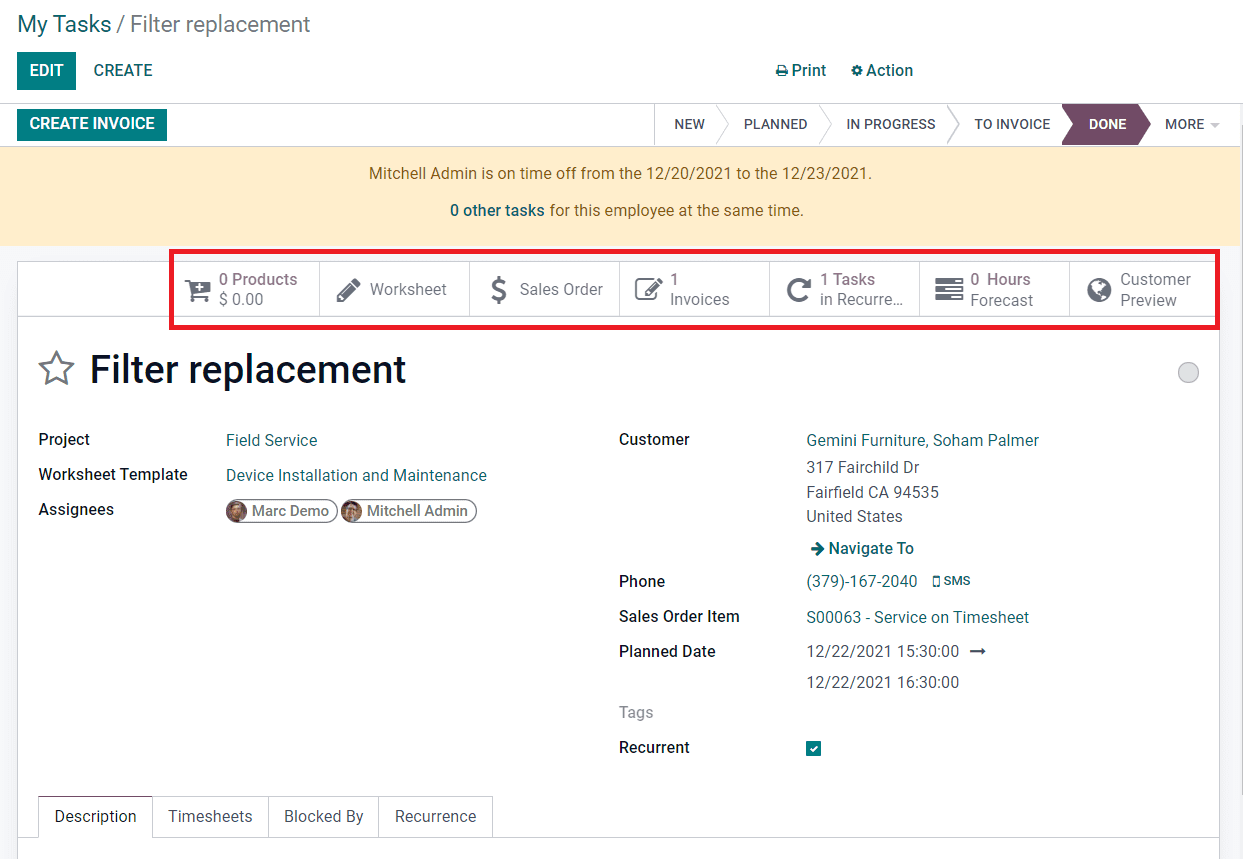
The Worksheet button will display the worksheet configured for this task. You will get all generated invoices for this task by clicking on the Invoices button. Recurrence details of this task can be seen under the Recurrence button. Hours Forcased and customer preview of this task will show under the corresponding smart buttons.
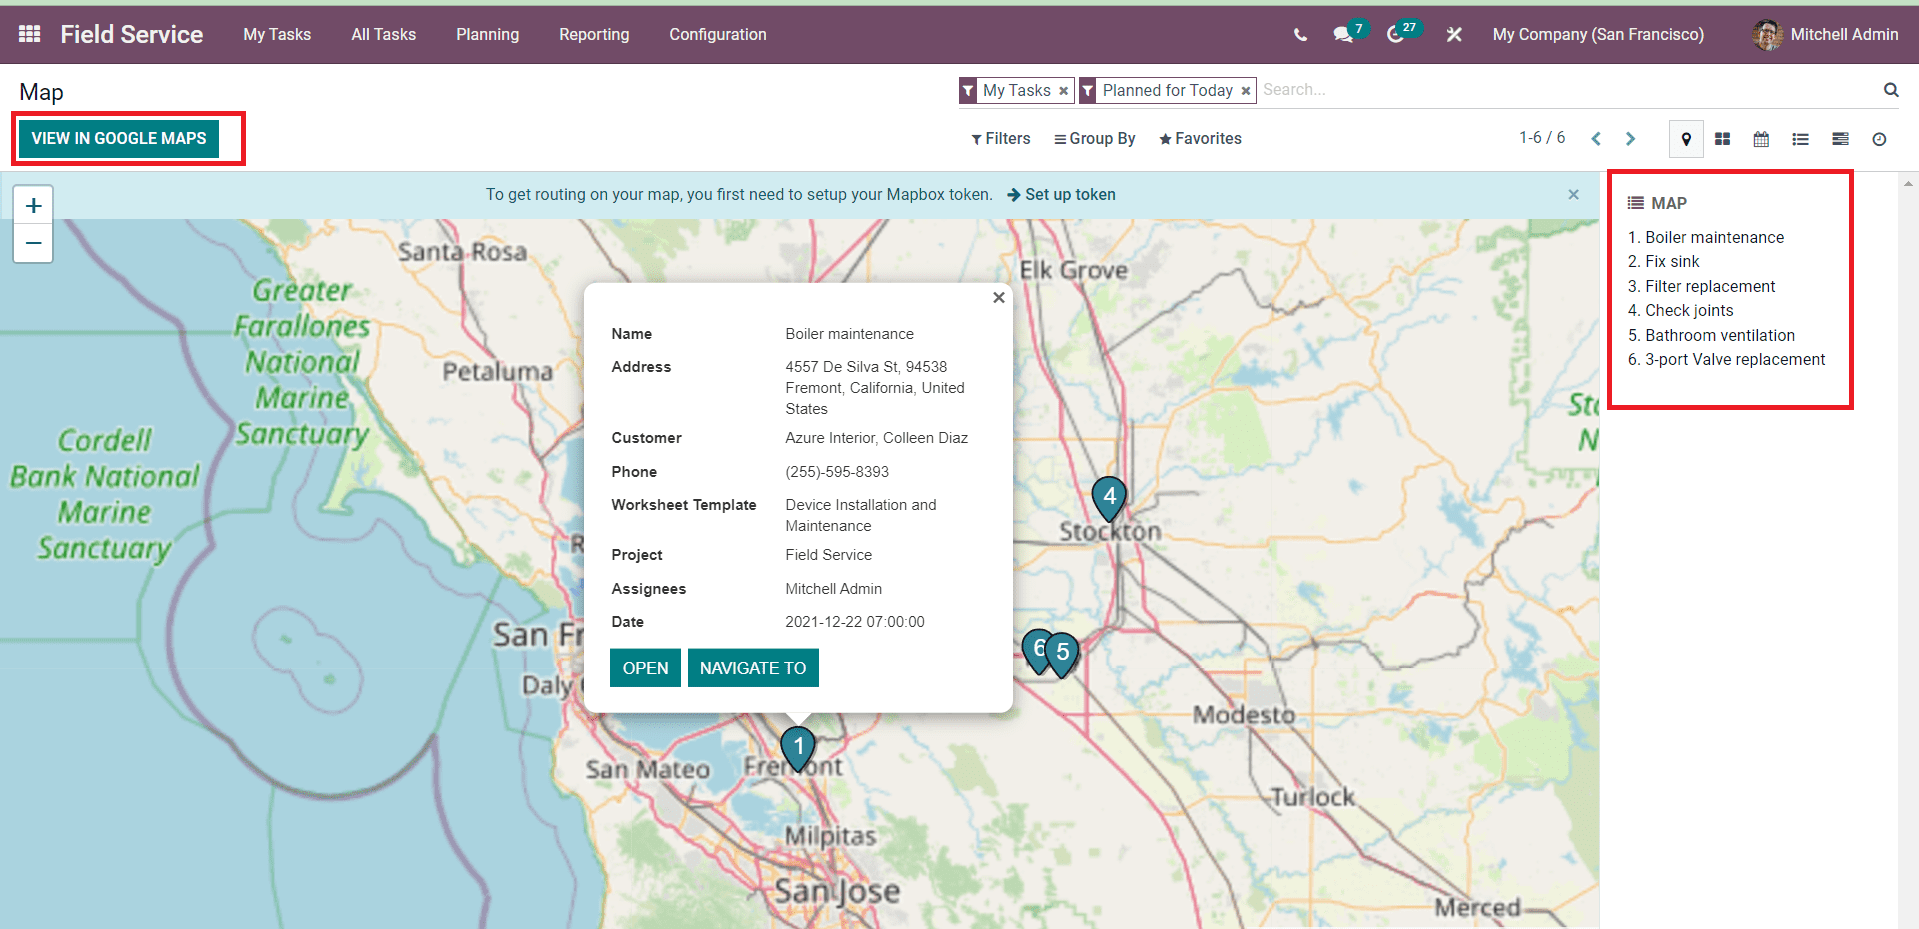
Under the My Task menu, you will get the Map option which will show the locations of the tasks added in the Field Service module.