Email Marketing
The Odoo ERP system allows you to build remarkable and successful email campaigns with its efficient Email marketing module. The intuitive and easy-to-use system can effectively take responsibility and control over your email content and layout. The system allows you to start from scratch and also helps you to pick suitable themes for your email marketing campaigns.
Email marketing will be a straightforward process with Odoo Email marketing. You can just choose the default email template or create a new one, arrange the layout, and also can include your email content and images. Later, you can send it with just one simple click.
The main advantage of the Odoo Email Marketing module is the ability to send the messages only to the people you want to share your campaign with. So that you can avoid sending unwanted emails and also you can ensure better acceptance, open and click rates. Odoo helps you to select targeted groups and send them with a few clicks. You can choose leads, prospects, or other groups from your contact list by country, date, or other aspects applying various filters.
The Odoo Email Marketing module is the perfect way to improve your campaigns. Because the system gives you accurate, real-time statistics on every email sent out. It can efficiently track the bounce rate, click rate, orders, leads created and amount of revenue generated. Moreover, the application can be fully integrated with other modules in Odoo such as CRM, Marketing Automation, Event, and Surveys.
This chapter will provide you with an insight into the Email Marketing module of the Odoo 15 edition. Let's start.
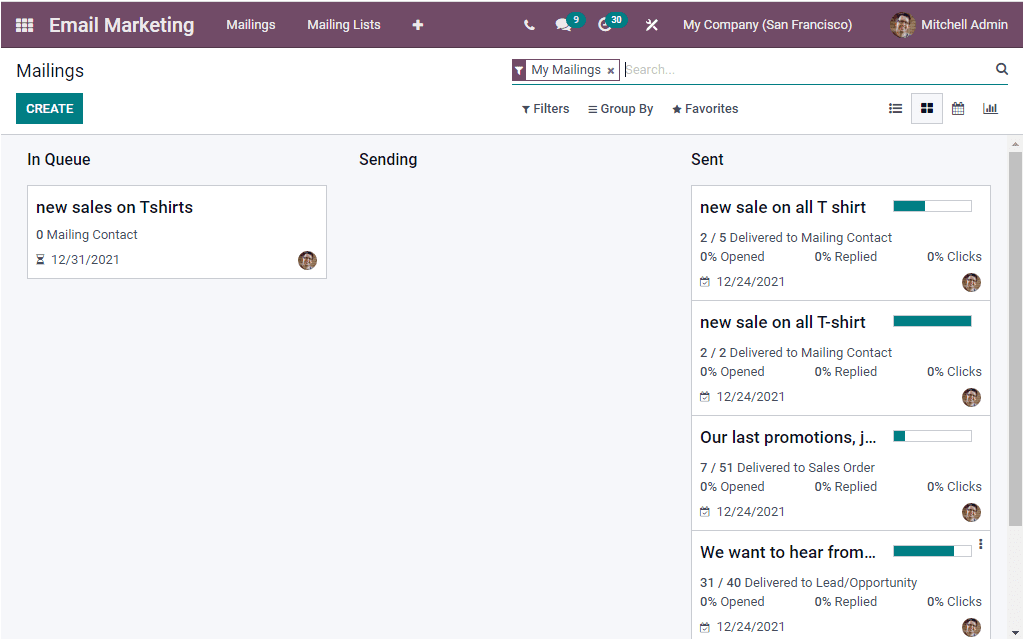
After installing the module from Odoo modules, you can click on the menu icon to enter into the module. The Email Marketing module will welcome you with a Mailings dashboard, as shown in the below image.
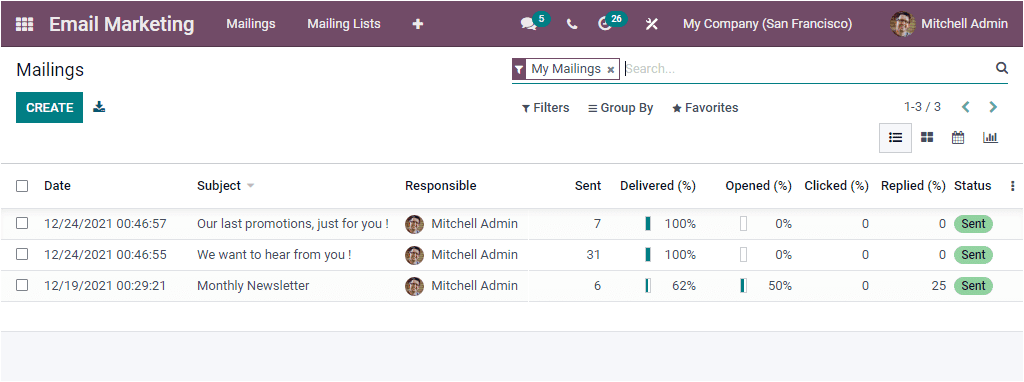
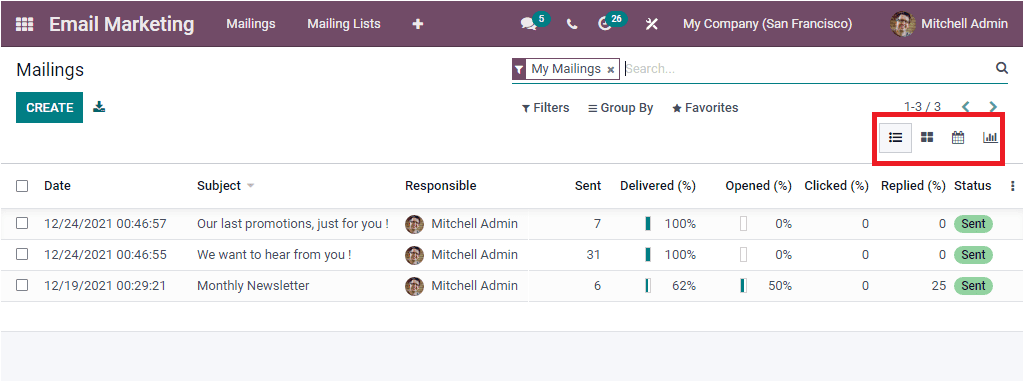
This window gives you the details regarding every predefined mail in different views such as List, Kanban, Calendar, and Graph views. To access each view, you can click on the corresponding menu icons arranged on the window's top right corner. These icons are highlighted in the image below.
By viewing this window, you will get a preview of the already created mailings along with the Date, Subject, Responsible person, Sent details, percentage of Delivered, Opened, Clicked, Replied, and Status. When you click on the image of the Responsible Person, you will depict a chat window as shown in the image below.
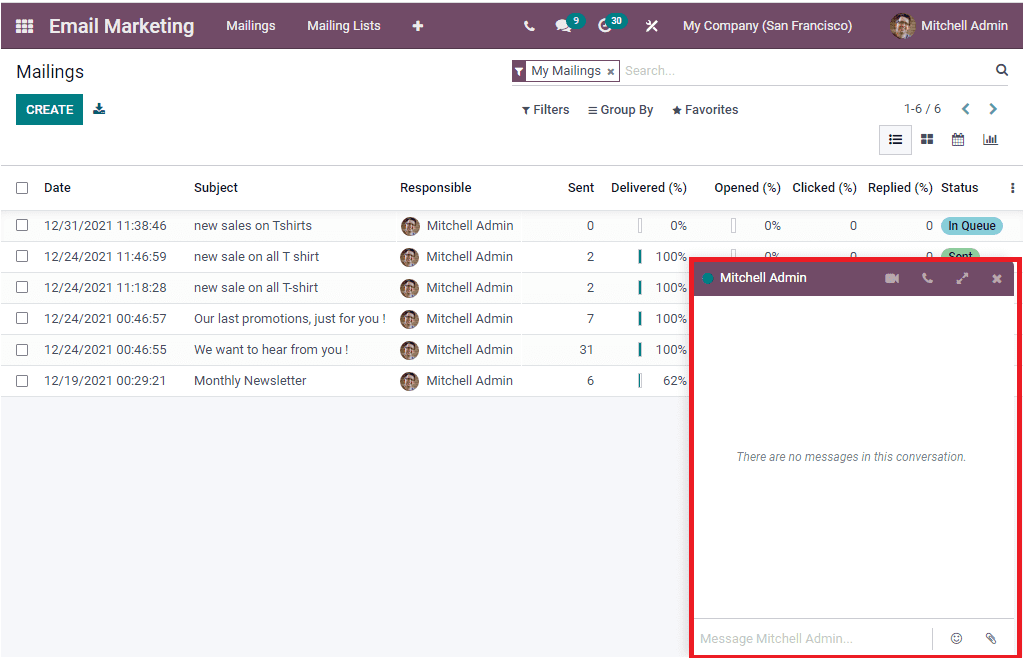
Using this chat window, you can directly communicate with the responsible employee.
Each of these data records of the mailings window can be selected and viewed in detail. If you click on any record, you will be directed to that window. Let us open the mailing to view it in detail.
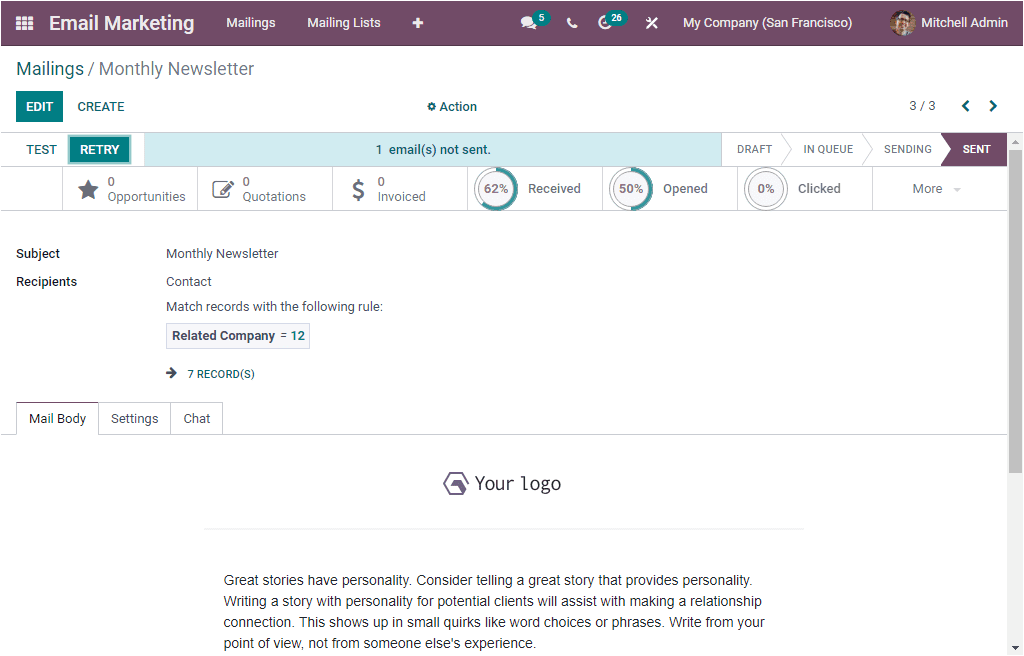
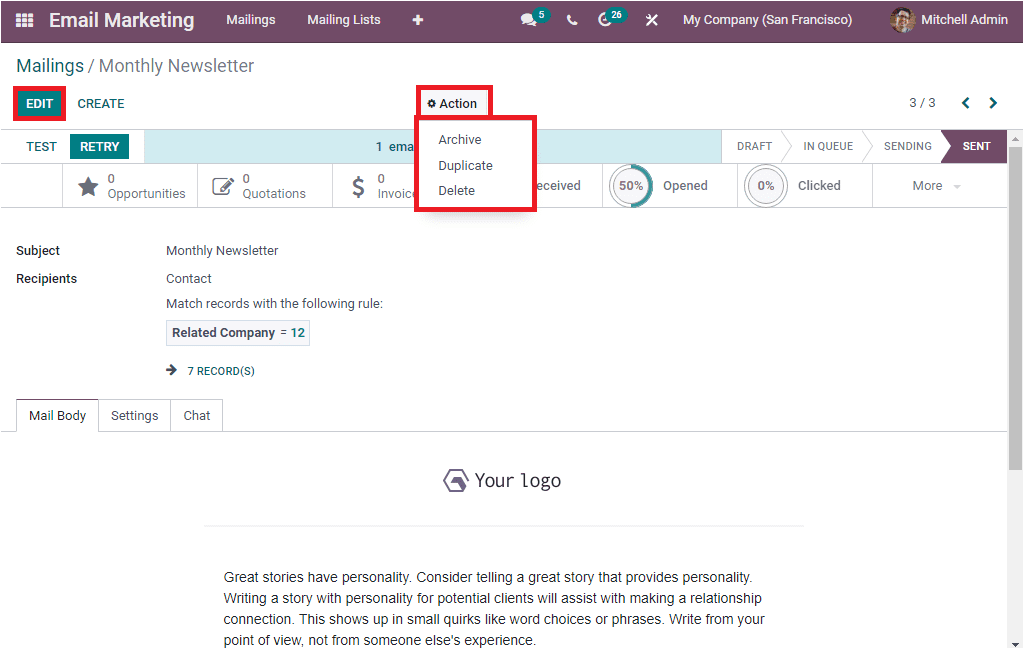
This is one of the already created and saved mailing on the mailings list, and here you can view all the details regarding this particular mailing. The EDIT button available on the top left corner of the window can be used to make edits if required. Additionally, you can view the Action button for performing additional actions. This button includes the Archive, Duplicate and Delete options as highlighted in the image below.
Back to the Mailings window, the system allows you to apply various default and customizable filters, grouped by options to easily access the required data. The default Filters available in the window are My Mailings, Send Date( month, quarter and year), A/B Tests, A/B Tests to review, and Archived. Similarly, the Group By option allows you to categorize the list based on their Status, Send By, Send Period ( Year, Quarter, Month, Week, and Day).
The Favorites tab available in the window will include the menus such as Save current search, Import records, Link menu in spreadsheet, Insert list in spreadsheet, Add to my dashboard, and Add to Google spreadsheet. Furthermore, the ‘Export All’ menu icon available near the CREATE button allows you to export all the data to an excel sheet. The CREATE button helps you to access the mails creation form, and using this window; you can create and customize your new mailings. Let us have a look at the creation window.
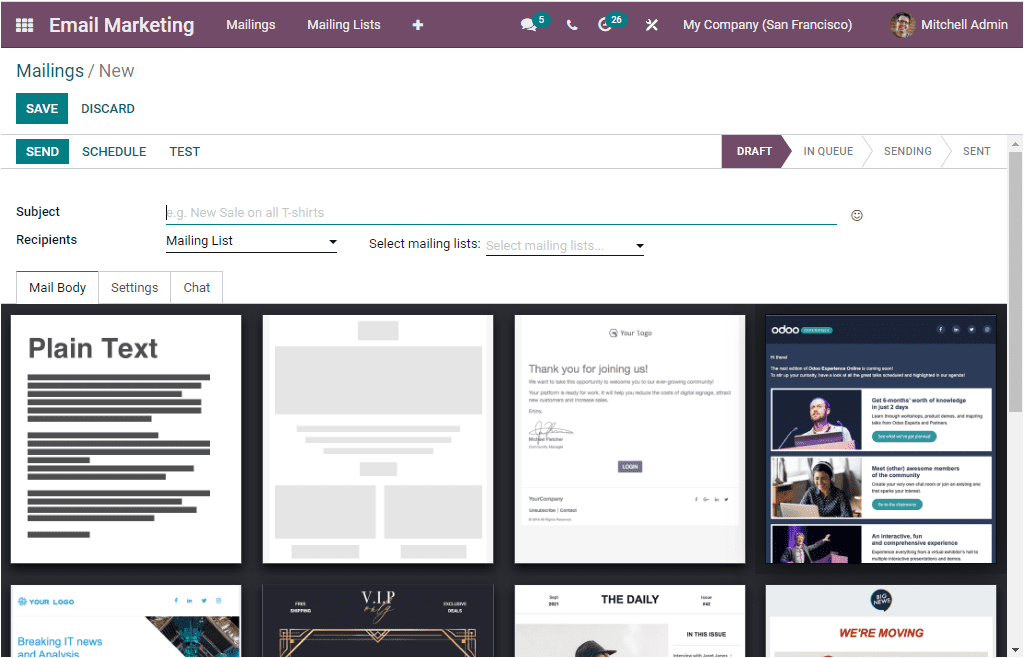
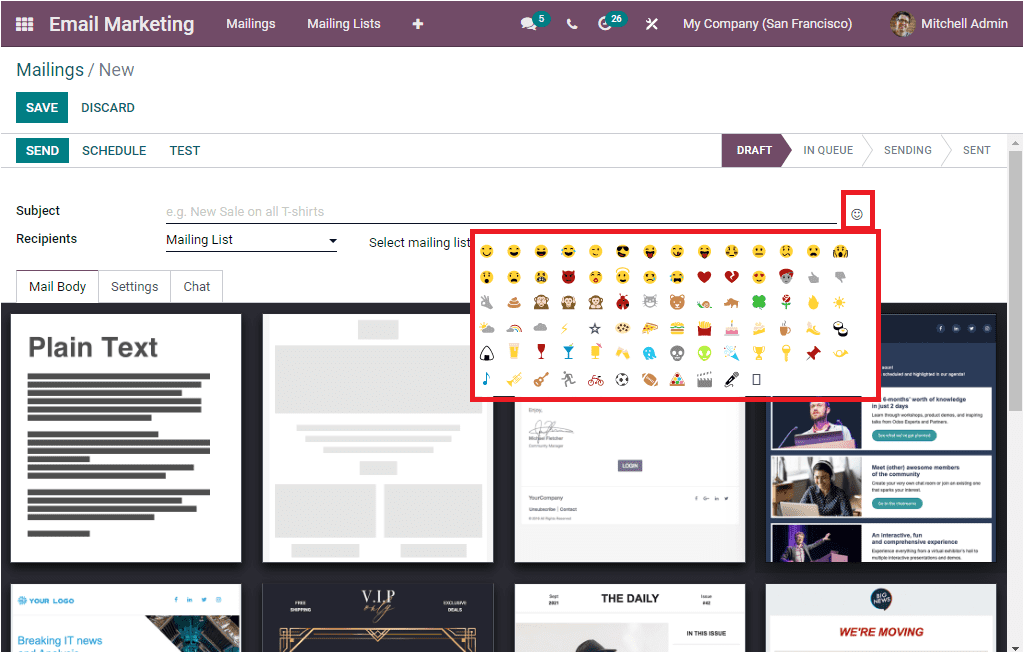
In this Mails creation form, you can describe the subject of the mail in the Subject field. The system also allows you to add smilies to this list by clicking on them.
The Recipients field allows you to select the list of recipients using the dropdown menu provided. If it is a mass mailing and you want to send it to all your contacts, you can choose the Contacts option from the dropdown menu. After that, you can specify the mailing lists from the Select mailing lists field. To do this, you can view the dropdown menu where all the default mailing lists appear. You can apply for a suitable mailing list from the given list. You are also allowed to customize a mailing list from the Mailing Lists menu available in the main menu bar of the email marketing module.
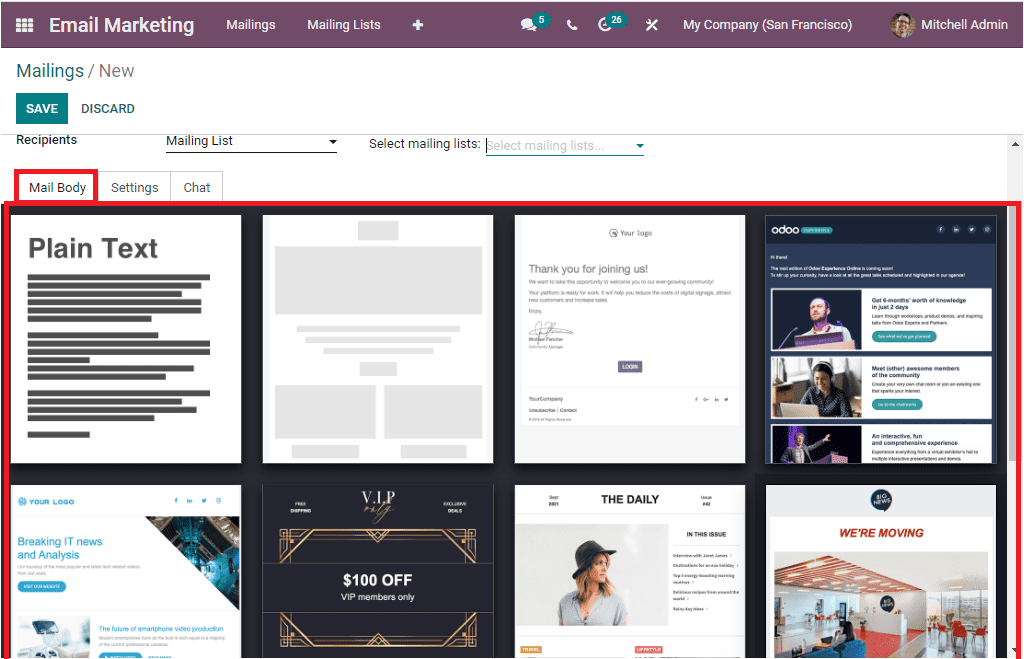
You can select a perfect mail body for your mail from the various mail bodies described under the Mail Body tab. you can easily drag and drop. After choosing a mail body, you can start to design and customize your mail in accordance with the requirements.
Under the Settings tab of the Mailings creation window, you can provide the details of the Email Content. You can allocate a catchy preview sentence in the Preview Text field that encourages recipients to open this email. These preview texts are displayed next to the subject in almost all inboxes. Otherwise, if you want the first characters of your email content to appear, you can keep this field empty.
Additionally, the Responsible person for these particular mailings will be auto allocated based on the details you gave, and it can also be edited. Similarly, the Sent From and Reply To addresses can be described in the corresponding fields. You can also attach files, if any in the Attachments field.

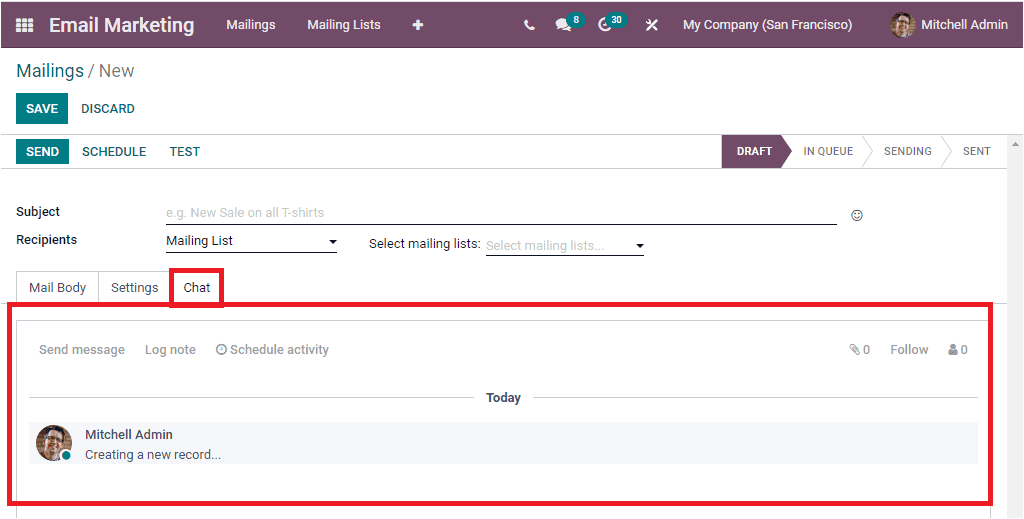
Under the Chat Tab, you can view Send Message, Log not, and Schedule activity options.
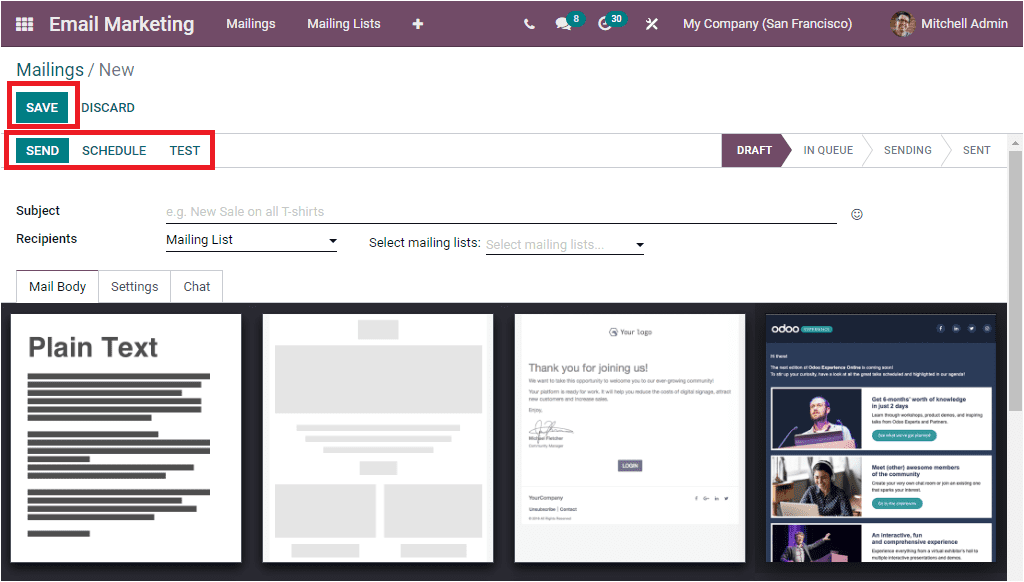
Once you complete all these steps, you can save the details by clicking the SAVE button available on the top left. Under the SAVE option, you are also able to view a few buttons. Which are SEND, SCHEDULE, and TEST, and it is highlighted in the image below.
If you click on the SEND button, you will depict a confirmation pop-up window to confirm whether it wants to proceed or not.
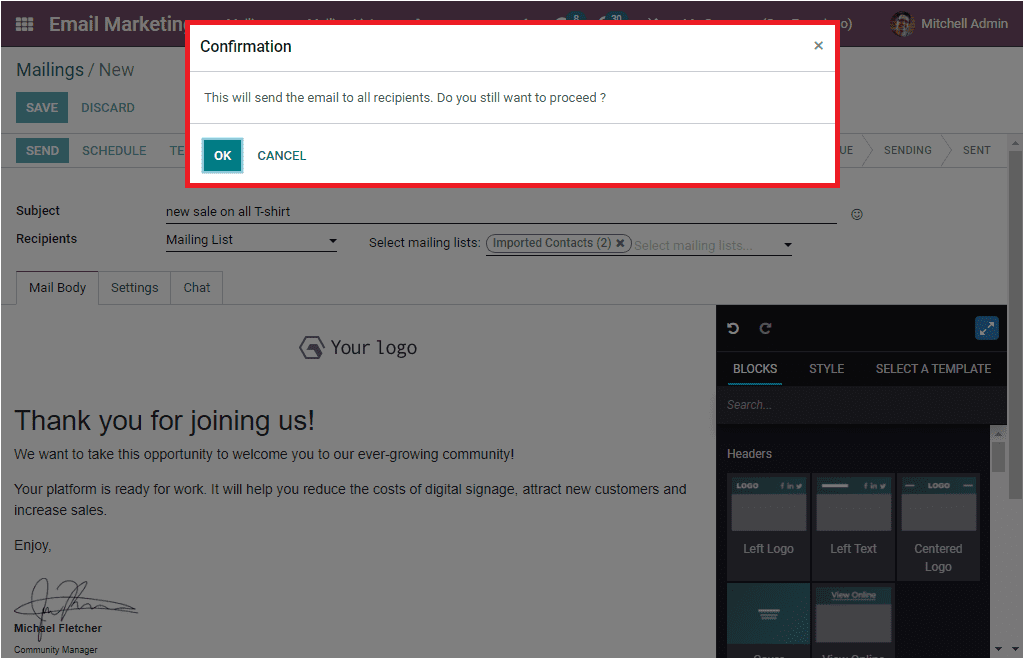
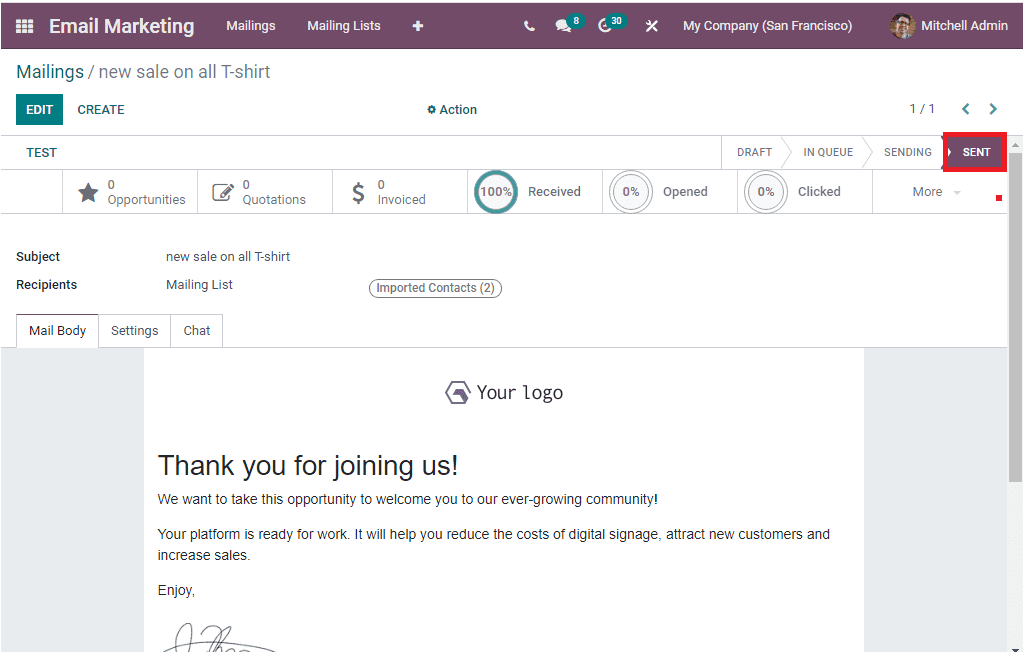
After confirming the sending process, you can click on the OK button. Now the mail will be sent to the described recipients. Now when you look at the status of this mail, you can see it in the SENT stage.
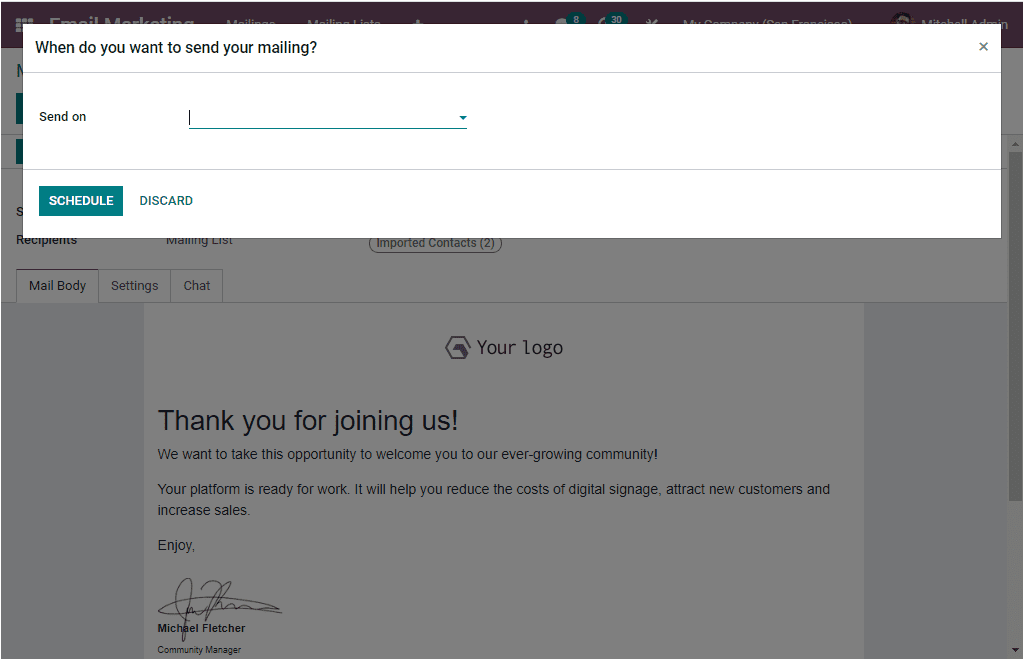
As we mentioned earlier, the system also allows you to schedule the date for sending mail. To do this, you can click on the SCHEDULE button. Then you will depict a pop-up where you can schedule a date for sending this email to the preferred recipients. You can provide the date on the ‘Send on’ field. Later click on the SCHEDULE button.
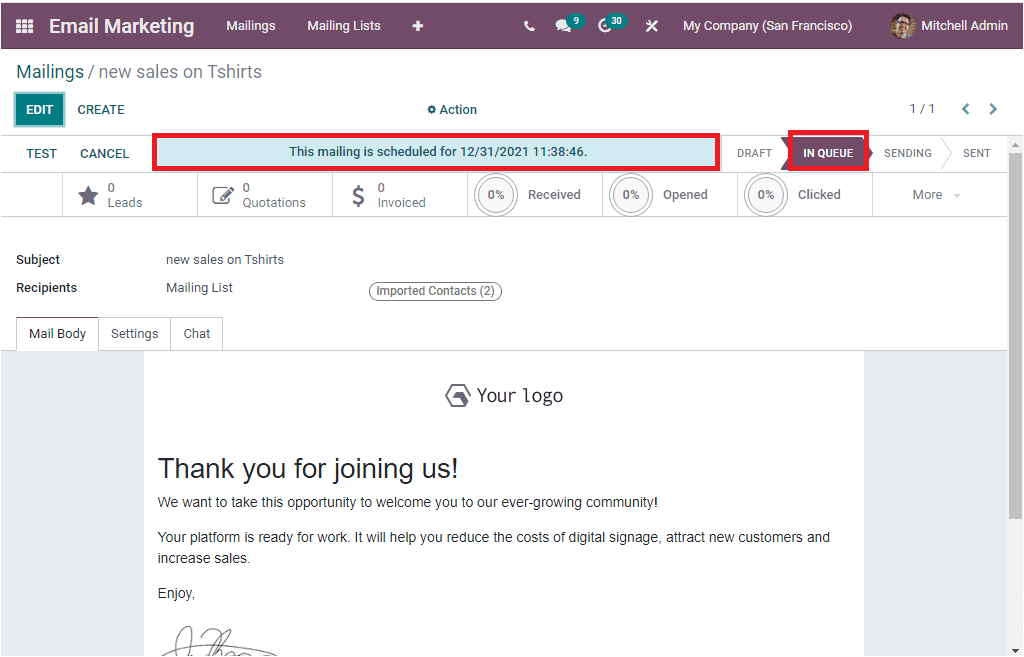
Now the system will depict the scheduled date on the top of the screen and also, the status of the mail will be changed from Draft to In Queue. The system will send the mail automatically on the selected date and time.
Similarly, the TEST button allows you to send a sample mailing to test the operation to the address given.

When the sending process is completed, the system will help you to display a few smart buttons based on the module you were installed in your system. The smart buttons are Leads, Quotations, Invoiced, Received, Opened, Clicked, Replied, Bounced, Sent, and Ignored.
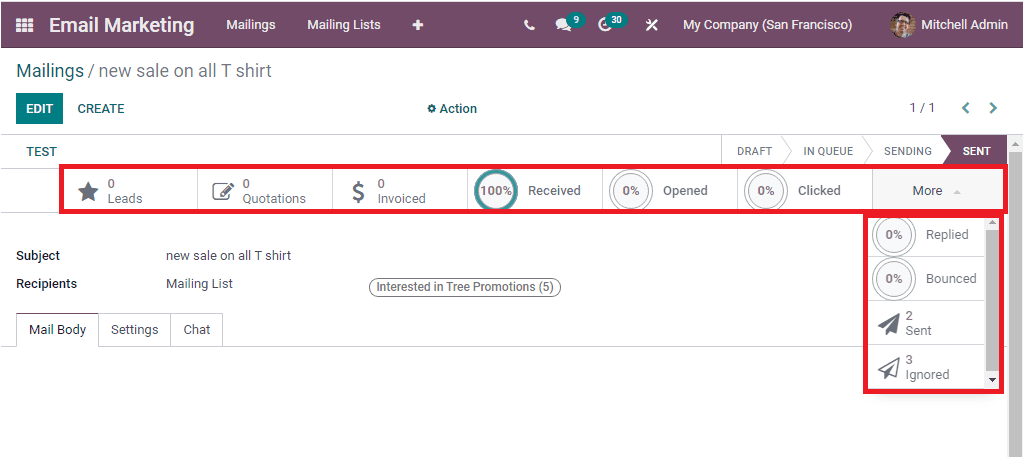
The Leads button will perform as a direct link to the leads window, where you will get the details of leads created from this mail. Similarly, the Quotation orders, Invoiced, the percentage of how many recipients received this mail, how many percent of recipients opened, clicked, Replied, Bounced, sent, and ignored this particular mail.
If you open the Kanban view of the Mailings window, you will get a clear view of the status of each mailing you created. Because in the Kanban view, each mailing is arranged based upon their stage of operation.