Live Chat
Odoo ERP offers you a chance to perform direct communication with your company’s website visitors with the support of the exclusive Live Chat module. An instant communication technique like Live Chat will effectively build and maintain a strong relationship between the company and its customers.
Odoo Live Chat module can also be considered a good platform for bringing new leads and opportunities. By implementing a Live Chat module, you can offer good support and services to your visitors or customers. You can solve all the doubts and queries of your customers and give them excellent support. A Live Chat widget can be seen on the bottom of the web page and can be easily accessible for your website visitors. Both visitors and the sales team or other responsible members of your company can quickly start a conversation by using this widget.
In this chapter, we can discuss the functionalities of the Odoo 15 Live Chat module. To get the module into your dashboard, you should install the module from the Odoo applications. After installing the module. You can click on the Live Chat menu icon to open the module.

The home dashboard window of the module will look like in the below image.
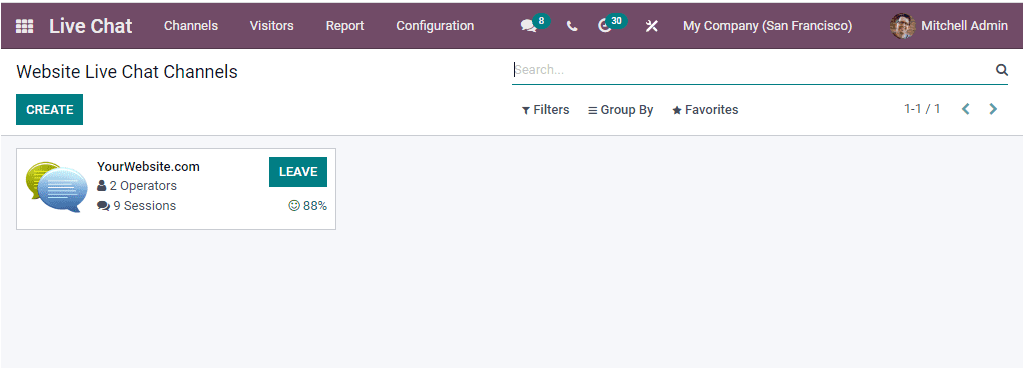
This window will display all the Live Chat channels that are already created on the platform. The window will display channels in the kanban format, and this window will give you a preview of every already described Live Chat channel. By viewing this window itself, you will get all the essential details of the live chat channel such as Name of the Website Channel, Number of Operators, Number of Sessions, Percentage of happy ratings, and the LEAVE or JOIN button. The window also allows you to apply various custom filters using the Filters and Group By tab. The Favourites tab includes the save current search, import records, Link menu in spreadsheet, Add to my dashboard, and Add to Google Spreadsheet options to perform the corresponding operations. The window also allows you to create new Website Live Chat Channels. To do this, you can click on the CREATE button, which can be accessed from the top left corner of the window. Now you will enter into a new window where you can view a creation form as shown in the image below.
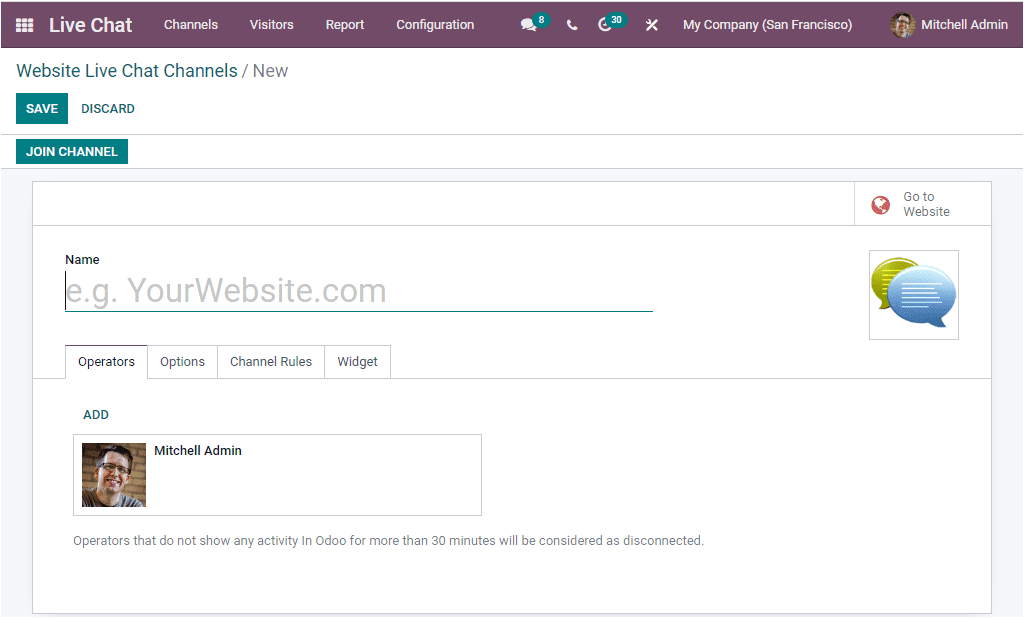
In this creation form, you can mention the Name of the Website Live Chat Channel in the specified field. You can also upload an image for the website live chat channel. Under the Operators tab, you can have the option to add operators to the live chat channel. To add an operator to the channel, you can click on the ADD button. Now the system will display a pop-up window where you can view the details of all the predefined operators. You can select the suitable one from the list or create a new one by clicking on the CREATE button.
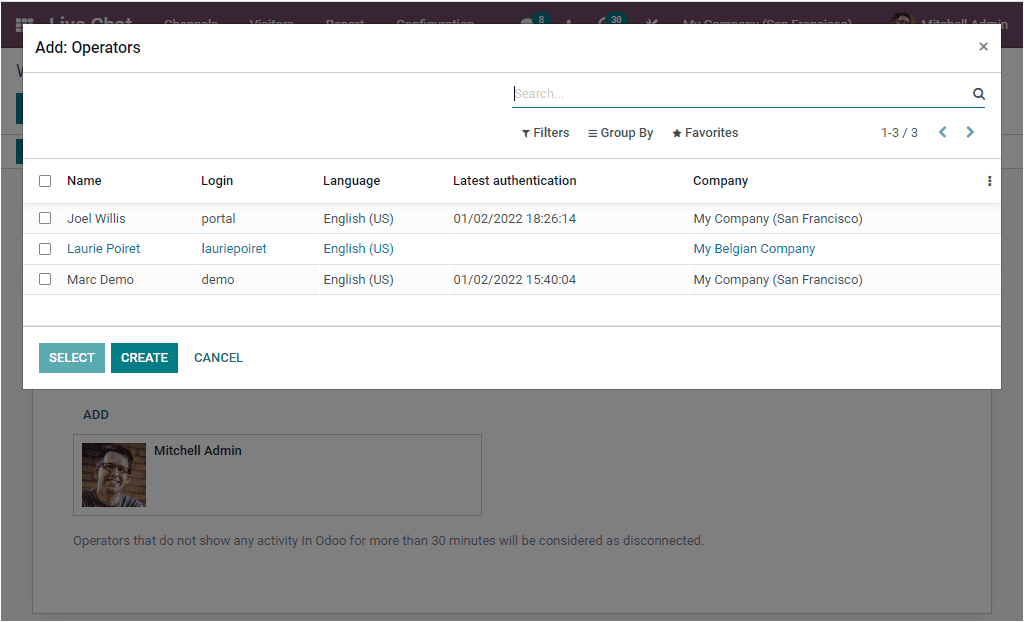
If you are required to create a new Operator, you can click on the CREATE button available in the pop-up. Now you will depict the new operator creation window as shown below.
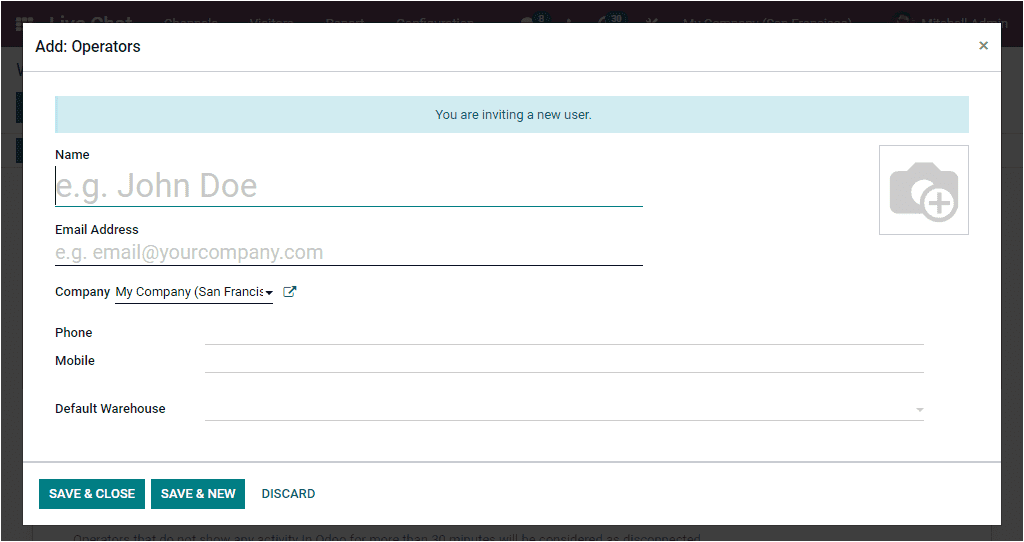
Here you can provide all the required details, such as the Name of the Operator, the email address used to log into the system, and the default company for this user. Also, you can mention the Phone, and Mobile numbers. The default warehouse details can be specified under the Default Warehouse field. The image of the operator can also be given in the specified area. Once you provide all details, you can click on the SAVE & CLOSE button to save the details of the new operator. The Operator who does not show any activity in Odoo for more than thirty minutes will be considered disconnected.
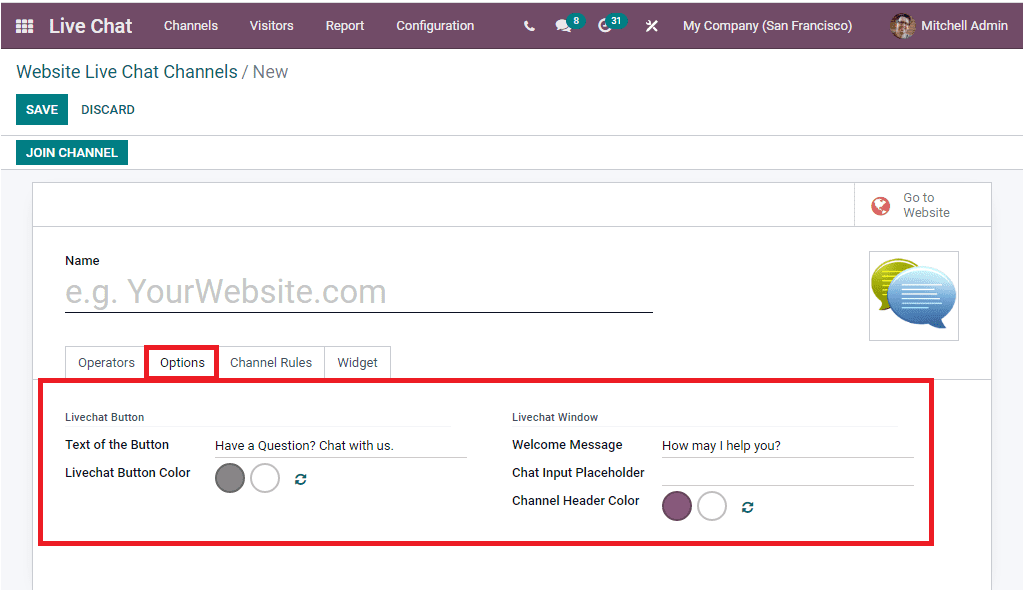
In the Options tab of the Live Chat Channel creation window, you have some options to design LiveChat Button and LiveChat window. In the Live Chat button section, you can describe the default text displayed on the Live chat support button on the Text of the Buttonfield. Similarly, the default background color of the Live Chat button can be specified in the Live Chat Button Color field. In the Live Chat window section, you can provide a Welcome Message in the specified field. This is considered as an automated welcome message that your visitor will see when they initiate a new conversation. The Text that prompts the user to initiate the chat can be given in the Chat Input Placeholder field. The default background color of the channel header can be specified in the Channel Header Color field.
The Channel Rules tab allows you to define various rules for your live support channel. Defining channel rules will help you to restrict the chat to the specified countries only. Suppose the responsible persons, or the sales team of your company is not familiar with the language of the website visitor. In that case, the Chatbox can be kept hidden for the visitor from that particular country.
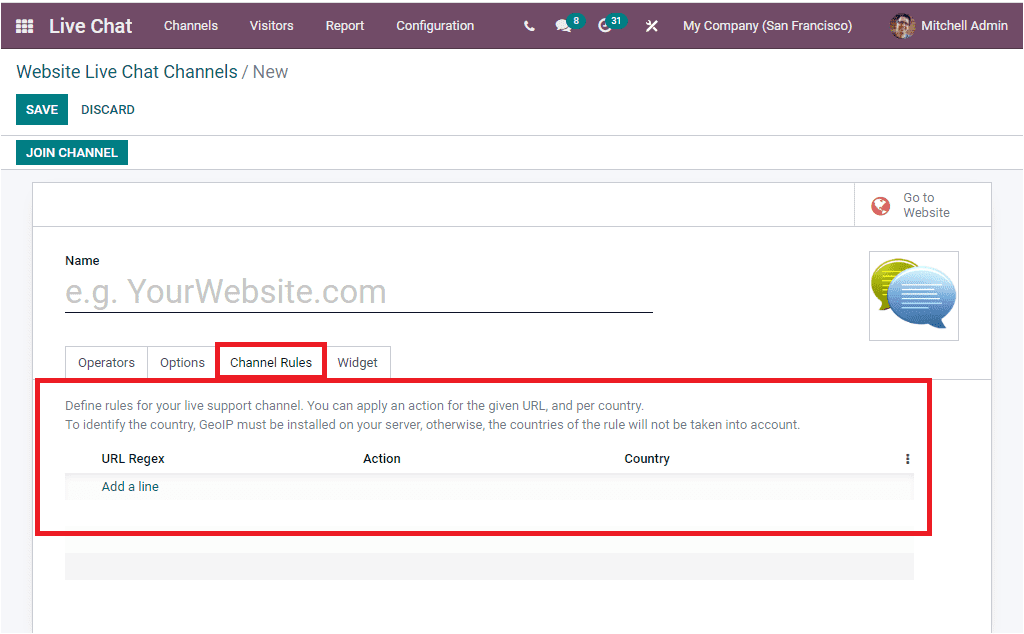
It is possible to apply an action for the specified URL and per country by using the Add a line option. Once you click on the Add a line button, you will depict a new pop-up window for creating rules. The image of the pop-up window is given below.
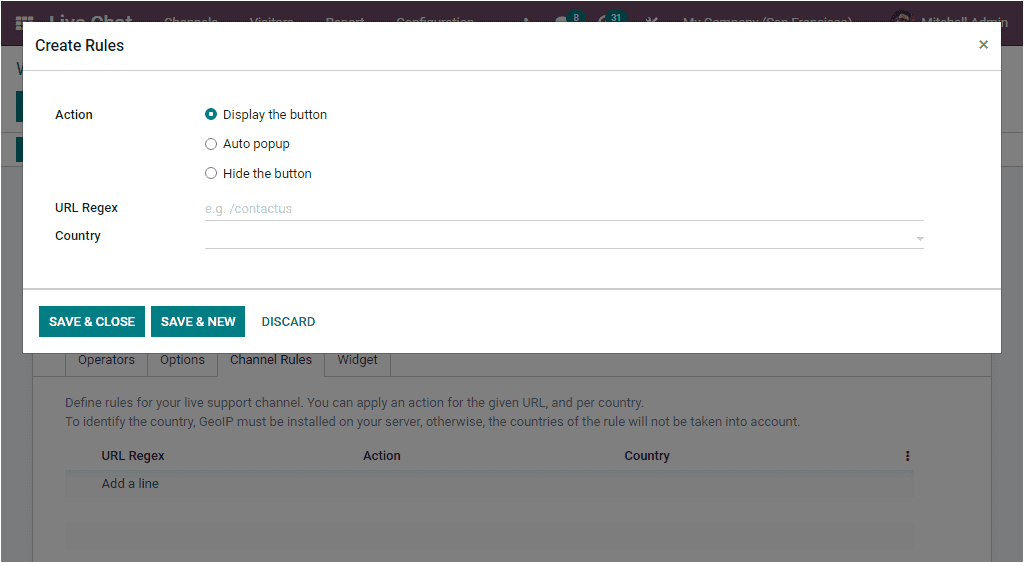
The Action can be set up in three different ways in the Create Rules window. That is, Display the button, Auto pop up, and Hide the button. Let's discuss each of them.
Display the button: If you select the Display the button option, display the chat button on the pages.
Auto popup: Displays the button and automatically opens the conversation panel.
Hide the button: Hide the chat button on the pages.
Next, you have the URL Regex field, and the URL regex will be very helpful for describing regular expressions specifying the web pages this rule will be applied on. The next field available in the window is Country. Here you can mention the countries where you want to use this rule. For example, if you select Belgium and the United States and that you set the action to “ Hide Button,” the chat button will be hidden on the specified URL from the visitors located in these two countries. To get this feature and identify the visitor's country, Geo IP must be installed on your server. Otherwise, the counties of the rule will not be taken into account. After completing all the mentioned fields, you can save the new channel rule by clicking on the SAVE and CLOSE button
Now you can save your newly created Live Chat Channel to get a widget. After saving the details, click on the Widget tab.
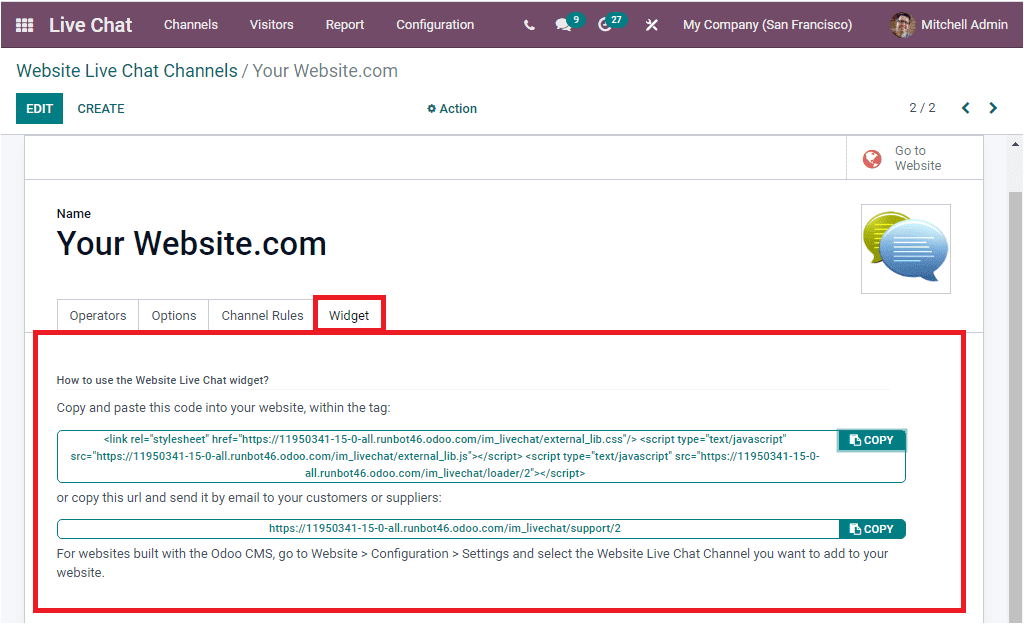
The widget tab includes the code and URL, and also describes how to use the Website Live Chat widget. The code displayed in the tab can easily be copied and pasted into your website. Instead, you will also be able to copy the given URL and send it by email to your customers or suppliers. These two methods are suitable if your website was not created with Odoo. If the Website was created with the Odoo CMS, you can go to Website -> Configuration -> Settings and select the Website Live Chat channel you want to add to your website.
Now we have created a new Live Chat channel. The next step is to publish the newly created channel on your website. Then only will we be able to communicate with visitors. To do this, Odoo gives you a direct link to the Website module in the form of a smart button. You can view and access the smart button on the top right corner of the window as highlighted in the below image.
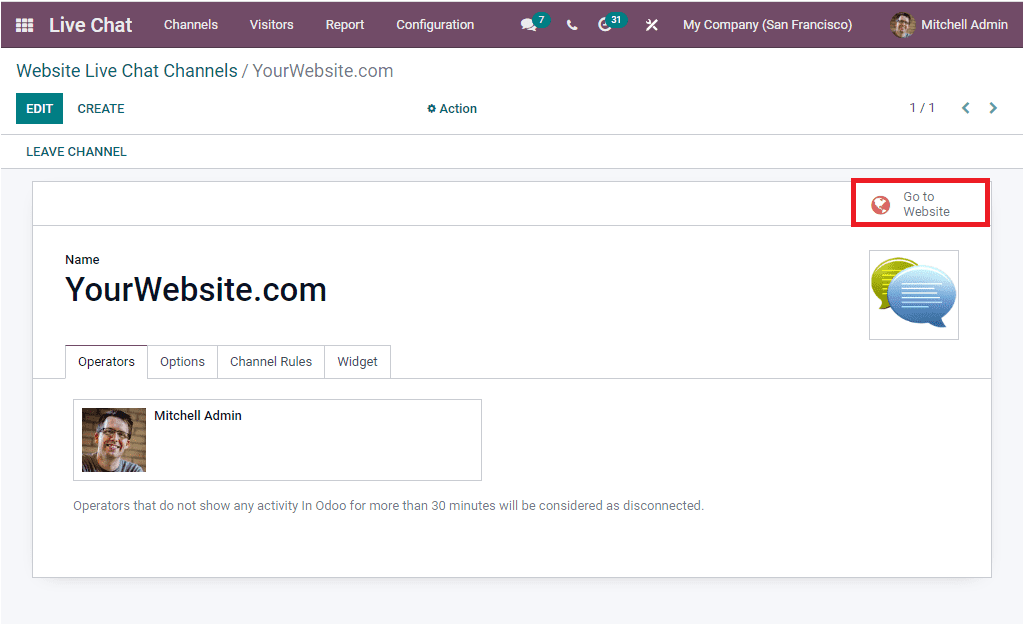
You can click on the Go to Website button to navigate to the Website to publish the new Live Chat channel on your website.
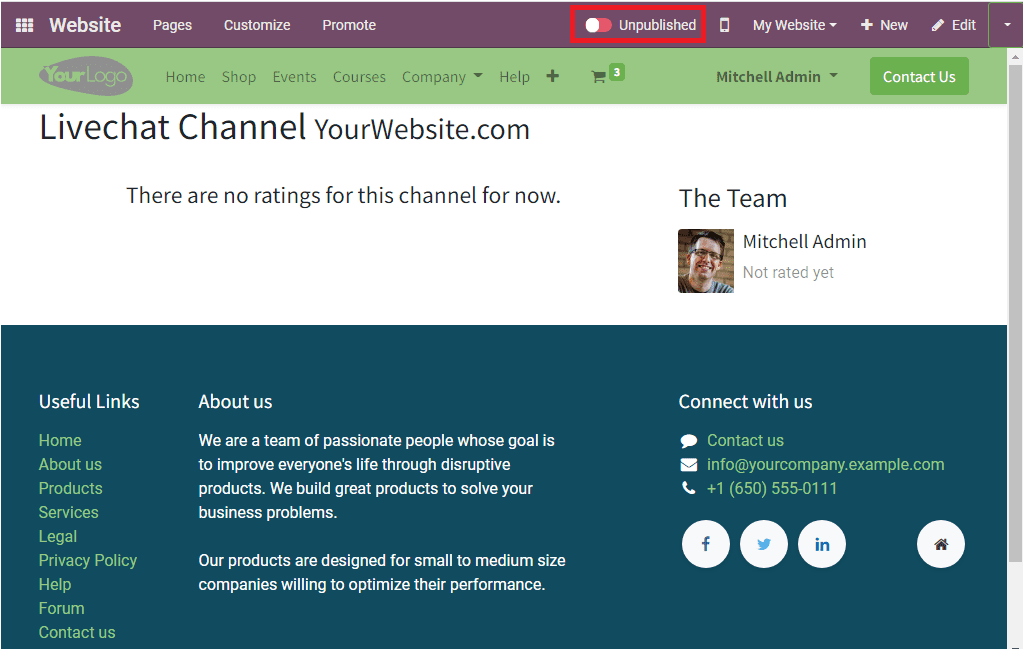
Now you can switch the Unpublished status to Published as highlighted in the above image. Now it is completed, and you can use the Live chat channel.
The Odoo Live Chat module is highly integrated with the Discuss module. So the chat will also be displayed in the Discuss module as in the form of direct messages.