Configurations
The Configuration tab of the Odoo Expenses module includes the Settings and Expense Products, as shown in the below screenshot.
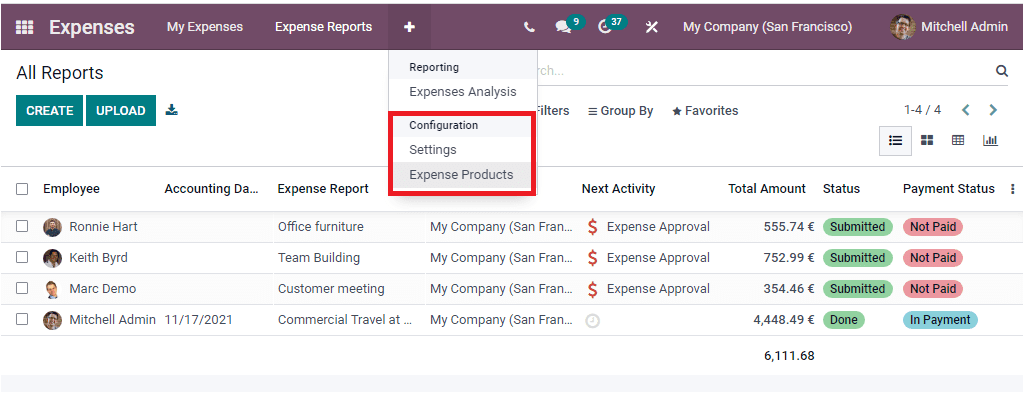
First, let us have a look into the Settings window of the Odoo Expenses module
Settings
The Odoo Expenses module includes a Settings menu under the Configuration tab. We can click on the Settings menu to access the Settings window.
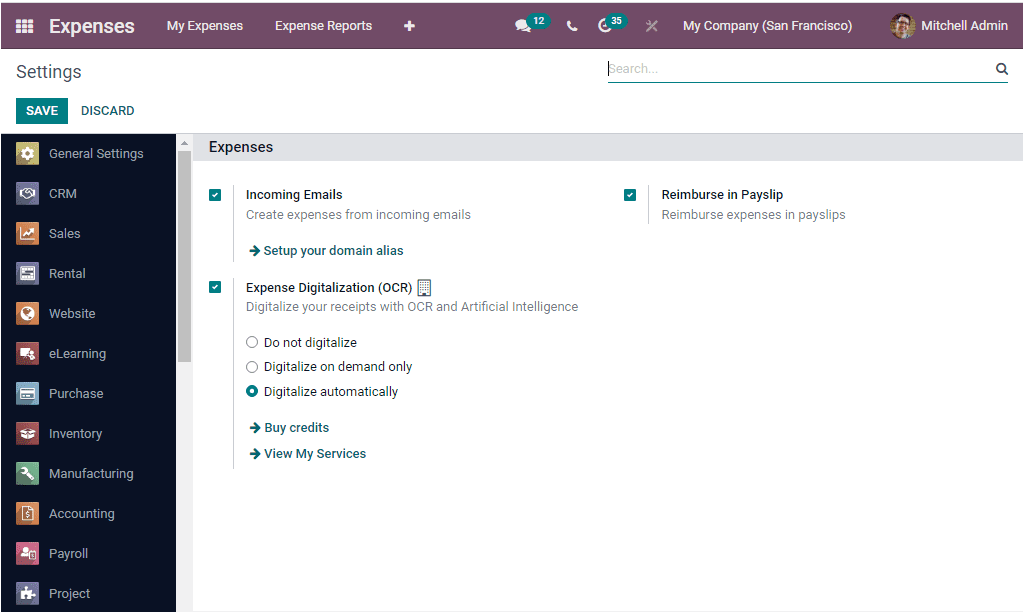
In the Settings window, Odoo offers three options. Incoming Emails, Expense Digitalization(OCR), and Reimburse in Payslip.
The Incoming Emails option can be activated to create expenses from incoming emails. You can set up your domain alias. After setting up the domain alias, you can send an email to this email alias with the receipt in the attachment to create an expense in one click. If the first word of the mail subject contains the category’s internal reference or the category name, the corresponding category will automatically be set. Type the expense amount in the mail subject to set it on the expense too.
Another option available here is Expense Digitalization(OCR). The activation of this option allows you to digitize your receipts with OCR and Artificial Intelligence.
Here you have different options to choose such as
- Do not digitalize
- Digitalize on-demand only
- Digitalize automatically.
In the case of Reimburse in Payslip, it can be activated to reimburse expenses in payslips.
So far, we discussed the Settings window of the Odoo Expense module, and now let us go deep into the Expense Products menu.
Expense Products
Odoo Expense module allows you to customize and configure the expense products using this effective Expense Products feature. This is very useful for effectively managing your employee or company expenses. For accessing this window, you can click on the Expense Products menu available under the Configuration tab of the module. This window will showcase all the expense products that are commonly used to generate reports in the Odoo expense module. The image of the window is depicted below.

The above-depicted screenshot is the Kanban view of the Expense Products window. The window will depict the name of the expense product along with its price and picture. You are also allowed to view the details in List view. This can be done by clicking on the List view icon available on the top left corner of the window. The list view of the window is depicted below.
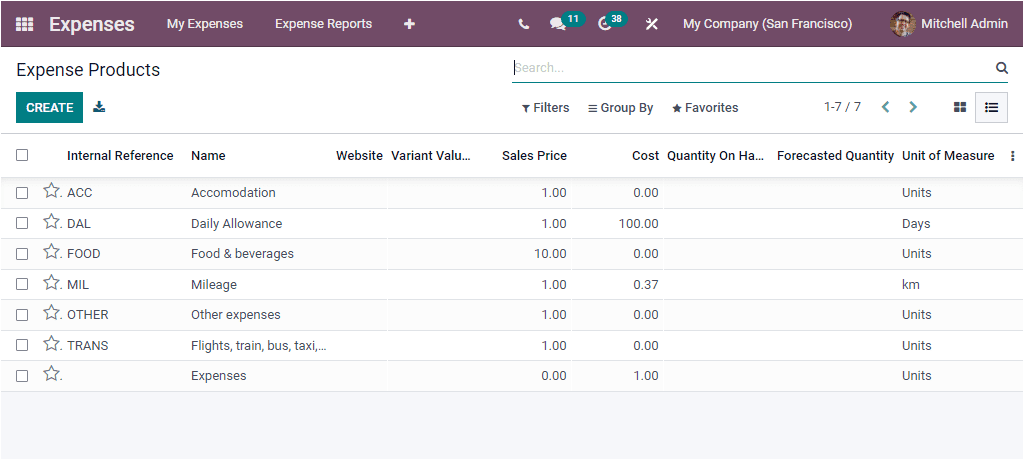
In the List view, all the expense products are listed along with the details such as Internal Reference, Name, Website, Variant Value, Sales Price, Cost, Quantity On Hand, Forecasted Quantity, and Unit Of Measure.
You can apply various default filters such as Services, Products, Published, Available in POS, Can be Sold, Can be Purchased, Can be Rented, Can be Subcontracted, Can be expensed, Favourites, Warnings, and Archived. In addition, you can use the Add Custom Filter option to customize various filters according to your business operations.
Similarly, you can group this window based on the Product Type, Product Category, POS Product Category. Here also you have the Add Custom Group option for customizing new groups. The Favourites tab also includes useful options such as Import Records, Link menu in spreadsheet, Insert list in spreadsheet, Add to my dashboard, Add to Google Spreadsheet.
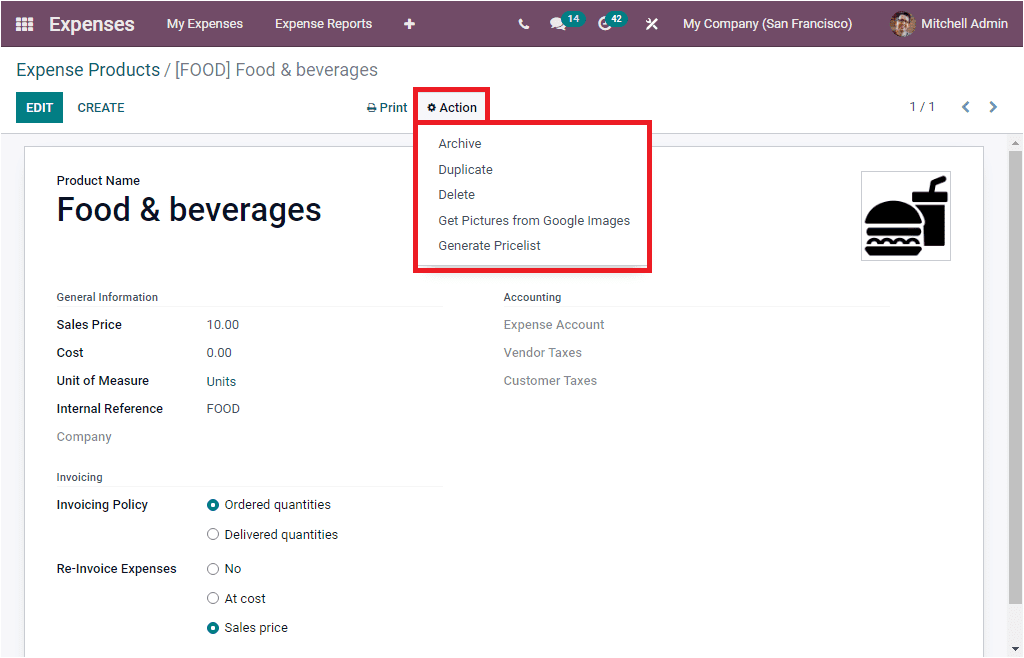
Each of the expense products described in the indow can be selected and viewed in detail.
Odoo provides a provision to edit the details if required. For editing details, you can click on the EDIT button. Furthermore, you can have the printing option and also can perform additional actions by clicking on the Actions button accessed from the center top of the window. The options included under the Actions button are Archive, Duplicate, Delete, Get Pictures from Google Images, and Generate Pricelist.
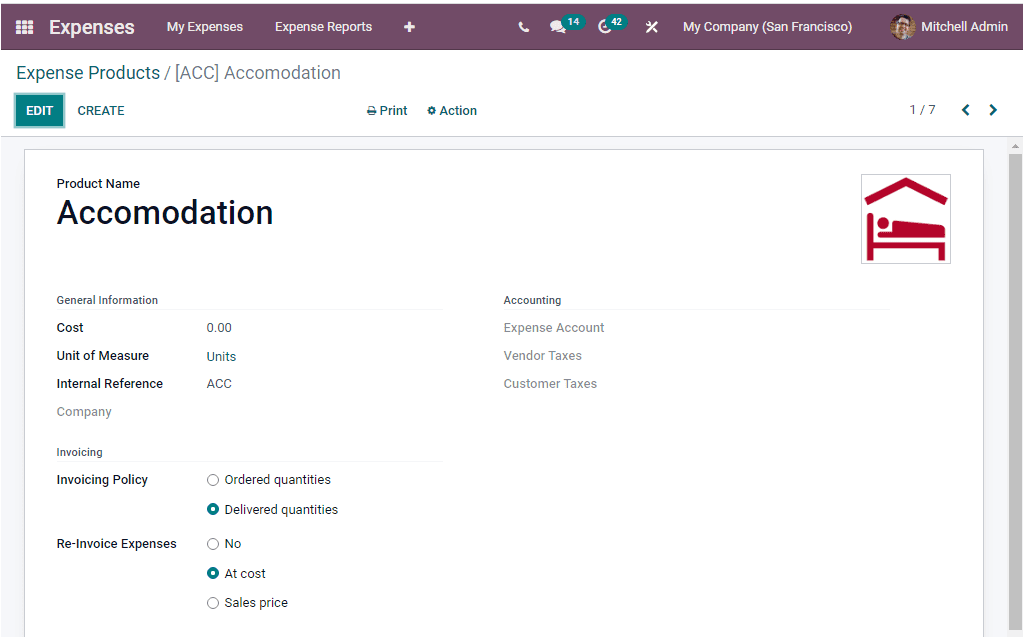
Back to the Expense Products window, if you want to add new expense products to this list, you can click on the CREATE button to configure new Expense Products. Let us have a look at the creation window.
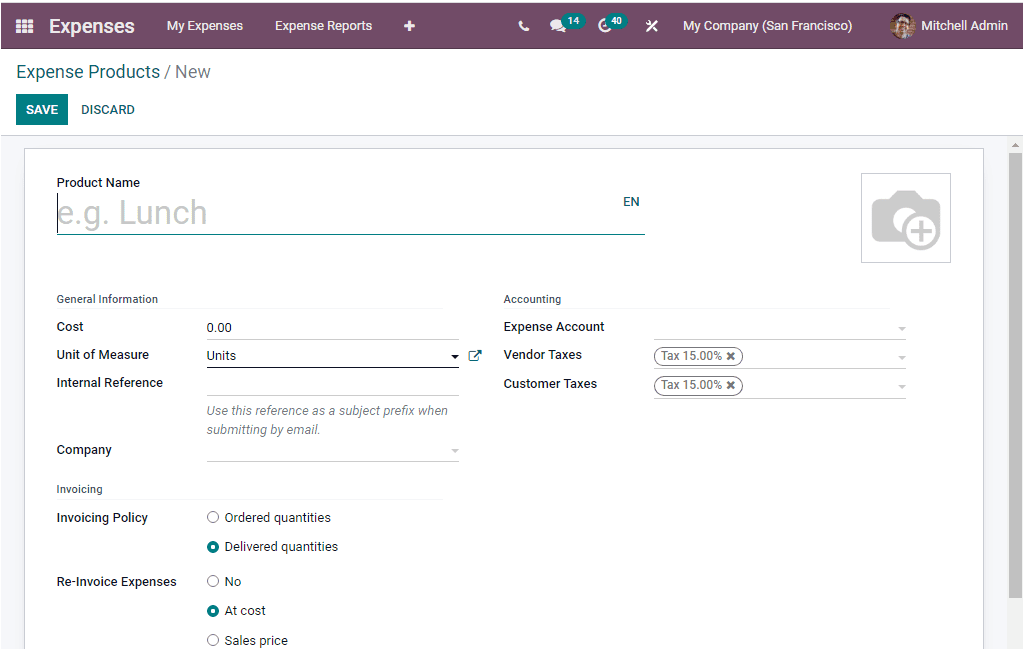
In the Expense creation window, you can describe the Product Name and add the photograph related to this expense product. Then you can allocate the General Information. So that you can mention the Cost, default Unit of Measure used for all stock operations, Company, if the system is used for multiple companies, and the Internal Reference. This Internal Reference can be used as a subject prefix when submitting by email. In addition, you can describe the Invoicing details of the expenses product. Here you can specify the Invoicing Policy. This can be determined based on either Ordered quantities or Delivered quantities.
Moreover, The Odoo system allows you to re-invoice validated expenses to the customers at its cost or sales price. So the Re- Invoice Expenses can be made No, At Cost or Sales Price. Similarly, you can provide the Accounting details such as Expense Account, Vendor Taxes, and Customer Taxes. After filling up all the required information, you can click on the SAVE button to save the details. The newly created expense product will be automatically added to the Expense Products list.
So far, we discussed the configuration steps of Expense Products in the Odoo Expense module, and now let us consider the Reporting aspects of the module.