Dashboard
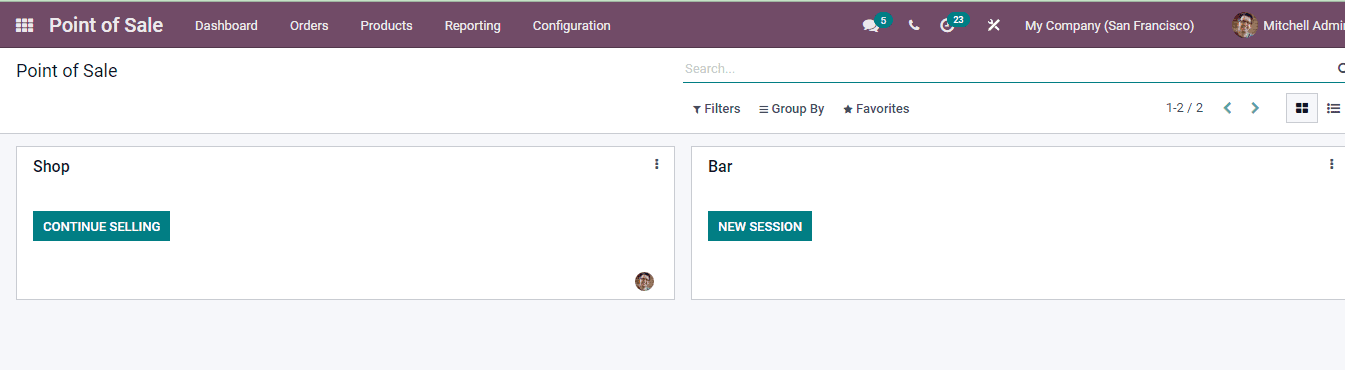
From the Point of Sale dashboard you can easily get access to the point of sale session. The shop and bar/restaurant management can be smoothly done from the dashboard. You can manage them both separately with Odoo. By selecting the Shop option. You can start new sessions or continue the selling process through these two default tasks. New point of sale sessions can be created from the Configuration tab.
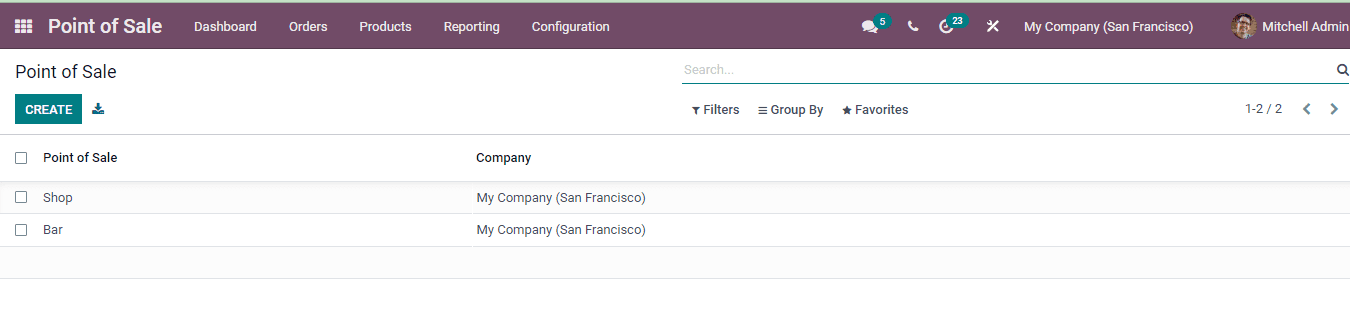
To add a new point of sale to the system for managing them, select the Point of Sale option from the Configuration tab. The list of existing sale points is displayed. You can change their settings according to your preferences. Note that when a session is on run some changes in the setting will only be applied after the session is closed.
Let us look at how to create a new point of sale task to the dashboard. Select the CREATE button from the Point of Sale page. At the page displayed enter the details such as:
Point of Sale: Insert a name for the point of sale which will act as an internal identification of the same.
Bar/ Restaurant: If the creating point of sale is a shop, then don’t check the box, if the point of sale is a bar or restaurant then enable the box
Authorized Employees: Enable this to allow you employees to use their credentials to log in to the PoS session and switch cashiers. You can configure the credentials in the HR settings tab of the employee form. The allowed employees can be selected from the drop down menu.
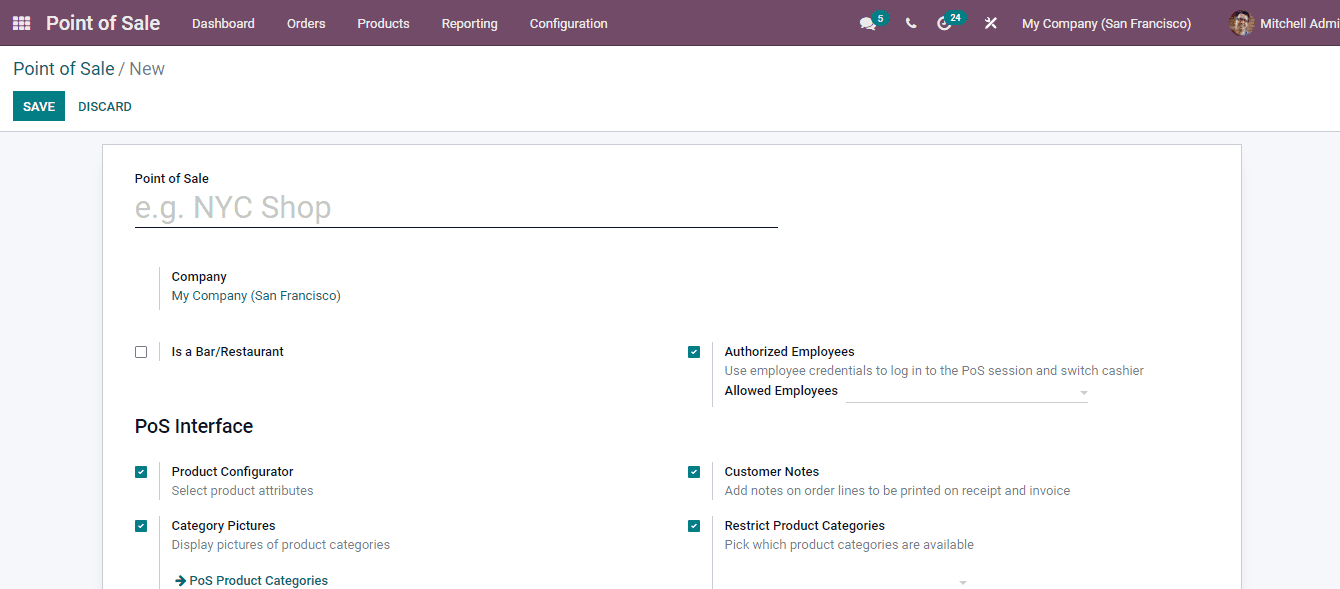
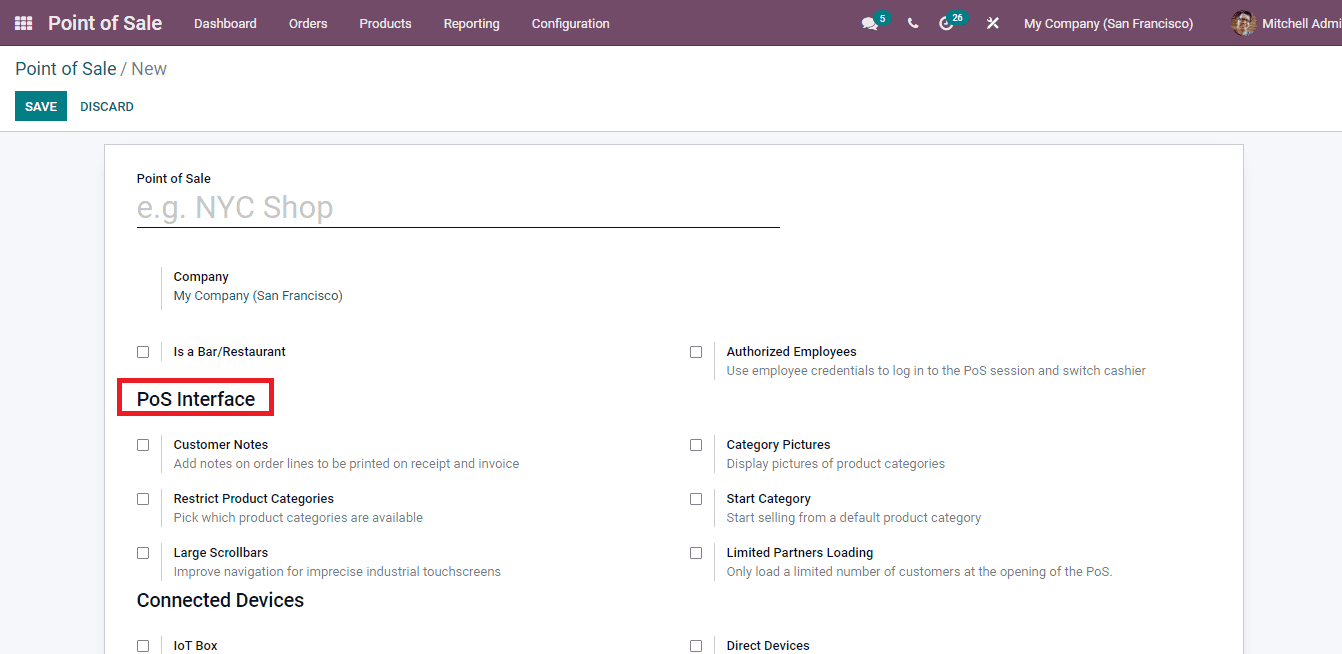
At the PoS Interface menu you can configure the interface of the creating point of sale session. These configurations includes
Product Configurator: Enable the product configurator if you need to select the product attributes.
Category Pictures: By enabling this you can add display pictures of the product categories.
Start Category: With this option enabled you can start selling from the default product category. After enabling you can select the category from the drop down menu.
Open Product Info: By checking the box you can view the ‘Product Info’ page when a product with optional products is added in the customer cart.
Customer Notes: Enable the Customer Notes option for allowing writing notes for the customer on oderlines. The written note will be shown in the invoice and receipt.
Restrict Product Categories: By enabling this field you can select which product categories are available. Note that point of sale only displays the products which are within one of the selected category trees. If you don't specify any category then all available products will be shown.
Large Scrollbars: Select the option to improve the navigation for imprecise industrial touch screens.
Limited partners Loading: In Odoo by default you can load 100 partners for the session. After the session is open you can keep loading all remaining partners in the background. Also in the meantime you can load partners from the database using the Load Customers button. If you need to load all the partners in the background enable the Load all remaining partners in the background option.
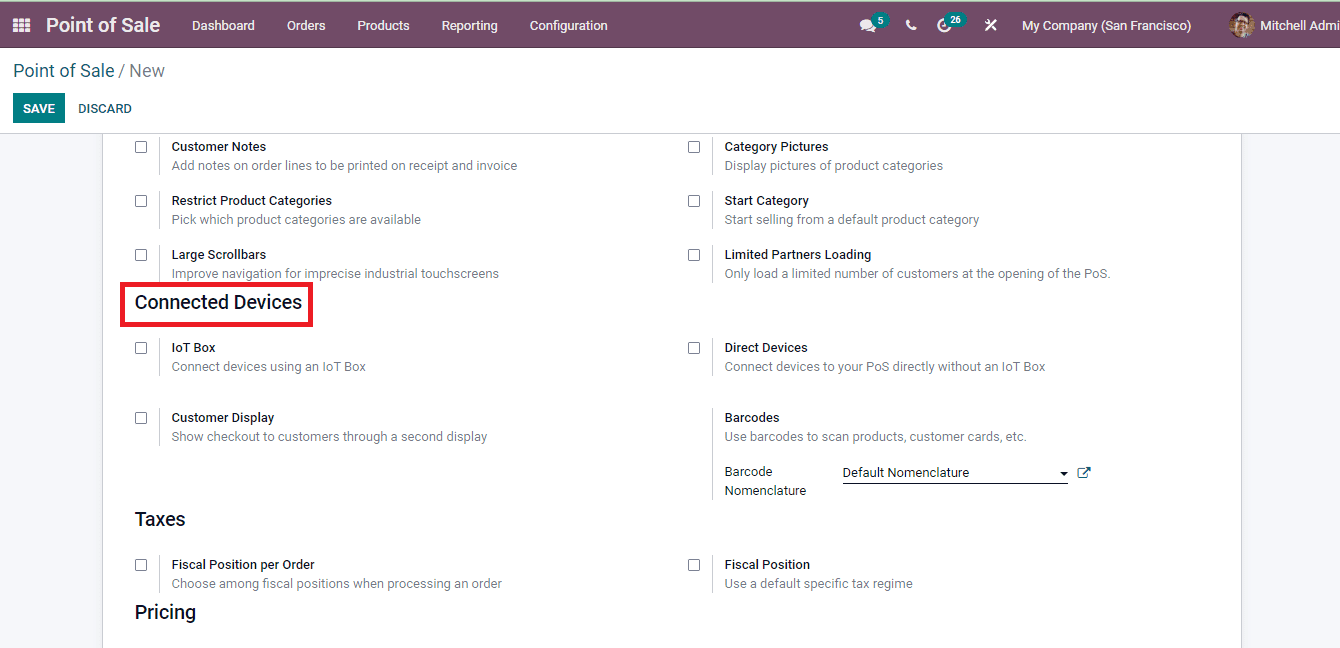
You can also configure the devices that are connected to the point of sale from the Connected Devices menu.
IoT Box: The IoT box which is completely integrated with the Odoo. By enabling the IT Box option you can give permission to connect devices using the IoT Box. Through this external devices can be easily connected to the database. After enabling the option you can select the devices from the drop down menu.
Customer Display: By enabling the Customer display option you can display a checkout to the customers through a second display.
Direct Devices: In cases when you like to connect devices with the help of an IoT box, you can enable the Direct Devices option to connect external devices to your point of sale directly.
Barcodes: While using barcodes for scanning products, customer cards etc, you can set the kind of barcodes available and how they are assigned to the products, customers and cashiers.
You can add the tax related details at the Taxes menu.
Fiscal Position per Order: By enabling this option you can choose among the fiscal positions while processing an order. After enabling the option choose a specific fiscal position at the order depending on the kind of customer.
Fiscal Position: You can use a specific tax regime by enabling the Fiscal position option. After enabling it specify the tax regime at the given space.
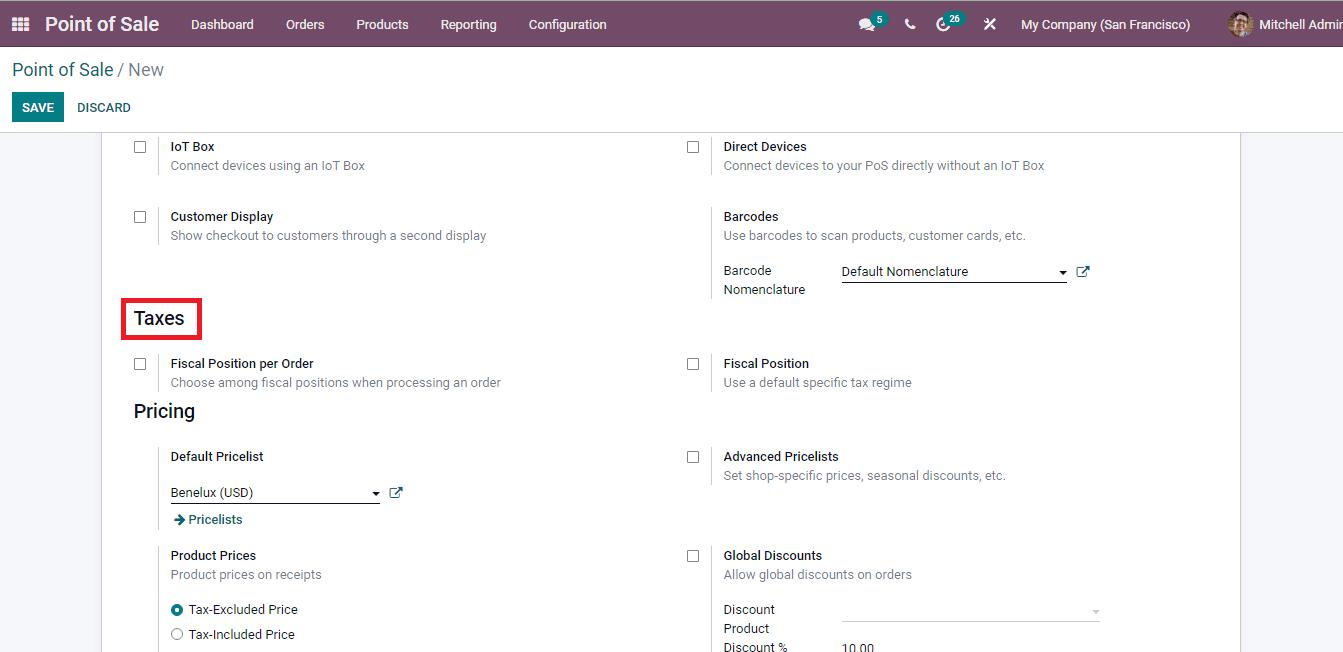
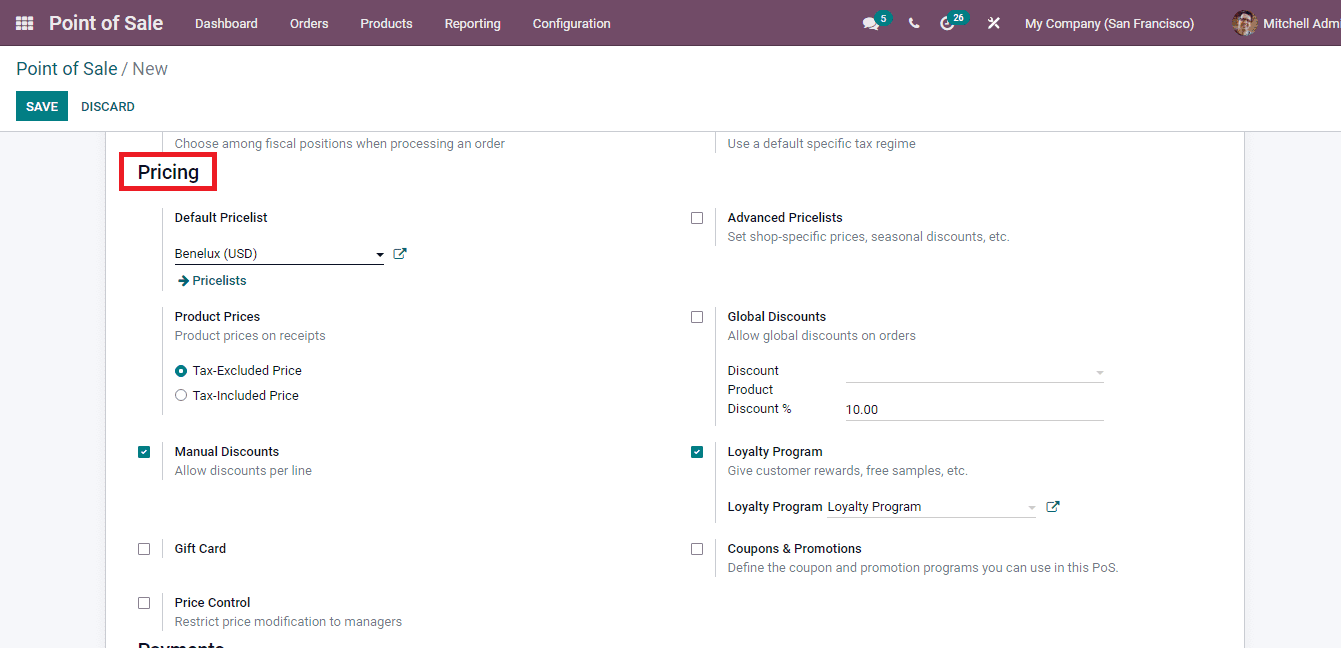
Information related to the pricing of the products can be specified under the Pricing menu.
Default Pricelist: You can set a pricelist if no customer is selected or if the customer does not have any Sales Pricelist configured.
Product Prices: Set the way in which the product price must be shown in the receipts. It can be Tax Excluded Price or Tax Included Price.
Manual Discounts: In case you want to provide discounts to the customers, enable the Manual Discounts option.
Gift Card: Gift cards are the easiest way to run marketing and promotion activities. In Odoo you can enable the Gift Cards option for providing the customers with company’s gift cards. After enabling the option you can configure the card settings. Select the gift card product from the drop down menu. Choose whether the gift card should be Generated with a new barcode and then set a price, Scan an existing barcode and set a price or Scan an existing barcode with an existing price.
Price Control: In Odoo you can restrict the price modification to the managers. Only users with manager access rights for PoS application can modify the product prices on orders.
Global Discounts: In some scenarios you can permit a global discount for marketing. You can select the products which will be having discounts along with the discount percentage.
Loyalty Program: In order to attract the customers you can offer rewards, free samples and other incentives to them. Select the loyalty program from the drop down menu after enabling the Loyalty Program option.
Coupons and Promotions: Select the coupons and promotion programs that will be applied to the point of sale in order to retain and attract customers.
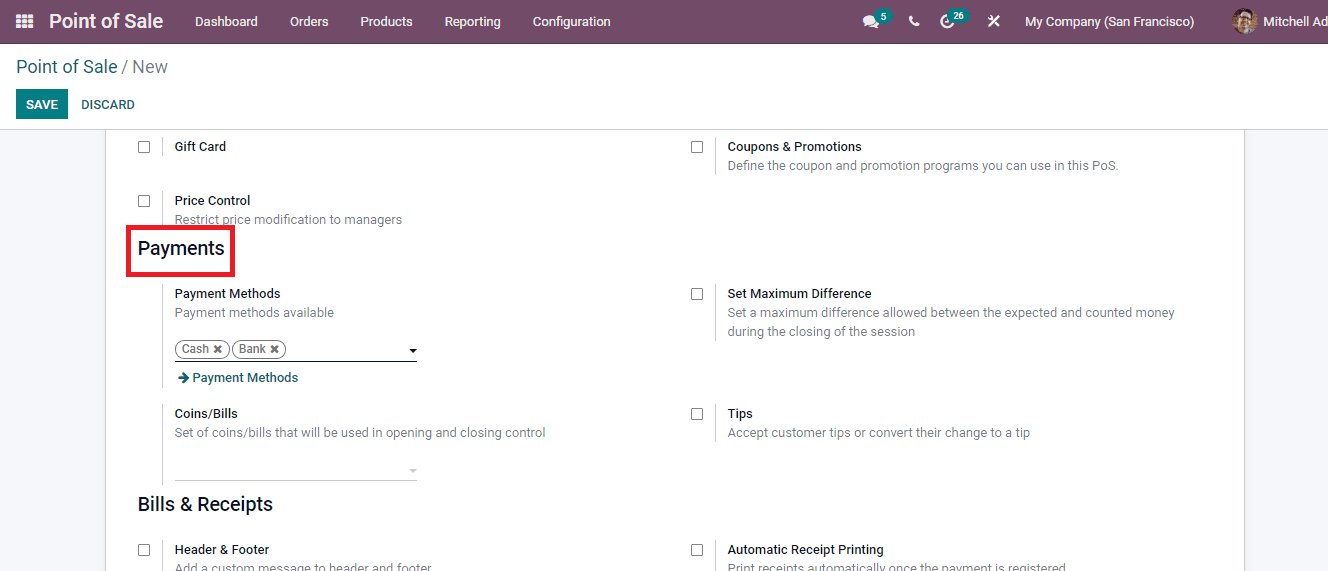
Another important thing to be configured while setting up the point of sale is the payment methods. At the Payment menu enter the details such as
Payment Methods: Set the payment methods available through which the transactions can be done. You can add multiple methods to the given field.
Coins/ Bills: Select the coins or bills that will be used in opening and closing control.
Set Maximum Difference: By enabling this option you can set the maximum difference allowed between the expected and counted money during the closing of the session.
Tips: You can select the products on which you can accept the customer tips or convert their change to tip by enabling the Tips option.
At the Bills and Receipts menu add the information such as
Header and Footer: The bills and receipts can be made more interactive as well as informative about the company by adding custom messages to the header and footer of the bills and receipts. After enabling the option insert the message that has to be added at the header and footer in the given field.
Invoicing: By enabling this option you can allow the generation of the receipt from the point of sale on customer request. After enabling select the Invoice Journal from the drop down menu.
Automatic Receipt Printing: Enable this option to print the receipt automatically once the payment is registered. After the end of each order the receipts will be generated automatically.

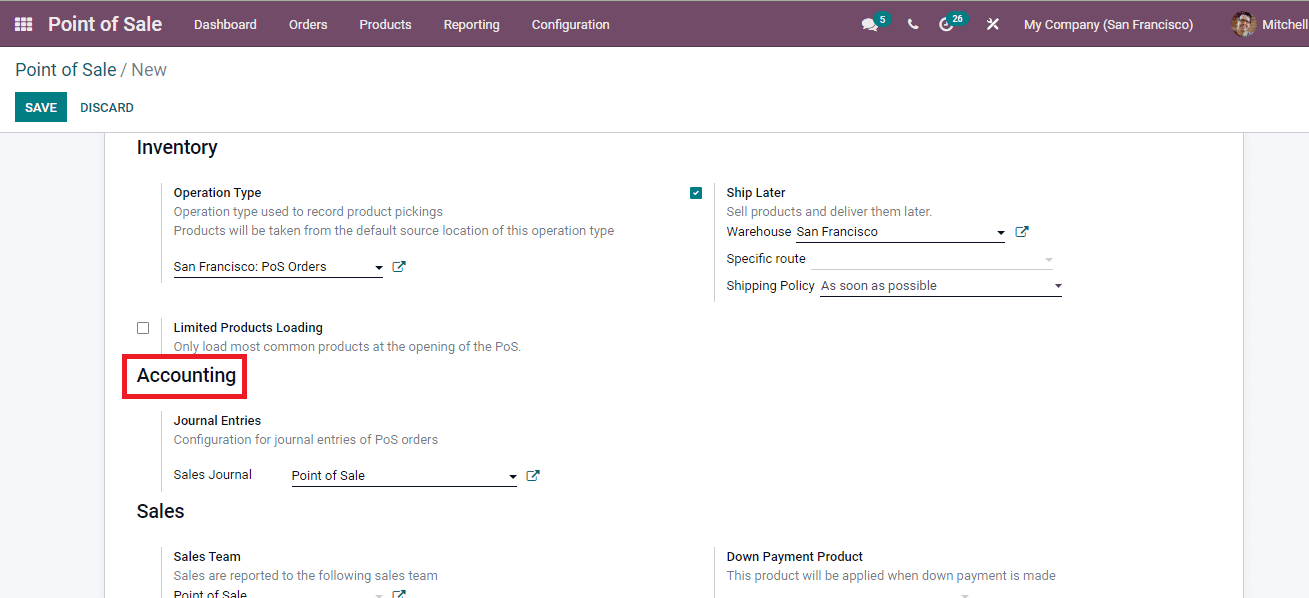
Inventory related configurations can be done at the Inventory menu.
Operation Type: Select the operation type used to record product pickings. Products will be taken from the default source location of this operation type.
Limited Products Loading: By enabling this you can only load most common products at the opening of the point of sale. You can also enable the checkbox which will load all the remaining products in the background.
Ship Later: Enable the check box if you want to sell and deliver products later. After enabling select the Warehouse and Shipping Policy. If there is any specific route of shipping then mention them at the given space.

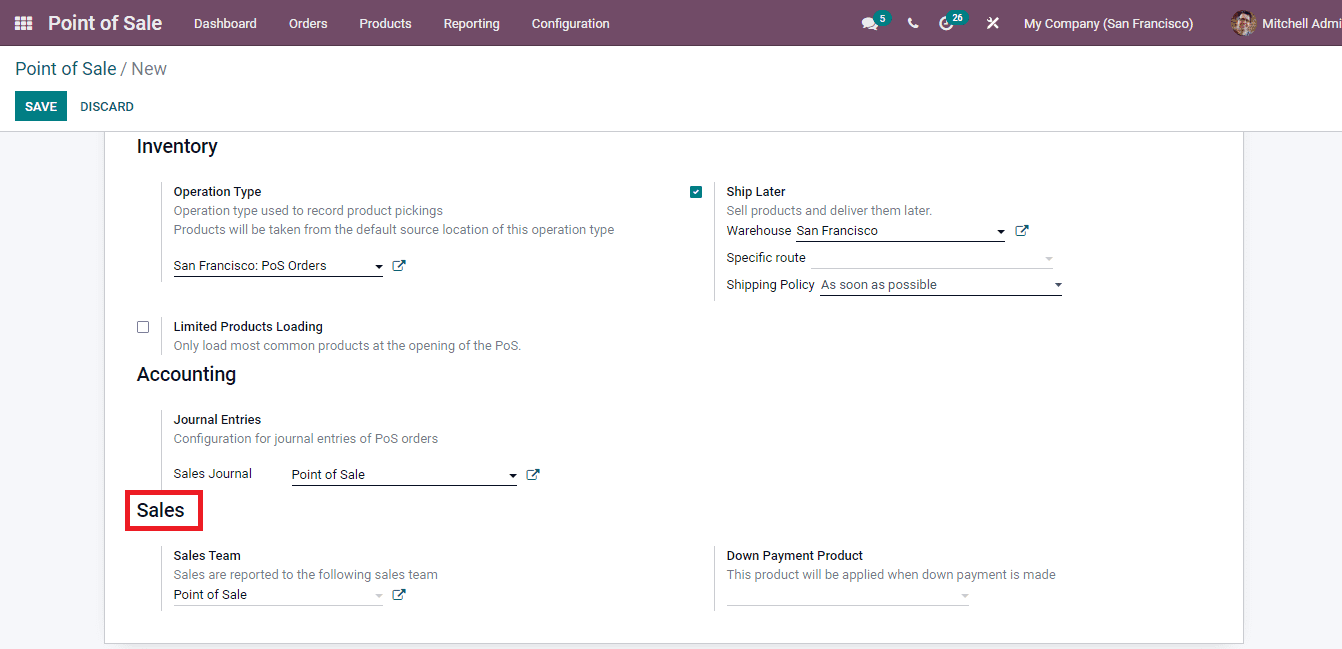
The Accounting related details can be added at the Accounting menu.
Journal Entries: You can configure the journal entry used for recording the financial activities of the point of sale. Select the Sales Journal from the drop down menu.
Setting of the sales team and down payment can be done at the Sales menu.
Sales Team: Mention the sales team to whom the sales will be reported from the dropdown menu.
Down Payment Product: You can select the product from the drop down menu for which the down payment will be applied.
After entering all the necessary details select the SAVE button to add the new point of sale to the dashboard.