Document
The lack of proper document management will diminish the business of your organization and lead to spending more than what is expected. Also, it will take an excessive amount of time to sort out the required document. A robust and well-defined document management system can make your organization more efficient and effective. The Odoo ERP offers a complete solution for solving all the issues regarding document management through its Documents module. The flexible nature of the module allows you to perform based upon your company requirements.This module allows you to keep your data and documents digitally, and it will be a more acceptable model for recording information.
The Document module available in the Odoo ERP system is the suitable method for reducing the clutter in handling documents. If you want to implement a centralized system for keeping documents, the Odoo Document module is a good and better choice. The system allows you to efficiently store the data in different forms such as Photos, Videos, URLs and supports PDF forms.
To get the module, you can install the module from the Odoo Applications. To get into the Dashboard window of the module, you can click on the Document menu icon. The Dashboard window of the module is depicted below.
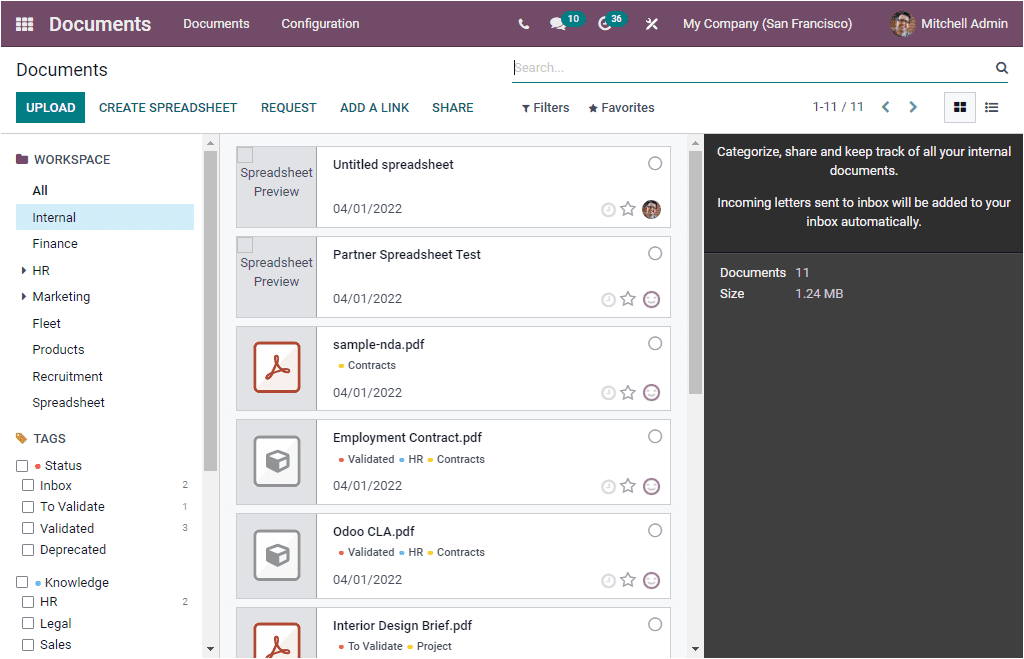
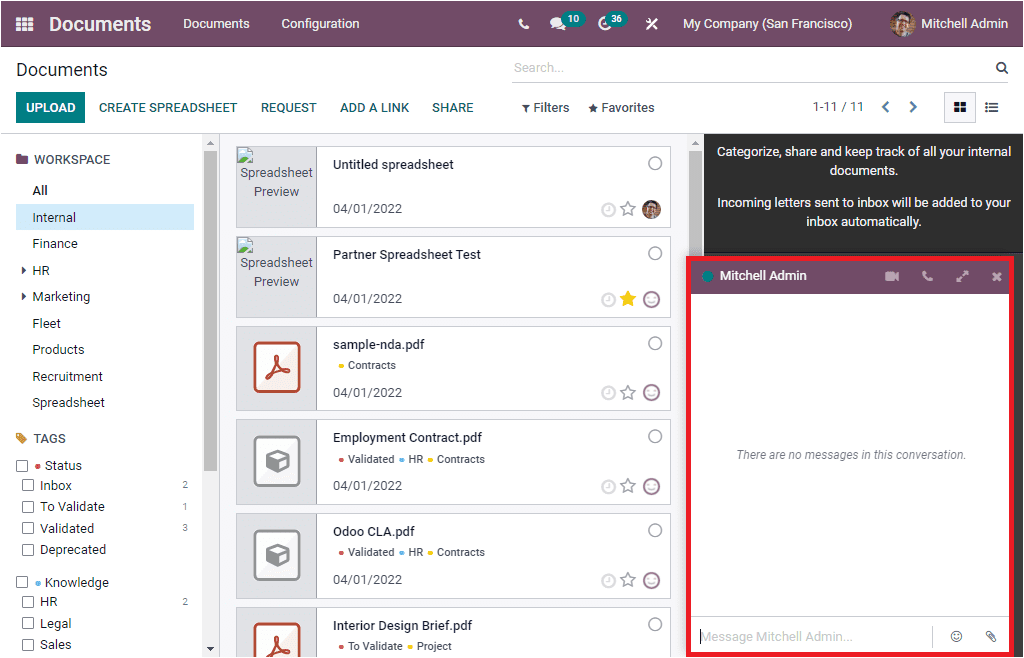
As you can see in the above image, the Documents dashboard window contains a sneak peek of all the preconfigured documents recorded in the system. You can see the Workspace details on the left portion of the window. The system allows you to arrange your documents based on their workspace and their categories such as Internal, Finance, HR, Marketing, Products, and many more aspects. If you want to display all the documents without categorizing them, you can select “All.” It is also possible to use tags inside of each workspace. So that you can easily identify your documents.
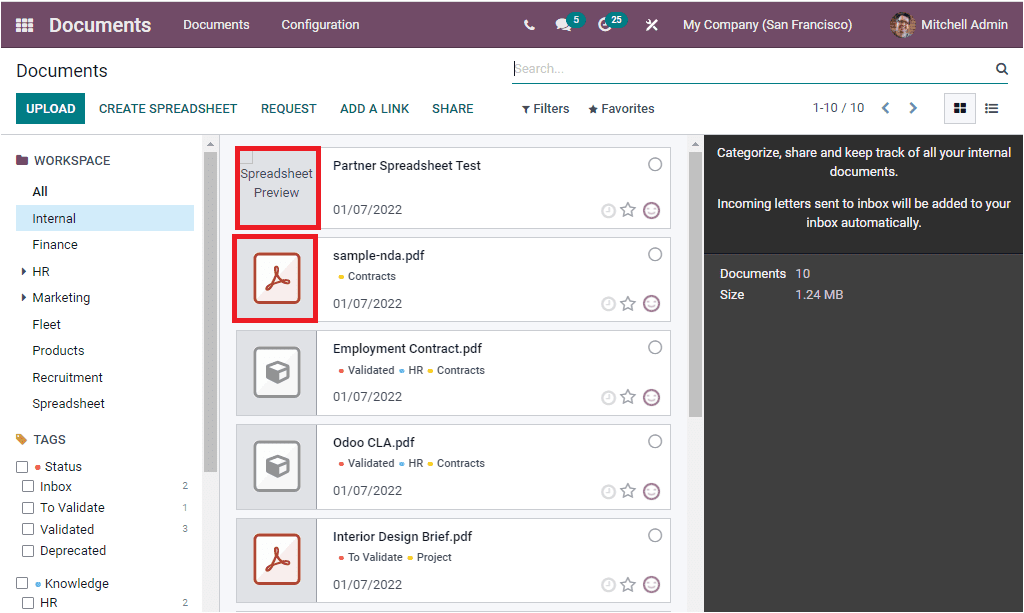
To open the document, you can click on the thumbnail as highlighted below.
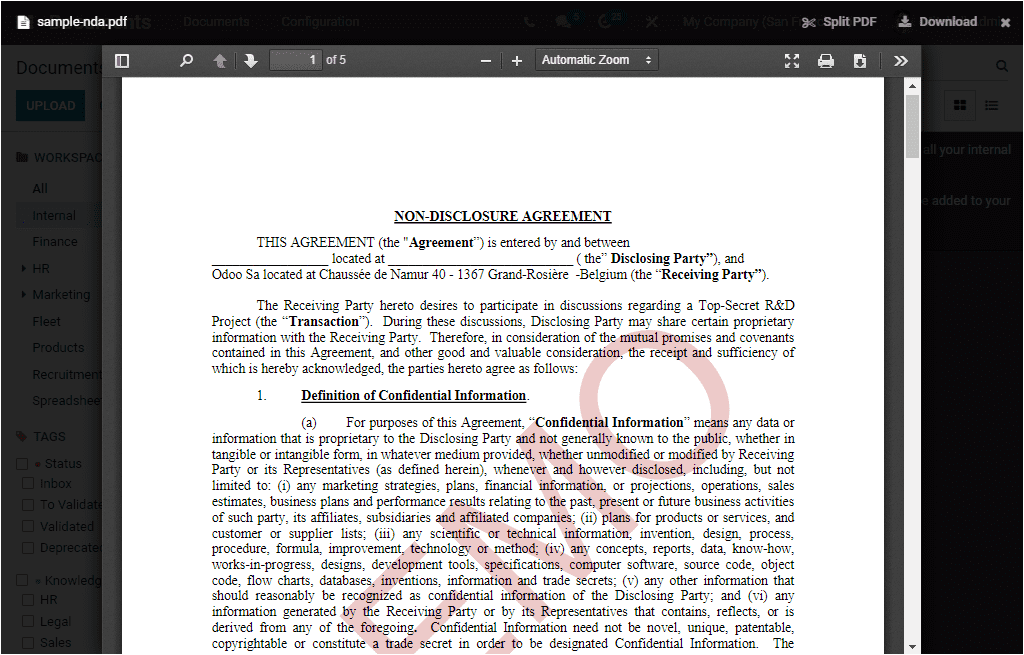
Then, the system will depict the document in detail as shown below.
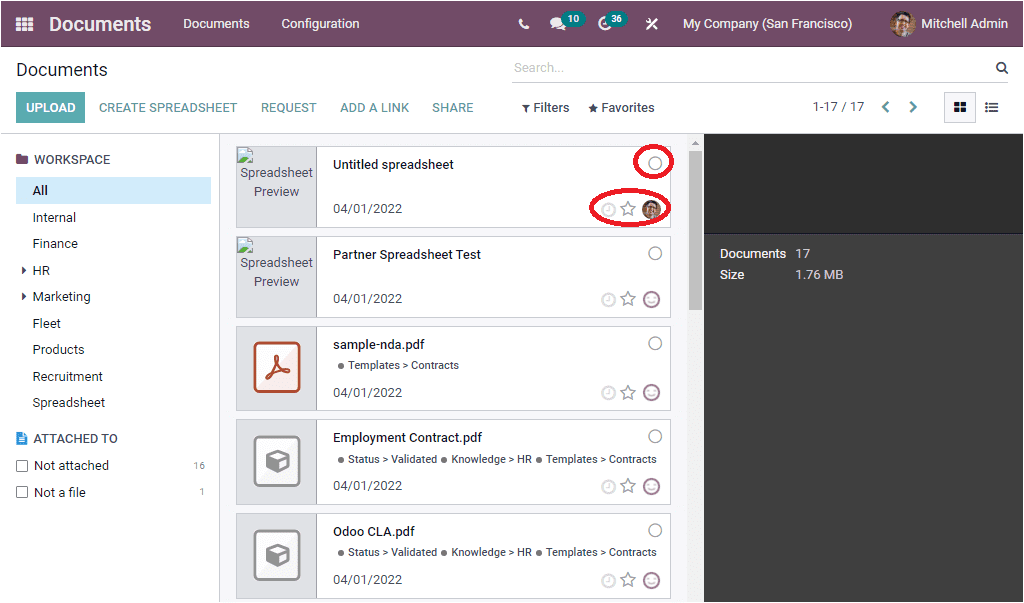
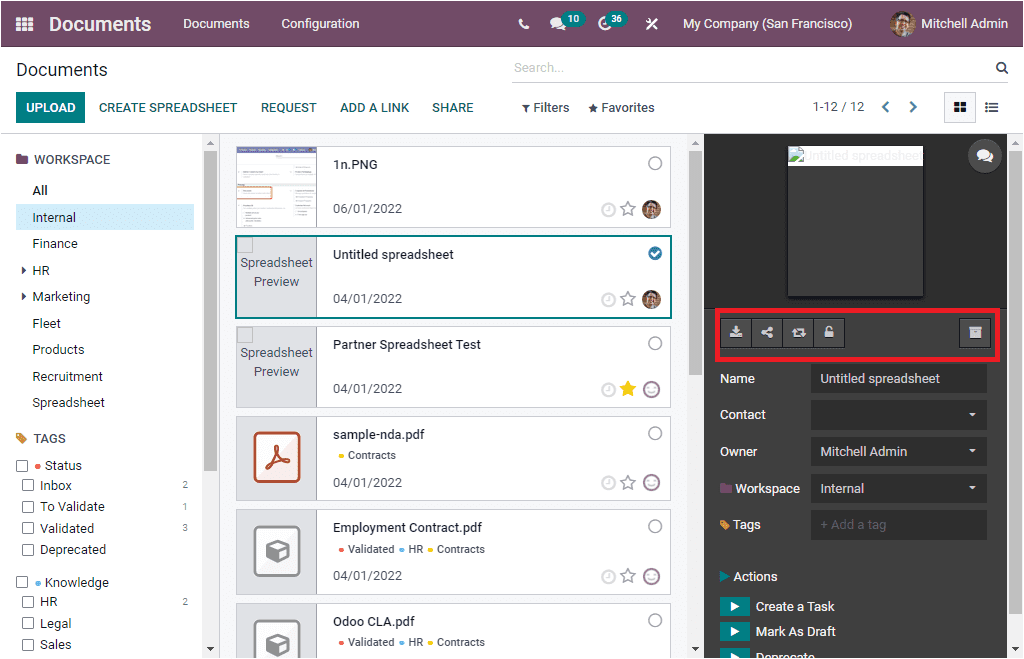
Each of these document files can be selected, and if you select a particular record, the brief overview of that particular record will be portrayed on the right portion of the window. In each document record, you will be able to view various menu icons for performing various actions. Which are Select Document, activity scheduling, toggle favorite, and the Responsible person as highlighted in the below image.
The Select document menu allows you to select that particular document. Now the details will be displayed in the right portion.
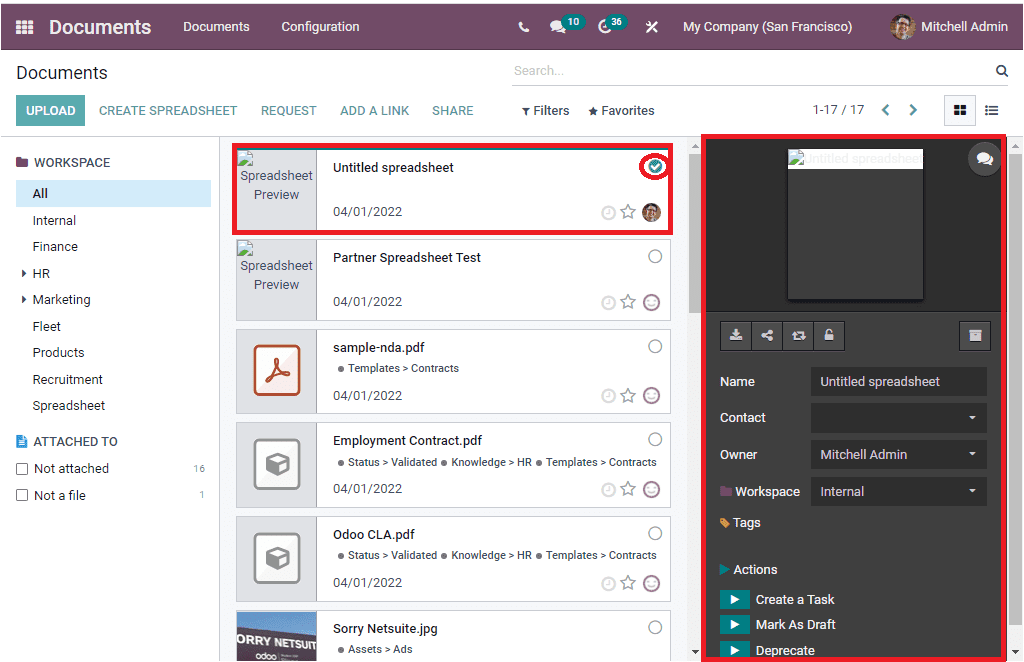
The option for scheduling activity is highlighted in the below image. Using this icon, you can directly schedule an activity.
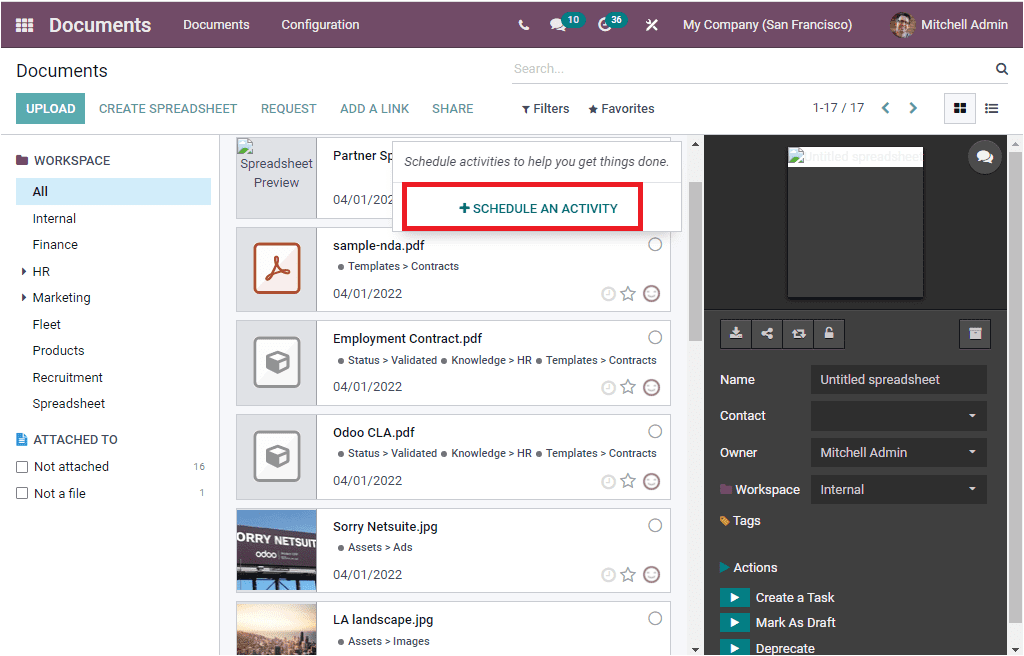
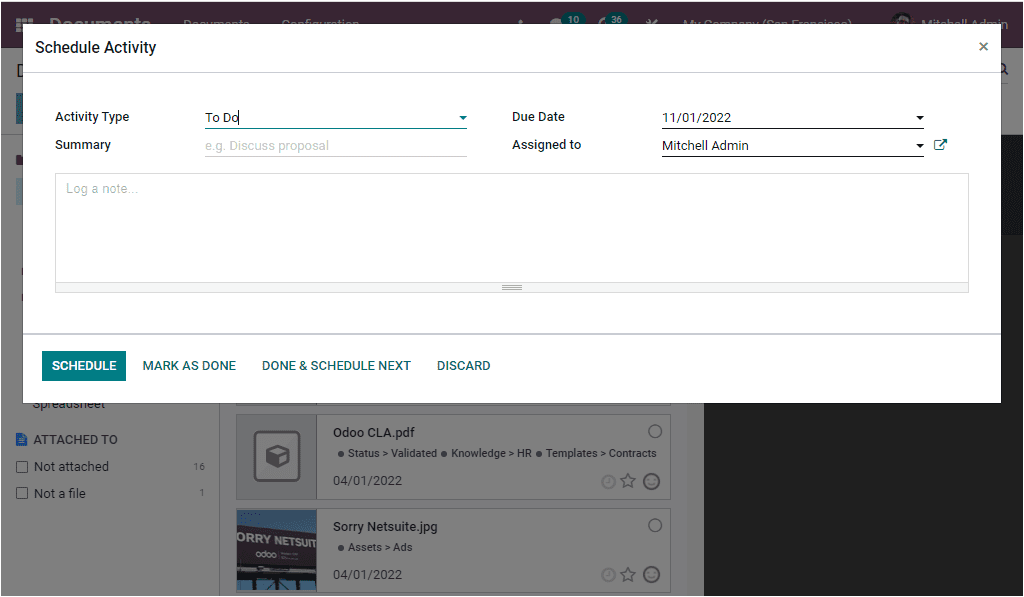
You can click on the SCHEDULE AN ACTIVITY button to get the pop-up window for scheduling
In addition, the system displays the Favorite option and this option allows you to mark your important documents to easily access the data. Also the system give you the icon for conducting direct chat with the responsible person. This icon is highlighted in the below image and when you click on this icon, you will depict the pop up chat window that can also be viewed in the given screenshot.
Apart from the Kanban view, the module also allows you to view the dashboard window in a list format. To view it in List, you can click on the List view menu icon which can be accessed from the top right corner of the window.
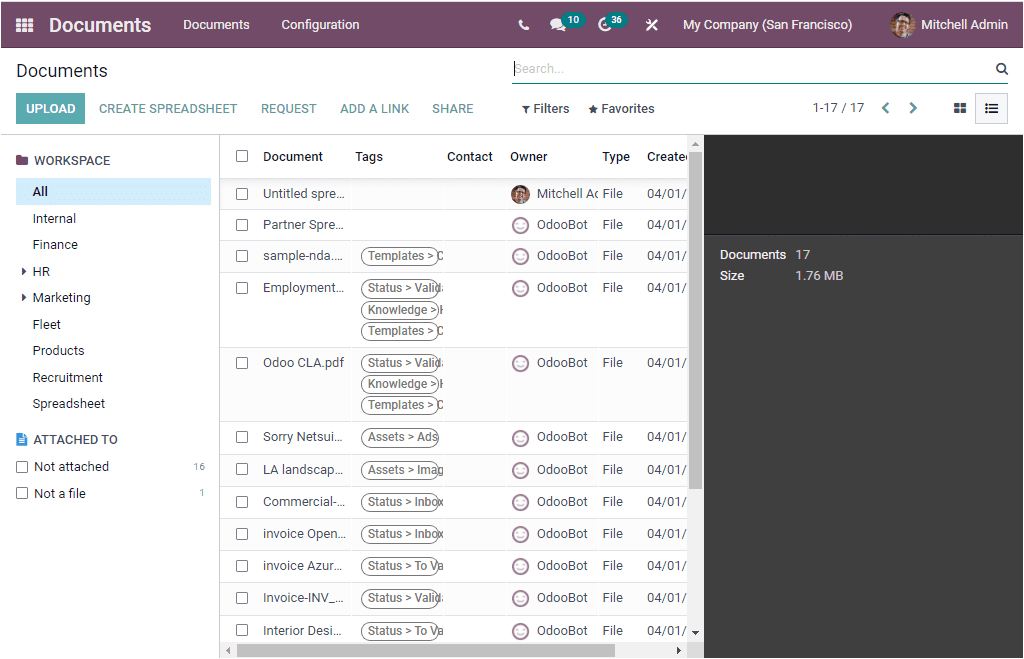
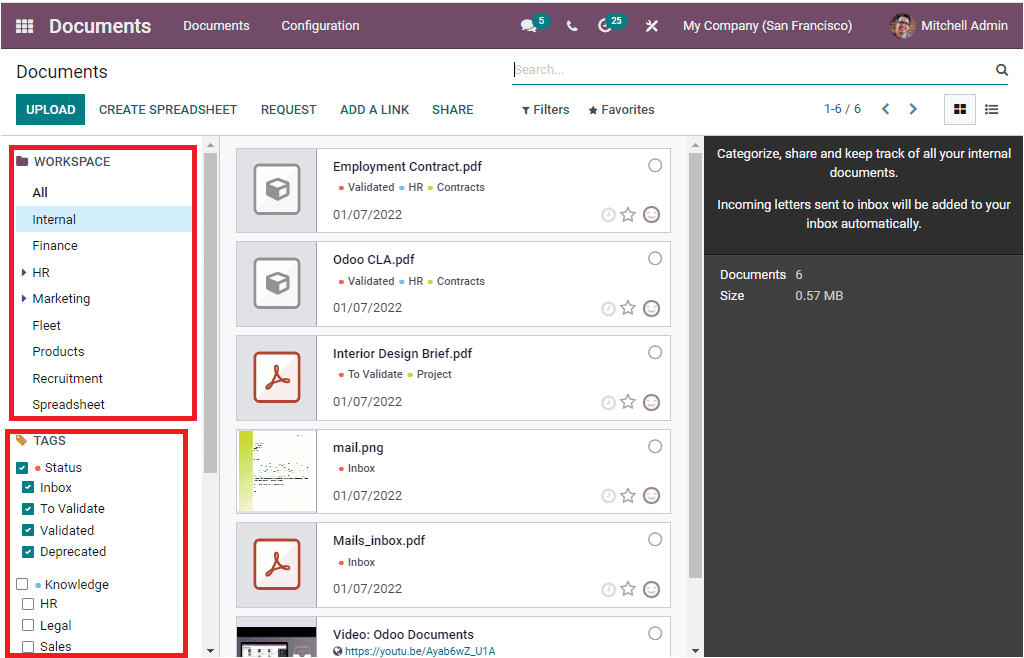
The Dashboard window also includes various default as well as customizable Filters, Favorite and Search options that will be very useful for categorizing and sorting your data. The default Filters available under the Filters tab are My Documents, My Favourites, PDF/Document, Spreadsheet, Image/video, URL, Locked, Requested, and Archived. The left portion of the window is explicitly designed to categorize your records and data.
To upload new files into the system, you can access the UPLOAD button that can be viewed on the top left corner of the window. Once you upload the document, you have the possibility to share the document by clicking on the file. Then you have to click on the Share button. To understand it, we can upload a file.
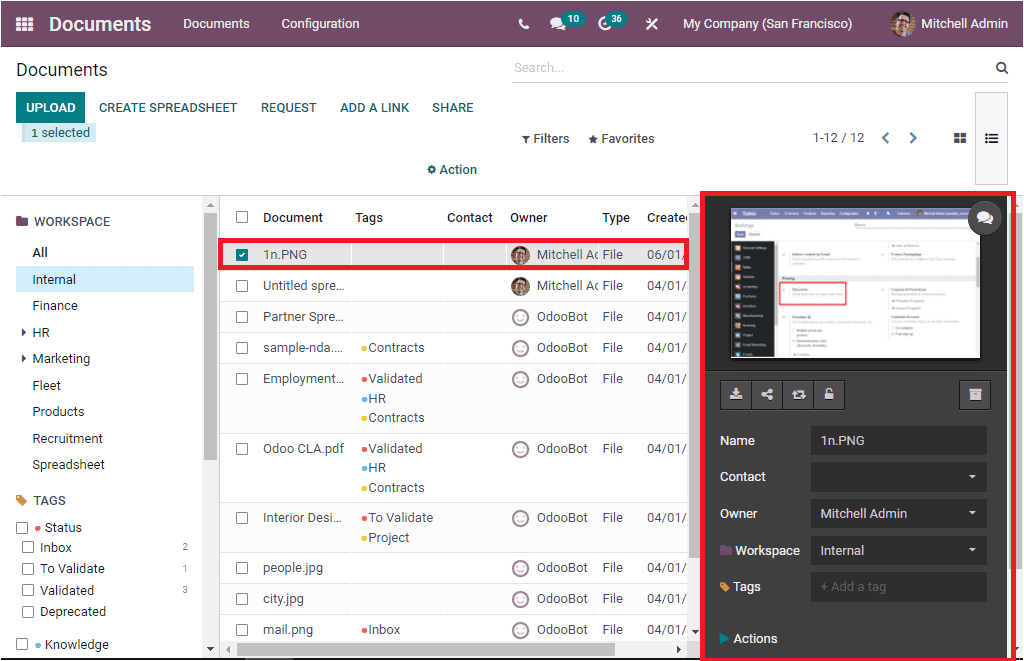
The file is successfully uploaded, and the right portion describes the details. You can view various options in the right portion such as Open Chatter, Download, Share this selection, Replace, Lock, and Archive.
To share the document, you can select the file and click on the SHARE button available at the top of the window. Now the system will depict you a pop-up window where you have to fill in the details for sharing the selected record. The screenshot of the pop-up window is displayed below.
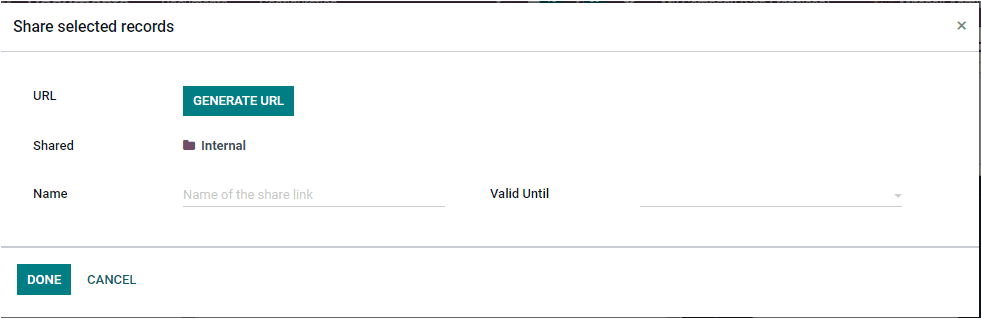
You can click on the GENERATE URL button available in the URL field to generate a URL. Then you can mention the name in the Name field and allocate the validity date in the Valid Until field. Once you give all the details, you can click on the DONE button.
You can easily find the options to Download, Share, Replace, Lock, Archive within the document details as highlighted in the image below. With the help of the share option, documents can be shared even if he or she is outside of the workspace or your company.
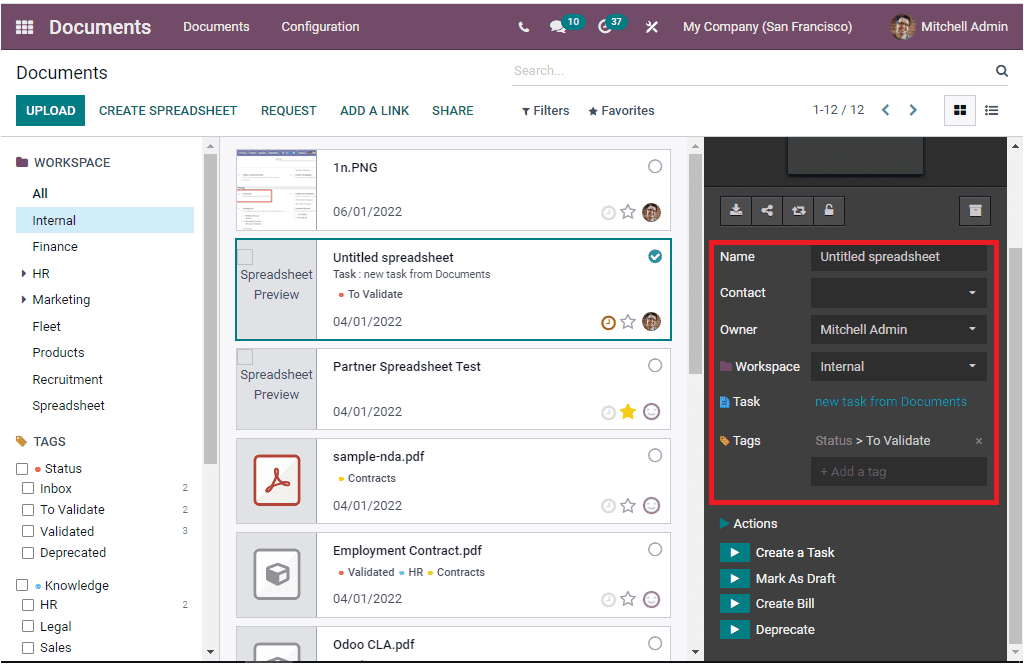
You can archive the document separately from the rest using the Archive button. You can also view the options for describing other document details such as Name, Contact, Owner, Workspace, Tasks, and Tags. If you want to modify it, you can do it. It is very simple to add new tags to the file. You can just do a single click on the Add a Tag space. Then you will depict the dropdown menu. From this menu, you can select the tags.
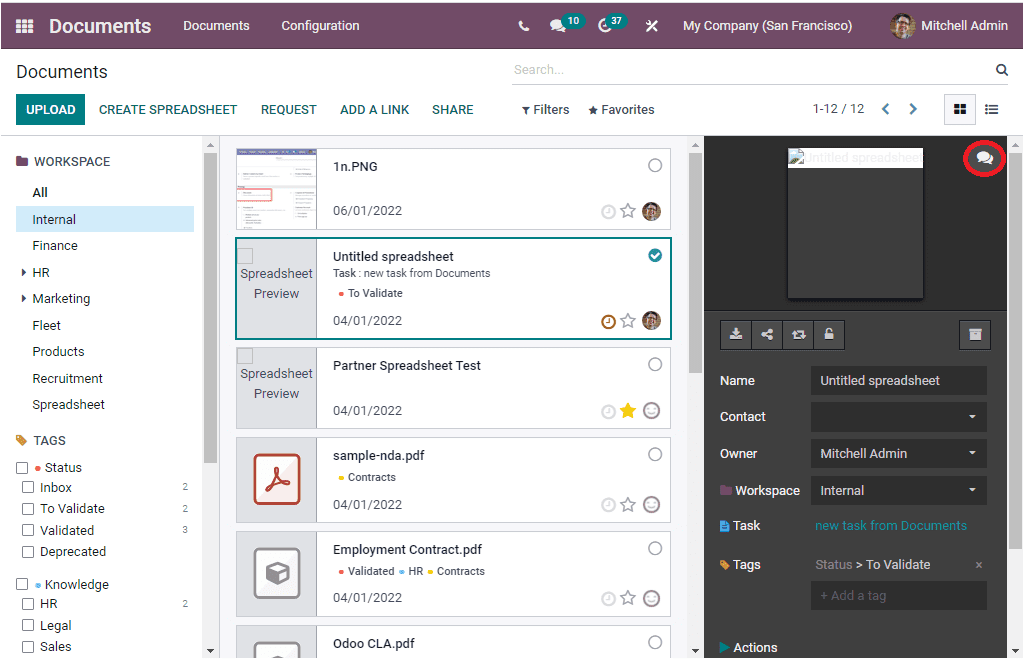
The Open Chatter menu icon available on the top right corner of the window can be used to send messages to the followers of the document, send Log note, and even for schedule activities based on this file. The image of the chatter menu icon is depicted below.
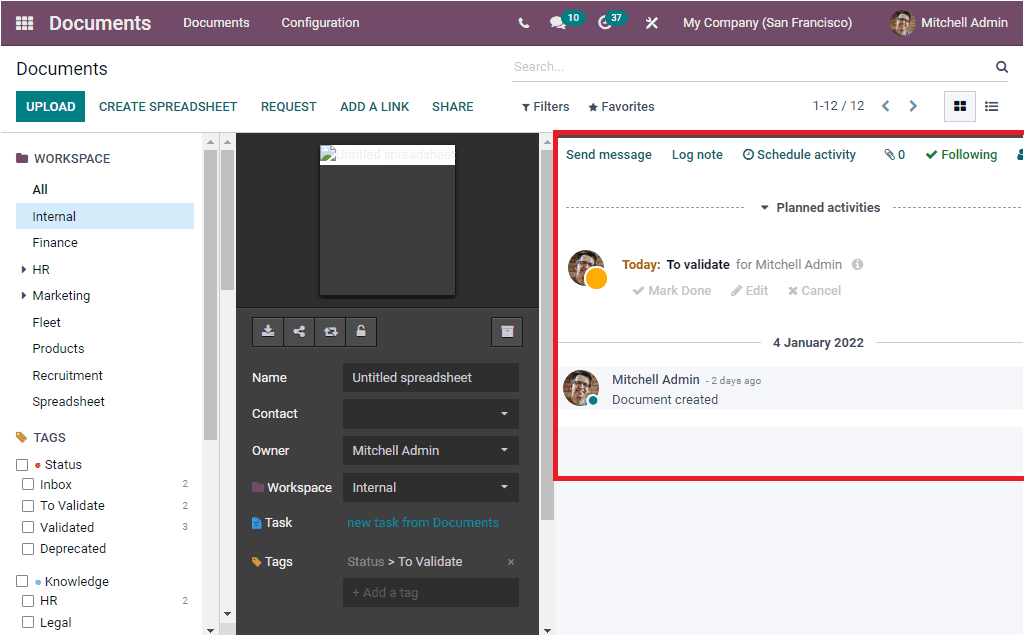
The described options available under the Chatter option are depicted below.
In each workspace, you can also have different automated actions for documents. When you look at the bottom of the right portion of the window, you can view various actions as highlighted in the image below.
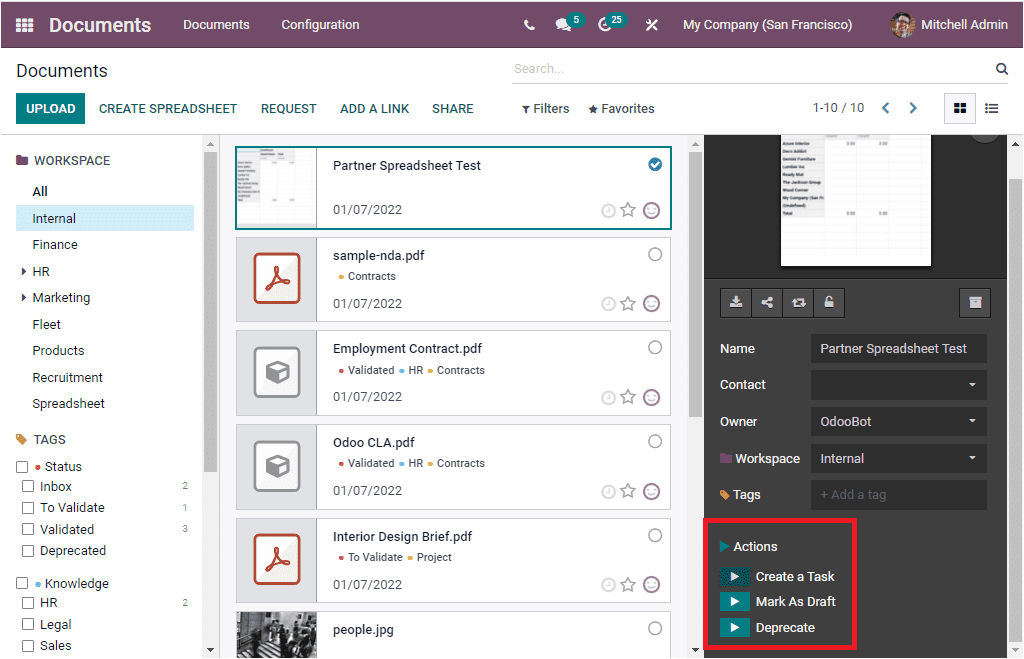
The Odoo Document module allows you to do all these actions from this platform itself. The different action types will be displayed based upon the document type. For example, in the Partner Spreadsheet Test document, you can view the options for conducting various actions such as Create a Task, Mark as Draft, and Deprecate. When we look at the Employment Contract document, the platform allows you to do the following actions such as Create a Task, Sign, Mark As Draft, Create Bill, and Deprecate.

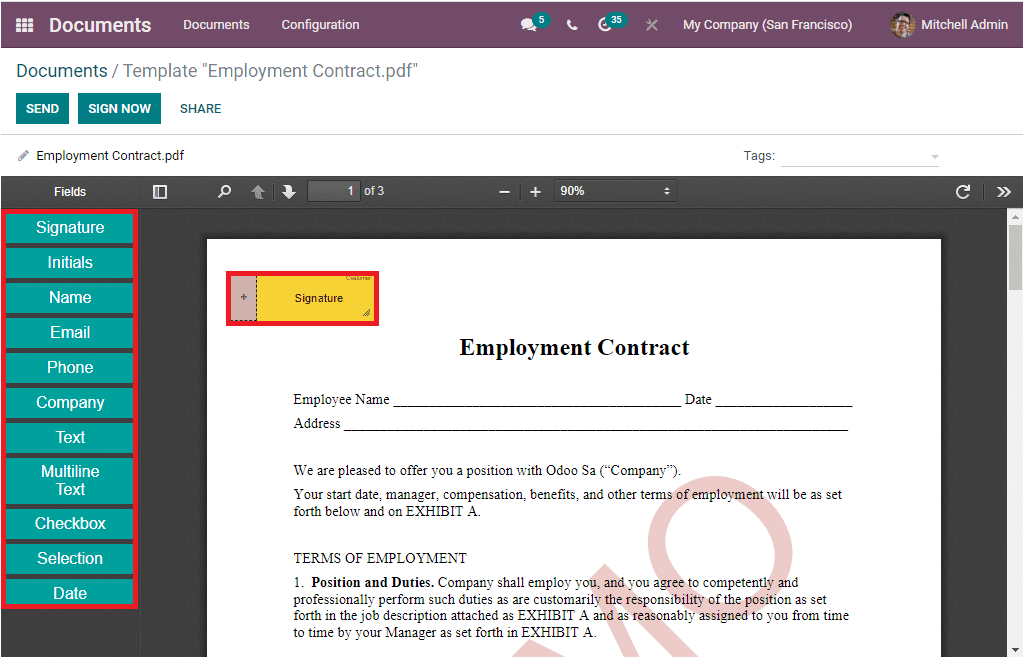
You can select the required action to perform. For example, you can just click on the Sign action if you want to sign the employee contract document. Then the system allows you to navigate into a new window as shown in the image below.
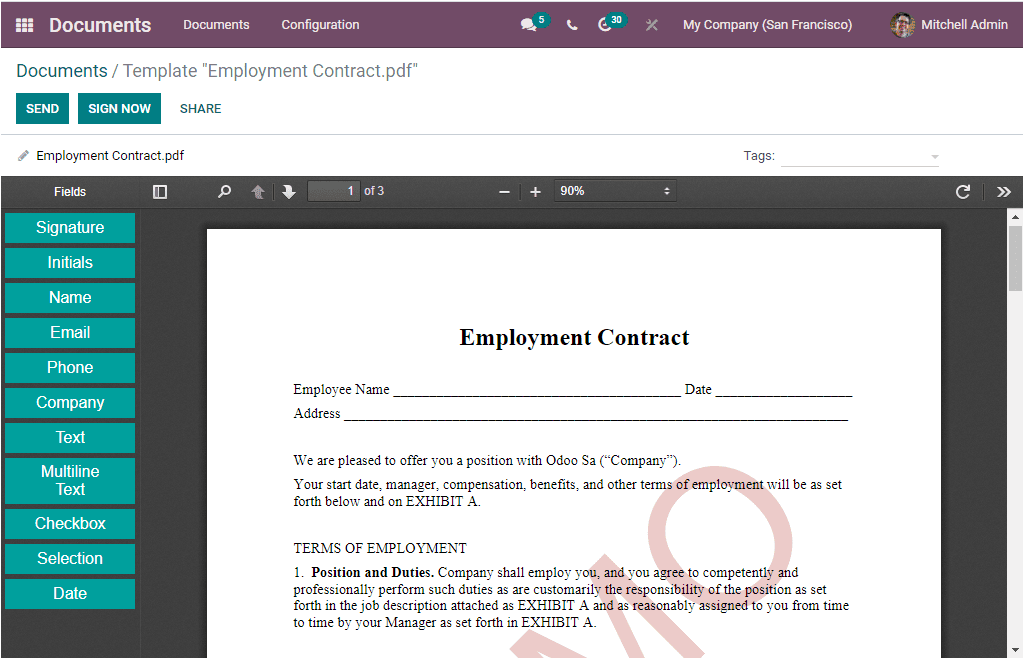
Here in this window, you have the send and sign options. The SEND option allows you to send a signature request, and the SIGN NOW option will enable you to sign the document directly. Moreover, the different fields available on the left side of the window can easily drag and drop into the PDF.
Create Spreadsheet
The Create Spreadsheet button available on the right of the UPLOAD button available on the home screen window of the Document module allows you to create Spreadsheets. This option is convenient for analyzing and organizing your similar data group into a single sheet. When you click on this button, you will be directed into a new window, as shown below.
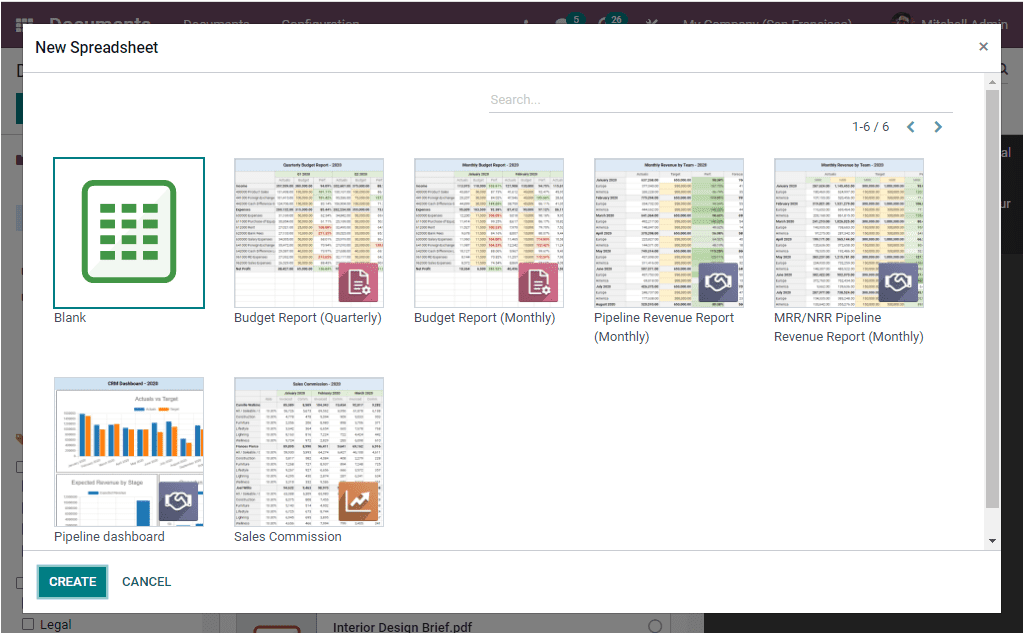
The window contains various types of spreadsheets for adding different reports or files. You can select a suitable model to add your data. You can also choose the blank one to create a new spreadsheet type. After selecting the spreadsheet, you can click on the CREATE button that can be accessed from the bottom left corner of the window. After that, you can add the details and attach the links to your spreadsheet.
Sending a request for a document
The Odoo Document module provides you a chance to quickly get access to an external document of your colleagues, team members, managers, or employees within your company. The REQUEST menu available in the Documents dashboard window allows you to send requests to the associated people.
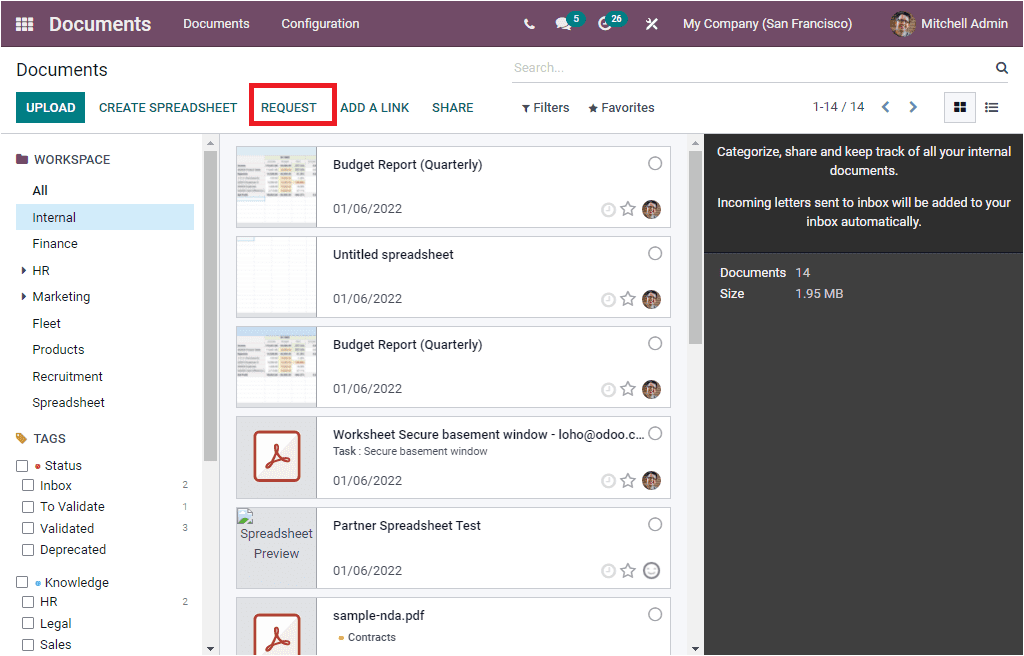
The REQUEST menu is highlighted in the above image. To request them, what you want to do is to click on the REQUEST button. Now the system will take you into another pop up window where you can provide the required details. First, you can specify the Document Name in the specified field. In the Request to field, mention the name of the person to whom you are requesting. In addition, you can specify the Due Date and it can be defined in terms of Days, Weeks or Months. The Workspace field will be auto allocated based on the document we selected. It is also possible to add Tags to the request. If you want to add some internal notes on the request, you can do it in the specified Note box.

Once you have given all the details, you can send a request by clicking on the REQUEST button. Now the Request will be displayed in the Documents window as shown in the image below.
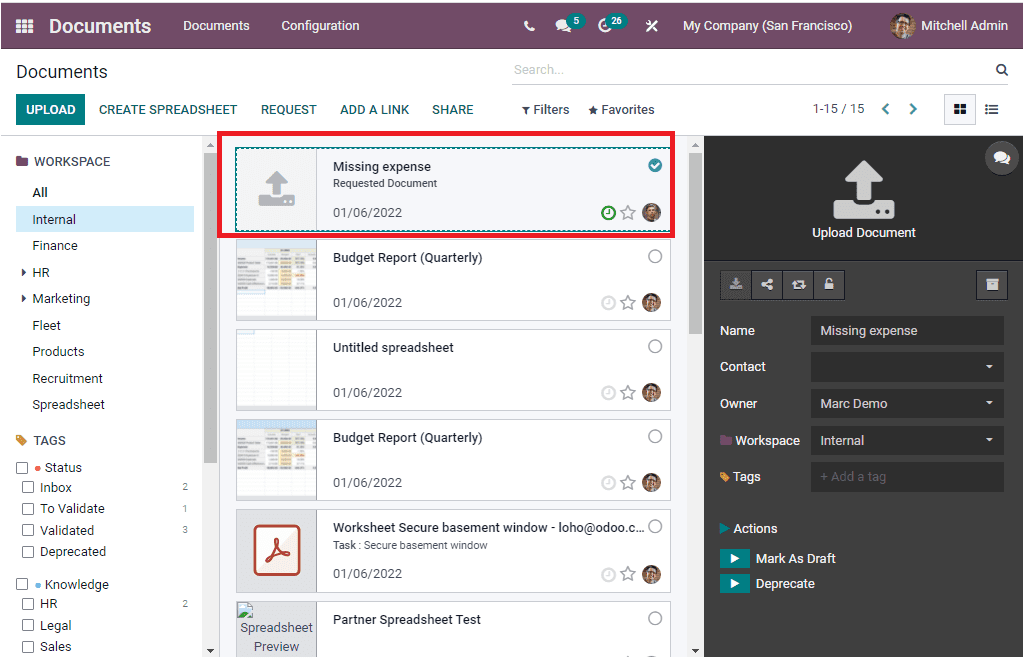
If you receive the file, you can upload it by clicking on the upload file button.
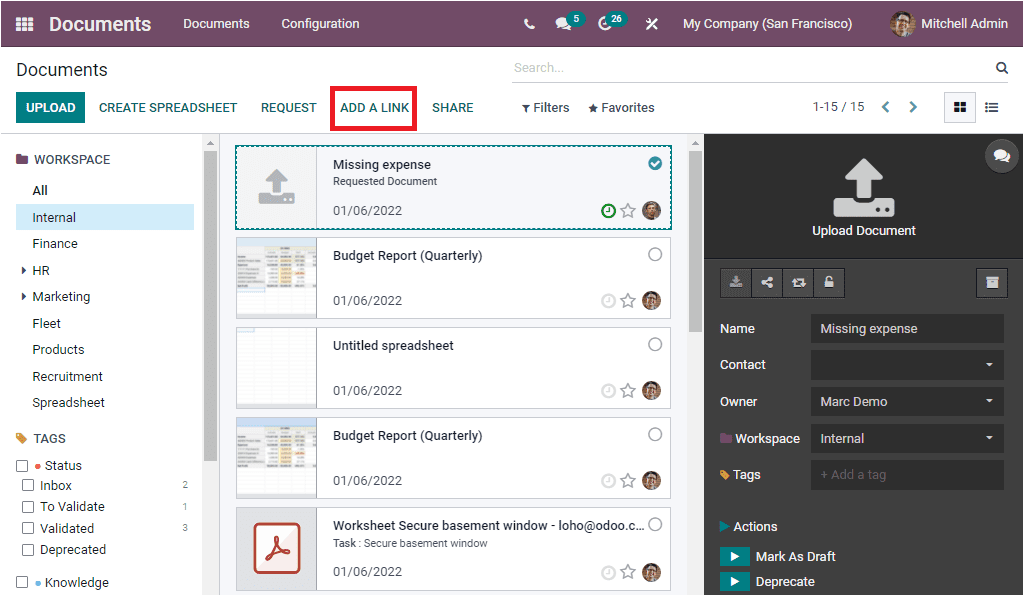
Add a link
The Document module also offers you a chance to upload external links to the module instead of the document forms. To do this, you can click on the ADD A LINK button available on the dashboard window of the module. The ADD A LINK button is highlighted in the image below.
A single click on ADD A LINK button will take you to the pop-up window where you have the provision to add Url. Here you can provide the Name and the URL of the file. Now the link will be recorded in the system.