Publish Specific Content for the website
Odoo website users can easily create and publish specific content for the company website from the front end of the module. This can be done for various operations such as blog, forum, product description, and many more aspects. When we take account of the blog posting, the platform allows you to do it from the front end together with the details. You can also have the provision to edit the views and attributes. Then the system lets you publish them on the website. In the same way, you can also consider the forum, job description, and many other contents.
Page
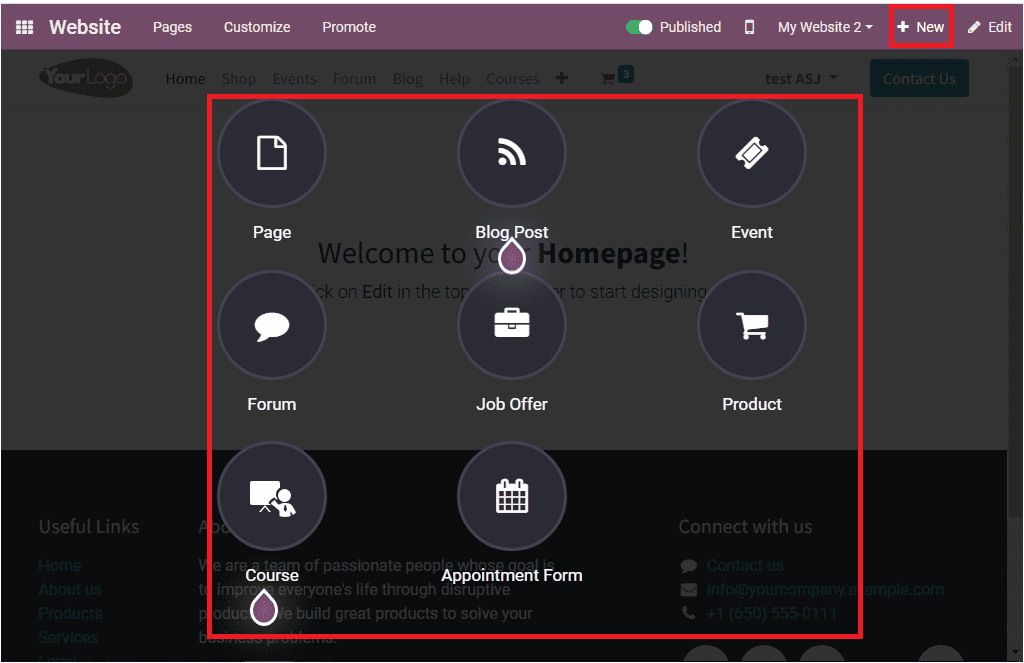
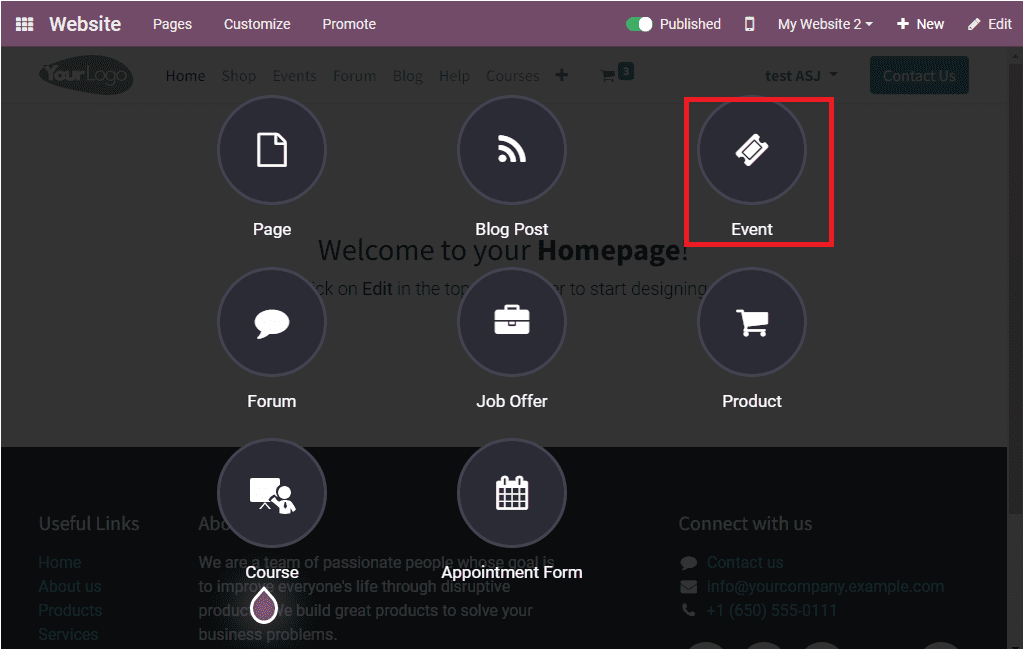
You can view the +New button next to the edit button on your website, as shown in the image below. When you click on this button, you will display the icons for publishing specific content on your website.
To create a new Page for your website, you can select the Page menu. Upon selecting this icon, you will depict a pop-up window shown in the image below.
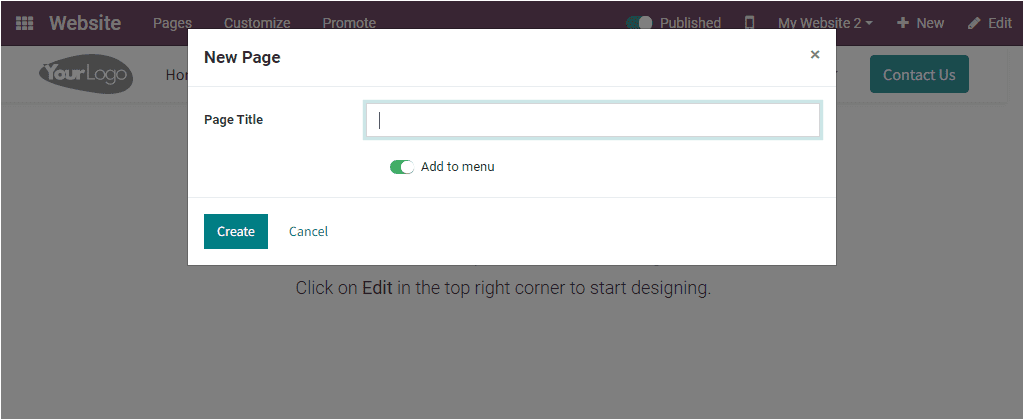
Here in the pop-up, you can provide the Page Title and enable the Add to menu field. Later you can click on the Create button available in the same window. By doing this action, you will depict the newly created page on the main taskbar of the website module.
Blog Post
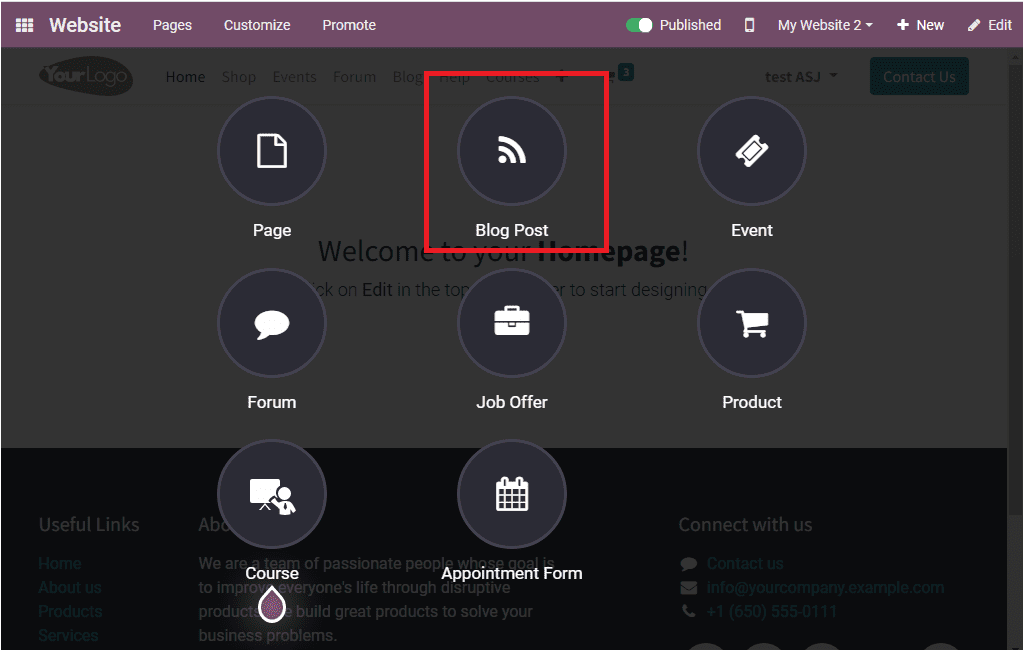
Similarly, for creating a new blog post for your website, you can select the Blog Post menu icon.
Now you can access the popup and where you can select the blog type.
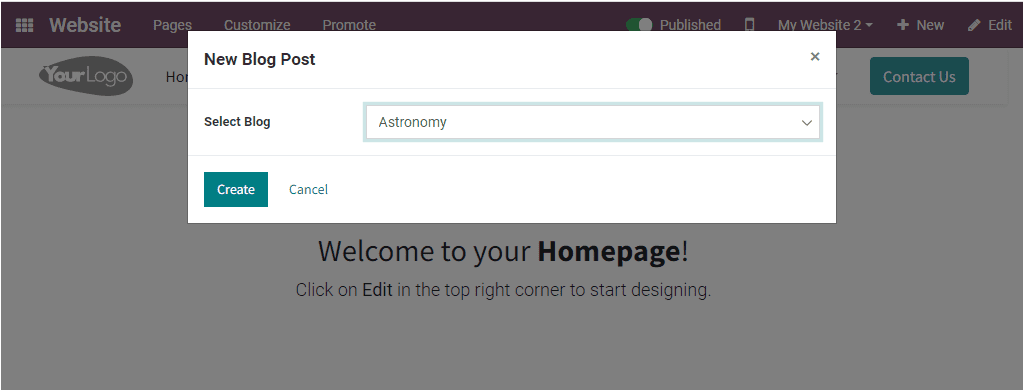
Later click on the Create button. Now you will receive a new page to design and create a new blog post.
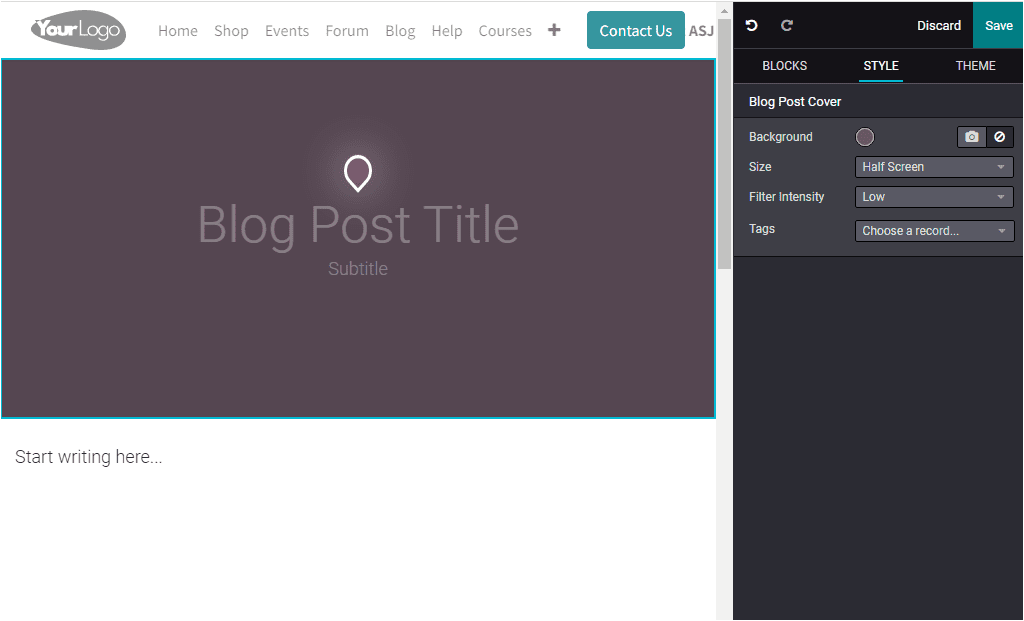
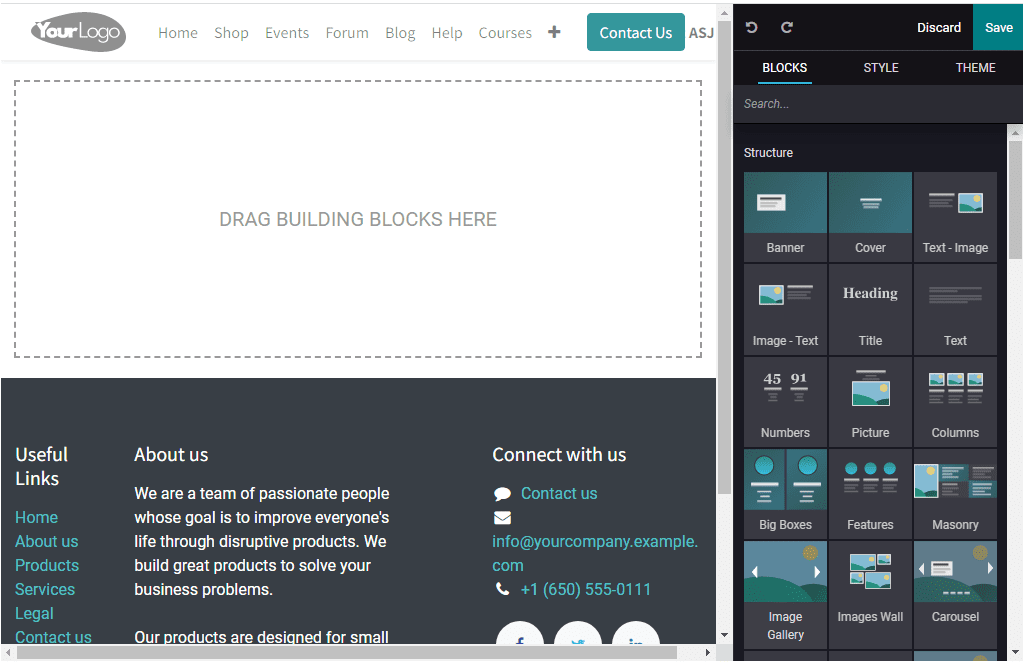
Here you can write a title and also a subtitle if needed. Then you can start writing your blog content. The options for designing your new blog page are available on the right part of the page. You can make use of these editing tools to make your blog more alluring.
Events
In order to publish new events on your website, you can select the Event menu.
For publishing new event details on your website, you can choose the Event menu available under the +New tab. You will get a pop-up window if you click on the Event menu.
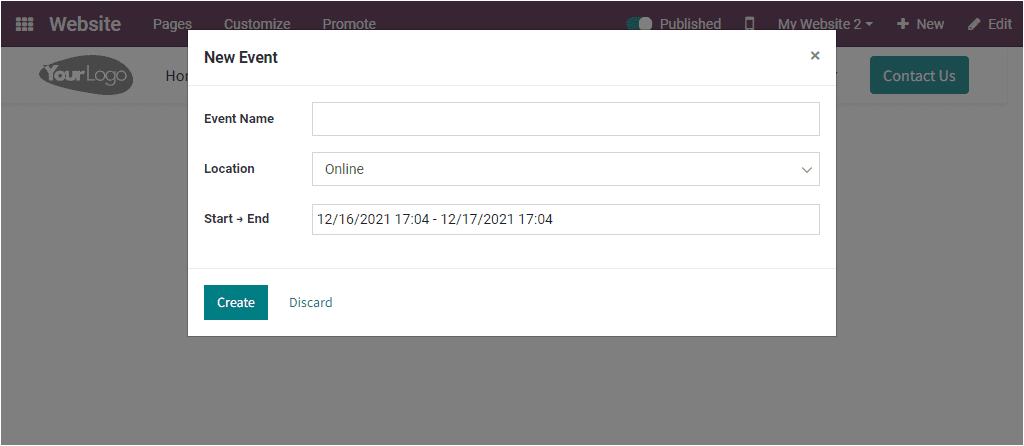
In the pop-up, you can fill out the Event Name, and the Location can be specified whether it is Online or On-Site. If it is an On-Site program, you should provide the Venue. The Start and End dates must be specified. Once you have provided all the details, you can click on the Create button.
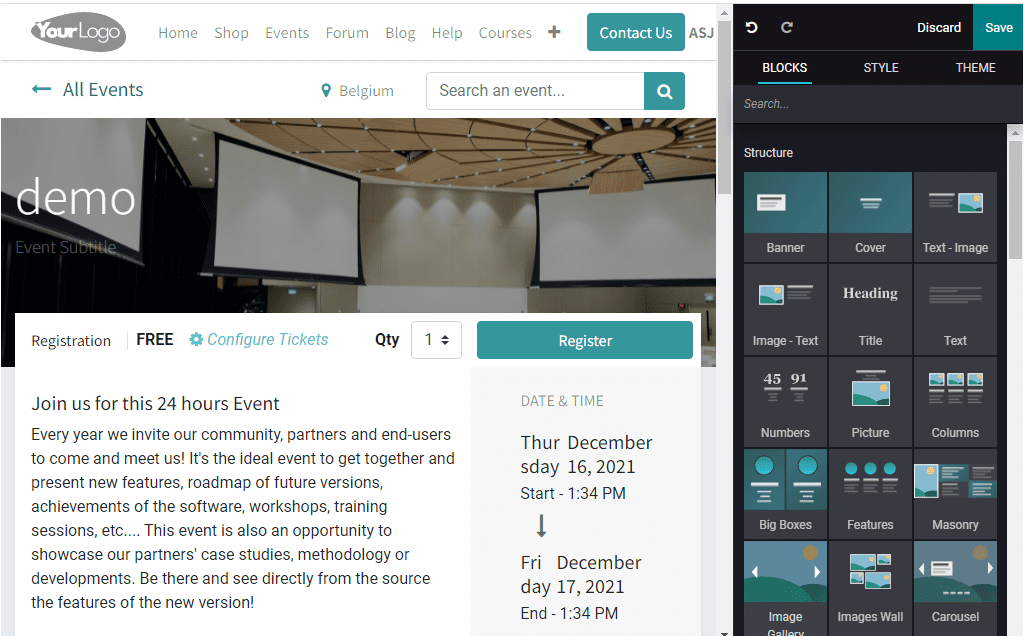
The name of the event and the default details on the event will be described along with the Registration, Configure Tickets, Qty, and other important icons. You can edit and customize your content using the various editing tools available on the left part of the website page.
Forum
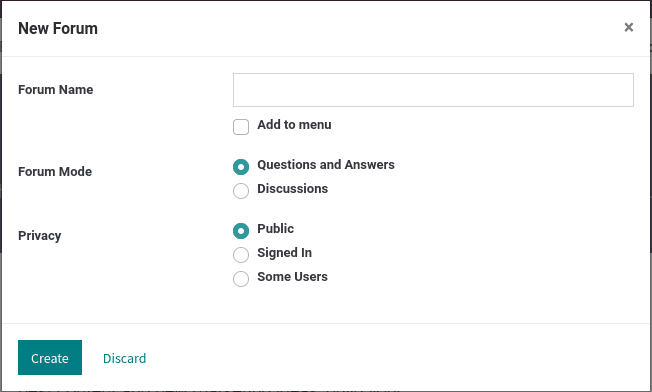
The Forums menu allows you to publish new forums on your website. To do this, you can click on the Forum menu. Now you will depict a pop-up window as shown in the image below. Here you can provide the Forum Name. Then the Forum Mode can be defined as either Question and Answers mode or Discussions mode.
Moreover, it allows you to set the Privacy policy in different ways. It can be defined as Public. Signed In, or Some Users.
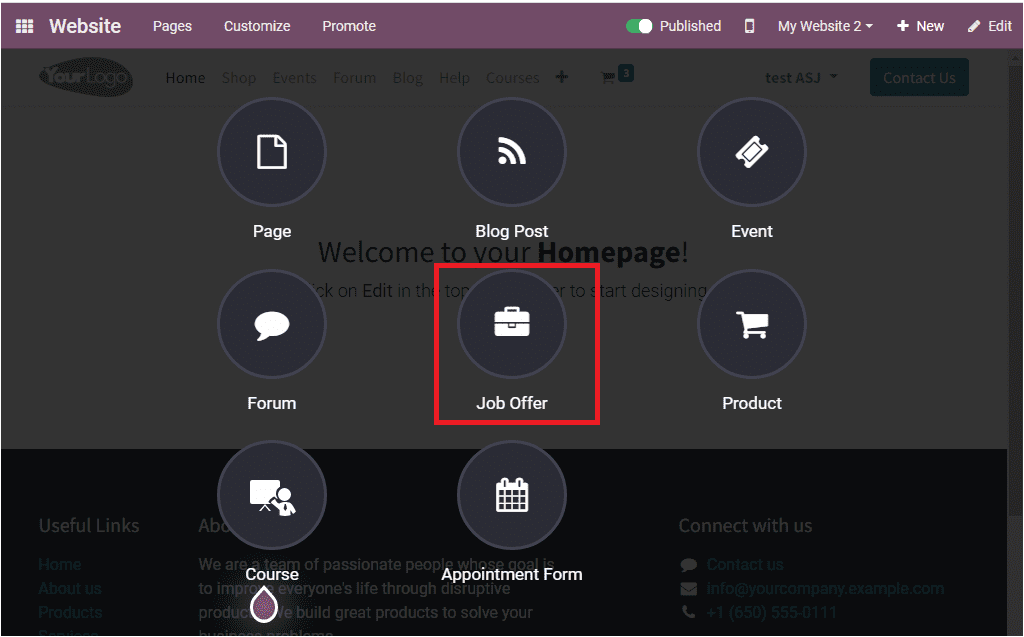
Job Offer
If you want to publish new job offers on your website, you can click on the +New button and select the Job Offer menu.
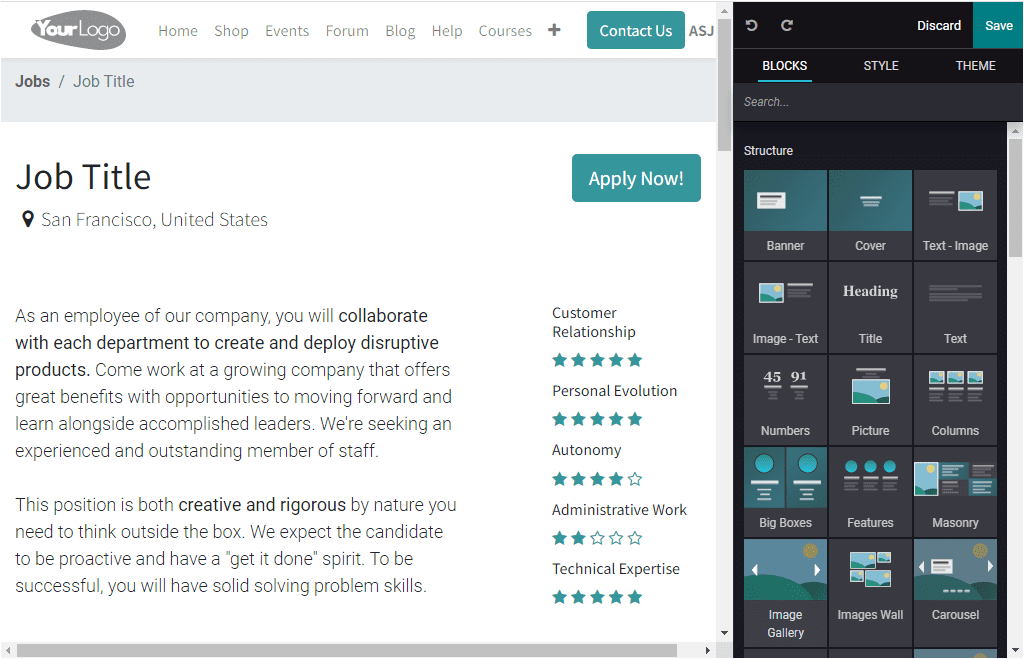
Upon selecting this icon, you will navigate into the window as shown below, where you can include the Job Title and other details using various editing tools.
Products
A new product can be added to your website with simple clicks. This can also be done using the +New button. By selecting this button, you can access the Product menu.
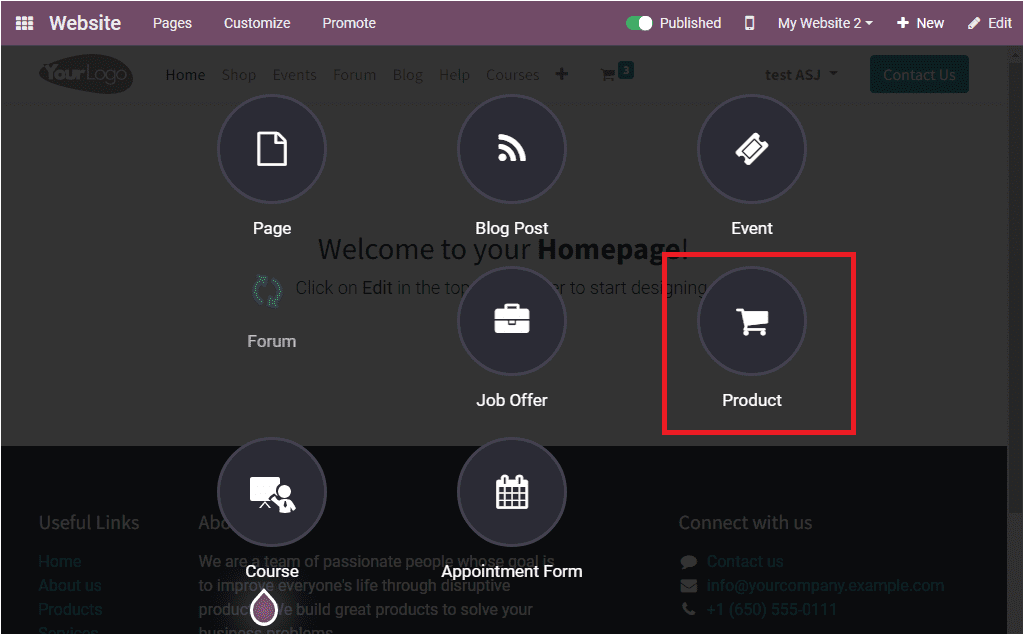
You can click on the product option to get the pop-up window.
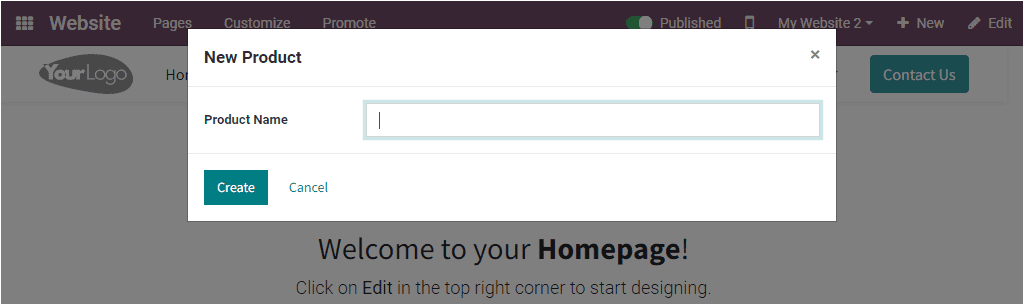
Here you can mention the Product Name. Then you can click on the Create button to add details regarding the product on your website.
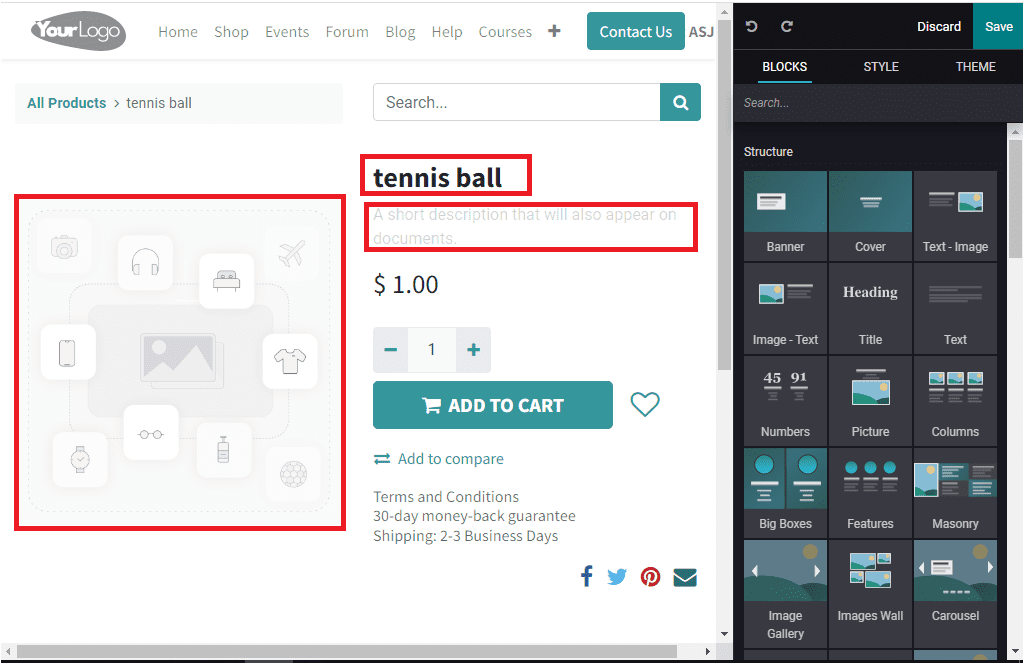
Using this window, you can configure your new product. A short description for appearing on the document can be given just below the product name. You are also able to include the Price, quantity, and image of the product. For adding the image, you can double-click on the provided space. Then a pop-up will be displayed to add the image.
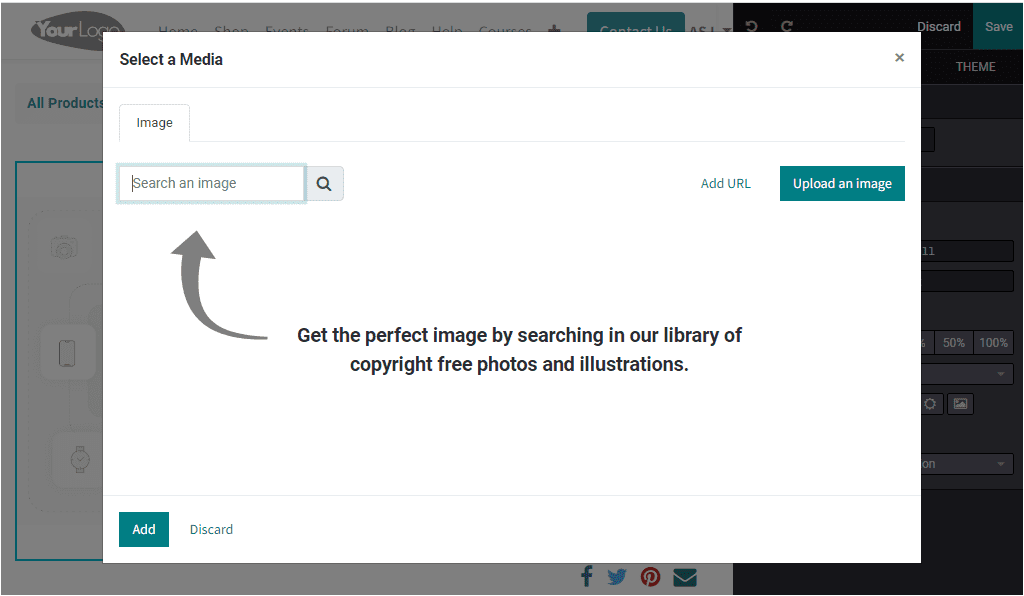
This pop-up window contains the Search an image, Add Url, and Upload Image options. The editing tools in the window also help you to design your product page more perfectly. Once you finish the editing process, you can click on the SAVE button to publish your new product on your website.
Course
The Course menu available under the +New tab of the website will allow you to create new courses.
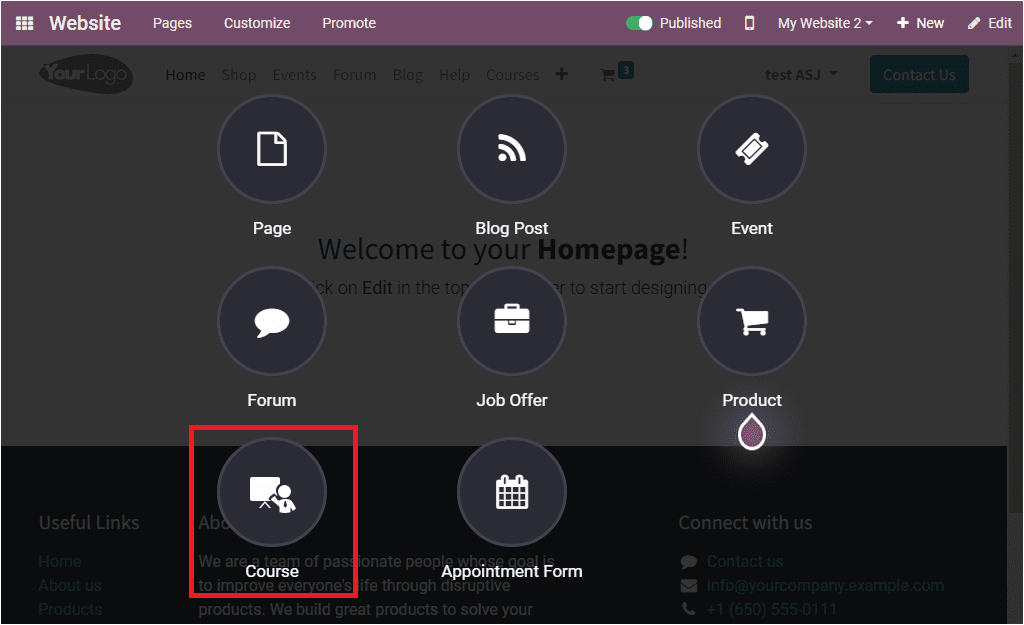
If you click on the Course menu, you will depict a pop-up as shown below.
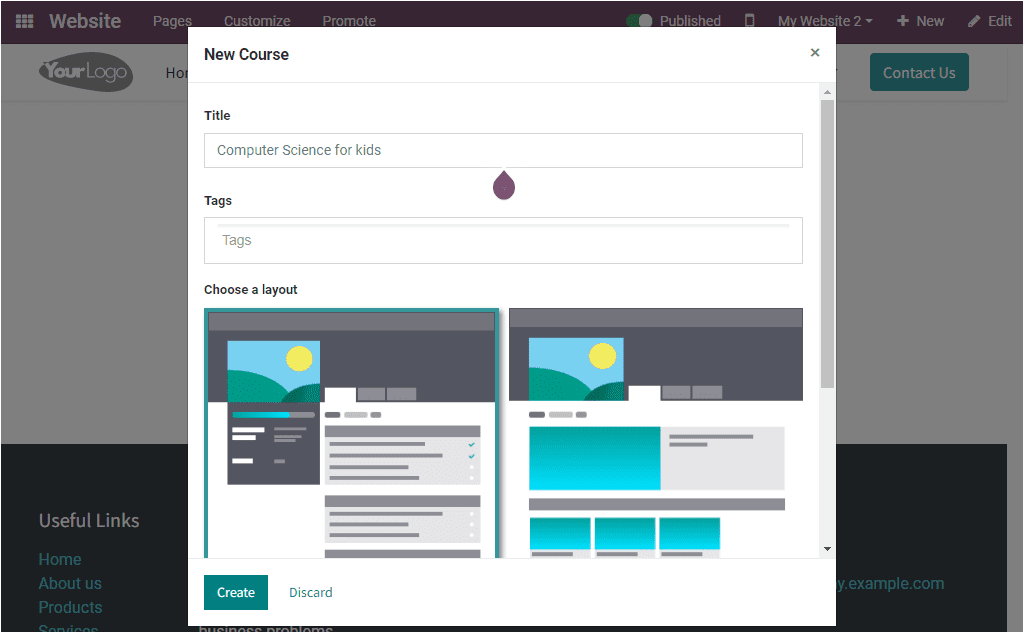
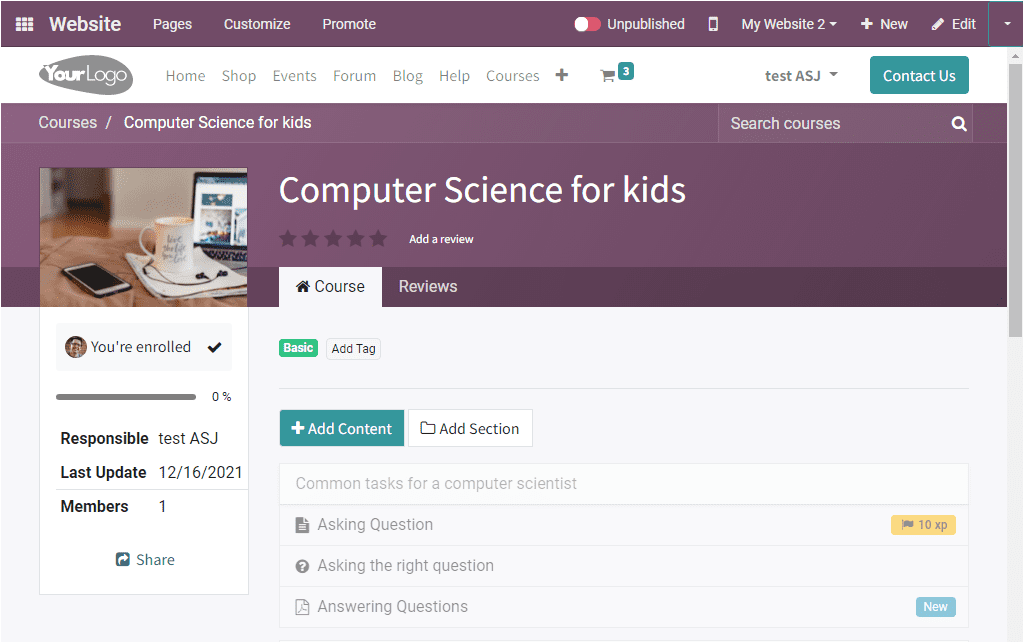
Here in the pop-up menu, you will describe the new course Title, Tags, and then choose a layout. Also, you can provide a Description of the new course. You can enable the Review button to allow students to review your course. Finally, you can click on the Create button. Then you will be directed to the Courses page, where you can add the details.
Appointment Form
In order to create and publish new appointment forms, you can click on the +New icon available on the home page of the Odoo Website module.
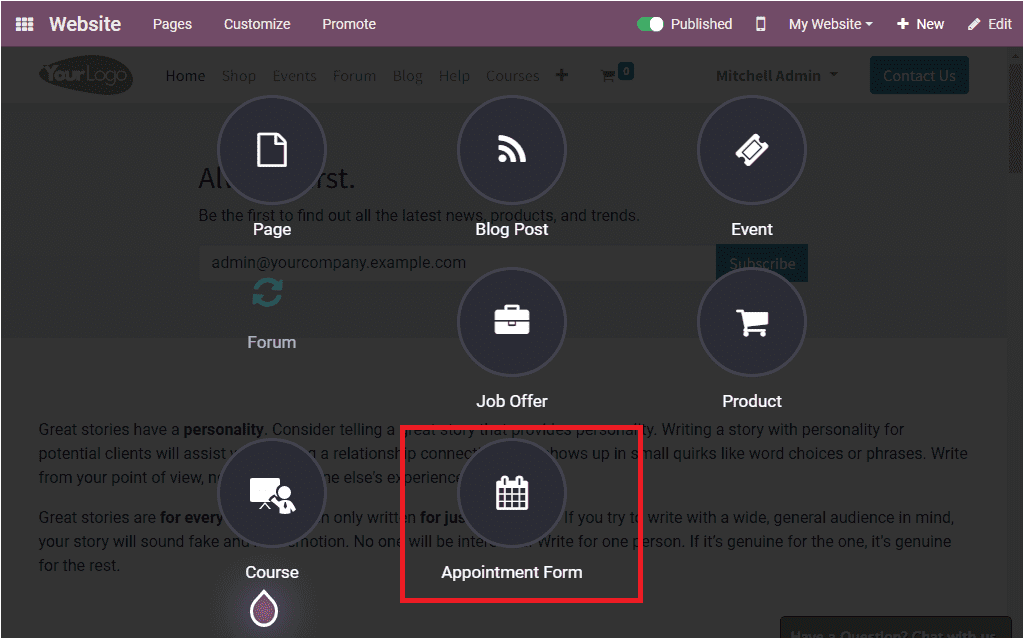
You can select the Appointment Form menu from the menus displayed to create various website contents. Upon selecting this menu, you will navigate to a new window where you can access a pop-up, as shown in the image below.
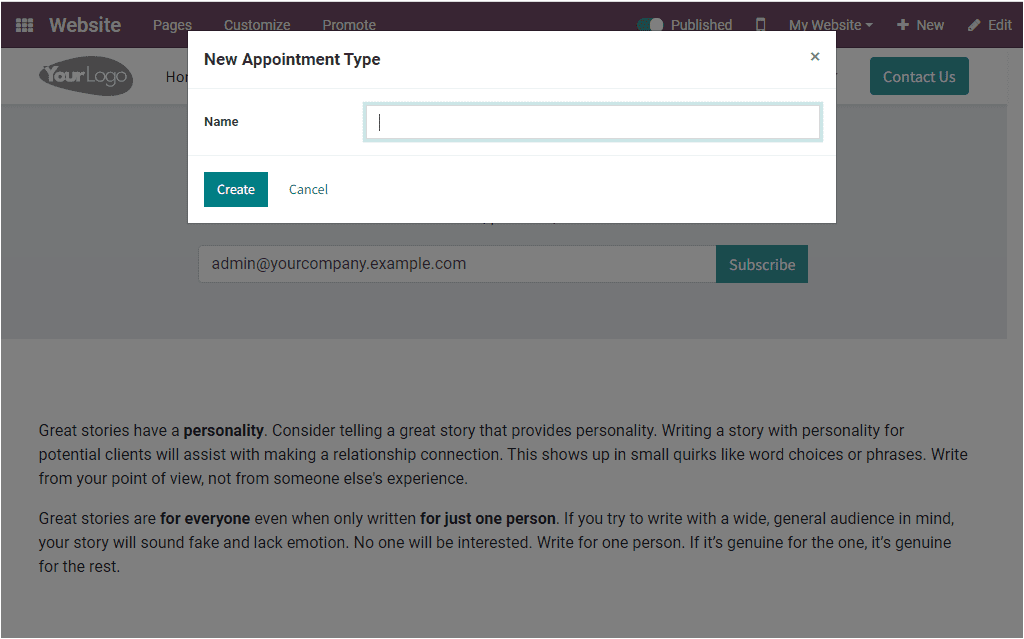
In this pop-up menu, you can describe the Name of the new appointment type. Later you can click on the Create icon. By doing this, you will navigate into an appointment page where you will see the name of the appointment that you gave earlier.
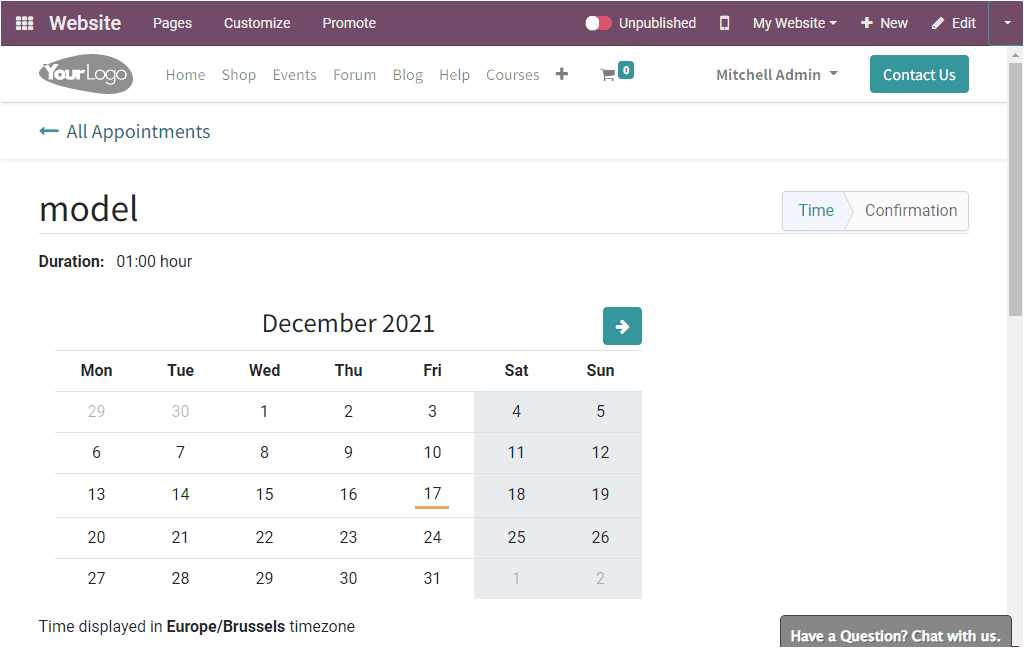
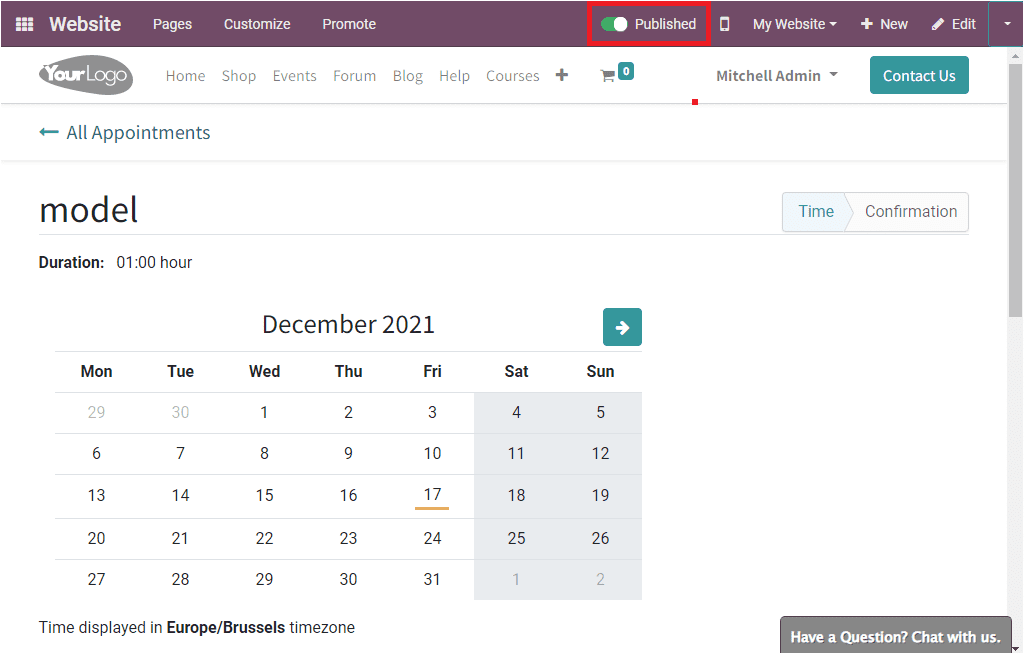
For publishing the new appointment on your website, you can turn Unpublished to Published as shown in the image below.
Now we explained all the possibilities of publishing the website content from the front end, and now let us think about how it was done at the back end of the website module.