Fleet
For accessing the Fleet module, you should install the module from Odoo Applications. Once you install the module, you will be able to view the Fleet module menu icon in the Odoo dashboard, as shown in the below image.
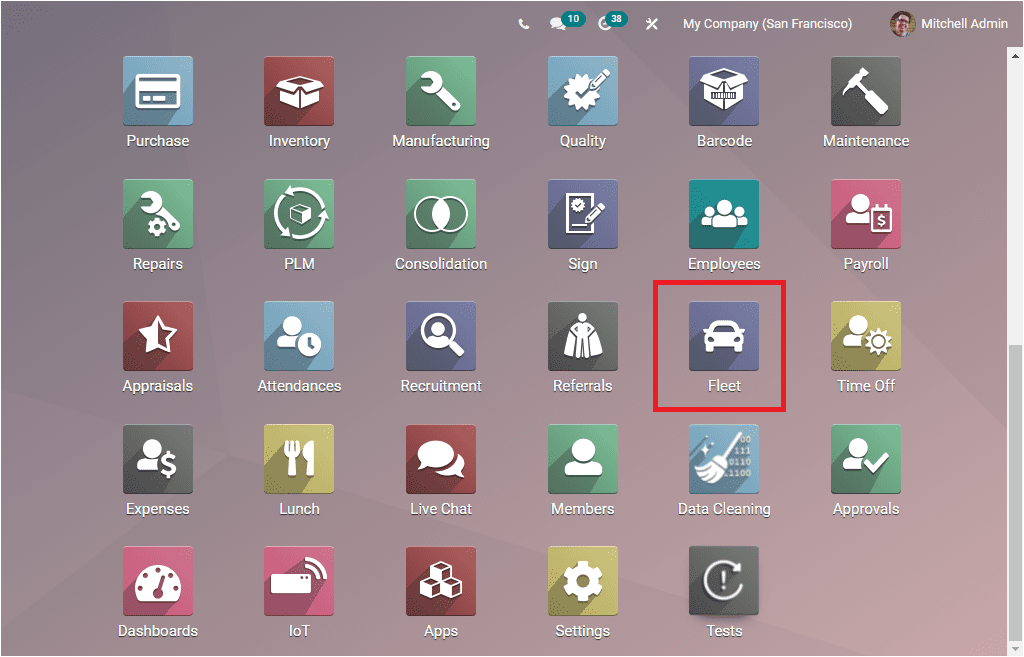
You can click on this menu icon to enter the module. Now you will be displayed with the home dashboard window of the Odoo Fleet management module. The image of the window is depicted below.
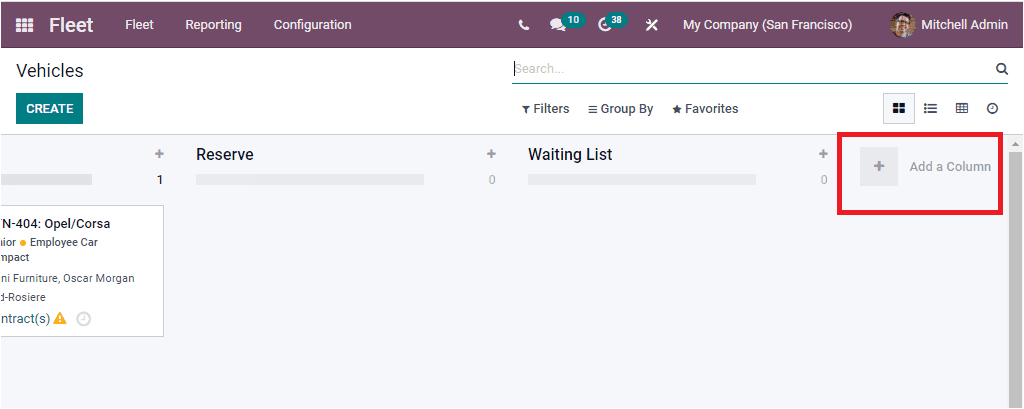
The home dashboard window or Vehicles window will exhibit all your organization's vehicle details that are already described in the platform. In the Kanban view, the vehicle details are listed as per their stages of operations. The different stages defined in this window are New Request, To Order, Ordered, Registered, Downgraded, Reserve, and Waiting List. Odoo gives you the permission to create and customize various other stages, and also you are allowed to edit or delete the already made stages based upon your organization's preferences. For creating new stages, you can click on the Add a Columnbutton, and you can provide all the required details.
In each of these stages, Odoo included the Settings and Quick Add options. These options can be accessed from the top right corner of the window. These menus are highlighted in the below image.
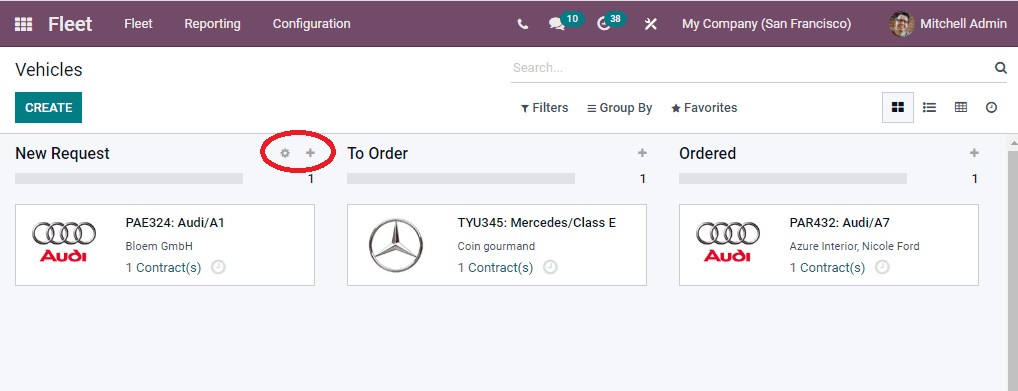
The Settings menu includes various options. When you click on this menu, you will get a dropdown menu that will consist of the options such as Fold, Edit Stage, Delete, Archive All, and Unarchive All.
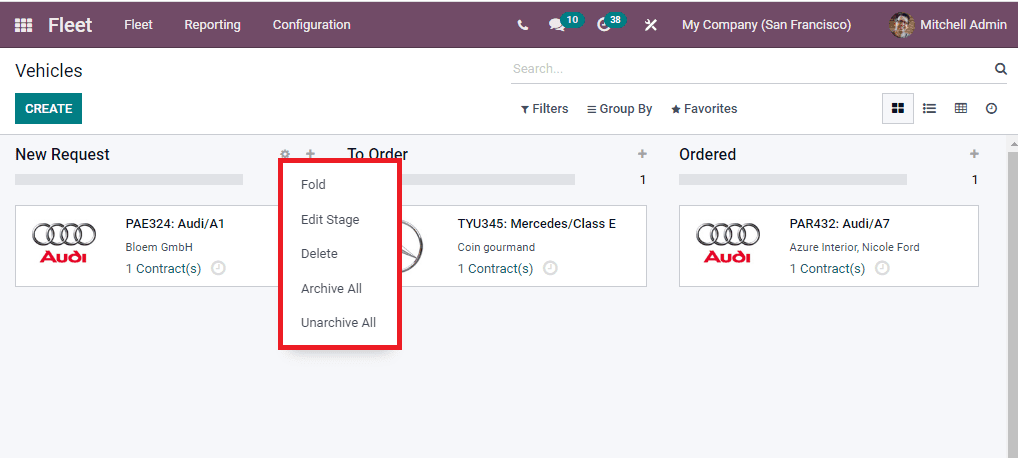
The Fold option allows you to fold the stage, and this will be very useful when a stage has no records. In that case, you can fold it without deleting it. And also, it will be beneficial when the window contains a large number of stages. The Edit stage button can be used to edit a stage, and the Delete option allows you to delete that particular stage. You can also archive or unarchive all records from that stage by clicking on the respective icons.
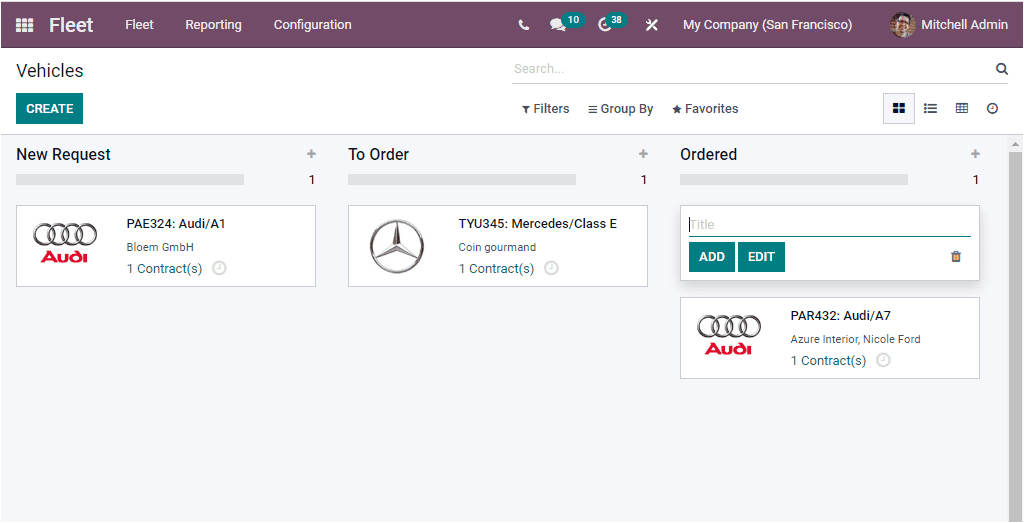
The Quick Add option allows you to add new records in that particular stage quickly. Upon selecting this button, you will receive a pop-up window as shown in the below image where you can provide the title or vehicle's name.
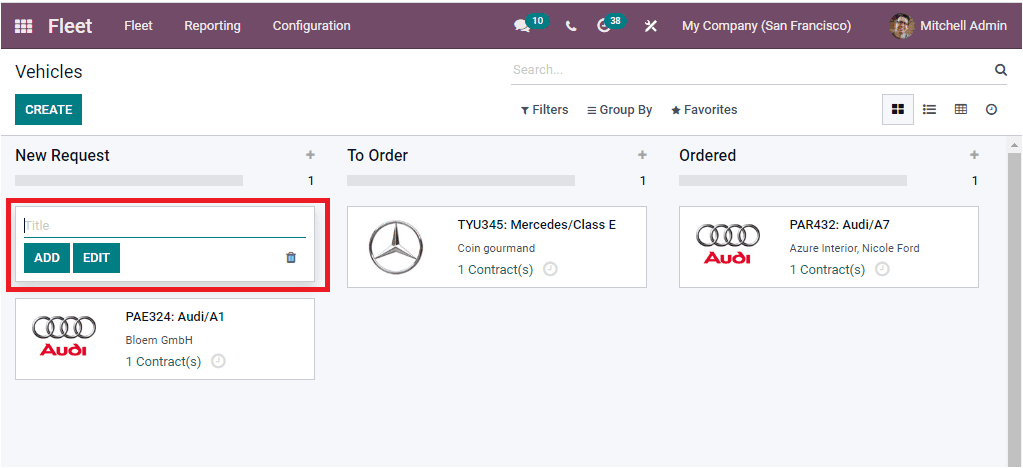
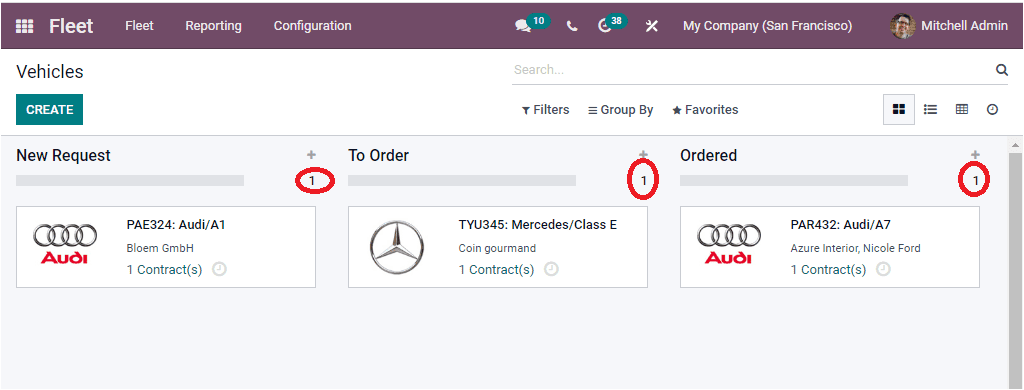
Then you can click on the ADD button. Then you will depict the Vehicle creation window where you can provide the details and then save it. The number of vehicles in each stage will be displayed on the top right side, just below the Quick Add and Settings option.
The list of records in the window can be easily filtered and sorted out by applying various default options and also can be customized with new filters and group by options for quickly searching records. The default filtering options are available under the Filters tab. Which are Available, Bikes, Cars, Trailer Hook, Planned for change, Need Action, and Archived. The default Group By options is Status, Model, Brand, and Fuel Type.
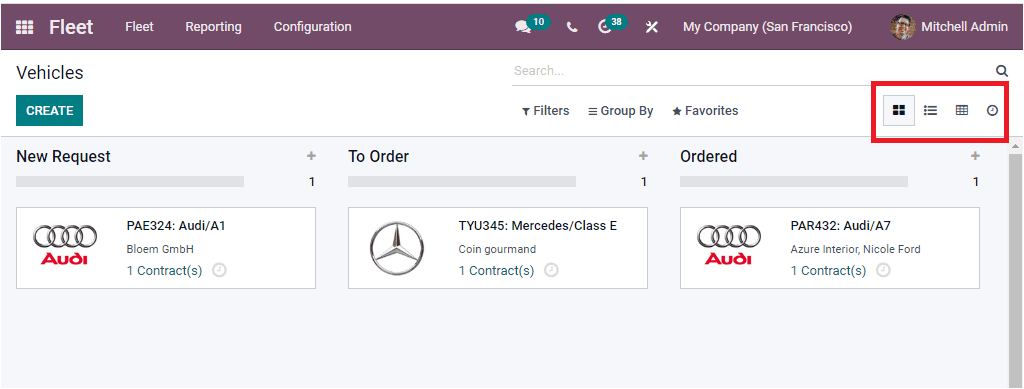
Now we are discussing the Kanban view of the vehicle window. The window can also be accessed in different perspectives such as List, Kanban, Pivot, and Activity view. The menu icons for accessing this window are available on the top right corner of the dashboard window.
To create a new vehicle in the platform, you can click on the CREATE button that can be accessed from the top left corner of the window.
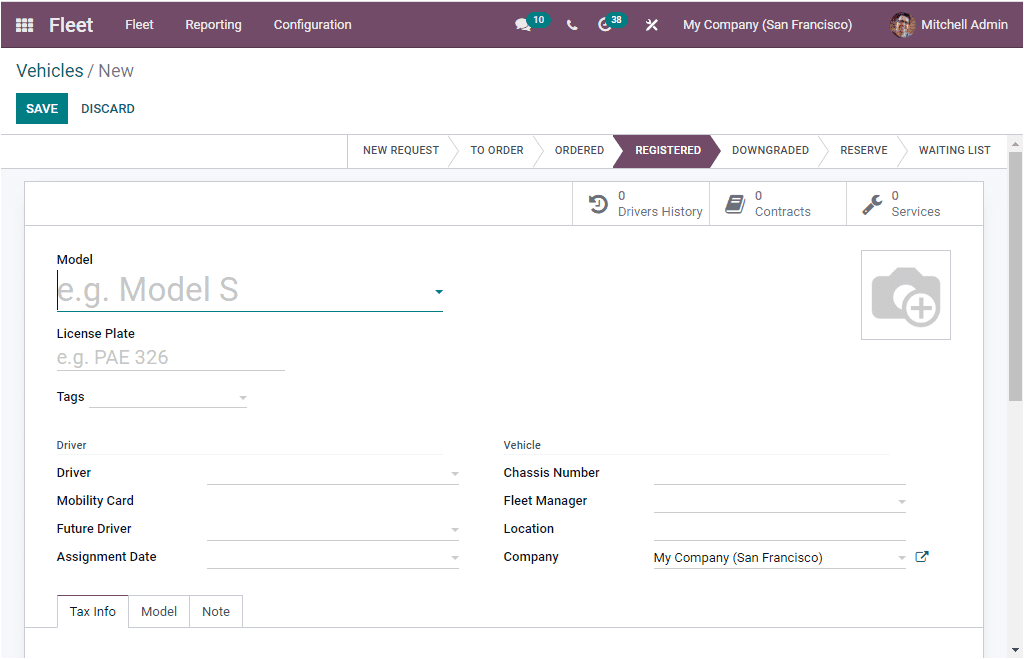
The above image displays the Vehicle creation form to provide all the details regarding your new vehicle. First of all, you can specify the Model of the vehicle, and then you can allocate the License Plate number of the vehicle along with the Photograph of the vehicle. In addition, you can provide various tags for quickly identifying the vehicle. In the Driver section, you can give the Driver's Name along with the Mobility Card. When coming to the Future Driver field, you can specify the next driver address.
Moreover, you can describe the Assignment Date. If you provide a date here, this will be considered the date the car will be available. If you leave this field empty, it denotes that the vehicle will be available instantly.
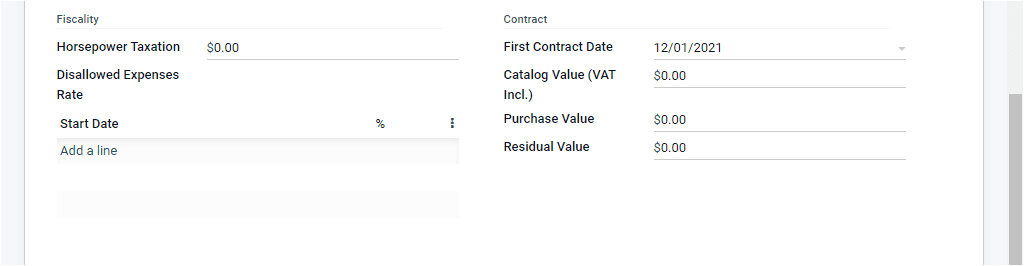
In the Vehicles details section, you can provide the Chassis Number, Fleet Manager, Location, and Company. Under the Tax Infotab, you can allocate the Horsepower Taxation, Disallowed Expenses Rate, and the Start Date along with its percentage can be given under the Start Date option; you can add it by clicking on the Add a line Button available.
Additionally, in the Contract section of the Tax Info tab, you can include First Contract Date, Catalog Value(VAT include), Purchase Value, and Residual Value.
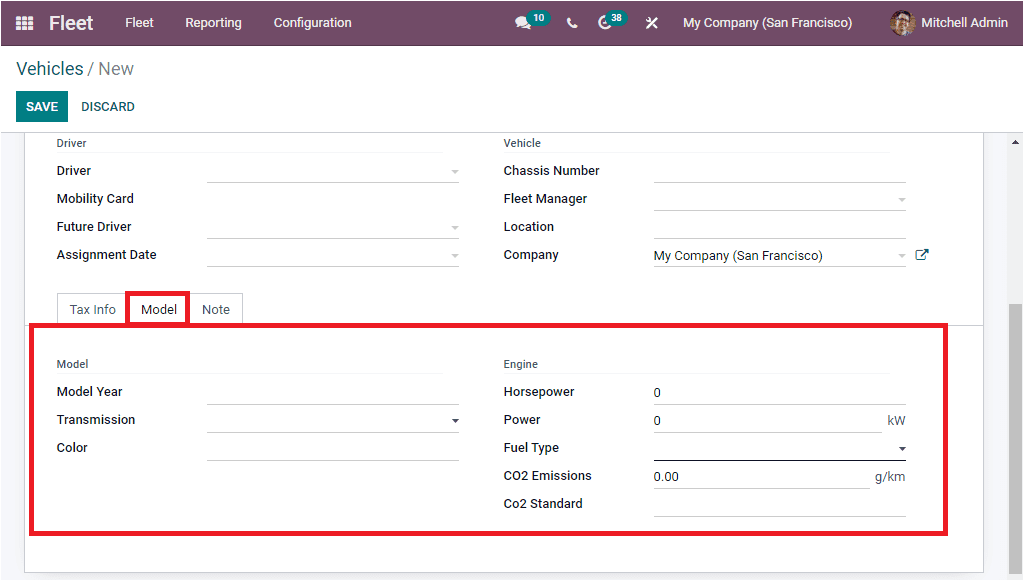
Under the Model tab of the Vehicle creation window, you can demonstrate the details such as Model Year, Transmission, and Color. You can also define the engine details such as HorsePower, Power, Fuel Type, Carbon Dioxide emissions of the vehicle, and the Carbon Dioxide Standard.
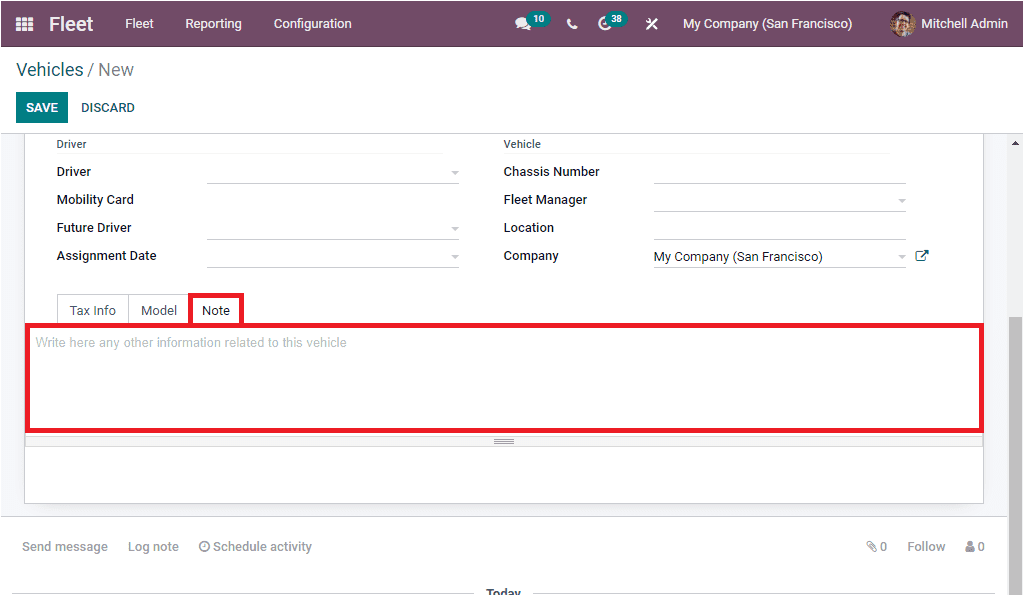
Under the Notes tab of the Vehicle creation window, note down any other information related to this vehicle.
Apart from these options, the window also includes a few smart buttons based on the modules you installed in the system. These smart buttons will be the direct link to that particular operation. Here you can view three smart buttons: Drivers History, Contracts, and Services. The images of these icons are highlighted in the below image. Similarly, the window displays various stages of the vehicle's operations on the top as NEW REQUEST, TO ORDER, ORDERED, REGISTERED, and so on. You can click on the suitable stage of your created vehicle.

After providing all the required information, you can click on the SAVE button to save the details to create a new vehicle on the platform. The newly created vehicle will be added to the Vehicles list in accordance with the selected stage.
So far, we discussed the Vehicles window in the Odoo Fleet management module, and now let us look into the Contracts window.