All Contracts
You can access the All Contracts menu under the Employees tab of the Odoo Employees module. The image of the All Contracts window is depicted below. You can also view the All Contracts menu, as highlighted in the screenshot below.

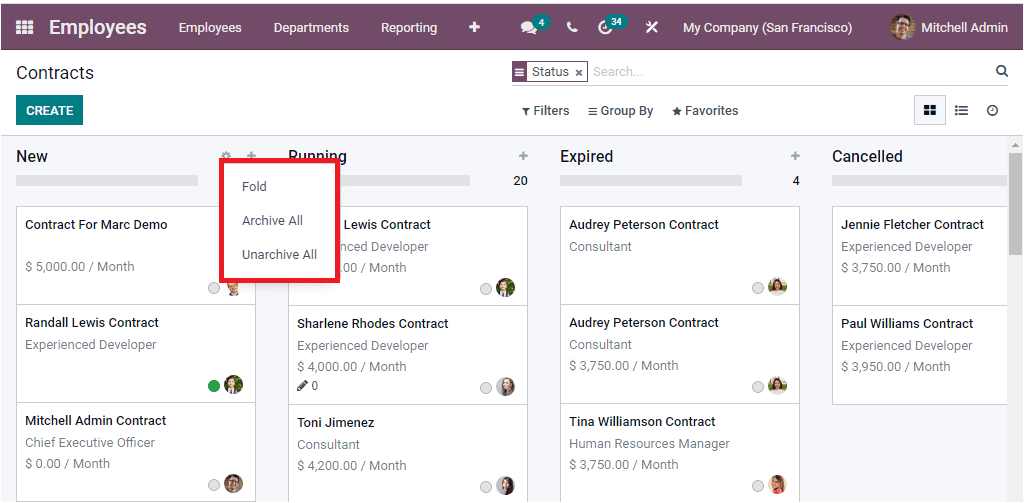
The All Contracts history of the employees can be viewed here in this window. You can view the details in both Kanban format and List format. The above screenshot shows the Kanban view, and in this window, the contracts are classified on various stages of operations. You can also have the provision to create and customize multiple contract stages. In each stage, you can access the menu icons such as Setting and Quick add options. The Settings button includes Fold, Archive All, and Unarchive All menus
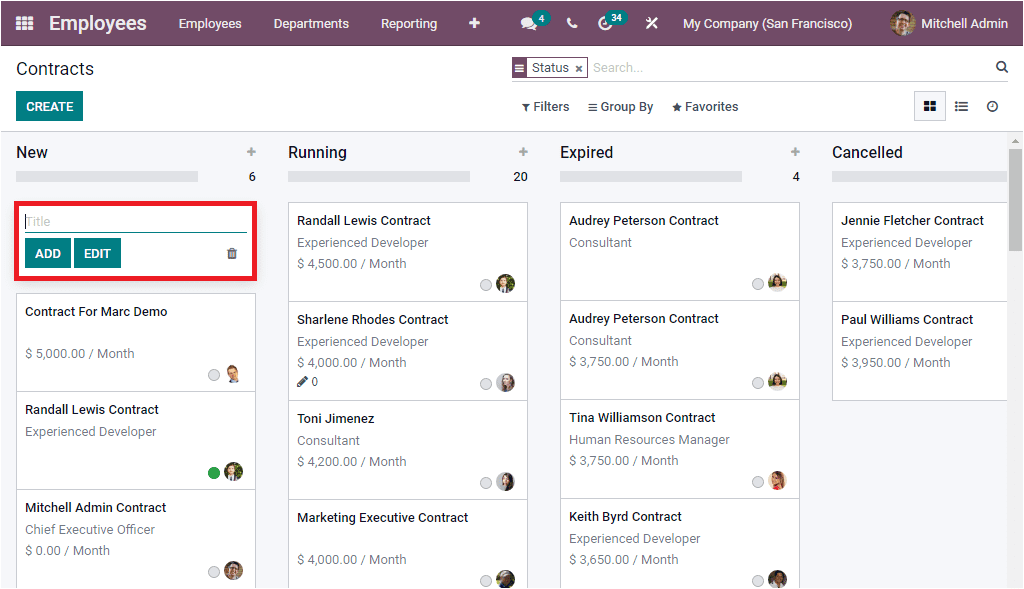
The Quick add option allows you to add records. Upon selecting this icon, you will depict a pop-up menu as shown in the below image.
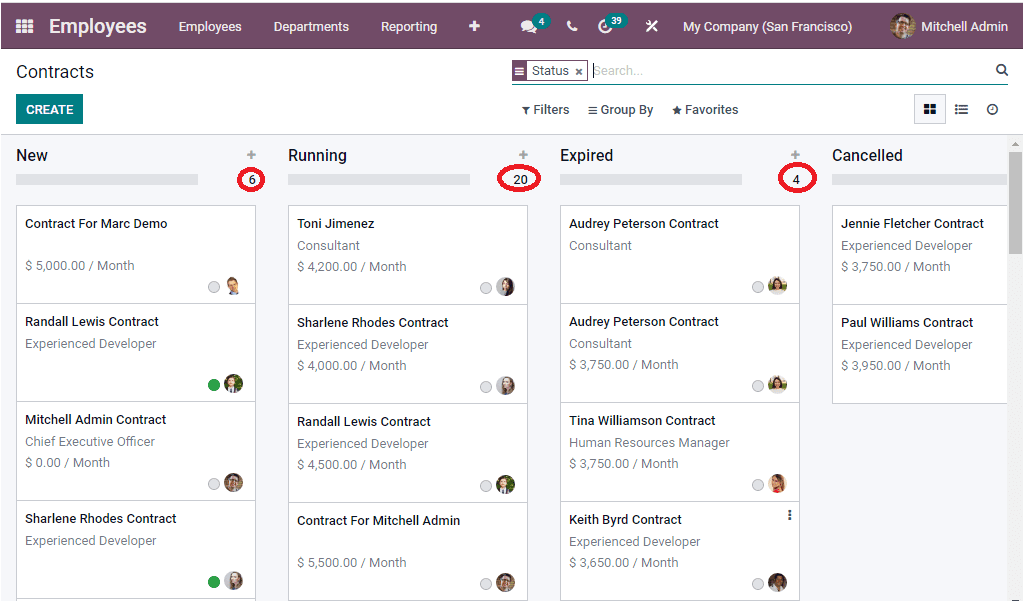
Just below the Quick add button, you can view the total number of contracts in each stage as highlighted in the below image.
You are also able to apply default Filters such as Running, Not running, Change of occupation, Employed, Archived, Late Activities, Today Activities, and Future activities. Moreover, the Add Custom Filter option is also advantageous to customize your own filters. Similarly, you can use Group By options to regroup your data based on specific criteria. The default Group By options available in the window is Status, Employee, Start Date, Job Position, Working Schedule, and Salary Structure Type. And also, you can configure more custom groups using the Add Custom Group button available. The Favourite menu includes the options such as Save current search, Import records, Link menu in spreadsheet, Add to my dashboard and Add to Google Spreadsheet.
Now let us have a look into the List view of the All Contracts window. The image is depicted below
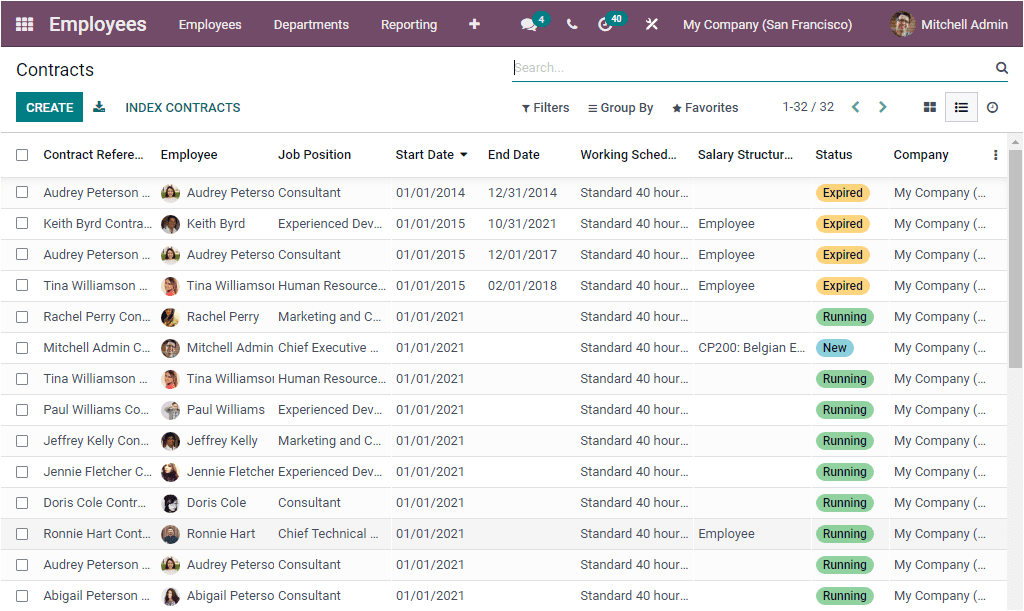
The list view also lists all the Contracts defined in the platform along with the details such as Contract Reference, Employee, Job Position, Start Date, End Date, Working Schedule, Salary Structure, Status, and Company. You can click on the CREATE button to create a new Contract. The image of the Contract creation form is depicted below.
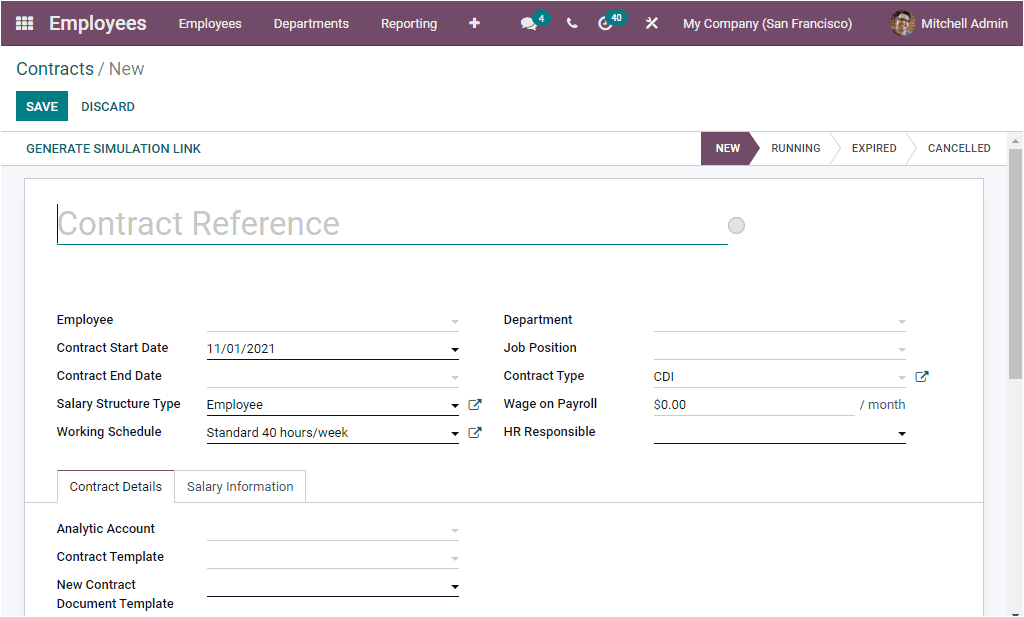
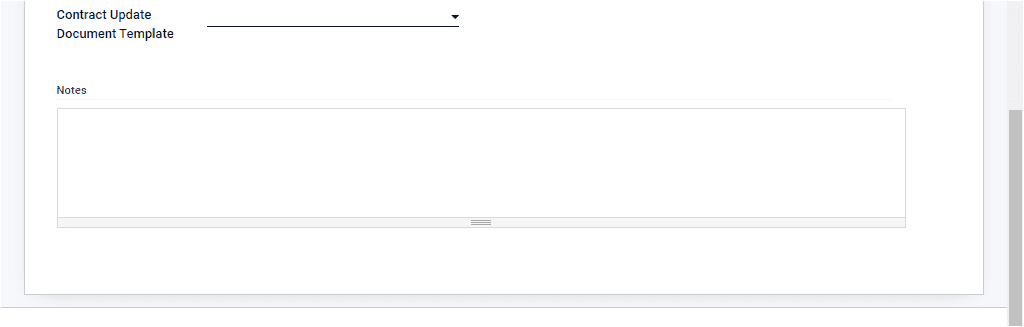
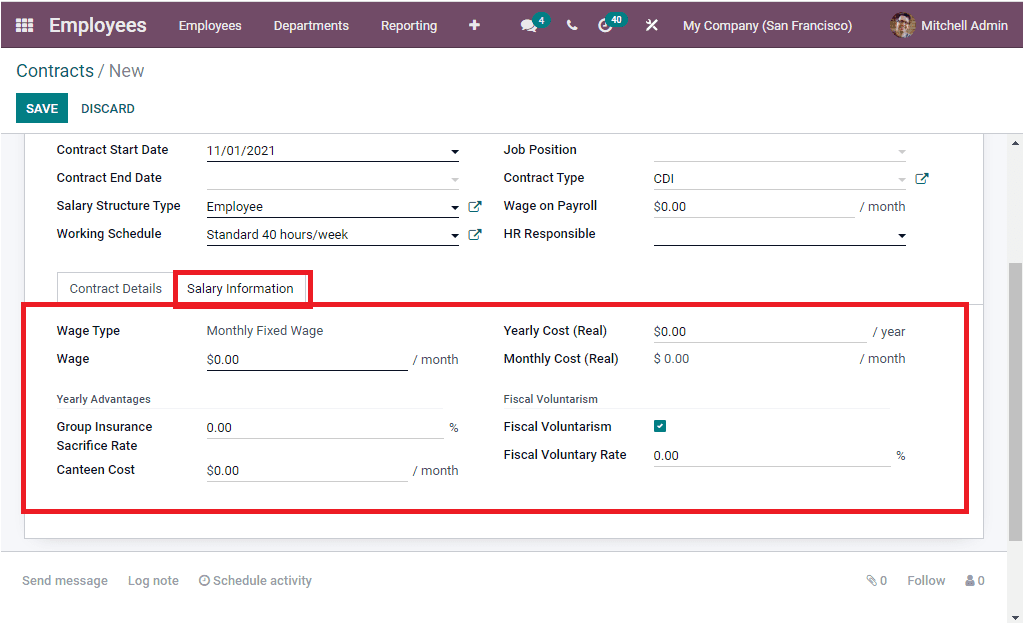
In this Contracts window, you can provide the Contract Reference and Employee Name. The field Contract Start Date will be auto allocated, and also you can describe the Contract End Date and the Salary Structure Type. Salary structure type will consider how an employee is paid with the organization or Company. Just like whether he/she is an employee paid based upon some contracts like daily wage or based upon work hours, or an employee paid for a monthly basis. After allocating Salary Structure, you can mention the Working Schedule, Department, Job Position, Contract Type, Wage on Payroll, the wage on contract signature, and HR Responsible. This HR responsible is the responsible person for validating the employees' contract. Under the Contract Details tab, you have to fill in the Analytic Account, Contract Template, New Contract Document Template, Contract Update Document Template. The Contract Template is the default contract used when making an offer to an applicant. The New Contract Document Template is also the default document that the applicant must sign to accept a contract offer. And the Contract Update Document Template is the default document that the Employee will have to sign to update his contract. After providing all these details, you can also offer Notes, if any. When we come to the Salary Informationtab, it will help us to fill up the salary details such as Wage Type, Wage per month, and the Yearly Advantages like Group Insurance Sacrifice Rate, Canteen Cost, and Monthly Cost. Moreover, you also have a Fiscal Voluntarism field that can be enabled or disabled. If you activate this option, you also have to fill Fiscal Voluntary Rate. After providing all these details, you can save it by clicking on the SAVE button available.
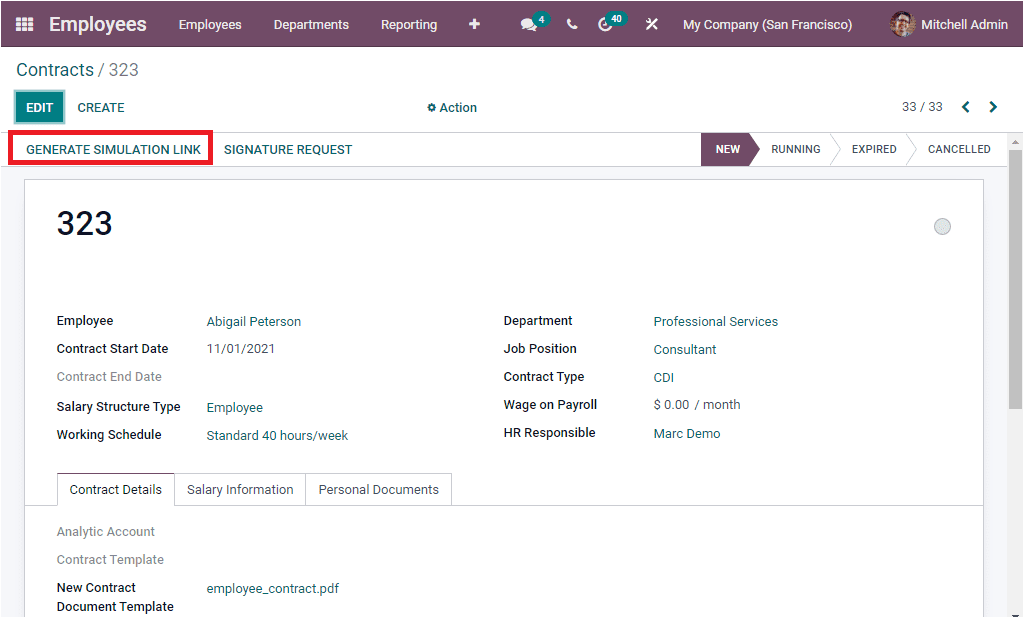
The GENERATE SIMULATION LINK icon available on the top left just under the Create icon allows you to generate a simulation link that can be used to send an updated offer to the employees.
When you click on the GENERATE SIMULATION LINK icon, you will depict a pop-up as shown in the image below.
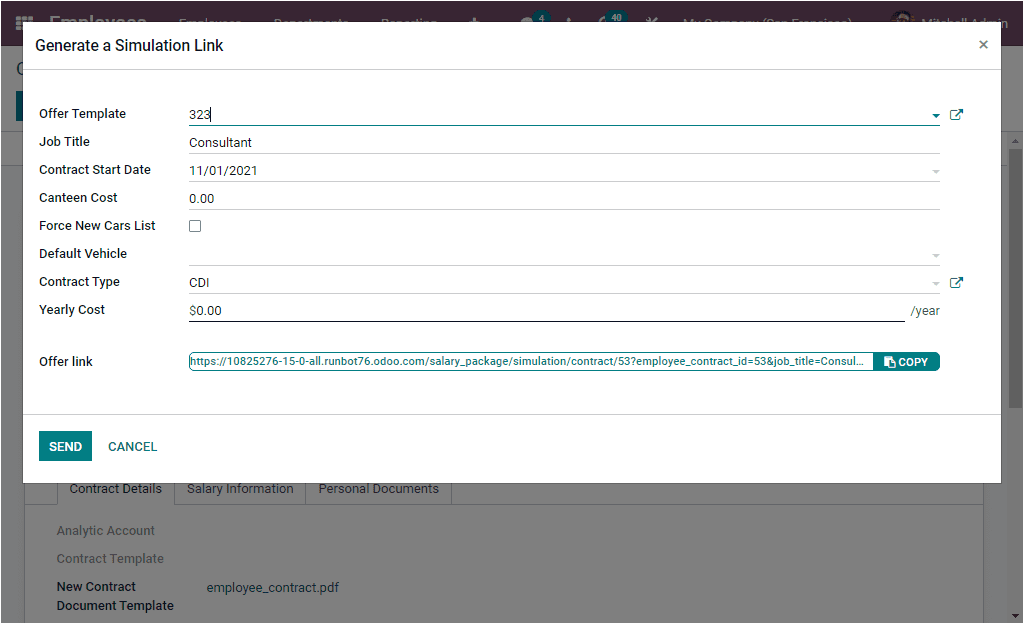
This pop-up window will include various details about the job such as Offer Template, Job Title, Contract Start Date, Canteen Cost, Force New Cars list, Default Vehicle, Contract Type, Yearly Cost, and Offer Link. Based upon these details, Odoo will automatically generate a simulation link, and you have the provision to send this offer to the employees.
Near the GENERATE SIMULATION LINK button, you can also view the SIGNATURE REQUEST button as highlighted in the below screenshot.
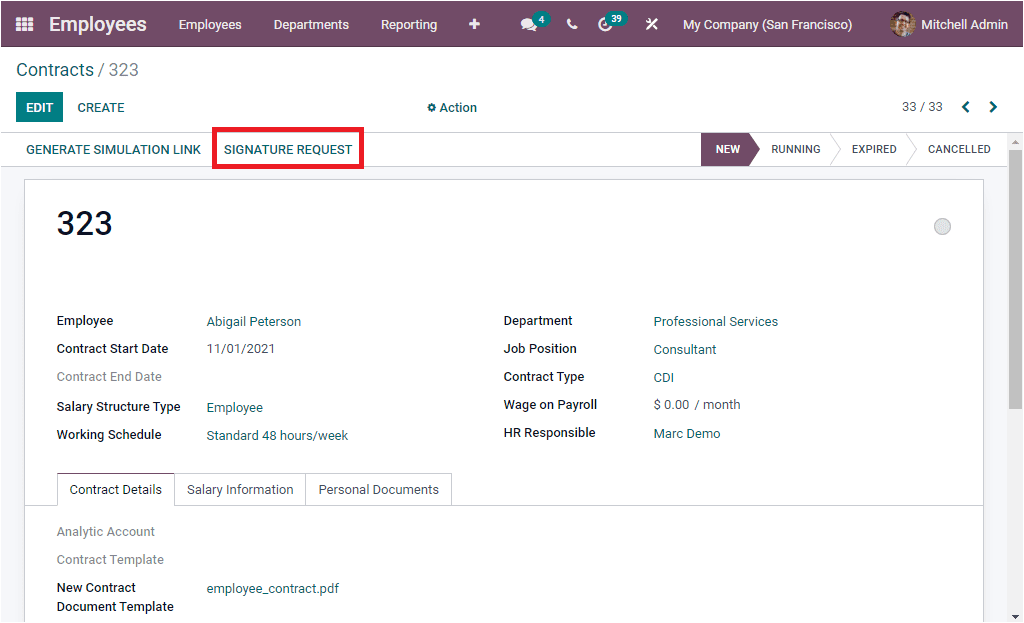
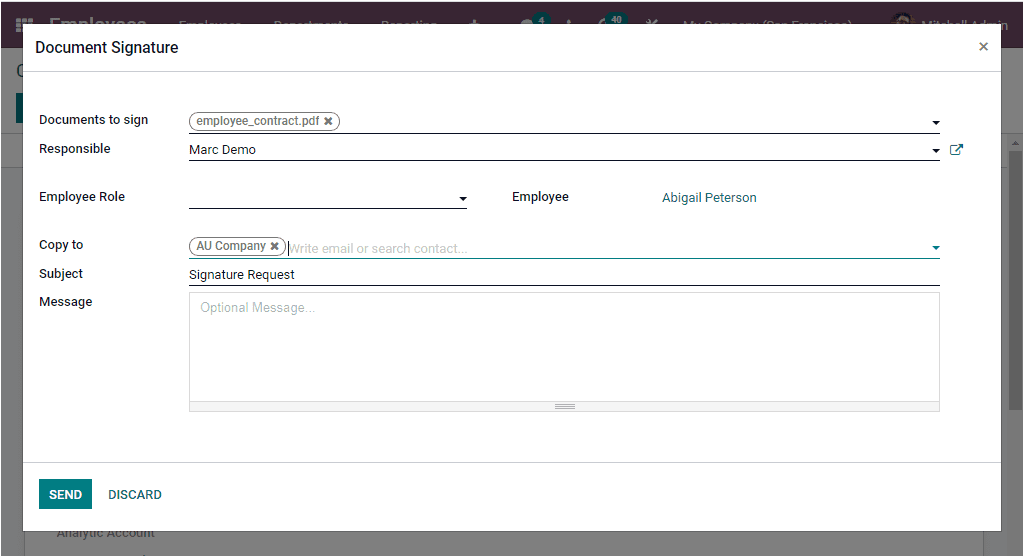
This button will allow you to send requests for a sign from the Employee through the Sign module. If you are installed in the Sign module, then only you are able to perform this action. This option is very helpful for signing the contract. If both parties sign the agreement, then only the terms and conditions in the contract will come into effect. Upon selecting the SIGNATURE REQUEST button you will depict an auto generated request mail where you can also include the Employee Role and optional message. You are also able to include more contacts under the Copy to field. The Other fields such as Documents to sign, Responsible, Employee and Subject will be auto allocated. After providing the details you can click on the SEND button to send the request mail. Now the mail will be sent to the person whose sign is needed for the document. The screenshot of the Request mail is displayed below.
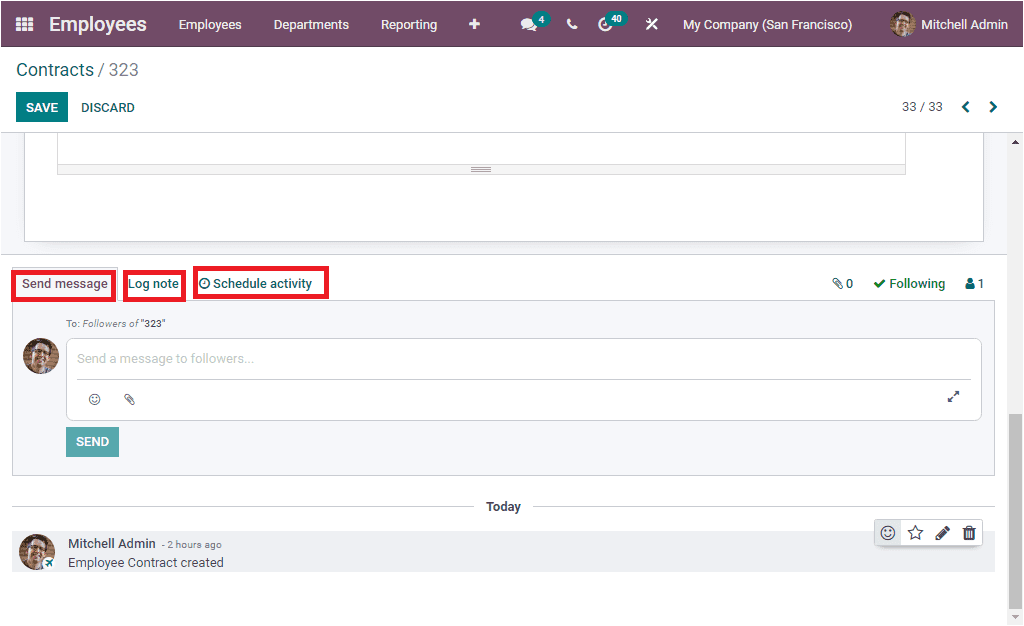
Back to the Contracts creation window, Odoo allows you to send direct messages and schedule appointments with the Employee. This can be done by using the Send message, Log note, and Schedule activity button available. For accessing this menu, you can scroll down the Contracts window as shown in the below image.
So far, we have been discussing the All Contracts window and now let us look into the Configuration options available under the Odoo Employee module.